Flower Gardening for Beginners: Everything You Need to Grow Your First Garden

Flower gardening for beginners starts here. Get easy tips for choosing plants, preparing your garden, and growing beautiful blooms.
Hi! I’m Stacy Ling, a trained Master Gardener growing in hardiness zone 6b here in New Jersey. I’ve been growing flowers for nearly 30 years, through every type of weather pattern, soil challenge, critter invasion, and learning curve you can imagine.
When I first started gardening, I didn’t know the difference between annuals and perennials, how to prep a garden bed, or why some flowers thrived while others struggled. But over the years, through lots of trial, error, and hands-on experience, I found simple systems that make flower gardening not only approachable, but incredibly rewarding for beginners.
This guide pulls together everything I’ve learned into one easy place. Whether you’re starting your very first garden or refreshing a tired space, I’ll walk you through the basics step-by-step so you can grow a beautiful, low-maintenance flower garden you’ll love coming home to.
We’ve got a lot of ground to cover! Are you ready? Your green thumb starts…Now!
(Posts on stacyling.com may contain affiliate links. Click HERE for full disclosure.)

Part 1: Understanding Your Growing Conditions
Before you start planting, it’s important to understand your environment. Every successful flower garden begins with knowing your zone, your sun exposure, and your soil type. These three factors determine which flowers will thrive and how much maintenance they’ll need.
Hardiness Zone
Your USDA hardiness zone tells you which plants can survive your winter temperatures. Beginners often overlook this step, but it’s one of the most important parts of choosing the right flowers for your climate.
Sun Exposure
Pay attention to how much sunlight your garden space gets:
- Full sun = 6+ hours
- Part sun = 4–6 hours
- Shade = less than 4 hours
Different flowers have different needs, so matching the plant to the location is key.
Soil Type & Drainage
Healthy soil = healthy plants.
If your soil is heavy clay (like much of the Northeast), you may need to amend it with organic matter to improve drainage. Sandy soil needs added compost to help retain moisture.
🌿 Stacy’s Zone 6b Growing Tip: Here in New Jersey, we tend to get unpredictable spring weather — warm one day, freezing the next. I never rely on the early warmth! I wait to plant tender annuals until after Mother’s Day, when we’re safely past our typical last frost. If you’re in a similar climate, be patient — your plants will grow better when the soil has truly warmed up.

Part 2: Planning Your First Flower Garden
Let’s simplify the planning so you’re ready to plant, not just dream. Before planting even begins, the smart gardener plans. By taking a little time upfront, you’ll build a garden that’s beautiful, manageable, and THANKFULLY free of stress.
1. Pick Your Purpose & Style
Ask yourself: “What kind of flower garden do I want?”
Do you want color for the front yard, a casual cottage border, or something you’ll cut for bouquets? Your answer sets the tone for everything that follows — size, plant choices, and how much time you’ll spend.
Because I’ve used my own planner, the Essential Flower Garden Planner, I’ve mapped all kinds of gardens over the years: full-sun displays, shady woodland edges, cutting beds for inside blooms. Having a tool to sketch your layout, note your sun/shade areas, and keep track of flowers is a game-changer. Read more about The Essential Flower Garden Planner here.
If you’re starting any garden (flower, vegetable or herb), you may want to begin with my full guide on how to start any new garden; this post is focused on flower-gardens only. Read more here: How to Start a New Garden: A Beginner’s Guide
2. Determining the Size and Shape of Your Garden
When starting your first flower garden, keep the size manageable. A smaller bed is easier to maintain and gives you space to learn what works before expanding. A two- to three-foot deep border along a walkway, a small strip of lawn converted into a bed, a simple raised bed, or even a grouping of containers can all serve as excellent starting points.
Before you commit to a layout, measure your available space and sketch your ideas. My Flower Garden Planner is especially helpful for mapping dimensions, noting sun and shade patterns, and planning access points so you can reach plants easily for watering, deadheading, and maintenance. Whether you prefer straight lines or soft curves, designing your bed thoughtfully at this stage will make planting and caring for your garden far more enjoyable.

3. Choosing the Best Location
Walk your property one day and observe:
- How many hours of direct sunlight?
- Which areas get afternoon shade?
- Where does water collect?
- Where is the wind strong?
- How good is soil drainage?
Assessing Sunlight and Shade For Your Flower Garden
Before planting, research your chosen flowers’ light needs. Not all thrive in full sun, and some prefer shade. To determine your garden’s light conditions:
- Observe: Track sunlight in your garden hourly for a full day.
- Classify:
- Full sun: 6-8 hours of direct sunlight.
- Partial sun/shade: 4-6 hours of direct sunlight.
- Shade: Less than 4 hours of direct sunlight.
Always check plant tags to ensure your choices match your garden’s conditions.
Site Selection
Selecting the right spot makes a noticeable difference in how well your garden performs. Consider the following:
- Water Access: Choose a location near a hose or irrigation source. Consistent watering is essential for new gardens.
- Drainage: Avoid areas where water pools after rain. Most flowers grow best in well-drained soil.
- Visibility: While not required for plant health, placing your garden where you will see it often adds enjoyment and helps you keep an eye on plant growth and health.
Zone 6b growers (like me here in New Jersey) may still get late frosts or cold nights into May. Soil stays cooler. So I mark those areas carefully on my layout and choose plants accordingly.
🌿 Stacy’s Zone 6b Growing Tip: Here in zone 6b, I always map my warmest bed first. That’s where I plant heat-loving flowers (like zinnias and cosmos) after Mother’s Day. Cooler or shadier spaces get early spring flowers (like pansies or sweet peas). Use your planner to label each zone by temperature and sunlight — it saves so much guesswork.

4. Pick Your First Flower Team
Now you’re ready to select your plants. For beginners, I recommend 2–3 perennials + 3–5 annuals (in year one) so you blend structure + color without going overboard. Use your planner to list variety names, spacing, bloom times, and maintenance levels.
When you’re starting your first flower garden, choose plants that are low-maintenance, forgiving, and bloom reliably. Here are a few that are perfect for beginners:
Easy Annuals
- Zinnias — nonstop color all summer [Learn How to Grow Zinnias here]
- Pansies — cold-tolerant and great for borders in spring and fall [Learn How to Grow Pansies here]
- Cosmos — airy blooms that attract pollinators [Learn How to Grow Cosmos here]
If you’re looking for easy plants that deliver fast results, these best flowering annuals for summer are a great place to start.
Reliable Perennials
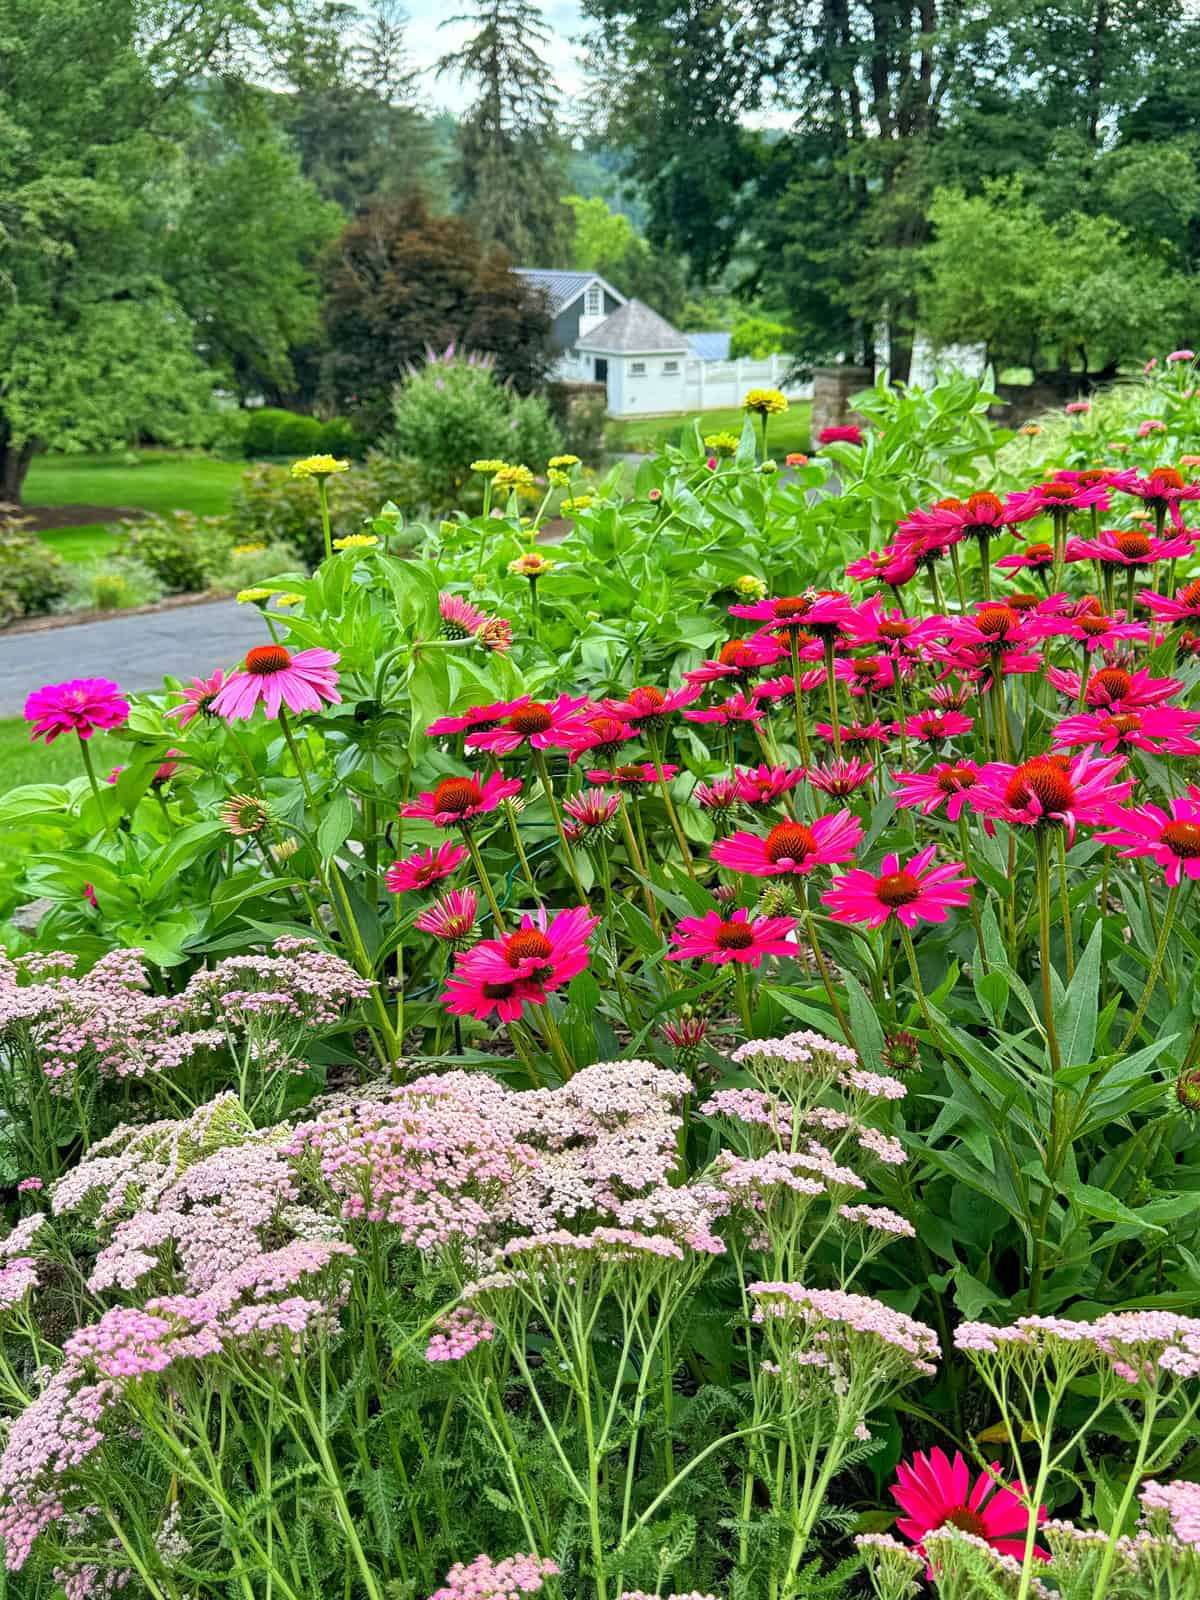
- Coneflowers (Echinacea) — cheerful daisy-like blooms. [Learn How to Grow Coneflowers here]
- Black-Eyed Susans (Rudbeckia) — tough and drought-tolerant [Learn How to Grow Black-Eyed Susans here]
- Hostas — great for shade and super low-maintenance [Learn How to Grow Hostas here]
Not every plant is worth the effort in every garden. I learned that firsthand with ranunculus, which I talk more about here.
To learn more about my favorite easy flowers to grow, click on the guides below.
- How to Grow Celosia
- Growing Gomphrena
- How to Grow Sunflowers
- Growing Salvia in Your Flower Garden
- How to Grow Sedum Autumn Joy
Choose Native Plants: Best Flowers for Beginners
If you really want to make this EASY, it’s a great idea to grow native plants because they are well-adapted to your locality and grow with ease. Check with your local cooperative extension, master gardeners, or local nursery to learn what’s native in your area. This is another reason why knowing your hardiness zone is so important!

5. Set a Simple Calendar
Use the planner to assign tasks: soil test, bed prep, planting date, deadheading schedule, dividing time (in years ahead), etc. For zone 6b, I’d mark late March to early April for soil test, mid-late April for bed prep, early May for planting, and September/October for evaluating bloom performance.
6. Essential Garden Tools and Supplies
Before you dig in, make sure you have the right tools for the job! Here’s a basic list for beginner gardeners:
- garden shovel
- garden fork
- spade shovel
- hand trowel
- garden gloves
- pruners
- wheelbarrow
- sunscreen (always)
- sunhat
For more detailed information on these tools and my recommended supplies, read this post here on my favorite beginner garden tools.

Overall, planning your garden before starting will help transform a good idea into a garden you’ll stick with and love. With clear purpose, mapped site conditions, thoughtfully chosen plants, and a simple calendar, you’ll roll into planting with confidence instead of chaos.
🌿 Stacy’s Zone 6b Growing Tip: Here in my zone 6b New Jersey garden, I always rely on coneflowers, black-eyed Susans, and zinnias for beginner gardeners because they hold up beautifully through our hot, humid summers and unpredictable spring weather. These three alone can carry a first flower bed with continuous color from June through frost.

Part 3 — Annuals vs. Perennials: What’s the Difference?
Once you understand your site conditions, the next step is choosing the types of flowers you want to grow. Most beginner gardens include a mix of annuals and perennials, and each one plays a different role in your garden.
What Are Annuals?
Annuals go from seed to bloom to seed again in a single season. They’re great for beginners because they:
- Provide fast, reliable color
- Bloom for months
- Fill in bare spots beautifully
- Let you experiment with new colors and styles each year
Annuals are your instant-gratification plants — perfect for brand-new gardens. To learn some easy plants that will deliver fast results, check out my favorites here: best flowering annuals for summer

What Are Perennials?
Perennials come back every year and gradually get bigger over time. They:
- Provide long-term structure
- Return reliably after winter
- Expand as they mature
- Help your garden look more established each year
Perennials are the “bones” of your flower garden and give it lasting shape and rhythm.
How to Choose Your Mix as a Beginner
When you’re starting out, keep your plant choices simple. Think of your garden in two layers:
- Perennials = structure
- Annuals = season-long color
A small, thoughtful mix makes planning easier and helps you learn how different plants behave over the season.
To dive deeper into the pros and cons of each — and how to pick the right balance for your garden — read my full guide: Perennials vs. Annuals: What Should You Plant?
🌿 Stacy’s Zone 6b Growing Tip: In my zone 6b New Jersey garden, perennials often break dormancy later than new gardeners expect—sometimes not until late April. Don’t panic if they look “dead” in early spring. Meanwhile, warm-season annuals won’t take off until the soil warms, so resist the urge to plant them too early. Understanding this timing saves beginners a lot of frustration.
Part 4: Prepare Your Garden Bed (Your Flowers Depend on This!)
Healthy soil is the foundation of a thriving flower garden. No matter how beautiful your plants are, they won’t perform well in compacted, depleted, or poorly draining soil. Spending time preparing your garden bed now will reward you with healthier plants, stronger roots, and far less maintenance in the long run.
Here’s how to prep your flower bed the right way. And this is how I’ve done it for nearly three decades in my zone 6b New Jersey garden.
1. Clear and Define Your Space
Start by marking out where your new flower bed will go. You can create a crisp, formal edge with a straight line or choose a soft, natural curve using a garden hose as your guide.
Next, remove any grass, weeds, and leftover debris. If the area is heavily compacted or full of turf, you have two beginner-friendly options:

Four Simple Ways to Start Your First Garden
There are several beginner-friendly methods for creating a new garden bed, and each one works well depending on your available time, soil conditions, and garden style.
Traditional Ground Gardening
This classic method involves removing existing sod, loosening the soil, and incorporating organic matter. It requires more physical effort but gives you an immediate planting area and allows you to shape the bed however you like.
For a step-by-step guide, see How to Start a New Garden

Lasagna Gardening (Sheet Mulching)
A no-dig option that builds soil over time. Layer cardboard or newspaper over the grass, add alternating layers of brown and green yard waste, and water it thoroughly. As the layers break down, they create rich, workable soil with minimal effort.
For a step-by-step guide, see Lasagna Gardening Method

Raised Bed Gardening
Raised beds offer excellent drainage, warm up faster in spring, and are ideal for areas with poor native soil. They can be built in any size to fit your space. If you plan to grow edibles nearby, choose untreated wood such as cedar. To learn more about raised bed gardening, please visit my guide raised bed gardening for beginners here.
Container Gardening
A flexible choice for small spaces, patios, or areas with challenging soil. Containers allow you to experiment with plant combinations and can be moved to adjust sunlight as needed. Almost any flower can be grown successfully in a container with quality potting mix and proper drainage. To learn more about growing flowers in containers, click here.

2. Loosen the Soil (Without Over-Tilling)
Good soil is loose, crumbly, and full of air pockets that help roots grow. Loosen the top 8–12 inches of soil using a garden fork or shovel. Avoid mechanical tilling unless absolutely necessary — it can destroy soil structure and bring weed seeds to the surface.
You’re aiming for soil that feels workable, not powdery.

3. Add Organic Matter (The Secret Ingredient)
This is where the magic happens.
Aside from testing your soil, it’s always a good idea to mix 1–2 inches of organic matter into the loosened soil. This improves:
- drainage
- nutrient levels
- soil structure
- microbial activity
- moisture retention
Organic matter options include:
- Compost (my #1 choice)
- Shredded leaves
- Aged manure
- Leaf mold
- Mushroom compost
If you only do one thing to improve your soil — make it this.
- Learn how to make your own compost at home
- Don’t toss those leaves, make leaf mulch instead!

4. Do a Soil Test
Before planting in the ground, I strongly recommend testing your soil to understand its needs. This will help you determine the right amendments to ensure your plants thrive. Soil test kits are available online, or you can seek help from your local cooperative extension, master gardener helpline, or garden nursery.
A simple soil test can help you:
- Understand your pH
- Identify nutrient shortages
- Choose the right amendments
Most flowers prefer a slightly acidic to neutral pH (around 6.0–7.0), but some — like hydrangeas — are more sensitive to pH changes. A soil test takes the guesswork out of gardening.

5. Shape the Bed & Add Mulch
Once the amendments are mixed in, rake your bed smooth and give it a gentle slope to encourage water runoff.
Before planting:
Add a light layer of mulch (about 1 inch) to help retain moisture and keep early weeds at bay. You’ll add more mulch after planting — don’t worry about perfection yet.
Why mulch matters:
- Suppresses weeds
- Conserves moisture
- Reduces soil temperature fluctuations
- Creates a polished, finished look
To learn more about how I mulch my garden (and there is a right and wrong way to do it!), please read more here.
🌿 Stacy’s Zone 6b Growing Tip: My New Jersey garden is full of heavy clay, which can stay wet and cold well into spring. To avoid compacting it further, I never walk on freshly loosened soil, and I always add a generous layer of compost every spring. Over time, this simple practice has transformed my clay into rich, workable soil that drains beautifully.

Part 5: Planting Flowers 101
Once your garden bed is prepared, it’s time to plant. Planting may look simple, but doing it correctly sets your flowers up for strong root development, healthier growth, and better long-term performance.
1. Direct Sow vs. Transplants
There are two main ways to start flowers in the garden: direct sowing seeds or planting nursery-grown transplants. Both methods work well, but they serve different purposes.
Direct sowing means planting seeds directly into the soil. This method is best for fast-growing annuals such as zinnias, cosmos, marigolds, and sunflowers. It is inexpensive, beginner-friendly, and ideal for filling a new bed with summer color.
For my detailed guide, click here: Direct Sowing Flowers for Beginners.
Transplants are young plants grown in pots that you place into the garden. They are best for perennials, slower-growing annuals, or when you want instant size and structure.

2. When to Plant: Timing Your Flower Garden for Success
One of the first questions new gardeners often ask is, “When should I actually start planting?” The answer, like many things in gardening, isn’t one-size-fits-all and depends on a few key factors, primarily your local climate and the types of flowers you want to grow. However, understanding these principles will set you up for success.
Understanding Your Growing Season:
The most crucial element is knowing your region’s last expected frost date in the spring and the first expected frost date in the fall. These dates act as bookends for your active growing season. You can usually find this information through your local agricultural extension office, nearby nurseries, or online gardening resources specific to your zip code.
General Guidelines Based on Flower Type:
- Cool-Season Annuals: These are your hardy heroes that thrive in cooler temperatures and can often tolerate light frosts. Think pansies, violas, snapdragons, and sweet peas. You can typically plant these in early spring, a few weeks before your last expected frost, or even in late summer/early fall for a fall and early winter bloom in milder climates.
- Warm-Season Annuals: These sun-loving beauties, like zinnias, petunias, marigolds, and cosmos, need warmer soil and air temperatures to flourish. It’s best to wait until all danger of frost has passed in the spring and the soil has warmed up. Planting too early can stunt their growth or even kill them.
- Perennials: These plants come back year after year, and the ideal planting time depends on the specific variety. Generally, spring or early fall are good times to plant perennials. Spring planting allows them to establish their root systems before the heat of summer, while fall planting gives them a chance to settle in before winter dormancy. Avoid planting perennials during the hottest part of the summer.
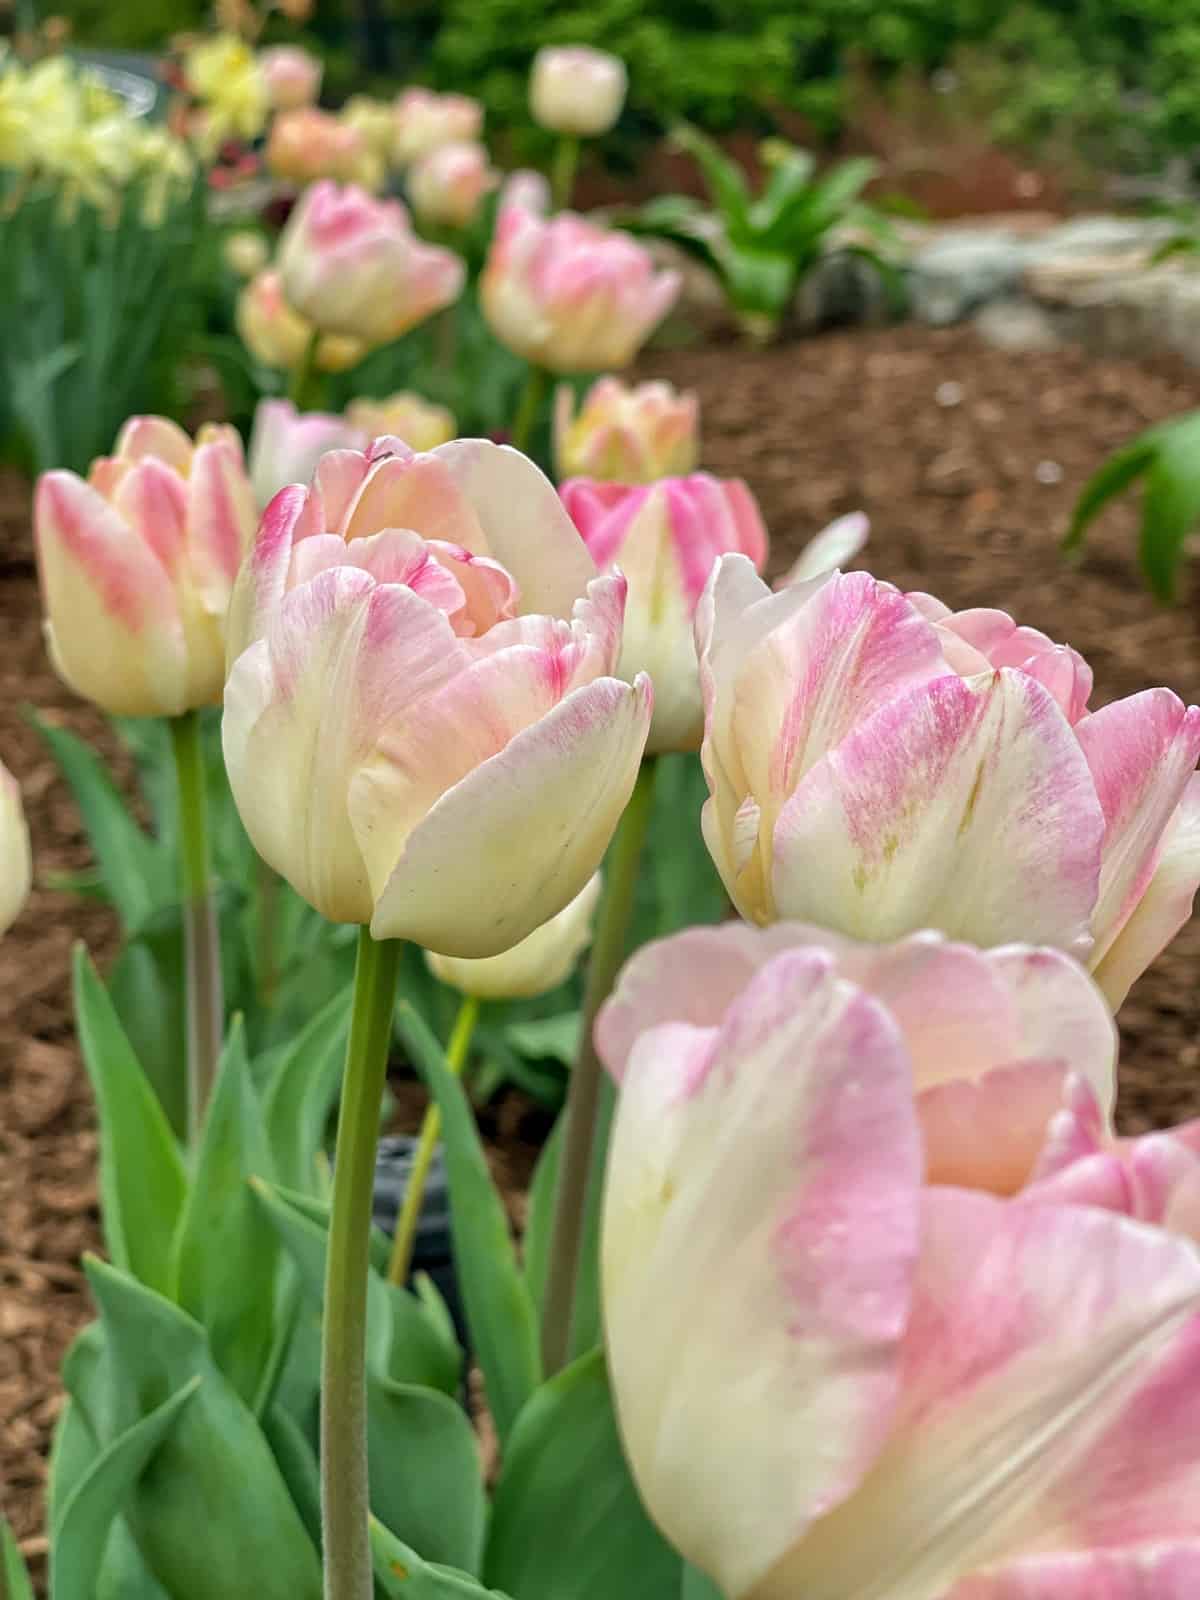
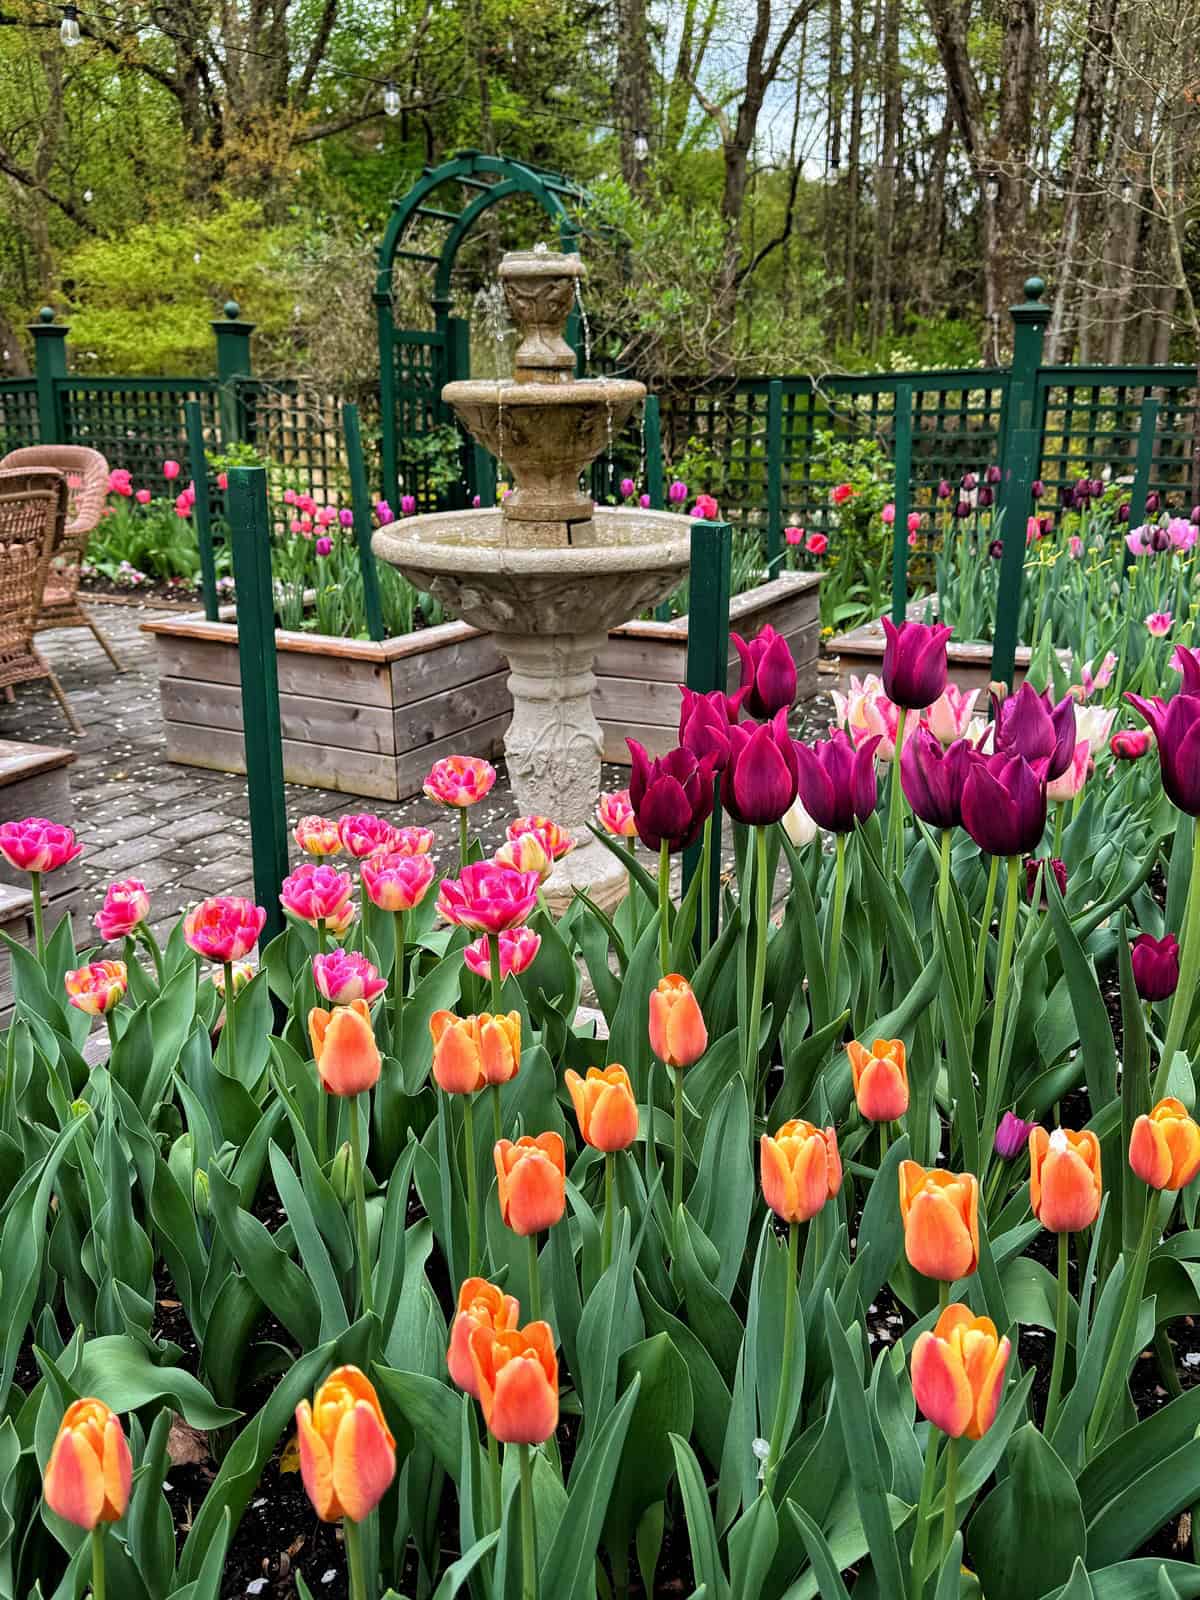
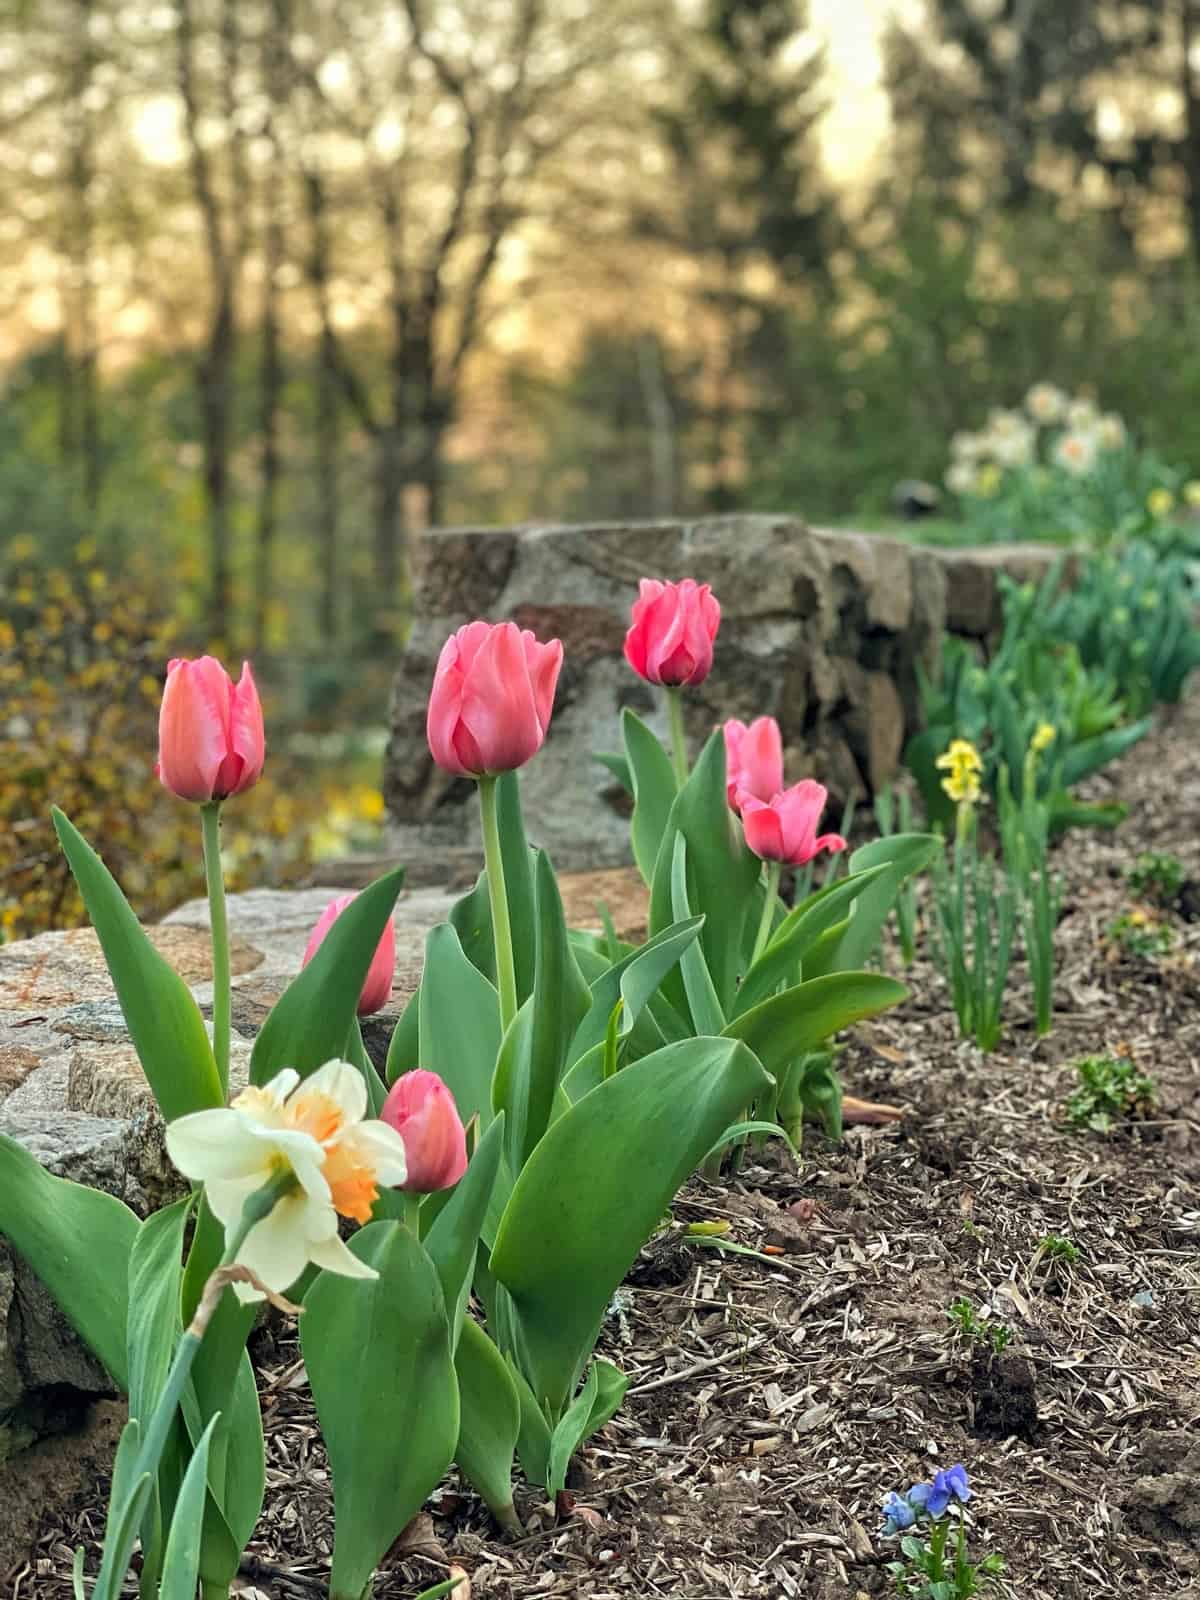
- Bulbs: Spring-blooming bulbs like tulips, daffodils, and hyacinths are typically planted in the fall, before the ground freezes. Fall planting allows them to go through the necessary chilling period to bloom beautifully in the spring. Summer-blooming bulbs like gladiolus and dahlias are usually planted in the spring after the danger of frost has passed.

Key Considerations for Timing
- Local Microclimates: Even within the same region, variations in sunlight, wind exposure, and elevation can create microclimates that affect planting times. Observe your local conditions.
- Soil Temperature: For warm-season annuals and some perennials, soil temperature is just as important as air temperature. Cold soil can shock young plants.
- First and Last Frost Dates: These are estimates, and weather can be unpredictable. Keep an eye on the forecast and be prepared to protect young plants if unexpected frost threatens.
- Planting Method: Starting seeds indoors gives you a head start on the growing season, especially for warm-season annuals in cooler climates. You can sow seeds several weeks before your last frost date and transplant seedlings outdoors once the weather is suitable. Direct sowing seeds outdoors is best done when the soil has warmed up.
Pro-Tip: If you are just starting out, skip seed starting and shop your local nursery for plants so you can enjoy immediate satisfaction and learn how things grow.

2. Dig the Right Hole
The planting hole matters more than most beginners realize. Dig a hole that is twice as wide as the plant’s root ball, but no deeper. Planting too deeply is one of the most common mistakes new gardeners make.
Gently loosen or tease apart the roots before placing the plant in the hole, especially if they are circling around the pot. Set the plant so the crown sits level with the soil surface. Backfill using the soil you removed and press lightly to eliminate air pockets.
3. Water Thoroughly After Planting
Give the area a slow, deep watering immediately after planting. This helps settle the soil, reduces transplant shock, and ensures the roots have good contact with the surrounding soil.
For the first week, keep the soil consistently moist but not waterlogged. After the plants begin to establish, transition to deeper, less frequent watering to encourage stronger root systems.

4. Planting Time: Understand Soil and Air Temperatures
Planting times vary based on the type of flower and your climate. Perennials can generally be planted earlier in spring when the soil is workable, even if temperatures are still cool.
Cool-season annuals such as pansies and snapdragons tolerate early planting. Warm-season annuals such as zinnias, dahlias, and cosmos should only be planted after all danger of frost has passed and the soil has warmed. Warm soil is critical. Even if the air feels warm, cold soil will stall growth.
5. Spacing Matters
Give plants room to grow. Proper spacing ensures good airflow, reduces disease, and allows plants to reach their mature size.
Follow the spacing recommendations on the plant tag. Resist the urge to crowd plants too closely together. Group plants in odd numbers for a more natural, balanced look, and keep taller plants toward the back or center of the bed.
6. Stake When Necessary
Some flowers benefit from staking at planting time, particularly taller varieties such as dahlias, cosmos, sunflowers, and delphiniums. Adding support early prevents damage later and avoids disturbing the roots once plants are established.
Stacy’s Zone 6b Growing Tip: In my New Jersey zone 6b garden, warm days in April can make it tempting to plant early, but our soil stays cold well into spring. I wait until the soil feels warm to the touch before planting warm-season annuals like zinnias and dahlias. Planting too early in cold soil can lead to rot or stalled growth, even if the air temperature seems ideal.
Part 6: Flower Garden Maintenance Basics
Once your flowers are planted, a few simple maintenance habits will keep your garden healthy, productive, and looking beautiful throughout the growing season. These foundational tasks help prevent common problems and support strong, consistent growth.
Watering
As a general rule, water your flower garden when the top two inches of soil feel dry. Aim to water at the base of plants earlier in the day to allow excess moisture to evaporate and reduce the risk of disease.
The ideal watering frequency and amount depend on various factors, including rainfall, location, climate, and soil preparation. Planning your garden layout with water needs in mind can make watering easier.
Group plants with similar water requirements together, placing those that need more water closer to your water source and drought-tolerant ones further away. Remember, even drought-tolerant plants need regular watering until their roots are established.

Fertilizing Your Flower Garden: Less is Often More
While some plants benefit from supplemental nutrients, over-fertilizing is a common mistake. Focus on building healthy soil as a foundation. In my experience, perennials, shrubs, and trees thrive without additional fertilizer. However, I do recommend fertilizing roses, container gardens, houseplants, annuals, and vegetables.
- For my flowers, houseplants, and other annuals, I use this slow-release fertilizer because it lasts for a few months and is set and forget.
- To feed my roses, I use this organic rose fertilizer that helps produce an abundance of blooms.
- And for my vegetables and herbs, I use this organic fertilizer.
Use a balanced, slow-release or organic fertilizer based on your plant’s needs. More fertilizer is not better; too much can burn plants or encourage weak, leggy growth.
Annuals typically appreciate more frequent feeding, while perennials often need only light fertilizing in spring. Always follow product directions.

Mulching
A 2–3 inch layer of mulch helps retain soil moisture, suppress weeds, and regulate soil temperature. Organic mulches such as shredded leaves, bark, or compost break down over time and improve soil structure.
Keep mulch a few inches away from plant stems and crowns to prevent rot. To drill down on best practices for mulching, click here.
Deadheading
Deadheading removes spent blooms and encourages many flowering plants to produce more blooms throughout the season. This keeps your garden looking fresh and can extend the bloom period for several weeks.
Not all plants require deadheading. Learn about your specific plants’ needs for optimal care. For detailed techniques based on flower type, click on my detailed post, How to Deadhead Flowers here.

Pruning and Pinching
Light pruning or pinching helps plants maintain their shape, promotes bushier growth, and can prevent flopping. Some annuals benefit from being pinched back early in the season to encourage branching.
Perennials may need occasional cutting back after flowering to promote rebloom or maintain tidiness. Always research the needs of each plant, as not all flowers benefit from pruning.
Dividing Perennials
As perennials mature, many benefit from being divided every few years. Division helps maintain plant health, prevents overcrowding, and allows you to create new plants for free. It also keeps vigorous growers from outgrowing their space.
Dividing perennials is a simple process: lift the plant, separate it into smaller sections, and replant the divisions. Each plant has its own preferred timing and technique, and some require more care than others.
For a full breakdown of when to divide specific plants and step-by-step instructions, see my complete guide about how to divide perennials.

Weeding
Regular weeding keeps competition for water and nutrients down and reduces the chance of pests and disease. A quick walk-through once or twice a week is usually all you need, especially if you mulch well.
I wrote a comprehensive article that shares organic weeding practices plus how to make your own weedkiller with vinegar that works. Check it out here.
Inspecting for Pests and Disease
Regularly walking your garden is the easiest way to catch problems early. Look for signs such as chewed leaves, missing buds, wilting, discolored foliage, or insects clustered on stems. Early detection allows you to take simple corrective steps before minor issues turn into major setbacks.
In many gardens—especially here in the Northeast—wildlife can be just as challenging as insects. Rabbits and deer are notorious for helping themselves to tender new growth and flower buds. If you garden in an area with frequent browsing, it’s important to be proactive.
For practical strategies to keep rabbits out of your beds, see my guide to rabbit-proofing your garden here.
If deer are your biggest challenge, you’ll find my deer-proofing tips helpful for protecting vulnerable plants and creating a landscape that deer avoid.
And for gardens with persistent deer pressure, I’ve also compiled a list of the best deer repellents that actually work in real-world conditions.
For specific guidance on identifying and treating common pests and diseases, click here.
Stacy’s Zone 6b Growing Tip: In my New Jersey zone 6b garden, summer humidity can cause powdery mildew and other fungal issues, especially on plants like zinnias, bee balm, and phlox. I prevent most problems by spacing plants properly, watering at the base rather than overhead, and removing any affected foliage as soon as I see it. Good airflow makes a noticeable difference in our climate.

Companion Planting: Natural Pest Control
Companion planting pairs certain flowers and herbs together so they can support each other’s growth. Some plants naturally deter pests, others improve soil health, and some help attract beneficial insects. This practice helps create a healthier, more resilient garden with less reliance on sprays or interventions.
For beginners, simple combinations work well. Calendula and borage pair beautifully with dahlias and zinnias, supporting pollinators and helping keep common pests in check. As you gain experience, you can explore more advanced combinations based on your garden’s needs.
If you want to learn more about how I use companion planting in my own garden, I share deeper guidance in my companion planting post.

Managing Japanese Beetles
Japanese beetles are common summer pests that can quickly damage flowers and foliage. Hand removal is an option for small gardens, but long-term management usually requires a more strategic approach. The most effective solutions target beetles at the grub stage in the lawn, helping reduce future populations.
For a full explanation of how I manage Japanese beetles on my property, including the long-term treatments that made the biggest difference in my own garden, see my complete Japanese beetle guide.
Attracting Beneficial Insects: Nature’s Pest Control
Beneficial insects like ladybugs and praying mantises are nature’s pest control. In my own garden, ladybugs helped me overcome a severe scale infestation that organic sprays couldn’t eliminate. I share a whole post on how I added ladybugs to my garden here.
You can attract these helpful insects by planting flowers that provide nectar and pollen, avoiding broad-spectrum pesticides, and providing shelter like insect houses or rock piles.

Part 7: Protecting Your Garden From Weather and Environmental Stress
Your flower garden is shaped not only by the plants you choose and the care you give them, but also by the weather conditions they face throughout the season. While you can’t control the weather, you can take practical steps to protect your garden from damage caused by temperature swings, storms, and environmental stress. Preparing ahead makes a noticeable difference in how well your flowers perform.
Protecting Against Late Frosts and Cold Snaps
Spring weather can be unpredictable, especially in climates with fluctuating temperatures. Young annuals, tender perennials, and newly planted flowers are particularly vulnerable to sudden cold.
Keep frost cloths, lightweight row covers, old sheets, or breathable fabric on hand so you can quickly protect plants when temperatures drop. Cover plants in the early evening and remove the covering once temperatures rise the next morning. This simple measure prevents frostburn and protects early-season growth.
Managing Heat Stress
Extended periods of heat can stress both young and mature plants. Deep watering, proper mulching, and planting in well-prepared soil help maintain stable soil moisture, but extreme heat may still require additional protection.
Providing temporary shade using shade cloth or lightweight covers during the hottest part of the day can help prevent leaf scorch and wilting. Containers may need extra attention since they dry out faster than garden beds.
Protecting Against Heavy Rain and Poor Drainage
Heavy, prolonged rain can lead to waterlogged soil, which deprives roots of oxygen and slows plant growth. Ensure your garden bed has good drainage and avoid planting in areas where water tends to pool.
If you expect a major storm, check that downspouts, gutters, and landscape grading are directing excess water away from planting areas. After storms, allow the soil to dry slightly before watering again.
Wind and Storm Protection
Strong winds can break stems, uproot young plants, and flatten taller varieties. Installing simple supports early in the season, such as stakes, cages, or small trellises, helps stabilize taller flowers before they reach full size.
For areas exposed to frequent winds, consider planting a row of shrubs or ornamental grasses nearby to act as a natural barrier. Even temporary windbreaks made from fabric or fencing can help protect sensitive plants.

Protecting Newly Planted Flowers
Freshly planted annuals and perennials need time to adjust to their new environment. During their first couple of weeks, they can benefit from:
- consistent soil moisture
- protection from harsh afternoon sun
- shielding from strong winds
- reduced foot traffic around the planting area
This short “establishment period” support helps plants develop strong root systems and transition more smoothly into your garden’s growing conditions.
Stacy’s Zone 6b Growing Tip: In my New Jersey zone 6b garden, sudden spring frosts and early summer heat waves are common. I keep lightweight row covers and shade cloth in my potting shed so I can quickly protect new plantings when the weather shifts. This kind of preparation takes only a few minutes but prevents stress that can slow growth or affect flowering later in the season.

Part 8: Designing Your First Flower Garden: Tips for a Beautiful Bloom
When starting your first flower garden, it’s easy to get overwhelmed with possibilities. Planning your layout is key to creating a beautiful and thriving space. Here are some aspects to consider when designing your garden:
- Color Scheme: Decide on a cohesive look with a few select colors or embrace a wildflower vibe with a variety of hues.
- Plant Height: Be mindful of how tall your flowers will grow, placing shorter ones in front to ensure visibility.
- Bloom Time: Choose plants with varying bloom times to ensure your garden is colorful throughout the season.
- Companion Planting: Utilize companion planting for natural pest control, pollination support, soil improvement, and plant protection.
For inspiration and more in-depth information on designing your dream garden, click here. And remember, gardening is a journey. Start small, learn as you go, and most importantly, have fun!
Designing an Everblooming Garden: Tips for Year-Round Color
To maximize my garden’s potential, I immersed myself in garden resources, from books and magazines to nursery visits. The key to year-round color is creating a layered garden, with plants strategically chosen for their varied bloom times. By combining early, mid-season, and late bloomers, you can ensure a continuous display of color and interest throughout the growing season.
Read this post if you want to grow a colorful flower garden that blooms from early spring through fall too.

Part 9: Flower Garden Styles to Explore
Once you have established your first flower garden and feel confident with the basics, you may want to explore different garden styles. Each style has its own personality and planting approach, and experimenting with these themes is a great way to develop your gardening preferences over time. This section provides a brief overview so you can decide which styles you might want to learn more about.
Cottage Garden
Cottage gardens are informal, abundant, and filled with layers of flowers that create a natural, relaxed look. They often blend perennials, annuals, herbs, and flowering shrubs in soft, flowing shapes.
If you want to explore this style further, refer to my cottage garden guides.
- Low Maintenance Cottage Garden Ideas
- Cottage Garden Plants
- Cottage Gardening Mistakes You Don’t Want to Make

Cutting Garden
A cutting garden is designed specifically for harvesting flowers for bouquets and arrangements. Beds are usually organized in rows or blocks, with a focus on high-producing annuals and perennials.
For detailed guidance, see my cut flower gardening posts here:


Pollinator Garden
Pollinator gardens support bees, butterflies, hummingbirds, and beneficial insects. They often include nectar-rich blooms, native plants, and flowers with varying bloom times throughout the season.
You can learn more about creating a pollinator-friendly garden here.
Butterfly Gardening 101: Essential Tips for Attracting Butterflies
Every butterfly garden has bright, bold, and beautiful nectar-loving plants that feed both butterflies and caterpillars. So it’s important to plant both host and nectar plants to attract butterflies to your garden. Click here to learn more about how to design a butterfly garden. Here are 10 of my favorite easy-care and gorgeous flowers that attract butterflies.

Hummingbird Gardening 101: How to Attract and Support Hummingbirds
Gardening for hummingbirds is similar but slightly different. Plant a variety of flowers and shrubs in varying heights to provide shade, shelter, food, and water and you’ll see hummingbirds visit your garden often. Click here to learn more about how to design a hummingbird garden. And click here for 9 easy-care blooms that attract hummingbirds.
Container Flower Garden
Container gardening allows you to grow flowers in pots, window boxes, and planters. It is ideal for small spaces, patios, decks, or areas where soil quality is poor. Containers also allow you to experiment with color combinations and seasonal displays.
Refer to my container gardening guide for planting ideas and inspiration here.
Wildflower or Meadow-Style Garden
A wildflower garden or meadow-style planting emphasizes natural, low-maintenance flowers that blend together in a soft, flowing way. These gardens are great for supporting wildlife and creating large-scale color without intensive upkeep.
Stacy’s Zone 6b Growing Tip: In my New Jersey zone 6b garden, I have found that cottage garden and cutting garden styles work especially well because they combine plants that thrive in our climate with long, colorful bloom seasons. If you are gardening in a similar region, start with styles that support long-season growth and include a mix of annuals and perennials.

Final Thoughts About Flower Gardening
Starting your first flower garden is the beginning of a journey. One that is filled with discovery, growth, and more beauty than you can imagine. Even with almost 30 years of gardening experience and my training as a Master Gardener here in my New Jersey zone 6b garden, I can tell you this with absolute certainty: you will never stop learning. Every season teaches something new, every plant has a lesson to offer, and every garden evolves right along with you.
If this is your first garden, don’t worry about getting everything perfect. No gardener, regardless of experience, started out with flawless beds or perfect plant combinations. We all learned by doing, observing, experimenting, and yes, sometimes losing a plant or two along the way. Those moments aren’t failures; they’re part of how you grow your knowledge, your confidence, and your connection to your garden.
What matters most is simply beginning. Choose a few flowers that excite you, pick a spot that feels right, and get your hands into the soil. Pay attention to how the light moves through your garden, how the soil feels after watering, and how your plants respond to their environment. Over time, these observations become instinct—and that instinct is what turns a beginner into a gardener.
Be patient with yourself and with your plants. Some seeds won’t sprout. Some flowers will bloom better than others. And some combinations will turn out even more beautiful than you imagined. That unpredictability is part of what makes gardening so rewarding. Every year brings new discoveries and new chances to refine your space.
As your garden grows, you’ll find more than colorful blooms. You’ll find quiet moments of satisfaction, a deeper appreciation for nature, and a sense of joy that comes from nurturing something with your own hands. Whether your garden is a small border, a few containers, or a set of beds you expand each year, it will become a place that reflects you. A spot where your creativity, your curiosity, and your willingness to grow.
So go ahead and start. Experiment. Observe. Learn. Celebrate your successes and learn from the rest. Your garden will evolve with you, season after season, and the lessons it teaches will enrich far more than your yard.
Happy gardening. And may your garden always be filled with color, fragrance, and endless delight.
Are you new to gardening or have any tips you’d like to share? Let’s chat more about it in the comments below.
Thanks for dropping by the blog today.


This is seriously great! So much information!!
I’m filling my hummingbird feeder right now…just waiting for the sugar to dissolve!
Thank you so much! I love watching the hummingbirds stop by – have seen a few here at the new place so far too!
“Loved this post! Thank you for sharing your knowledge.
Thank you!