Why I Chose Galvanized Raised Garden Beds (and How They Worked in My Garden)

Why I chose galvanized raised garden beds, how they worked in my vegetable garden, and what I would do differently now.
If you’ve ever had a garden that just wasn’t working anymore, you know how frustrating it can be to keep trying to patch it together instead of starting fresh.
That’s exactly where I found myself with my original raised bed vegetable garden.
We built those beds over 15 years ago when we added onto our home. My husband made them out of cedar, and for years, I grew vegetables, herbs, and even strawberries in that space. But over time, they started to fall apart, the layout wasn’t working, and it became harder to maintain than it should have been.
What once worked well slowly turned into something I was constantly trying to fix.
Eventually, I decided to start over in a new location and try something different with galvanized raised garden beds, including a self-watering setup that felt like a better fit for how I garden.
In this post, I’m sharing why I chose them, how they worked in my garden, and what I learned from using them over time.
If you’re trying to decide whether raised beds are right for you or how to set them up, I walk through that in more detail in my raised bed gardening for beginners guide, where I share what’s worked best in my garden over the years.
(Posts on stacyling.com may contain affiliate links. Click HERE for full disclosure.)

My Vegetable Garden: Before

My New Raised Bed Vegetable Garden Setup
When I decided to redo this space, I knew I still wanted to use raised beds, but I also wanted to try something different.
Instead of building them from cedar again like we had in the past, I opted for galvanized metal raised beds.
At the time, I was especially interested in trying a self-watering setup since this garden is located farther from a water source.
And I’ll be honest, I also liked the look. There’s something about that slightly industrial feel that felt like a nice change from what I had before.
These types of galvanized raised beds are much more widely available now than they were back then, and you can find similar options in a lot of places if you’re interested in going this route. I found a few here.

Why I Wanted to Try Self-Watering Galvanized Raised Garden Beds
Because this garden sits farther from the house, I wanted something that would make watering a little easier.
That’s what drew me to the self-watering feature.
Instead of watering from above, these beds allow water to be delivered from the base, which helps keep moisture more consistent at the root level.
And that’s something I’ve learned over the years makes a big difference.
Watering at the roots:
- is more efficient
- helps reduce water loss
- and can lower the risk of pest and disease issues that come from wet foliage
For me, the biggest benefit was simply having a system that made watering more manageable in a space that isn’t right outside my door.


What I Liked About Using Metal Raised Beds
Switching to metal beds gave me a few advantages.
They’re:
- durable
- easy to assemble
- and hold their shape well over time
I also had a bit of hope that the metal sides might slow down some of the smaller critters.
If you’ve ever dealt with chipmunks, you know exactly what I mean.
They were a constant issue in my strawberry patch for years. I’d walk out to harvest and find every single berry had one bite taken out of it.
Every single one.
While the metal didn’t solve everything, it did make the beds feel a little more protected compared to what I had before.

How We Set Up the Galvanized Raised Garden Beds
We ended up using a mix of bed sizes to fit the space, and my husband assembled them.
It was a pretty straightforward process, but one thing that is really important with setups like this is making sure the ground underneath is level.
Since this garden sits on a septic area, we made minimal adjustments to get everything sitting flat before setting up the watering system.
Once the beds were in place, we filled them with a mix of:
- raised bed soil
- compost
- humus
That combination gives plants a strong start and helps create a healthy growing environment right from the beginning.
What I Planted in My Galvanized Raised Garden Beds
Once everything was set up, I planted a mix of vegetables, herbs, and a few companion plants.
Here’s what I grew:
- Green bell peppers
- Cucumbers
- Squash
- Zucchini
- Several varieties of tomatoes
- Lettuce
- Arugula
- Cilantro
- Rosemary
- Parsley
- Basil
- Strawberries
And I added marigolds and nasturtiums as companion plants to help support overall plant health.
This kind of mix is one of the reasons I enjoy raised beds so much. You can grow a lot in a relatively small space when everything is planned out well.
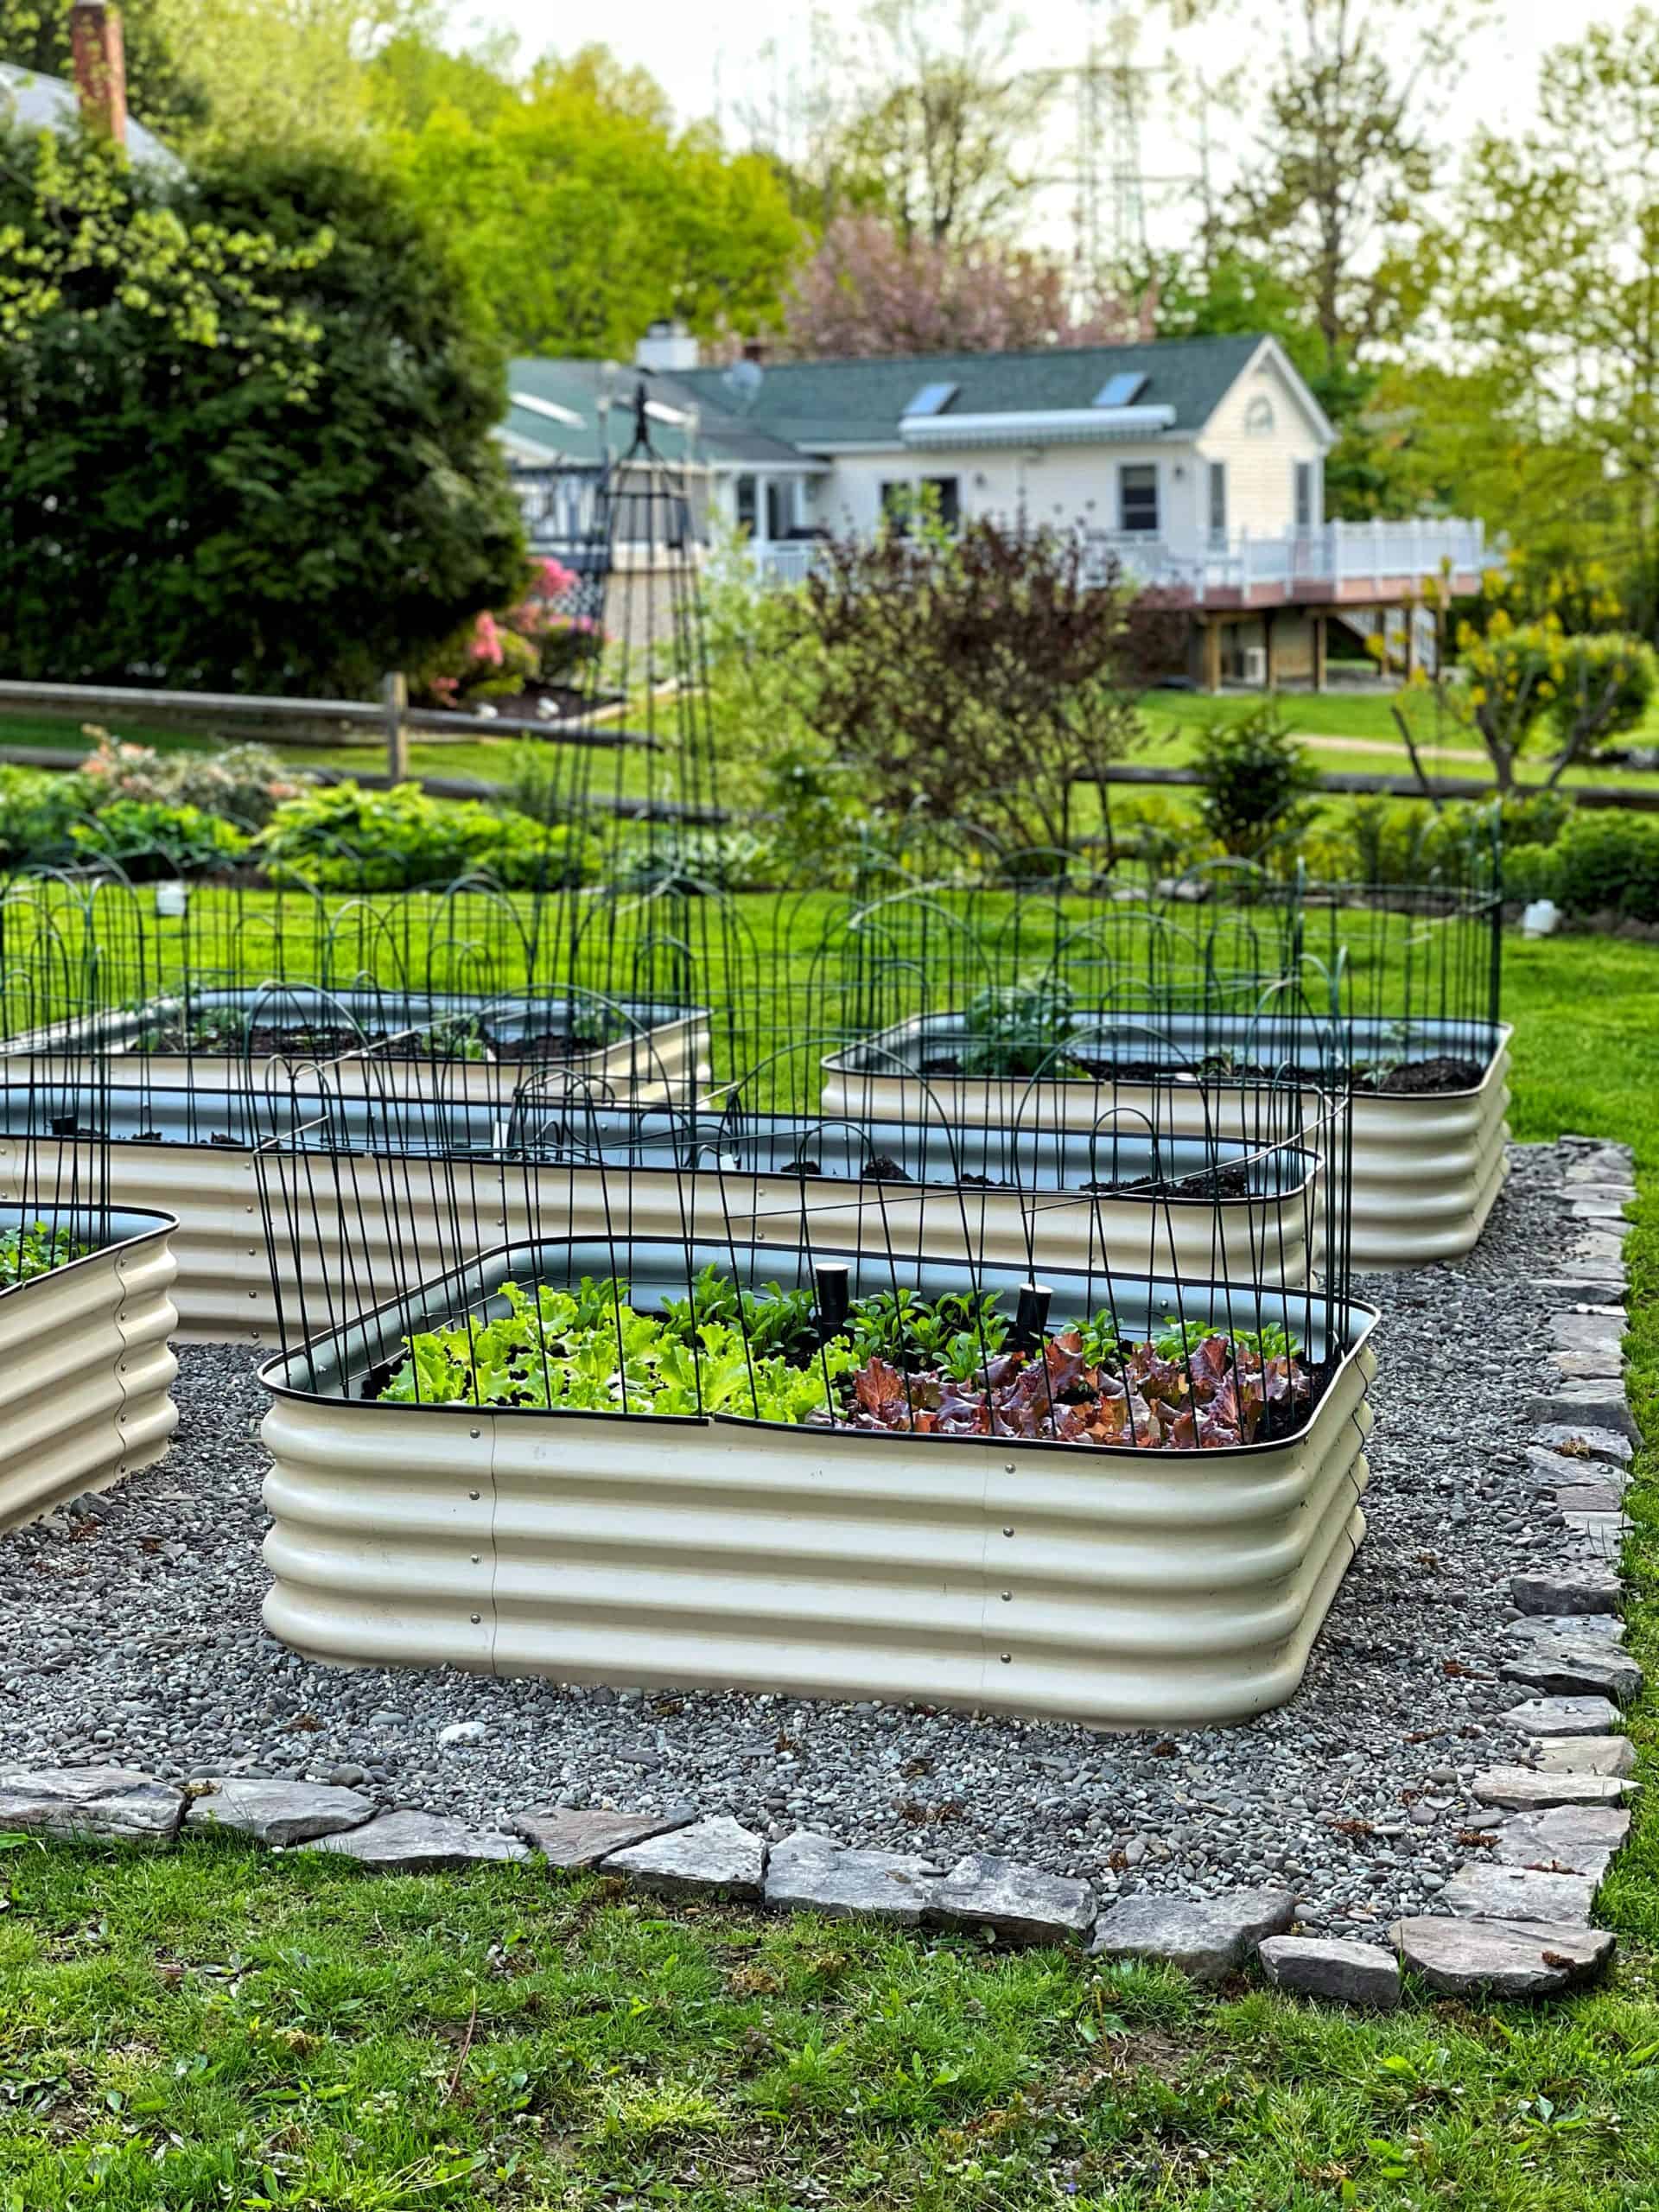
How I Designed the Layout (and Why It Works Better)
One of the biggest improvements in this new setup was the layout.
Instead of fencing everything in like I had before, I created open access around the beds using pea gravel and landscape stone for pathways.
And yes, I moved all of that gravel myself.
It was a lot of work, but it made a huge difference.
Now I can access the beds from all sides much more easily, which makes planting, maintaining, and harvesting so much more manageable.

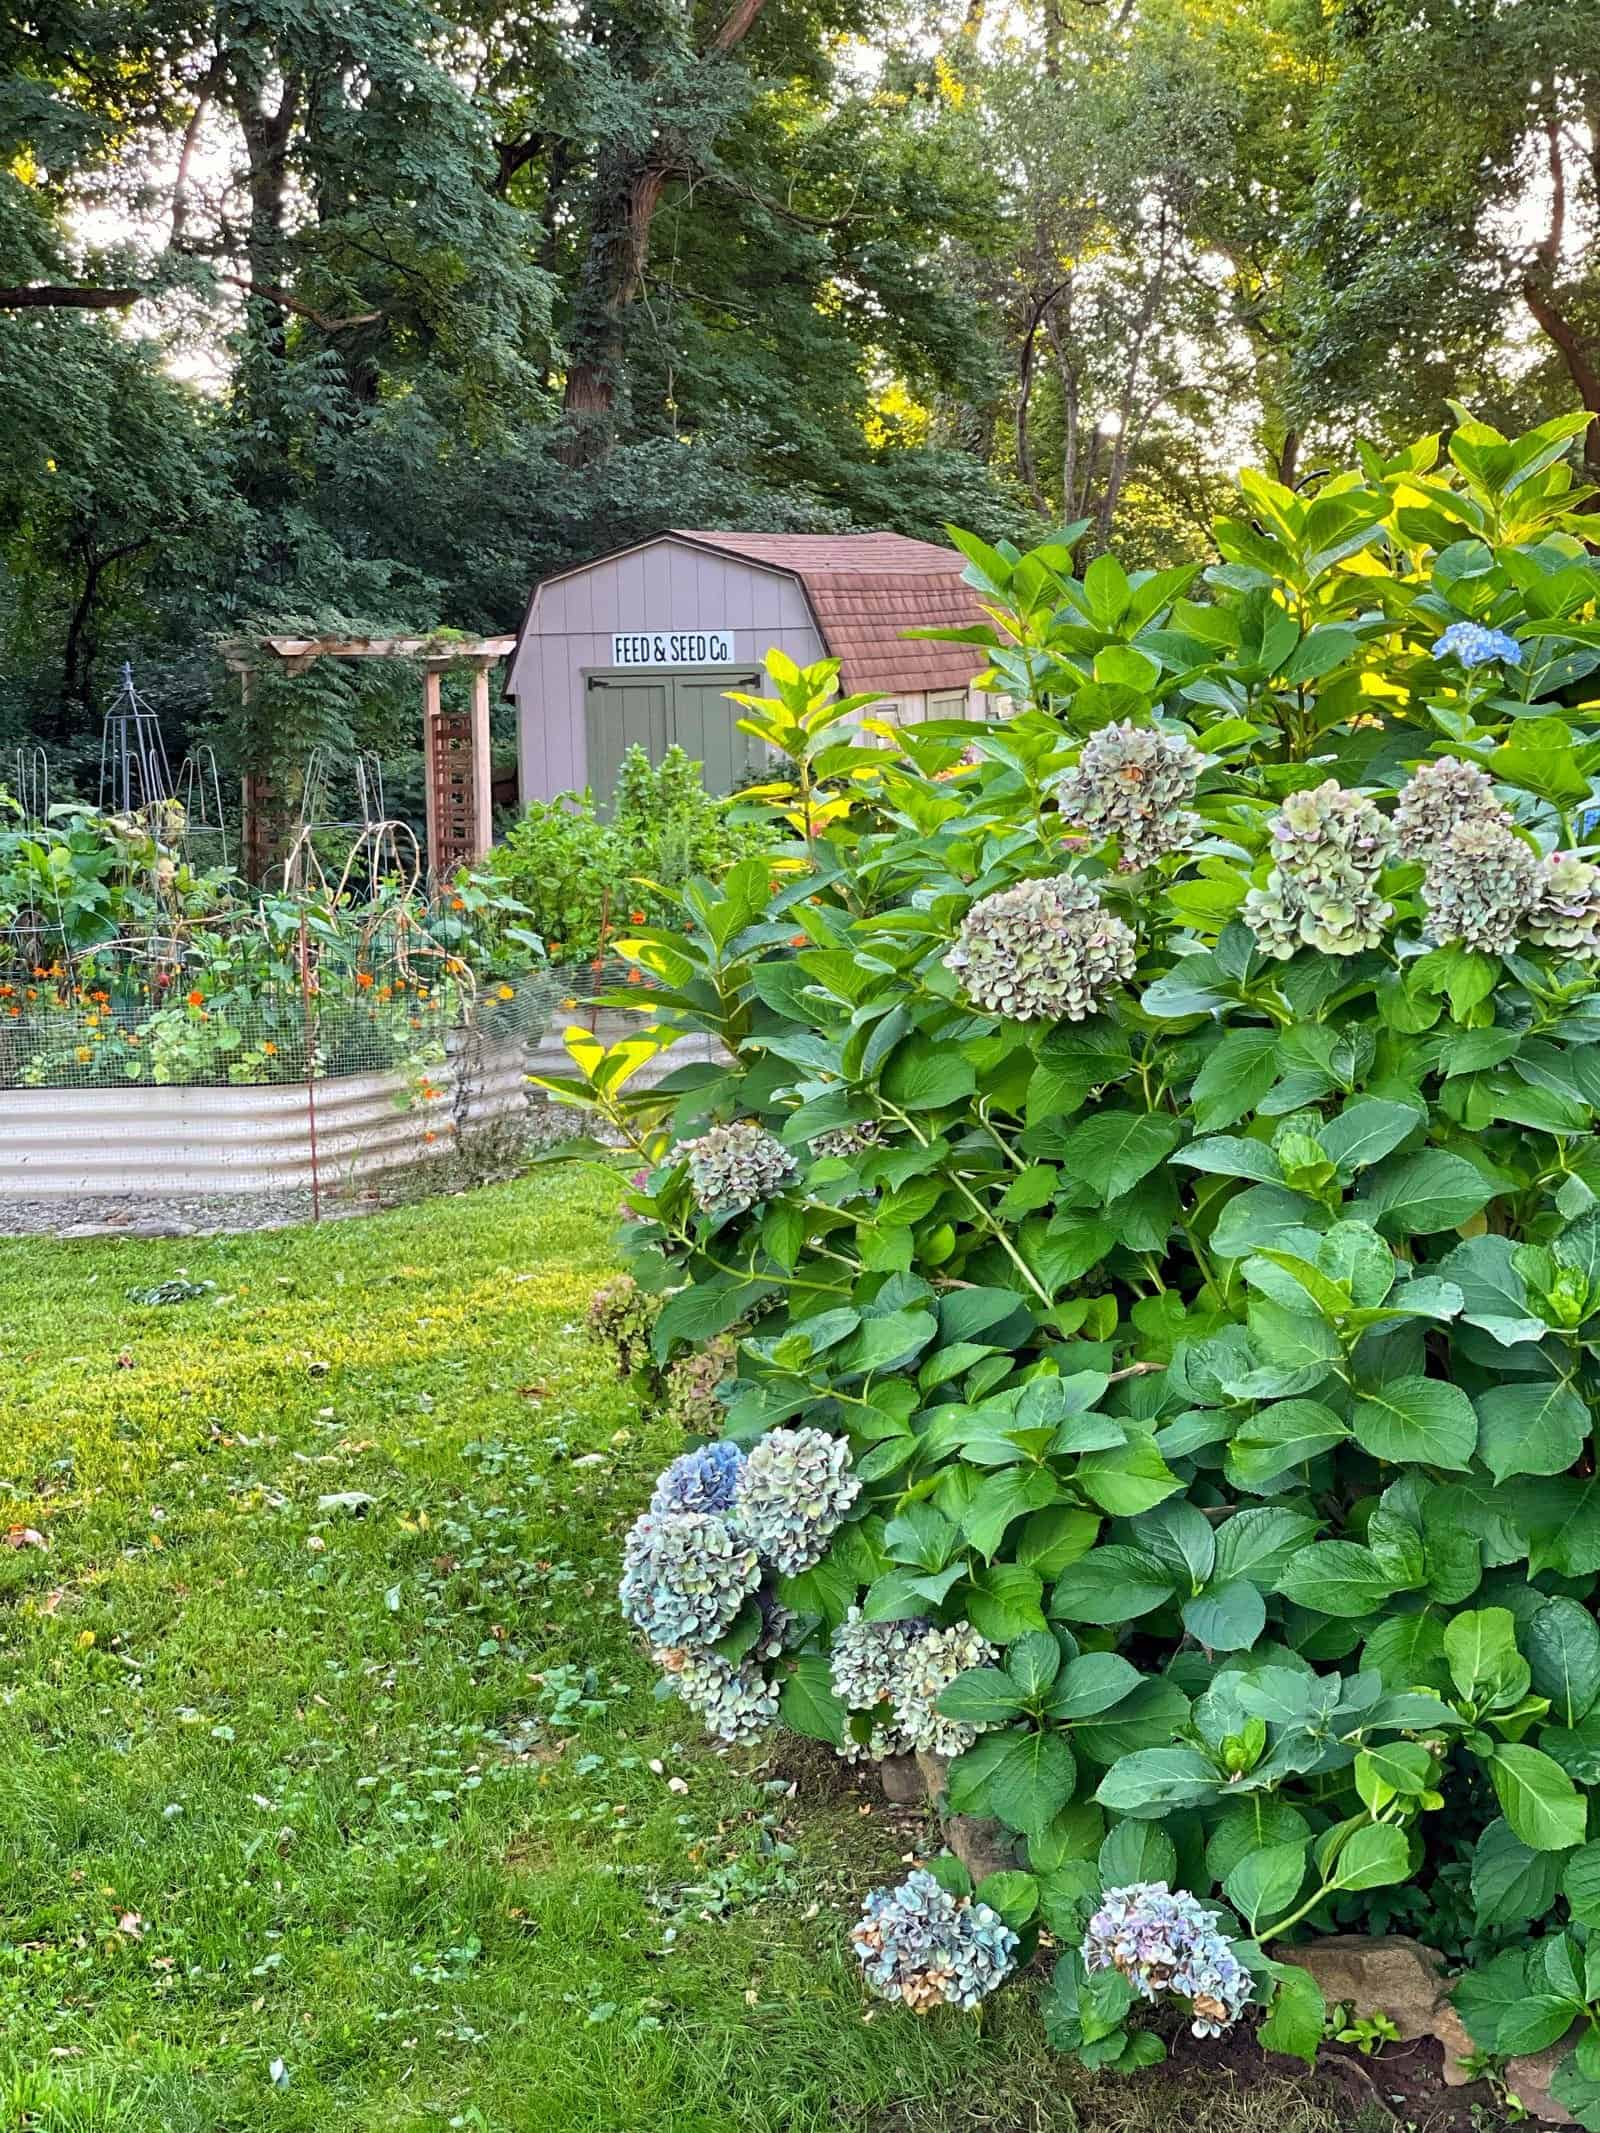
How I Handle Critters in This Garden
Since I didn’t fence the entire garden, I had to come up with other ways to protect what I planted.
At the time, I used temporary fencing like this around individual beds and added netting over the top to help keep deer out.
It wasn’t a perfect or permanent solution, but it worked well enough while I figured out a better long-term approach.
Eventually, we planned to create removable structures using chicken wire that would offer better protection while still allowing easy access.


What Changed (and What I Learned)
This setup worked really well for a long time, especially in terms of accessibility, layout, and ease of planting.
But over time, my priorities shifted.
I started thinking more about how my garden looked and felt as a whole, not just how it functioned.
And that’s ultimately what led me to redesign the space again into what is now my potager garden with custom-built raised beds.
If you’re trying to figure out what kind of raised bed setup is right for you, I share more about what I use now and what I’d recommend in my raised bed gardening for beginners guide.
Final Thoughts
Looking back, this garden was such an important step in how I garden today.
At the time, it solved a lot of problems for me. I had better access, more growing space, and a setup that made it easier to manage everything in one place. And for years, it worked really well.
But like most things in the garden, what works in one season of life doesn’t always work forever.
As I gained more experience, I started paying closer attention not just to how my garden functioned, but how it looked, how it felt, and how I actually used the space day to day.
That shift is what eventually led me to redesign everything into the potager garden I have now.
And that’s really the takeaway here.
You don’t have to get it perfect the first time.
Start with what works for your space, learn from it, and then adjust as you go. Every garden evolves, and each version teaches you something that makes the next one better.
And honestly, that’s part of what makes gardening so rewarding in the first place.
Thanks so much for stopping by.
Enjoy a beautiful day! xo


These are amazing! I am definitely showing this to my husband! We have free range chickens too, I like your temporary solution!
Thanks Jenn! I hope it keeps the critters out! I love that you don’t see them from a distance.
I love the solution you found to try to keep those critters out. I love how everything is coming together Stacy. It all looks so beautiful and I can’t wait to see your first harvest.
Thank you! You and me both! Hopefully we’ll get some lettuce and arugula this week! xo
Stacy these beds are so amazing I love them👏🏻👏🏻👏🏻
Thank you Ann! Me too! I’m considering getting a few for VT!
Hi Stacy – can you please source the fencing you used?
Yes, here is my affiliate link. https://rstyle.me/+ZErCWE5QZIM1G6qpxokh6A
Stacy,
I really wanted these when I first saw yours. After hearing more about them, I need to get some for next year. Thanks for sharing the details.
Thanks Rachel! They really are awesome! They produced well all season longs and the plants were much healthier from self-watering reservoirs.
Great post! I am looking at getting some galvanized garden beds and I love the layout you have pictured. Could you share the dimensions of the beds?
Hi Jessie! They are 4×4 and 2×8!