Lasagna Gardening: The Lazy Gardener’s Guide to Starting a Garden

Lasagna gardening is the no-dig solution for healthy soil and happy plants without breaking your back! Learn how to get started with these simple tips.
I’ve never mentioned this before, but several of our former garden beds were started with the lasagna gardening method. Have you ever heard of this method before?
It makes starting a new garden so much easier and you can do it for little to no cost, depending on the materials used. But you can also use this same method in between your plants to help suppress weeds in your existing beds too!
Today, I’m sharing how to use the lasagna gardening method with my corrugated metal planters and it couldn’t be more simple to do. Learn how to sheet mulch with these simple tips.
(Posts on stacyling.com may contain affiliate links. Click HERE for full disclosure.)

What is Lasagna Gardening?
You might be asking yourself, are we cooking or are we gardening? Let me explain. Because if you didn’t know this method before, you are going to love how it’s done!
Lasagna gardening, also known as sheet mulching, is a no-dig, organic gardening method that takes inspiration from the layered structure of, you guessed it, lasagna! Instead of tilling the soil, you build up your planting area by adding layers of different organic materials that decompose over time, creating rich, fertile soil.
Here’s a breakdown of how it works:
Sheet Mulch Layers
- Brown layers: These are high-carbon materials like cardboard, leaves, straw, and sawdust. They provide structure and aeration to the soil.
- Green layers: These are nitrogen-rich materials like grass clippings, vegetable scraps, coffee grounds, and manure. They add nutrients and help break down the brown layers.
- Optional layers: You can also add things like compost, leaf mold, topsoil, and wood chips to further enrich the soil.

The Benefits of Lasagna Gardening
If you aren’t convinced yet, let me tell you how much using the lasagna method of starting a garden will benefit you and your garden.
- No hard work: No need to dig or break your back!
- Good for the environment: You’re recycling yard waste and kitchen scraps, reducing landfill waste.
- Improves soil fertility: The decomposing layers create rich, healthy soil that nourishes your plants.
- Suppresses weeds: The layers smother existing weeds and prevent new ones from growing.
- Low maintenance: Once established, lasagna gardens require minimal watering and weeding.

Who Does the Lasagna Gardening Method Benefit the Most?
As I mentioned before, I have used the sheet mulch method in my gardens for several years. Because I did not have the strength to dig out all those flower beds myself, it was much easier to do use the lasagna method than removing all that turf.
Cause that would be alot of manual labor! And I don’t know about you, but I’d rather plant my garden than break my back digging out a lot of grass.
- Perfect for beginners: Easy to learn and doesn’t require any special skills.
- Great for gardeners with limited mobility: No digging means less physical strain.
- Easier for experienced gardeners: Less time is needed to start new beds.
- Ideal for small spaces: Can be used in raised beds or even directly on lawns.
- Weedy garden beds: If you’ve got a flower bed that is completely weeded over and you don’t want to do all that digging and hoeing them out, this method is ideal.
How to Use the Lasagna Gardening Method
Since I did almost all of the digging and planting here by myself, I had to find other methods to save my energy for just planting. Of course, you can start a garden using the traditional method, but the lasagna method works just as well!
Here’s how to do it.
The no-dig method is a gardening technique that involves creating a garden bed without digging into the soil. This approach is becoming increasingly popular because it’s a simple and effective way to create a healthy, thriving garden without the need for excessive labor.
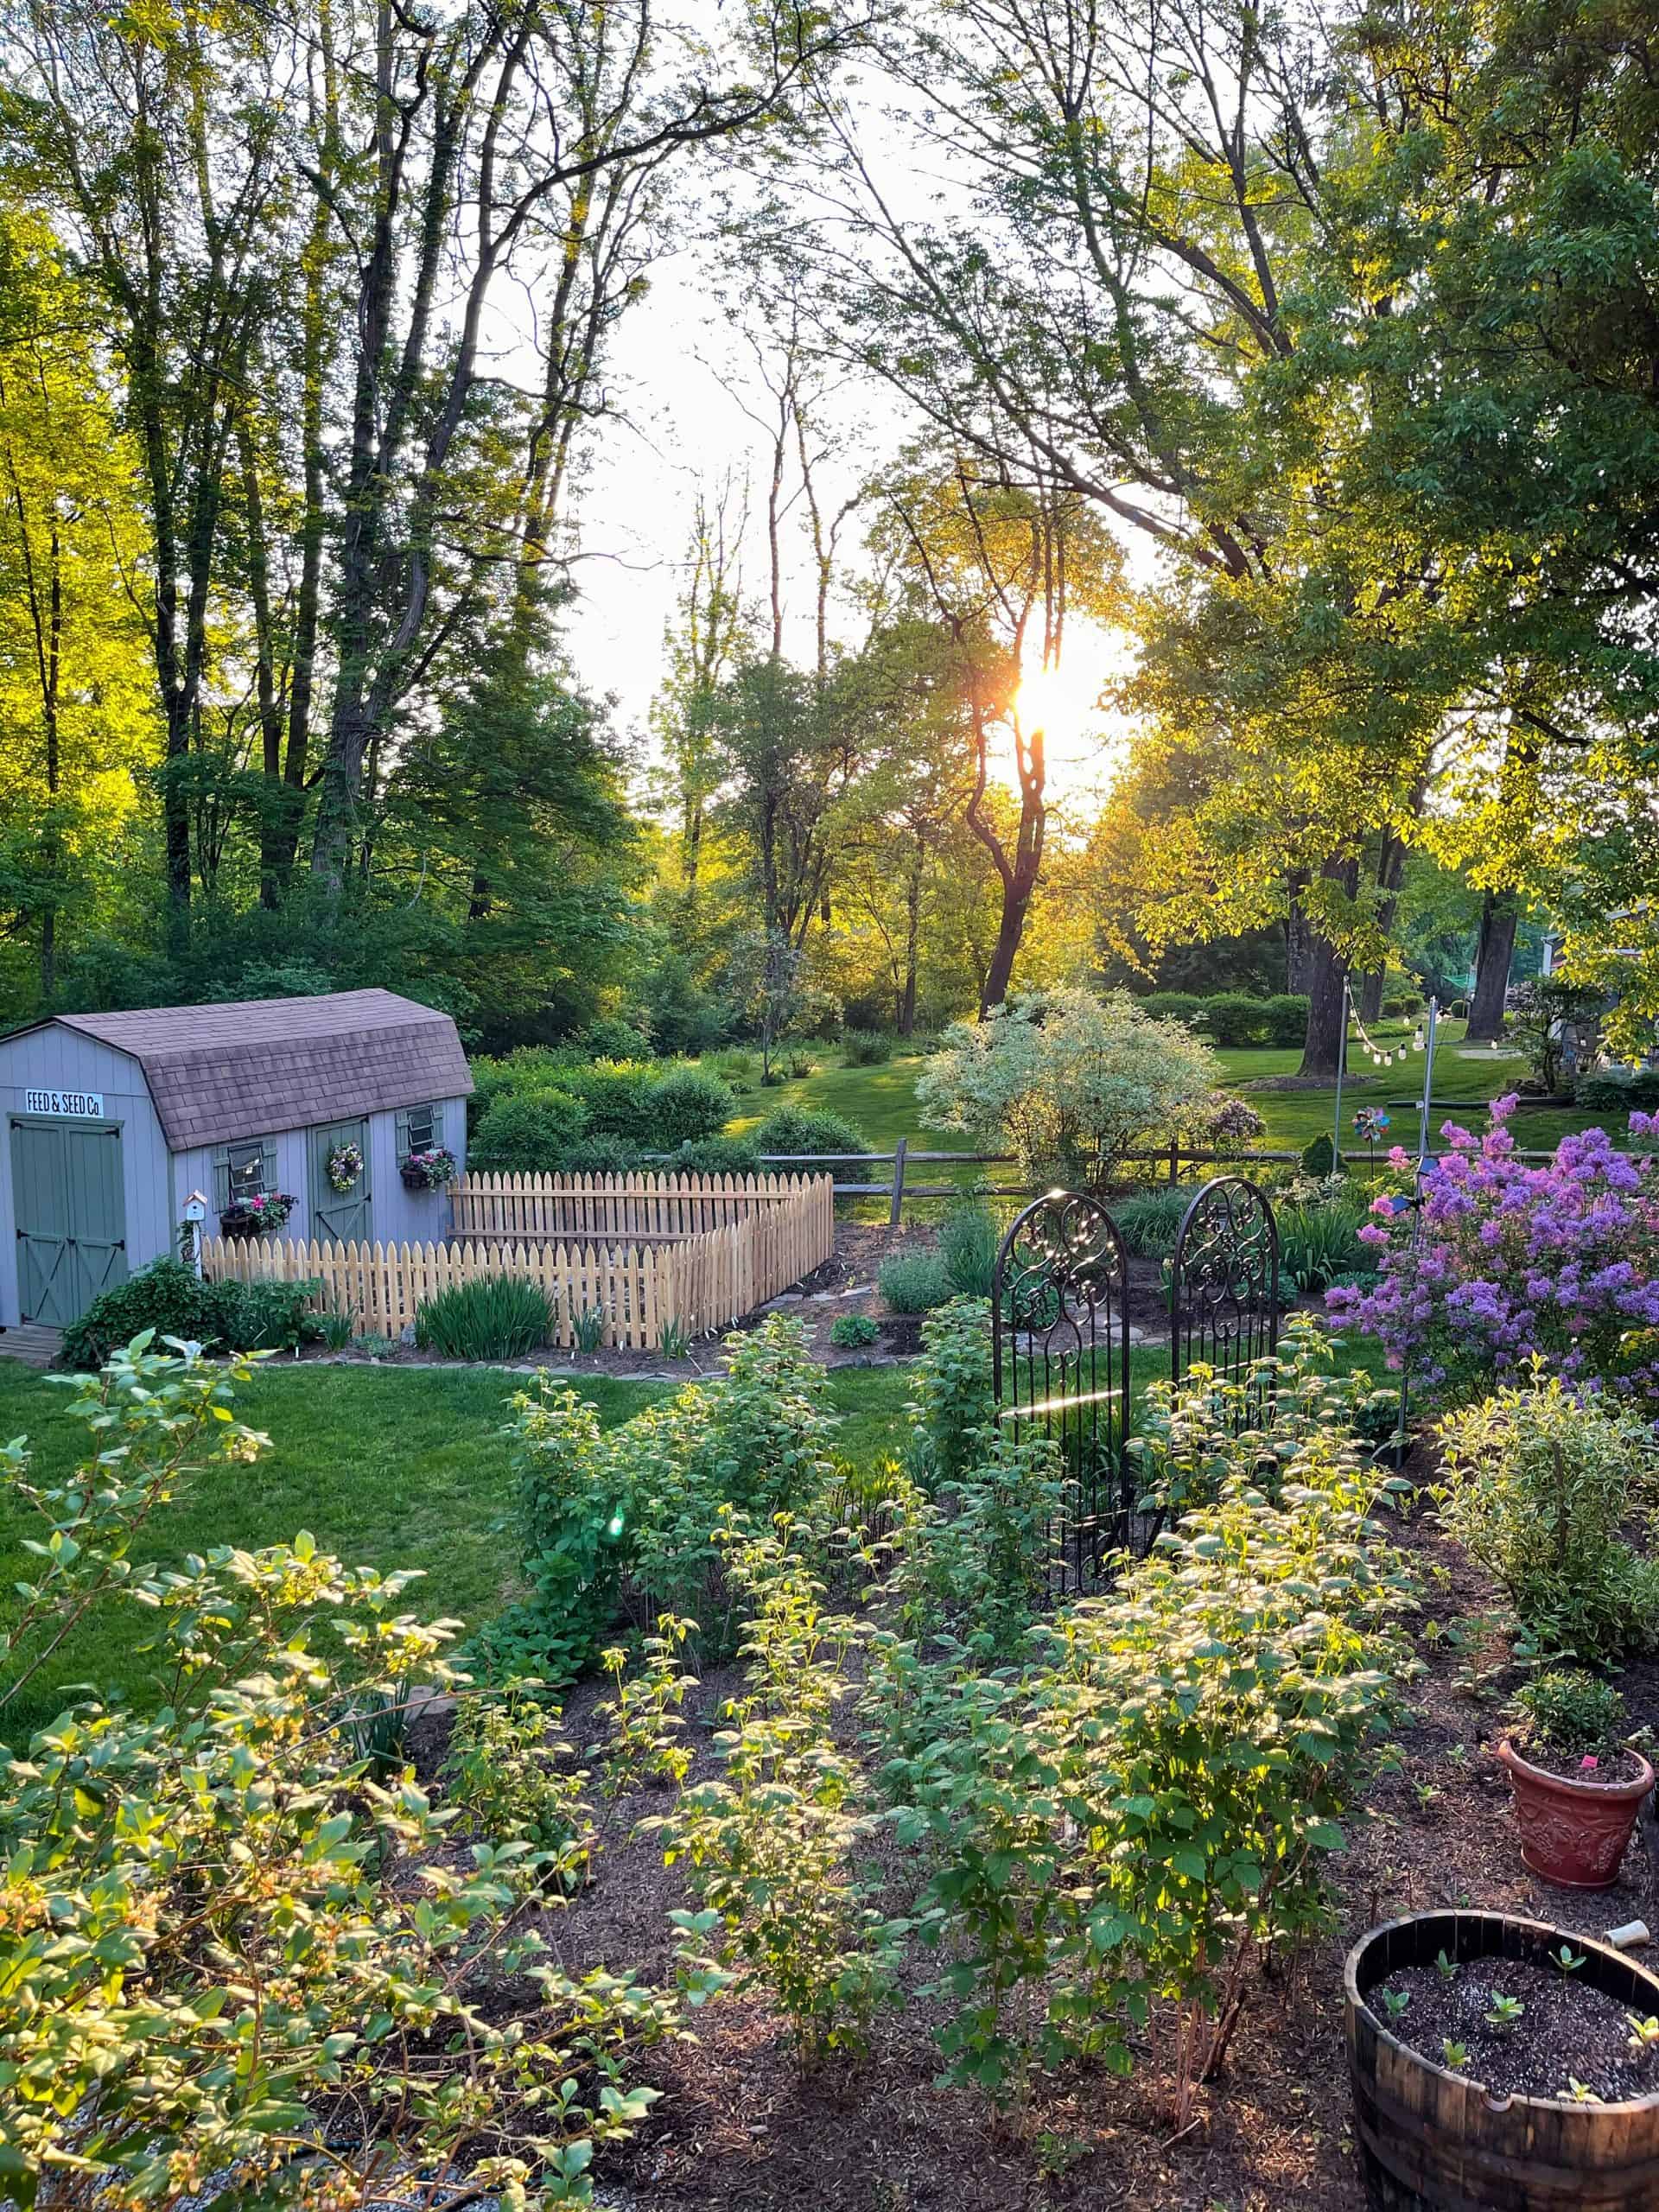
I created about 10 new beds in my former garden using the lasagna method and in fact, created this entire flower bed in front of my garden shed this way. So cool, right?

Find a Location
Whenever we start a new garden, it’s a good idea to site the bed based on what you want to grow, where it will get the right amount of sunlight and easy access to water.
Determine the Size of the New Garden
Next, you’ll need to determine the size of your garden based on what you want to grow and how much room you have. Since I’m using pre-made raised beds, we built the beds, left about 18-24″ in between each one, and spaced them out accordingly.

Supplies Needed for Lasagna Gardening
The supplies needed to start a new garden the easy way is pretty minimal. Depending on the type of garden you are making, you should adjust the materials.
- Newspaper, Cardboard, Leaves, Grass Clippings, or Weed Fabric (use only in limited circumstances though)
- Mulch, Stone or Pea Gravel
- Scissors
- Hose with Spray Nozzle (if you are using newspaper)
- Landscape Pins (if you are using weed fabric)
So Why Do the Sheet Mulch Supplies Matter?
Choosing the right materials for your lasagna garden can make a big difference! It really depends on your goals.
- For flower or cottage gardens, I recommend newspaper or cardboard. They effectively kill grass and weeds while still allowing for easy planting and self-seeding later on. This creates a more natural, evolving garden bed.
- If you want a clean, manicured look with mulch, stone, or gravel on top, you might be tempted to use landscape fabric. However, I’ve found it to be a real headache! It’s tough to dig new planting holes, and it can actually hinder your garden’s health in the long run.
From my own experience, newspaper or cardboard are the winners for almost any lasagna garden, whether it’s for flowers, shrubs, or vegetables. They break down naturally, enriching the soil, and make it easy to adjust your plantings as your garden grows. Skip the landscape fabric – your future self will thank you!
Directions for Lasagna Gardening
For this new garden, I want to smother the grass, cover it with gravel, and add raised garden beds for my vegetable garden. Thus, I’m using weed fabric for this particular bed. We’ve struggled to grow grass here for years and it gets the most sun on the property making it the best spot for a vegetable garden.
This is how I started my new garden using the sheet mulch method.
- After you’ve planned sited and determined the size of the new garden, measure and lay out the area.
- Lay down newspaper, cardboard or weed fabric covering the entire area. If planting in the ground at the same time, dig plants in then put the newspaper and cardboard around the plants.
- If using weed fabric, cut to size and tack it down so it doesn’t blow around. But if you are using newspaper, apply several layers down and wet it with a hose so it doesn’t blow around.
- Top off the new beds with mulch, stone or pea gravel.


Quick Tips for Starting a New Garden Using the No-Dig Method
- This method can be used to start a new garden or to suppress weeds yearly between plants. If you want to suppress weeds in the flower garden, I suggest using newspaper or cardboard between plants because they will break down over time and enrich the soil.
- Weed fabric has its place but does not work well in a flower garden. Over time, plants grow, self-sow and reseed themselves, or you may want to change things up, and it’s really a pain to work with for this purpose.
- Apply 4-5 layers of the newspaper when using the newspaper method so it is thick enough to last a while.
- When using newspaper, hose the paper down while you work so it doesn’t blow around.
- Save your boxes for future gardens!

Update
Since writing this post, we moved to an 1850 farmhouse with expansive gardens. If you’d like to see more how my new raised vegetable garden beds did, head over to this post where the gardens come together. We added the self-watering systems, soil and amendments, plants, and more pea gravel.
Happy Gardening!

Why It’s Easier to Start a New Garden With the No-Dig Method
The sheet mulch method is easier for several reasons. First, it saves time and labor because you don’t have to dig and till the soil. This means less work and less strain on your back and muscles.
Second, the layers of organic matter (if not using weed fabric) help to create a healthy growing environment by improving soil structure, increasing water retention, and providing essential nutrients for your plants. This can result in healthier plants, higher yields, and a more productive garden.
Finally, the no-dig method can also help to reduce weed growth because the layers of organic matter smother weed seeds and prevent them from germinating. This means less time spent weeding and more time enjoying your garden.
Have you tried this method to start a new garden before? If so, what are your best tips that you’d like to share? I would love to know more in the comments below.
To learn more about the lasagna gardening method, check out this article from the Cornell Cooperative Extension.
To drill down on more beginner gardening techniques and tips, please read these posts:
- Flower Gardening for Beginners
- Growing a Cut Flower Garden for Beginners
- Container Garden Ideas for Beginners
- How to Start a Vegetable Garden
- Herb Gardening for Beginners
Thank you for visiting the blog today!
Enjoy your day! xo


My New Flower Gardens
If you want to check out my new gardens throughout the season you can see them here:
- Early Spring Garden Tour 2023
- New Gardens Tour
- Early Spring Garden
- Early Summer Garden Tour
- Gardening for Summer Highs and Lows
- The Prettiest Fall Garden Ideas
But I also share weekly pics of the gardens in my Sunday updates.
Subscribe here so you don’t miss out on the gardening inspo!


Hi. I have a question. After putting the newspaper down do I have to wet it? Also can I just put my soil right away on the dry newspaper? Thank you.
You don’t have to wet it but it helps keep it down so it doesn’t blow around while you are working. And yes you can put it right down!
I am very new to this and I am so grateful for your blog. I am getting a new patio and I want to make a flower bed on the side of it. I am reading your blog for all the tips. I wan to plant catmint, coneflower and orange milkweed I think with some coreopsis using this easy method. It will be 2 feet by 8 feet on the ground. I will buy the flowers from the garden center in the fall I think. But I am confused.. so basically I will place cardboard on the existing grass, cut holes in the cardboard and put my plants inside the holes in the ground, and then cover the cardboard with soil and mulch? Thanks for your help.
That is going to be amazing!!! Yes you can do it that way…or you can plant them and then lay the cardboard and mulch down around it. If you are buying the plants later to do in the fall, set the garden up now by laying down cardboard, compost, mulch, etc. And then by fall, that cardboard will be soft and break down so it’s easier to dig through.