Preparing Your Flower Beds for Spring: From Weeds to Wow

Goodbye weeds and hello to gorgeous blooms! Learn the secrets to prepping your flower beds for a spectacular spring. Simple steps with stunning results.
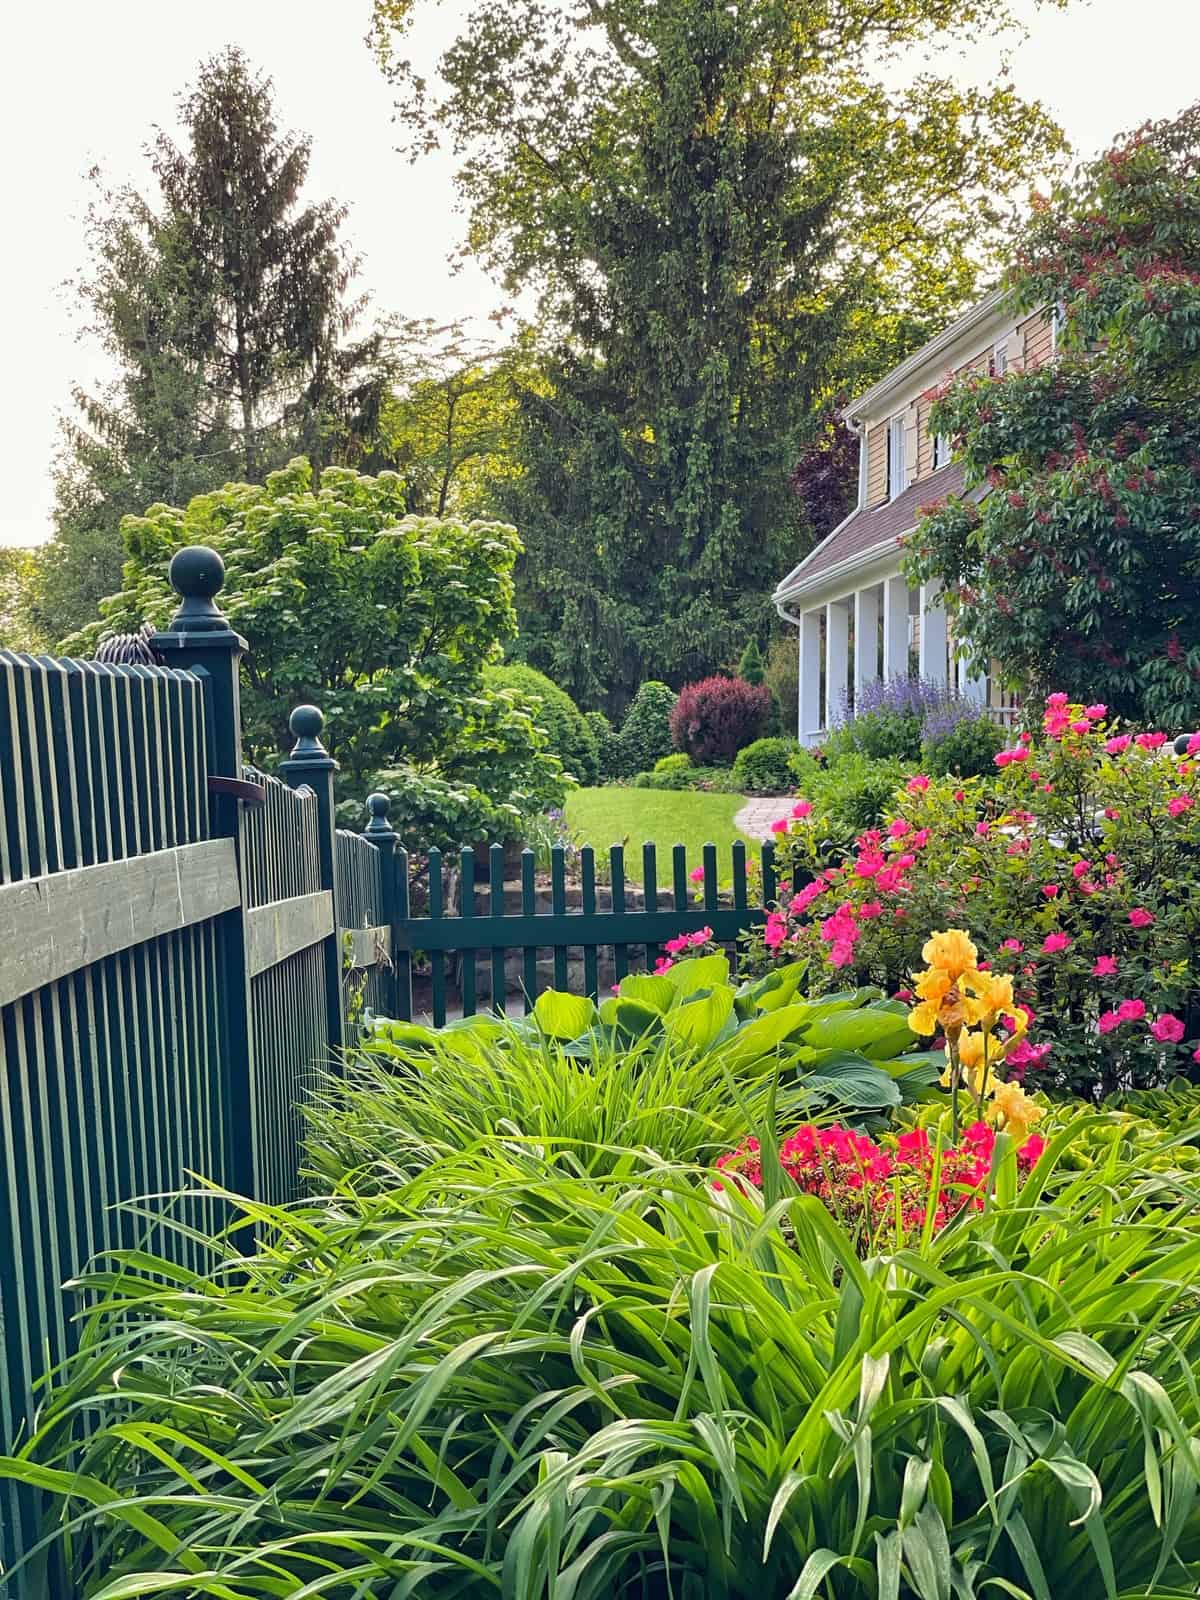
The winter chill may still linger, but spring is on the way!
Can you already picture your flower beds bursting with vibrant blooms? Before those pretty flowers arrive, it’s time to roll up your sleeves and give your garden beds the TLC they deserve.
Forget backbreaking labor and complicated techniques. This simple guide will transform your weed-filled patches into flourishing paradises that even newbie gardeners can accomplish.
Let’s go from weeds to wow by creating a spring symphony of color that starts with the perfect foundation – your flower beds!
(Posts on stacyling.com may contain affiliate links. Click HERE for full disclosure.)
Preparing Your Flower Garden Beds for Spring
When the air feels a bit less crisp, the birds start singing, and we see those pretty daffodils start emerging from the ground, we gardeners know what that means. It’s time to prep those precious flower beds for a season of vibrant blooms! But before we start dreaming of colorful gardens with continual blooms filled with lots of pretty flowers, healthy plants begin with healthy soil.
Now I know you might be thinking, ugh, who wants to chat about soil. But the truth of the matter is, that soil is the very foundation of your garden. It feeds your plants and helps them grow into something amazing.
So when you get a nice warm winter day, it’s a great opportunity to get outside, get some fresh air, and prepare your flower beds for spring. Because improving the soil now will make this much easier for you when you are ready to plant. Here’s what you need to do!

Step 1: Assess Flower Beds
Take a good look garden’s current state. Is your existing bed more like the wild west filled with overgrown plants and weeds more than a tidy floral wonderland? Consider factors like:
- Size: Will it accommodate your planting plans? Maybe it’s time to expand or create new gardens.
- Soil Quality: Grab a handful. Is it crumbly and dark, or compacted and lifeless? A soil test will reveal its nutrient needs so you can learn what nutrients it is lacking (if any) to help your flower garden thrive. Contact your local cooperative extension to get one or pick it up from your local nursery or online here.
- Drainage: Does water pool after rain? Dig a small hole about one foot deep and one foot across, add water, and see how quickly the water drains from the hole. Poor drainage can drown your plants. Consider adding raised beds or amending the soil for better drainage if necessary.
- Sun Exposure: How much sun does your bed get? Sun-loving flowers won’t thrive in the shade, and vice versa. If you aren’t sure how much sun or shade an area gets, watch it for a full day on a sunny day after the trees leaf out. If your garden space gets 6 to 8 hours of sun, that is considered “full sun.” If the space gets 4 to 6 hours of sun, that is called “partial sun” or “partial shade.” Anything below 4 hours of sun is considered “shade.”
- Clay vs. Sandy Soil: If your soil is heavy clay, add compost, leaf mold, and other organic matter to help improve drainage. And if you’ve got sandy soil? Increase organic matter to help retain moisture.

Step 2: Clear Flower Beds
No masterpiece starts on a cluttered canvas. Thus, it’s time to remove unwanted plants, debris, and weeds. This would include any garden thugs that took over your gardens last season that you want to thin out or completely remove. Depending on what’s happening and where, there are a few ways to clear your gardens.
Hand-pull weeds
Remove all weeds and their roots to prevent regrowth. To help prevent weeds, you can apply corn gluten to the soil when the forsythia blooms until the last petal drops. To make hand-pulling quicker, I love to use this weeding tool that makes it quicker, easier, and more efficient in getting weeds out by the root.
Sheet mulch
Smother weeds with cardboard or newspaper layers covered in compost or mulch with the lasagna gardening method. This works best for persistent weeds. I’ve done this several times for myself as well as clients back when I ran my garden design business.

Dig and Divide Perennials
Dig and divide perennial plants if they are emerging and the ground can be worked. If you’ve got perennials that love your garden so much that they are crowding out other plants, consider thinning them out or removing them all-together.
Herbicides
I do not recommend using synthetic herbicides to kill weeds at all. There are more organic options you can try depending on the weeds you are removing. You can read more about organic weed killer methods in this post. But I would not use them in your flower beds at all. You risk being unable to plant in that location and could potentially harm your existing plants.
In my opinion, it is best to hand-pull or sheet mulch your way to a cleared flower bed. To me, it’s not worth risking your plants and the location when applying an herbicide. If you use a synthetic herbicide, it could stay in your soil for a long time and prevent you from growing anything. Don’t use them.

Step 3: Feed Your Soil
Think of your soil as a living organism that needs nourishment. For your flower garden to thrive, it needs nutrients and organic matter in the soil.
This is why getting a soil test is so important! It’s very similar to you getting a blood test. That soil test will tell you what your soil nutrients and organic matter your soil needs to create a healthy environment for your plants.
- Soil Test: A soil test reveals nutrient deficiencies and pH levels. You can request a test kit from your local cooperative extension, garden nursery, or purchase one online. Amend your soil accordingly with the test result recommendations and incorporate organic matter like compost, manure, or aged leaf litter.
- Boost the Microbiome: Mycorrhizal fungi and worm castings add beneficial microorganisms that help plants absorb nutrients and fight disease.
- Don’t forget the pH: Most flowers prefer slightly acidic soil (pH 6.0-6.8). Use lime to raise or sulfur to lower pH if needed. Here in my garden, my soil is higher in acidity.

Step 4: Raise the Bar (Optional):
Dreaming of neat, weed-free beds? Consider raised beds made from wood, stone, corrugated metal, or even repurposed materials. They can offer better drainage with more soil and weed control.
To keep your watering chores down, consider adding a drip irrigation system set on a timer so you can avoid countless hours of watering in the dead heat of summer. I usually use a two or four-way hose splitter so I can run a drip irrigation system and hoses to my container gardens, hanging baskets, and window boxes.
Step 5: Finishing Touches for a Happy Bed
You’re almost there! Now let’s add the finishing touches so your flower beds can bloom and thrive all season long.
- Level the soil: Create a smooth surface for even planting. I like to use a garden rake for this task.
- Add mulch Apply a layer of organic mulch to help suppress weeds, retain moisture, and regulate soil temperature. I do this every spring and always appreciate how great the beds look after.
- Research is key: Tailor your approach to the specific needs of your garden flowers and plants. Know what you are growing so you learn how to properly care for your flower beds.
Bonus Tips For Growing Vibrant Flower Beds
If you want to grow a low-maintenance flower bed that thrives with lots of color and interest, learn what plants grow easily in your locality and think outside the box when planting.
- Embrace native plants. Choosing native plants adapted to your local climate thrive naturally and attract pollinators. They are easy to grow, and care for, and are much less work in the long run.
- Repurpose with love: Use old tires, pallets, or even logs to create unique and eco-friendly raised beds. Think outside the box when planting your garden to add personality, interest, and whimsy so it is unique and reflects your style.
- Connect with your community: Your local cooperative extension, master gardeners, gardening groups, and fellow gardeners can offer invaluable support and knowledge throughout the growing season. Don’t be shy about reaching out with any questions or concerns. Gardeners love to chat about all things plants and flowers!
While preparing your garden beds might seem like a chore, it’s an investment in a season of flourishing blooms, personality, and lots of life. So embrace the crisp, fresh air and nourish your soil – the rewards will be worth it!

More About Preparing Your Garden Beds for Spring
Share your garden prep journey in the comments below! What challenges are you facing? What tips and tricks do you have to share? Let’s create a vibrant online community of blooming gardeners! I would love to know more in the comments below.

Pin This to Remember It Later

Thank you so much for following along.
Enjoy a beautiful day! xo