How to Use Flower Frogs: A Gardener’s Guide to Stunning Arrangements

Learn to use a flower frog and turn your garden cuttings into art. This simple guide makes creating stunning flower arrangements easy.
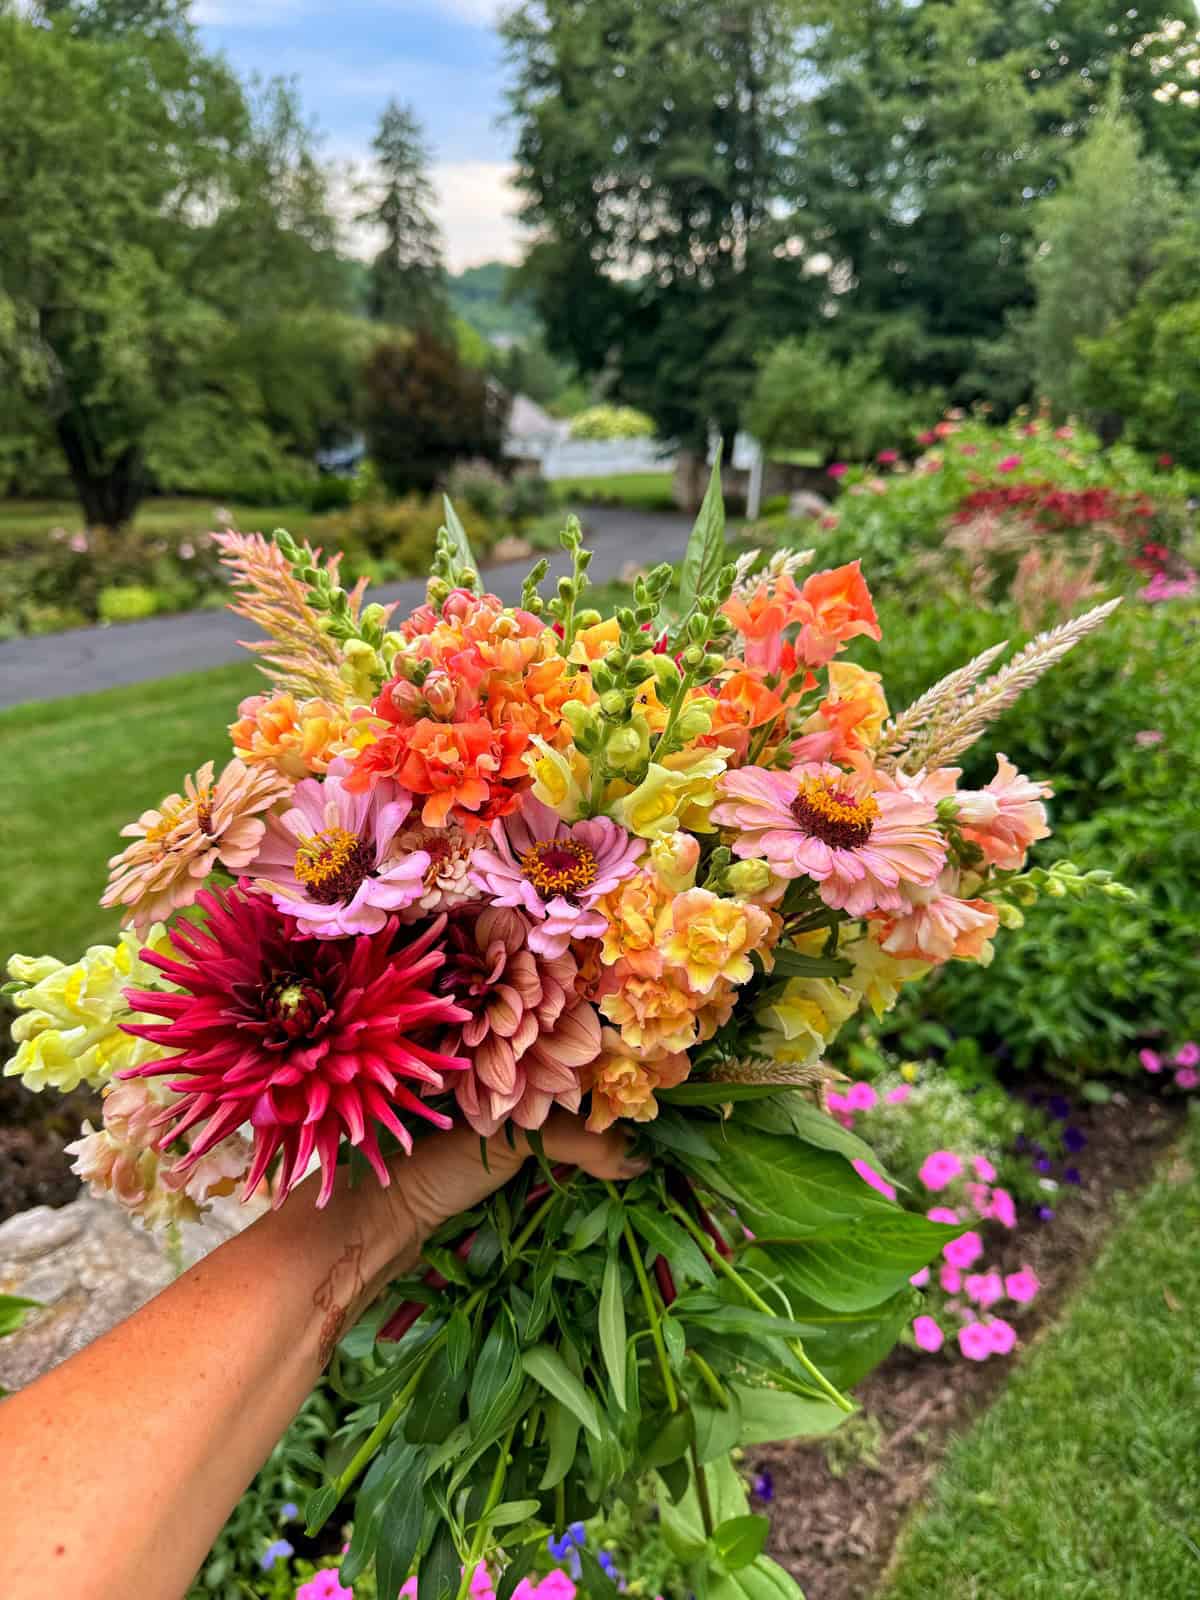
Have you ever gazed at a stunning floral arrangement—the kind with those airy, dancing stems that seem to defy gravity—and wondered how it was made? Some of my greatest joy comes from bringing cuttings in from my garden, and the secret to taking them from a simple bunch to a work of art is a timeless, sustainable tool: the flower frog. Have you used one before?
This simple device is what pros like Martha Stewart have sworn by for years, and it has completely transformed my arranging. If you’re ready to elevate your bouquets, this guide is for you.
(Posts on stacyling.com may contain affiliate links. Click HERE for full disclosure.)
What is a Flower Frog and Why is It Making a Comeback?
One of the keys to an eye-catching arrangement is having a foundational structure to keep the blooms in place. A flower frog is perhaps the best mechanic out there. It’s a weighted base, typically made of metal or glass, that sits in the bottom of a container to hold flower stems exactly where you want them. In my garden-to-vase practice, it’s essential. Unlike single-use floral foam, a reusable floral frog holds each stem securely while allowing it to drink fresh water freely, which I’m convinced makes my garden cuttings last longer.


Why Choose a Flower Frog Over Floral Foam?
For decades, green floral foam was the standard for many florists. In fact, I, myself gravitated to using it. But today, more professionals and home arrangers are making a conscious switch to the flower frog. Here’s why:
- Sustainability (The Biggest Factor): A flower frog is a one-time purchase you will use for a lifetime. While floral foam is generally a single-use plastic product that does not biodegrade and crumbles into microplastics that can pollute waterways. (That said, there are some that are biodegradable – but you have to shop around!)
- Flower Health: Stems pushed into floral foam have their vessels compressed, which can hinder water uptake. A flower frog simply holds the stem in place, allowing it to sit directly in fresh, clean water and drink freely. Which helps the blooms last much longer!
- Creative Freedom & Flexibility: Floral foam is a rigid block. Once you poke a hole, it’s there forever, making it difficult to adjust your design. With a flower frog, you can reposition stems countless times until you achieve the perfect look. This allows for more spontaneous and artful designs with the elegant, airy spacing that is difficult to achieve with foam.
- Water Clarity: Floral foam can break down and leave a green, murky residue in your vase water. A flower frog keeps your water clear, which is especially important for arrangements in beautiful glass vessels.
By choosing a flower frog, you are not only making a more environmentally responsible choice but also using a tool that arguably leads to healthier, more beautiful, and more artfully designed arrangements.

The Top Questions About Flower Frogs From My Garden to Your Vase
Based on countless hours arranging everything from sprawling centerpieces to simple coffee table bouquets, these are the questions that come up time and again.
1. What Are the Different Types of Flower Frogs?
Choosing the right frog depends entirely on the arrangement I’m envisioning as well as the flowers I am using. Here are the types of floral frogs that I keep in my own toolkit.
| Type of Frog | Also Known As | Best For | My Personal Experience |
|---|---|---|---|
| Pin Frog | Kenzan | Minimalist, Ikebana-style designs; securing thick stems in shallow dishes. | My go-to for dramatic dahlia stems or spring branches. It has a powerful grip. |
| Cage Frog | Flower Holder | Fuller, more traditional bouquets with lots of stems. | The workhorse for my big holiday centerpieces with evergreens and lush garden roses. |
| Hairpin Frog | Loop Frog | More forgiving for delicate stems that might be damaged by sharp pins. | Great for wispy, delicate flowers from my garden, like cosmos or nigella. |
| Glass/Ceramic Frog | Drilled Frog | Being seen; adds vintage charm when you want the frog to be part of the display. | I love using these for a handful of colorful zinnias where the vintage glass adds to the look. |

2. How Do I Properly Use a Flower Frog?
Let me walk you through creating a floral masterpiece that will hold in place and look totally amazing!
Step 1: Secure Your Floral Frog
A wobbly base is the enemy of a good arrangement. It’s important to secure your floral frog before adding water with floral clay like this or museum putty. Roll a small amount into a thin rope, apply it to the bottom rim of your dry frog, and press it firmly into your clean, dry container. This ensures it won’t budge.

Step 2: Add Water and Food
Fill your container with fresh, clean water, making sure the level is high enough to submerge the pins or holes of the frog. To help your blooms thrive, stir in a packet of flower food. I have a great homemade flower food recipe you can make with ingredients you probably already have in your pantry
Step 3: Prepare Your Stems
With sharp floral snips, cut your stems to the desired length at a 45-degree angle to provide a greater surface area for water absorption.

Step 4: Start Arranging
This is where the magic happens. Gently but firmly press the base of each stem onto the sharp pins of your flower frog. If a stem is soft, hold it close to the base as you press down to prevent it from bending.
- Start with Structure (The “Bones”): Begin with your strongest elements—greenery or sturdy branches—to establish the overall shape and framework of your design. This creates the “bones” of the arrangement. Think about creating an asymmetrical triangle, as this is often more visually interesting than a perfectly symmetrical design. Let these first stems define the final height and width.
- Add Focal Flowers (The “Stars”): Now, place your largest “statement” blooms. These are the stars of the show, like a big dahlia or peony. Don’t place them all at the same height. Vary the heights and angles to create depth and rhythm. Cluster them in odd numbers (like groups of three or five), as this feels more natural to the eye than even numbers.
- Fill In (The “Supporting Cast”): Use your smaller, secondary flowers and delicate “filler” stems to complete the look. This is where you can add texture and color. Remember, the beauty of using a flower frog is the ability to create space and movement. Let your flowers breathe. Resist the urge to overpack it, as the negative space is just as important as the flowers themselves.
- Turn It Around While You Work (The 360-Degree View): Continuously turn your container as you work. An arrangement, especially a centerpiece, should look beautiful from all angles. Check for any gaps or awkward spots. This final step is what elevates a good arrangement to a great one.
A Pro’s Tip for Vessels: To channel your inner Martha Stewart, try using a footed compote bowl. This type of vessel elevates the arrangement, giving it a classic, graceful silhouette. Its wide, shallow shape is the perfect partner for a heavy pin frog, allowing you to create dramatic, airy designs. I love using this footed compote bowl with my designs.

3. How Do I Protect My Container?
If you are using a valuable or delicate container, take a cue from the experts: place a small, discreet piece of plastic wrap or a coaster underneath your metal flower frog. This simple step prevents the metal base from scratching or staining your prized bowl.
4. How Do I Clean and Care for My Flower Frog?
With proper care, your flower frog will be a part of your design toolkit for life. After you’ve disassembled your arrangement, rinse the frog to remove debris. Use a small, stiff brush to gently clean between the pins or inside the holes, then let it dry completely before storing to prevent corrosion.
Keeping Your Masterpiece Beautiful
Now that you’ve created a stunning arrangement, you’ll want it to last as long as possible. This involves more than just the initial setup. For a complete guide on how to keep your blooms looking their best, be sure to check out my tips on how to keep your flowers fresh for longer here.

Final Thoughts About Using Flower Frogs in Arrangements
By embracing this timeless tool, you’re not just arranging flowers—you’re engaging in a sustainable, creative practice that will bring armloads of blooms into your home for years to come. The flower frog is the true secret behind those effortless, gravity-defying arrangements, empowering you to turn your beautiful garden cuttings into a true work of art.
Have you used a floral frog before? Which one do you prefer? Let’s chat more about it in the comments below.
Thank you for visiting the blog today!
Enjoy your day! xo


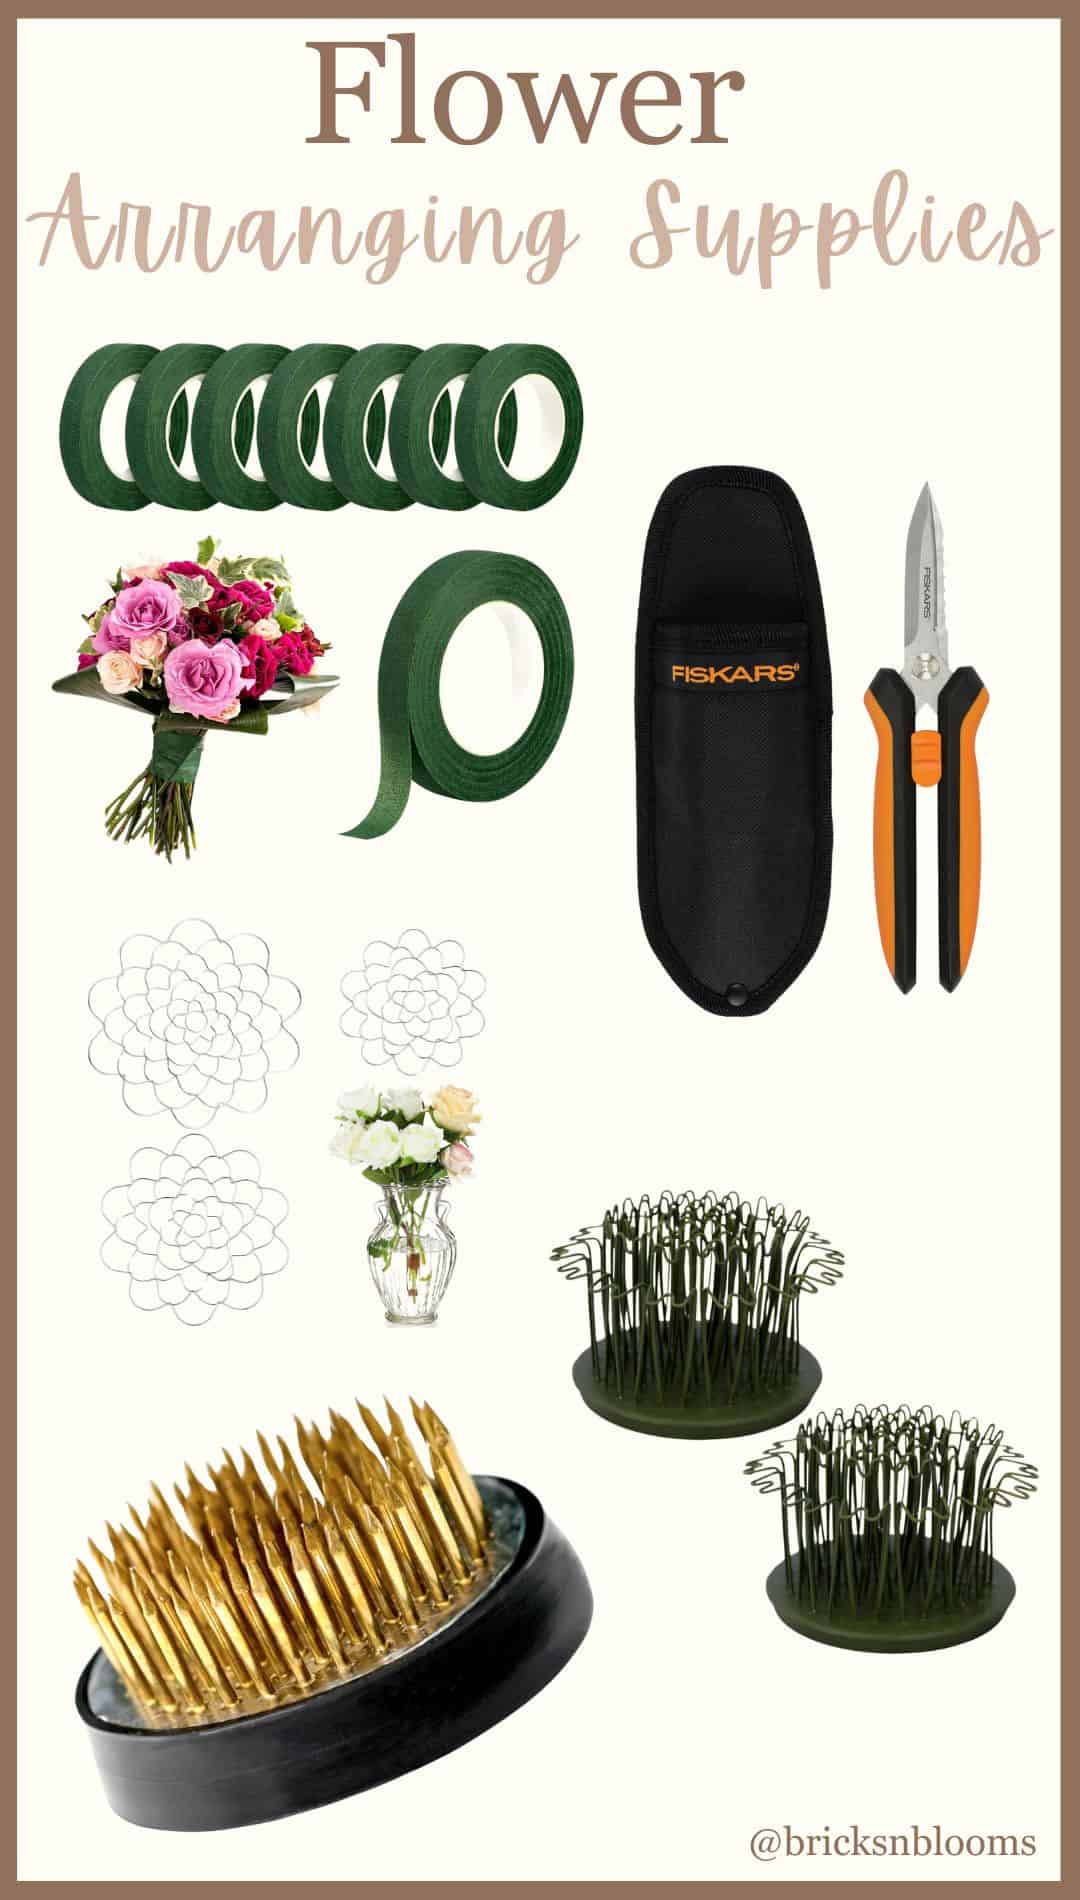
Shop for Flower Arranging Supplies
Click on the image below to get what you need for your best arrangement yet!