Learn how to grow zinnia flowers in your cutting garden! This guide covers everything from planting to care tips for vibrant, long-lasting blooms. Perfect for beginners and experienced gardeners alike.
Tired of high-maintenance flowers that demand constant attention? Say hello to zinnias – your best friend for easy summer color! These cheerful blooms are a gardener’s dream, thriving in the heat while attracting a parade of pollinators like butterflies, bees, and hummingbirds. They are one of my favorite annuals to grow in my cutting garden and I’m sure will become one of your favorites too!
Whether you’re a beginner gardener or a seasoned pro, this guide will show you how to grow and care for zinnias with ease. You’ll learn expert tips for seed starting, prolonging blooms, and creating beautiful bouquets to brighten your home. Are you ready? Let’s grow!
(Posts on stacyling.com may contain affiliate links. Click HERE for full disclosure.)
Watch the Video
How to Grow Zinnia Flowers: Your Easy Ticket to Colorful Summer Blooms
If you crave continuous color in your garden from summer into fall, zinnias are your answer. These vibrant annuals are beloved for their easy-going nature and dazzling array of colors, making them perfect for gardeners of all levels.
Zinnia Flowers at a Glance
- Plant Type: Annual
- Hardiness Zones: 3-11 (grown as annuals everywhere)
- Bloom Time: Summer through fall
- Height/Width: Varies widely by variety (6 inches to 4 feet tall, 1-2 feet wide)
- Light: Full sun (at least 6 hours per day)
- Soil: Well-draining, average fertility
- Soil pH: 5.5-7.5 (slightly acidic to neutral)
- Pollinators Attracted: Bees, butterflies, hummingbirds
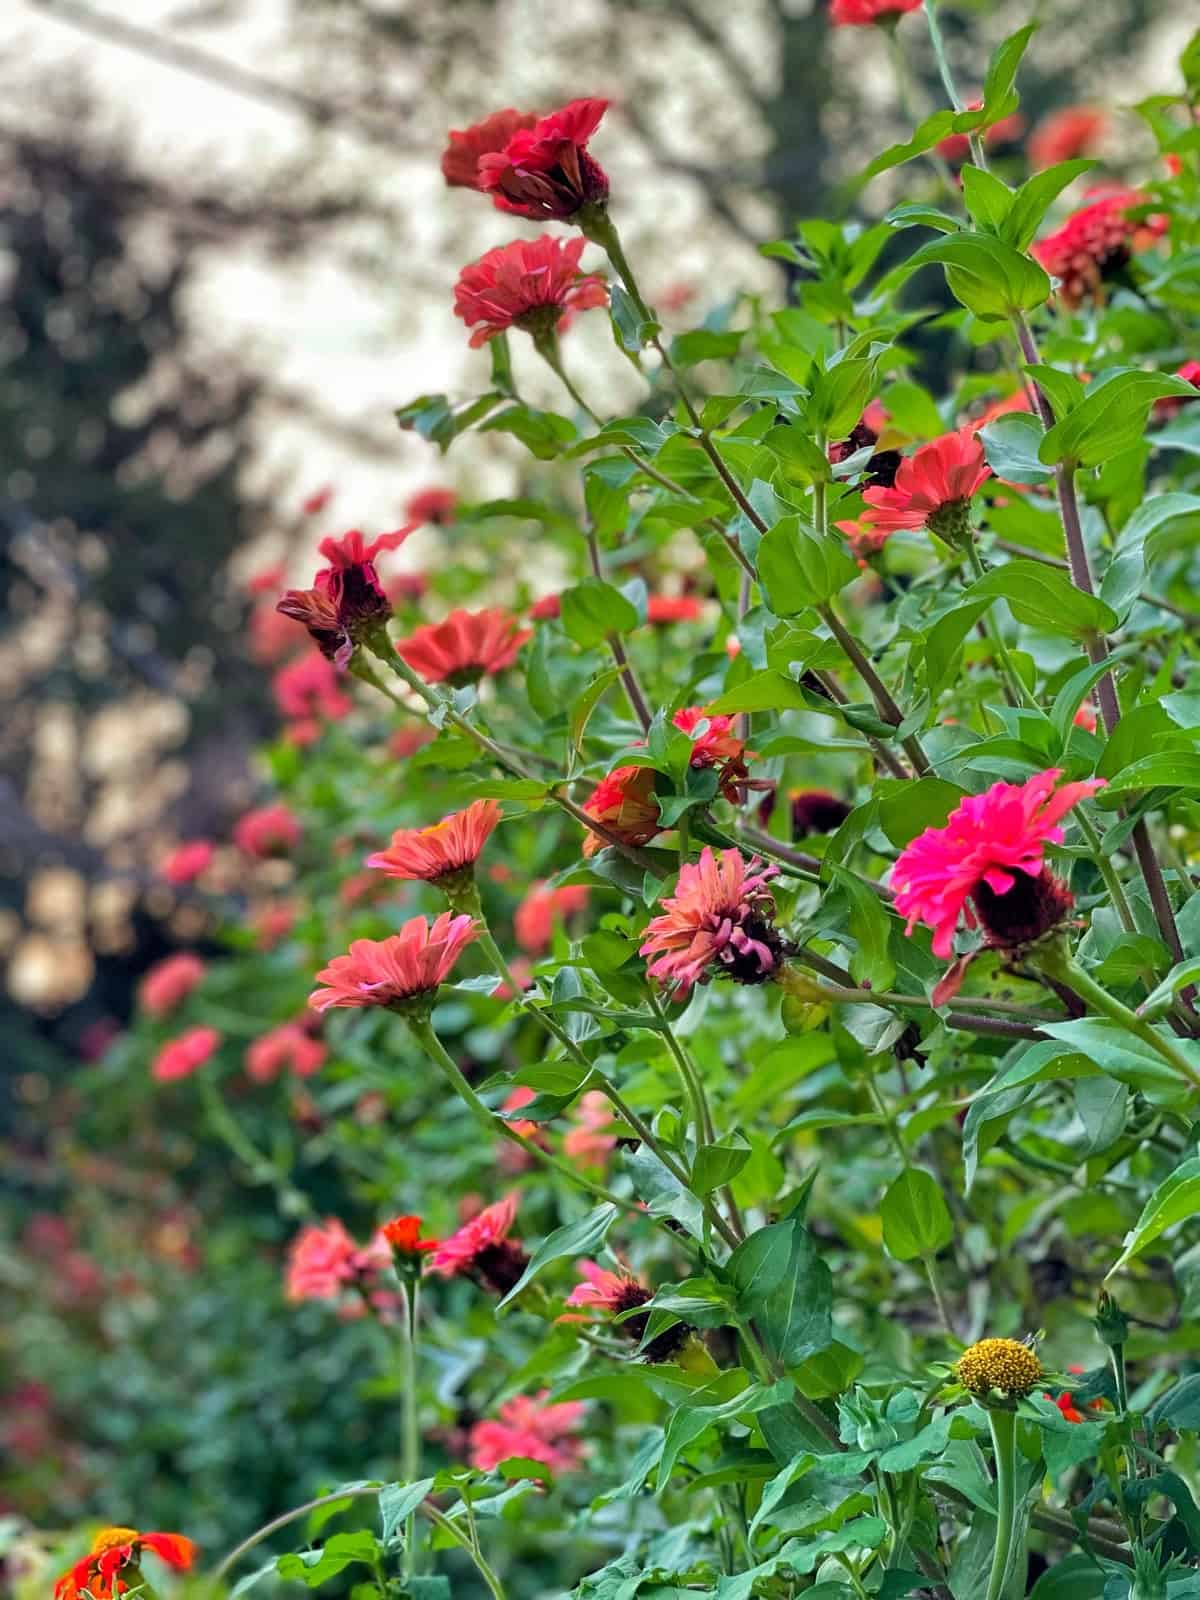
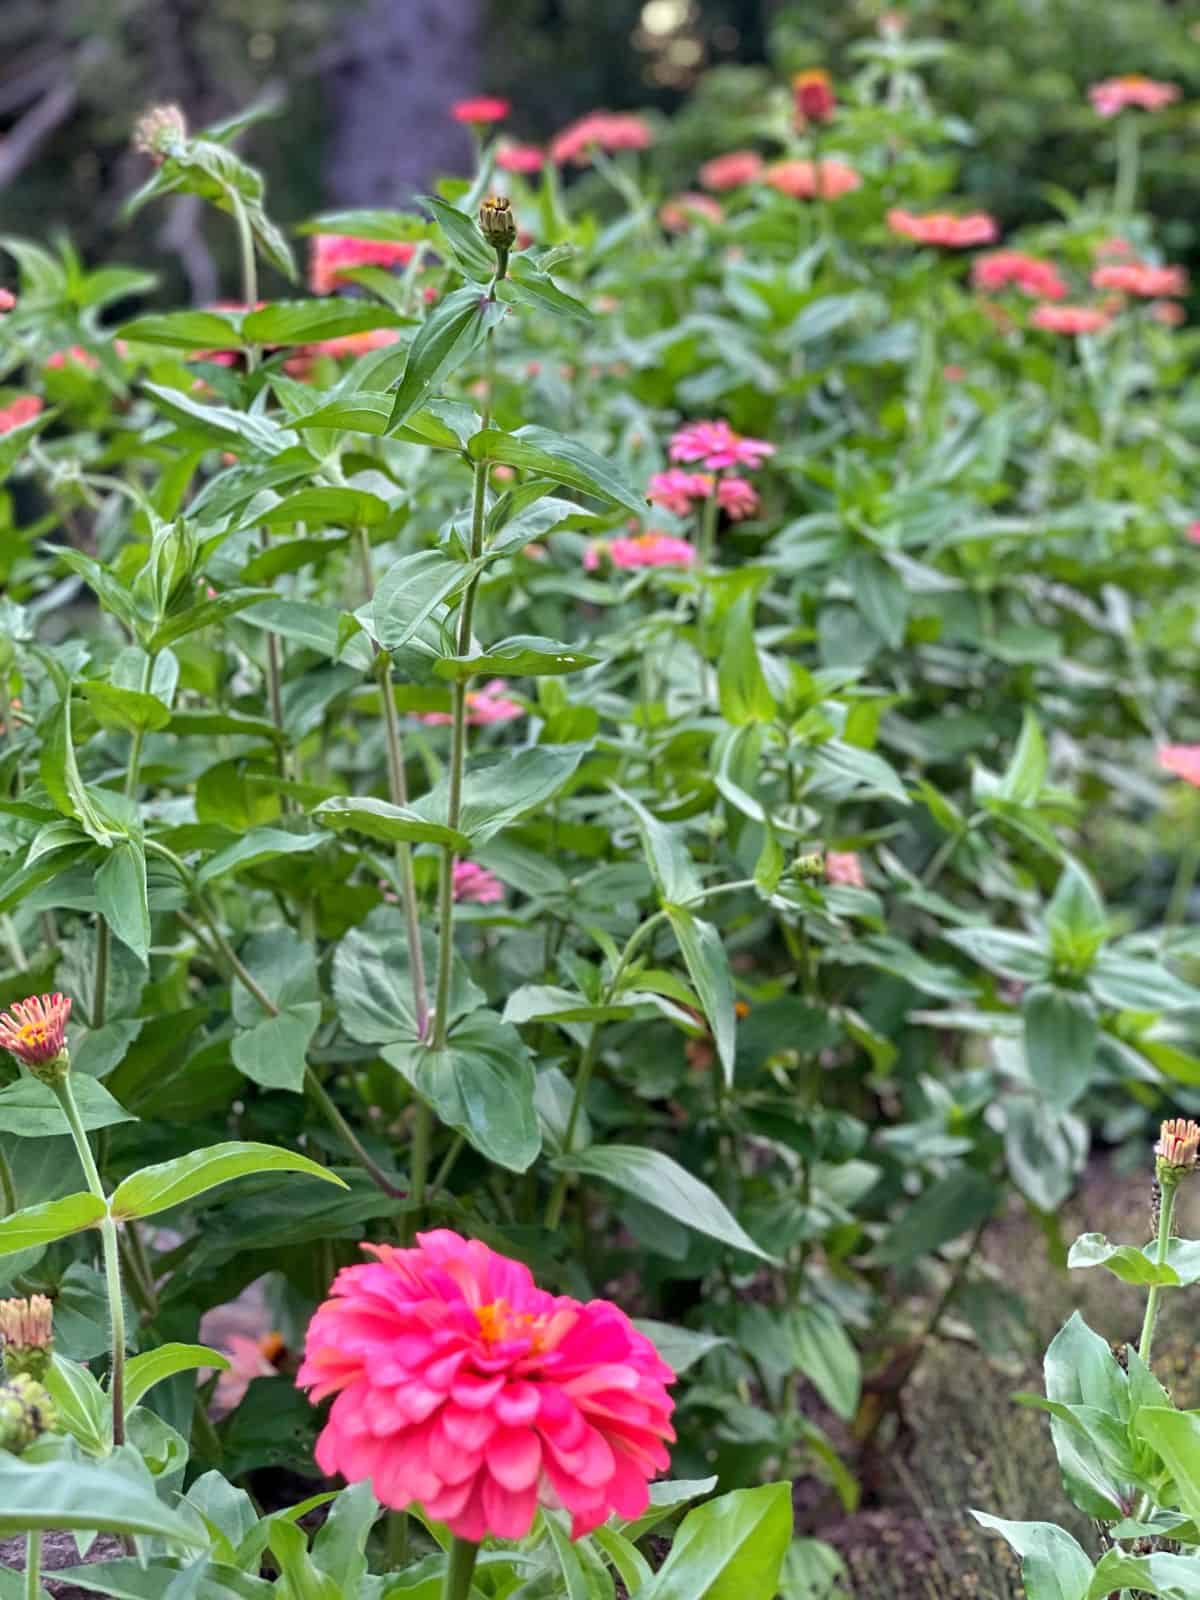
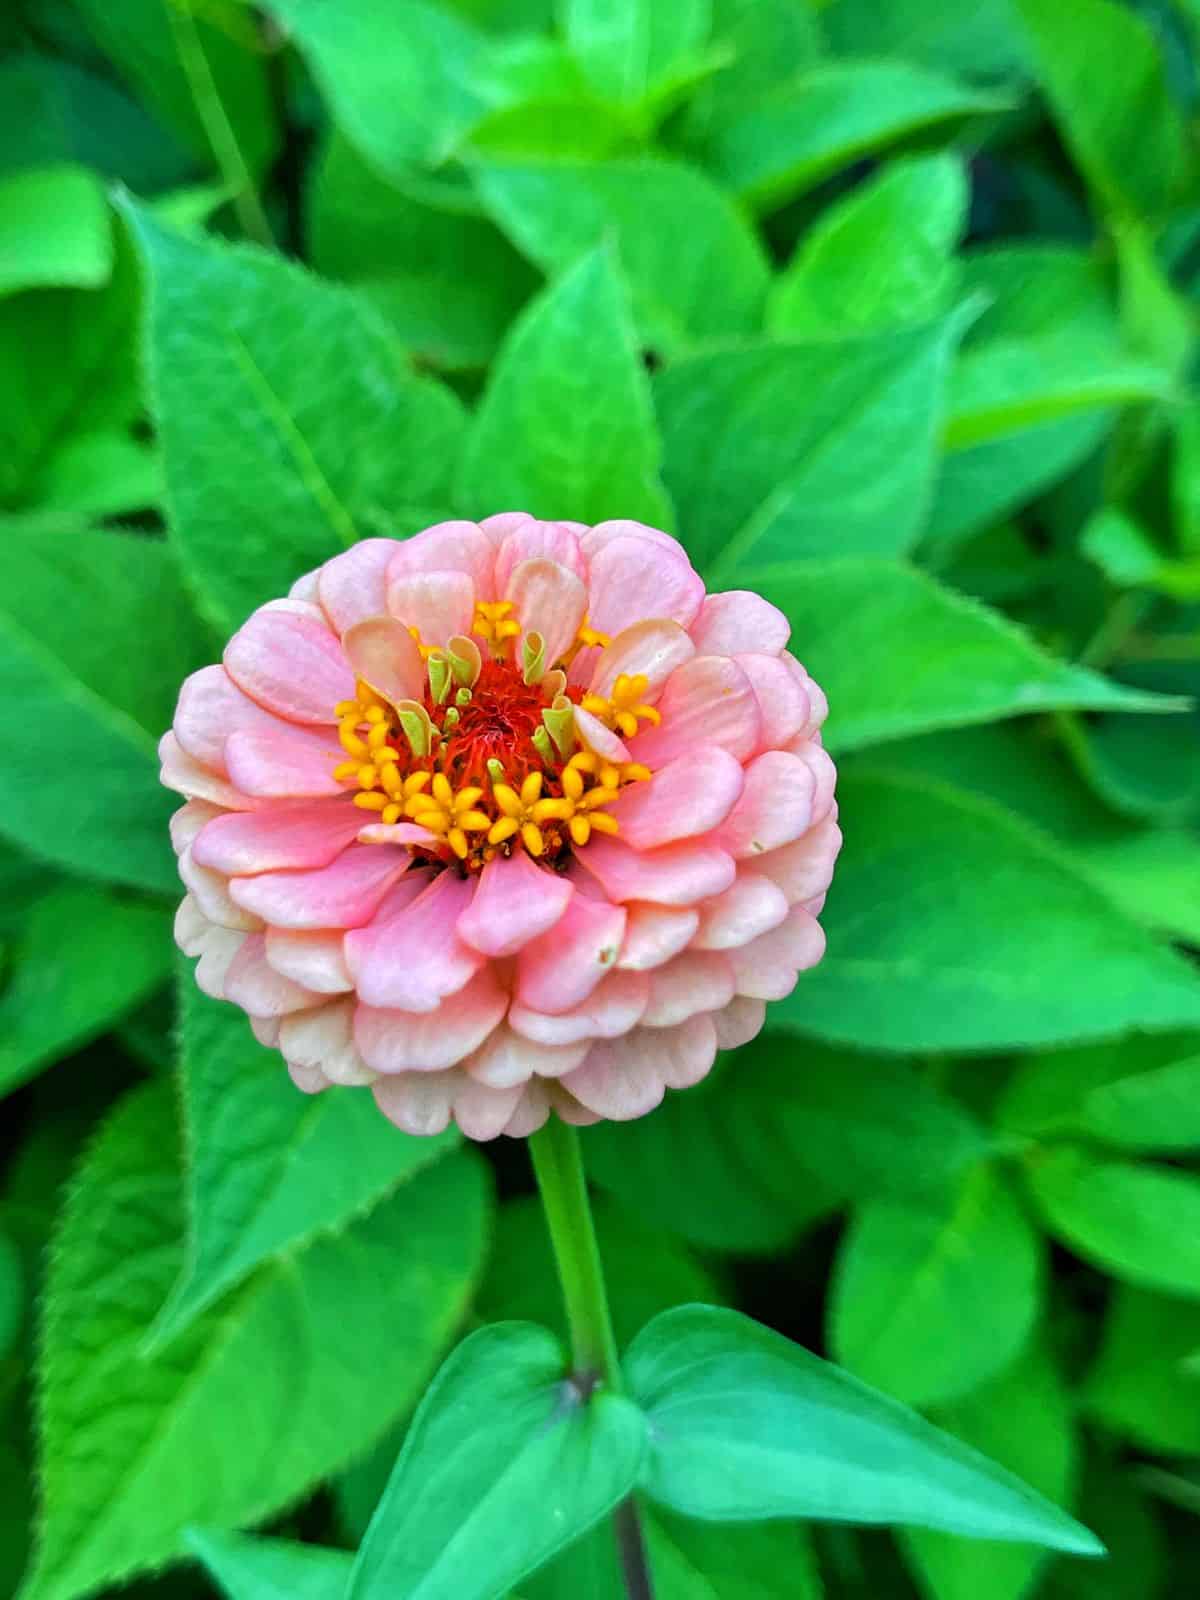
Whether you prefer compact dwarf varieties, long-stemmed varieties, or something in between, there’s a zinnia for every garden. Their flower heads come in various sizes and an eye-popping spectrum of colors: gold, orange, pink, purple, red, peach, yellow, variegated, and white.
Zinnias are more than just garden eye candy. They make exceptional cut flowers that bring a burst of bright, beautiful sunshine indoors with a long vase life. So if you haven’t experienced the joy of growing zinnias yet, this guide will inspire you to give them a try!

5 Reasons to Grow Zinnias
Zinnias are more than just pretty faces – they are super low-maintenance flowers that will brighten up your garden almost all season long. Here’s why you should make room for these colorful annuals.
- Low-Maintenance Flowers: Zinnias are famously easy to grow, making them a perfect choice for beginners and busy gardeners alike. They tolerate various soil types and weather conditions, thriving in both garden beds and containers. You can even start them directly from seed with minimal fuss!
- Variety of Colors: Zinnias come in a kaleidoscope of colors, from fiery reds and oranges to soft pastels and pure whites. Their unique, daisy-like blooms add a cheerful pop to any garden, border, or vase.
- Blooms All Summer Long: These prolific bloomers will reward you with a continuous display of color from early summer right up until the first frost. Regular deadheading (removing spent blooms) encourages even more flowers to burst forth.
- Great Cutting Flowers: Zinnias aren’t just pretty in the garden—they make fantastic cut flowers! Their sturdy stems and long-lasting blooms make them perfect for cozying up your home with beautiful bouquets.
- Pollinators Love Them: Zinnias are adored by bees, butterflies, and hummingbirds, making them a valuable addition to any pollinator-friendly garden.
If you want to see nature in action in your garden, zinnias are one of the best flowers to plant. Growing zinnias in my garden has provided a great source of nectar for bees, butterflies, and other pollinators. Loads of butterflies drop by my zinnia flowers often every summer for weeks on end. And last year while setting my outdoor dining table for a garden party, one landed right on my centerpiece with fresh-cut zinnias from the garden. It was so fun to see that!

Why Zinnia Flowers Are Perfect for Homemade Bouquets
What I love most about zinnias, is that they look amazing both in the garden and a bouquet. Zinnias are one of my favorite flowers to grow and cut for arrangements. Here’s why.
- They come in a variety of sizes and colors
- Have a long vase life
- Easy to grow
- They produce so many blooms all season long
- Pollinators enjoy them
- Simple to cut and arrange
Not to mention, they look so pretty with other cut flowers like celosia, hydrangeas, dahlias, sedum autumn joy, snapdragons, and many more.
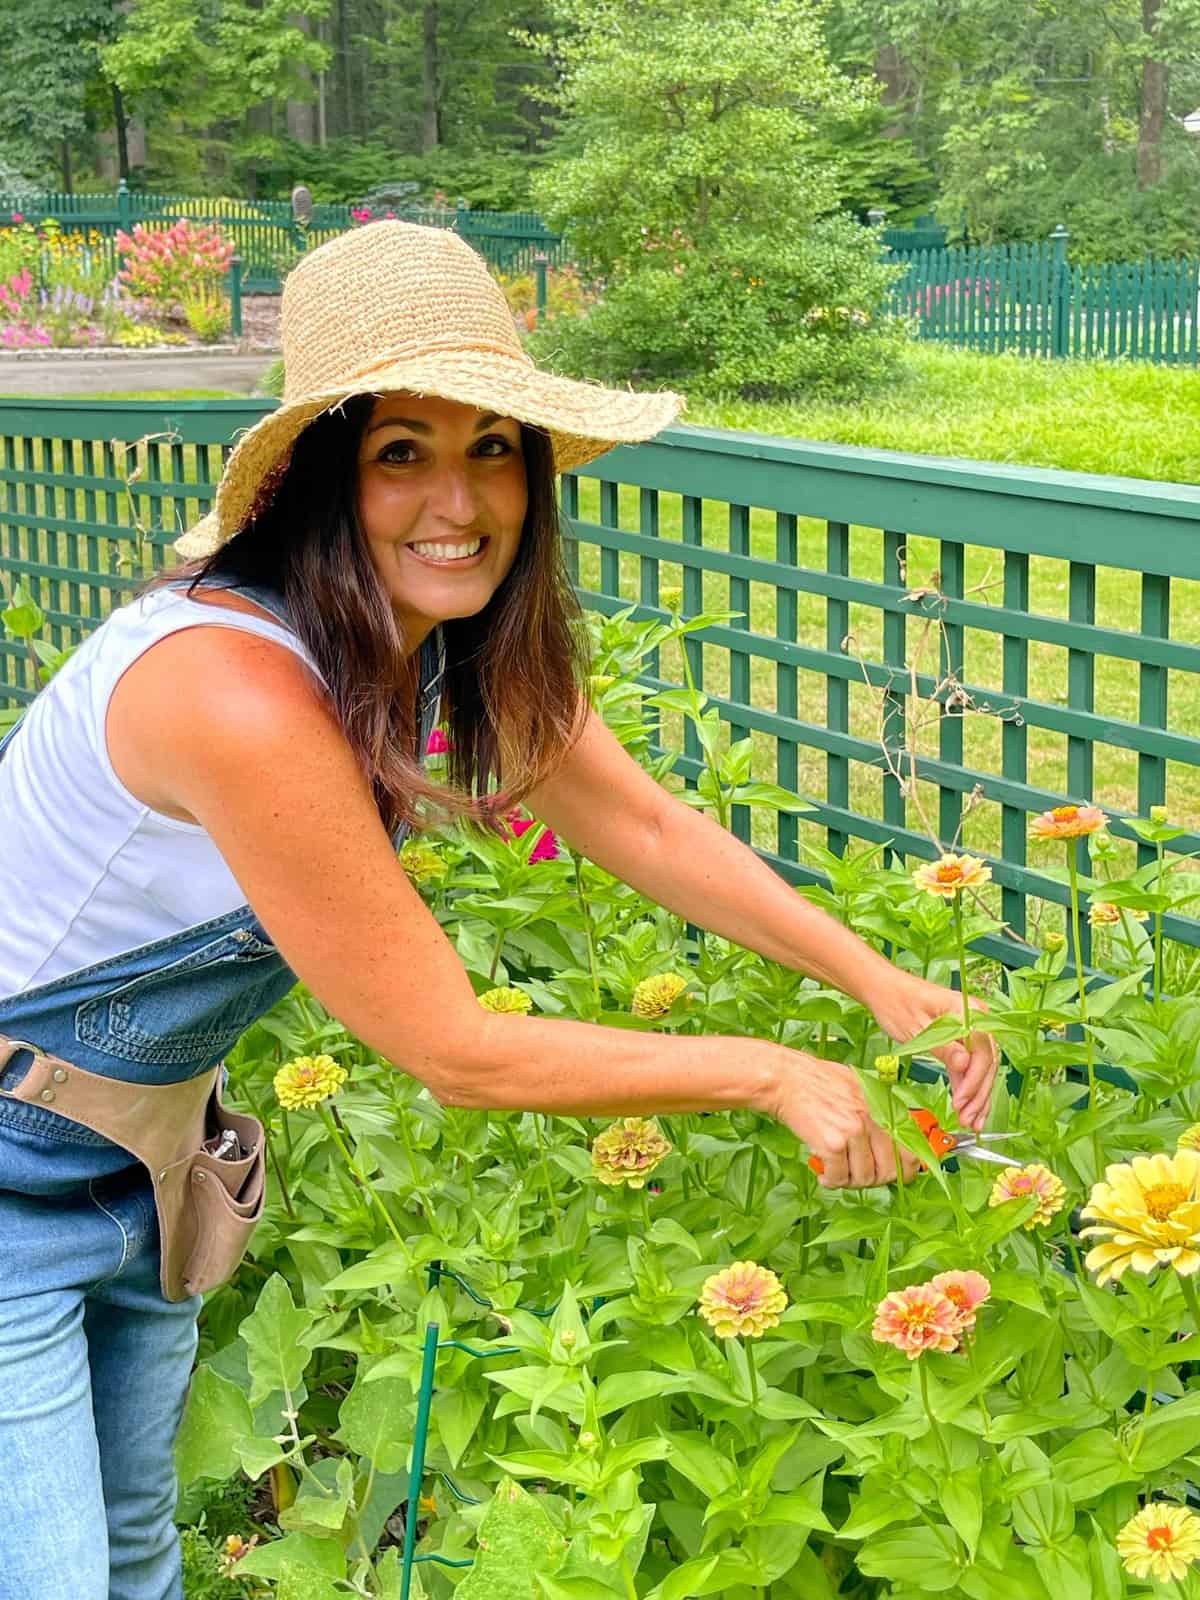

How to Grow Zinnia Flowers in Your Cut Flower Garden
Native to South America, zinnias have a USDA hardiness zone of 3-10 and depending on the variety can bloom from spring through fall. They range in height from 8 inches to 4 feet and about 6 inches to 1.5 feet wide. Here are some zinnia care tips.
Choosing the Best Location for Zinnia Plants
When selecting a spot for your zinnias, it’s important to consider sunlight and air circulation. The zinnia flower prefers full sun, so choose a spot in your garden that receives at least 6-8 hours of sun per day and areas with good air flow to prevent diseases like powdery mildew.
They also like well-drained soil that is moist and rich in organic matter. However, they can handle soil that is occasionally dry too.
Zinnias are not very finicky where soil pH is concerned either as they can grow in soil that is acidic, alkaline, and neutral. While zinnias are adaptable, a soil pH between 5.5 and 7.5 is preferable. Amending the soil with compost before planting can significantly improve growth. (You can buy it premade or make your own compost with this easy recipe)

Step-by-Step Guide to Planting Zinnia Flowers for Optimal Growth
While nurseries offer started zinnias, you’ll find a wider variety by growing zinnias from seed. For the best results, space seeds properly at the outset. Refer to your seed packet for specific recommendations, as spacing varies by variety. Generally, sow seeds ¼ inch deep, spacing dwarf varieties 6-12 inches apart and taller varieties 9-12 inches (or more) apart.
Proper spacing reduces the need for thinning later and helps prevent powdery mildew. Although you can plant them closer, giving zinnias room to breathe encourages healthier growth.
While some gardeners scatter seeds, taking the time to sow individually increases your chances of success. Scattering can lead to:
- Seed loss from birds or other animals
- Poor germination rates
- Overcrowding and the need for thinning
When to Plant Zinnias
As a flowering annual, zinnias can be planted directly in the ground after the last frost date in your area. They prefer warm soil, so wait until the soil has warmed up to at least 60°F before planting. To test the soil temperature, you can use a thermometer like this. As an aside, soil thermometers are great to use if you like direct sowing seeds in the garden, so worth including in your arsenal of garden supplies.

Watering Zinnia Plants
Zinnia flowers need regular watering, especially during hot, dry weather. In general, water deeply once a week at the base of the plant in the early morning. You’ll need to water more often if there is excessive heat and the soil is dry to the touch. (To learn more about watering your flower garden, please read this article).
A soaker hose like this is a great way to water plants from the base. And it’s even more helpful if you use it on a timer like this so watering your zinnia plants is set and forget for the most part. And if you are growing zinnias in a planter, a drip irrigation system like this makes watering in summer a breeze.

Fertilizing Zinnia Flowers: Best Practices
Zinnia flowers don’t require a lot of fertilizer, but a light application of a balanced fertilizer (such as 10-10-10) at planting time can help encourage healthy growth and blooming. I feed my zinnia plants in late spring with a slow-release fertilizer with a follow-up application in mid-summer so it is set and forget all season long. That said, I also like to use a bloom booster like this to help keep the blooms coming every other week.
Pinching Zinnias to Promote Lush Blooms
Pinching off the top 3-4 inches of the stem when the plant reaches 8-12 inches tall encourages bushier growth and more blooms. It is not detrimental to your zinnias if you don’t do this, but there will be reduced flowering potential if you don’t. So pinching zinnia plants will help your zinnias bloom more for longer.
How to Deadhead Zinnia Flowers
To encourage more abundant blooms, deadhead spent zinnia flowers regularly. This will also help prevent the plants from going to seed too quickly. While deadheading flowers might sound like a chore, it’s a peaceful time and provides the gardener with small moments of relaxation with their flowers. Deadheading might be my favorite activity to do in the garden. You can use your fingers, a pair of scissors, or garden snips like these.

Staking Zinnia Flowers for Support and Aesthetics
Taller zinnia varieties may require staking to support their heavy stems. Stakes can be placed near the seedlings a few weeks after planting, taking care to avoid damaging the roots. I love to use these grow through hoops or trellis netting depending on the size of my zinnia garden.
I recommend supporting your tall zinnia flowers early because growth happens pretty quickly and before you know it, you’ve missed your window of opportunity to support them well.
While you can corral them in an area to help them keep each other upright, staking them this way increases your chances of reducing air flower and encouraging more problems like powdery mildew on them. If you choose to corral them, keep spacing in mind so you can keep your zinnia plants healthy all season long.
As an aside, I’ve also not supported my zinnia flowers too. Some taller varieties have done OK and held their own but others flop over.

Managing Pests and Diseases in Your Zinnia Garden: Common Issues & Organic Solutions
Zinnias are generally robust, but here’s what to look out for to keep your cutting garden thriving.
Common Zinnia Pests
- Aphids & Spider Mites: These sap-sucking insects can sometimes affect zinnias.
- Solution: Monitor your plants regularly. A strong spray of water can dislodge them. For more persistent issues, neem oil is an effective organic treatment (apply according to product directions, typically in the cooler parts of the day).
- Japanese Beetles: If these iridescent pests are an issue in your garden, they can cause significant damage to zinnia foliage.
- My Solution: I’ve implemented a combination of short-term hand-picking and long-term organic strategies that have significantly reduced their presence. Learn my proven methods for how to organically beat Japanese beetles on zinnias here.
- Deer, Rabbits, & Other Wildlife: Groundhogs, deer, and rabbits can also enjoy zinnias.
- My Experience & Solution: Last year, I started using and had great success with Plantskyyd spray repellent. What makes this repellent effective for me is its systemic action, meaning the plant absorbs it rather than just being a topical spray. This product recommends every 10-14 days during active growth in spring and summer, and then every 90 days after. I’ve found this to be a very effective, long term approach to keep rabbits at bay.
Common Zinnia Diseases
- Powdery Mildew: This fungal disease often appears as white, powdery spots on leaves.
- Prevention: The primary cause of powdery mildew on zinnias is poor air circulation and overhead watering. Ensure your zinnia plants are spaced adequately for good airflow and always water at the base of the plant. This is the primary culprit of powdery mildew during the growing season.
- Treatment: While neem oil can help to combat existing powdery mildew, it won’t resolve the underlying issues of spacing and watering.
- End-of-Season Powdery Mildew: It’s important to note: As the growing season winds down, it’s very common for zinnia foliage to develop powdery mildew. This is a natural part of their life cycle as they approach senescence. At this point, there’s no need for treatment; simply continue to enjoy the remaining blooms.
- Bacterial Leaf Spot: This can appear as small, dark, water-soaked spots on leaves. If this happens, remove affected leaves and do not compost. I also recommend thinning out the plant to improve better air circulation.
For a comprehensive guide to maintaining a healthy garden with organic methods, read my best tips on organic flower garden care.
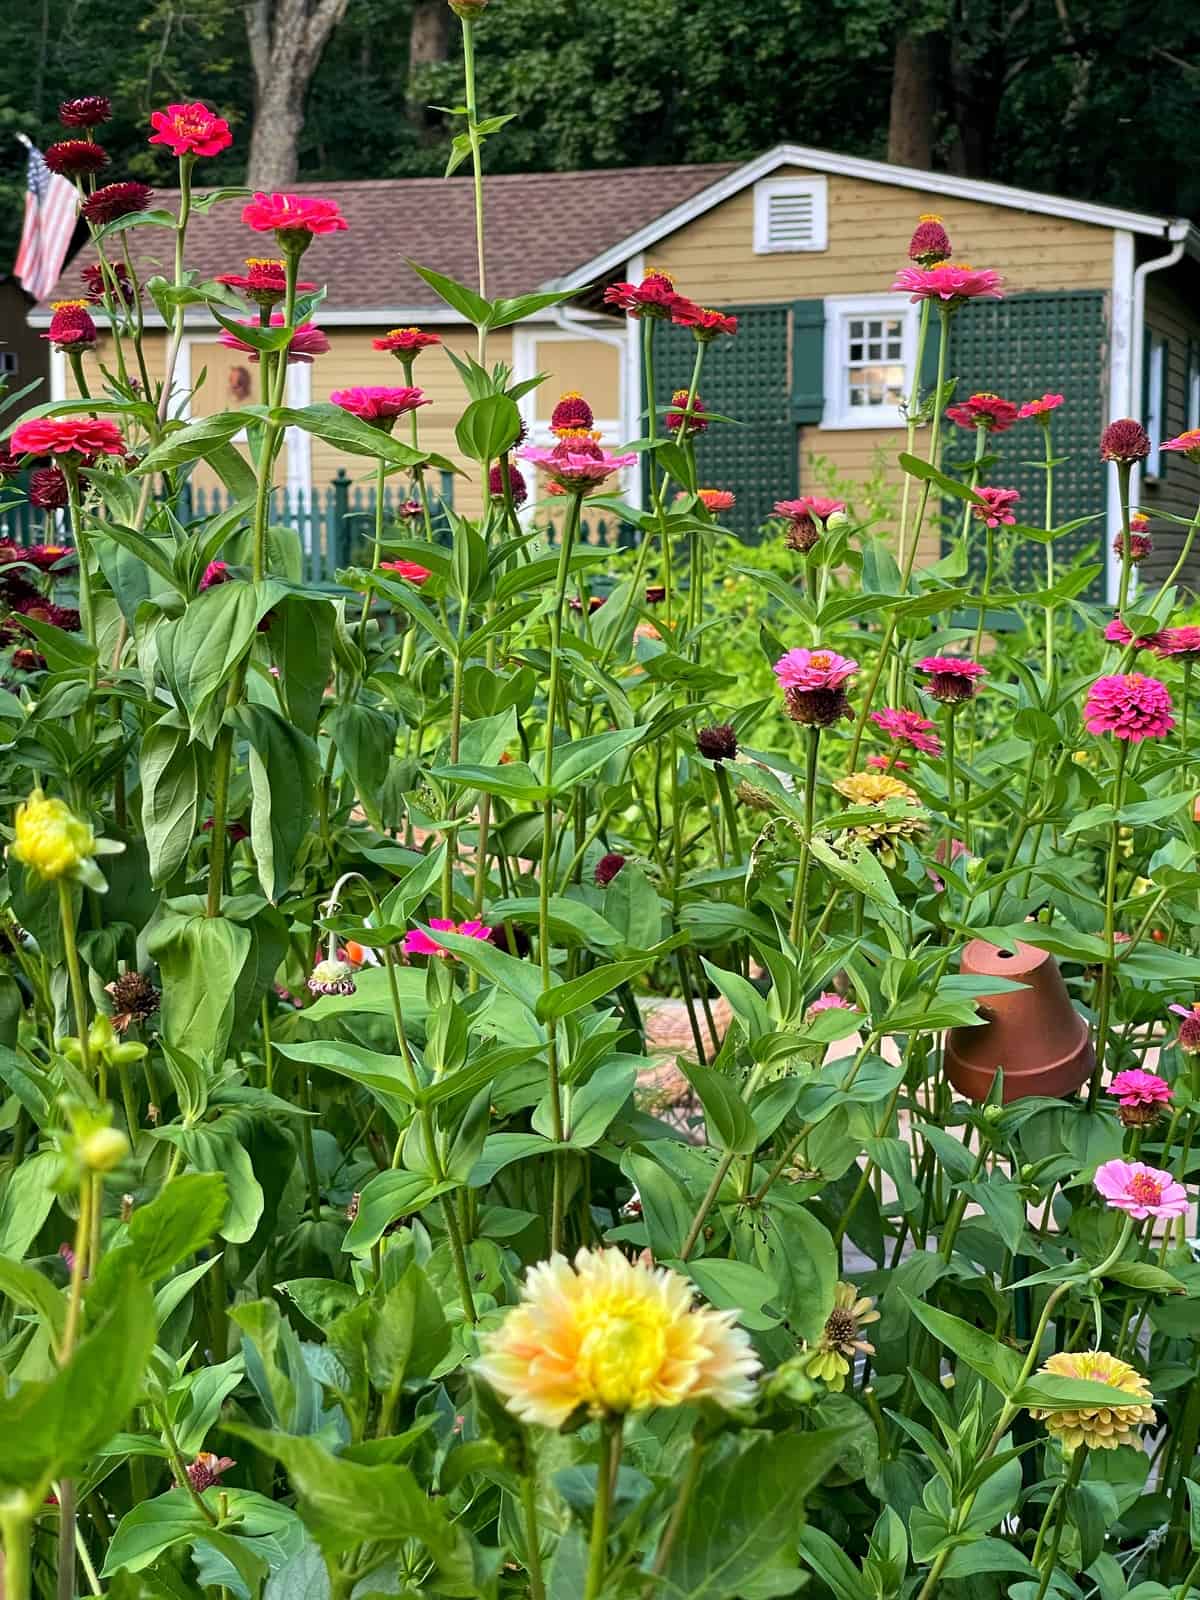
Step-by-Step Guide to Sowing Zinnia Seeds
Seeding zinnias is a cost-effective and rewarding way to grow these beautiful flowers, as well as get a head start on the season. You’ll have greater access to the many varieties of zinnias available, so they are worth growing from seed if you are up to it.
Planting zinnia seeds is super simple to do. And the best part? You can start them both inside or out. If you choose to start them outdoors, wait until after your last frost date. If you are not sure when to plant zinnia seeds indoors, you’ll need to know your last frost date and count about 4-6 weeks before.

Essential Seed Starting Supplies for Zinnia Flowers
- Zinnia Seeds
- Vermiculite
- Seed Starting Potting Soil
- Seed Trays
- Bottom or Drainage Trays
- Clear Dome Lids
- Grow Lights
- Shelf System for Seedlings
- Heat Mat
- Plant Labels
- Oscillating Fan
- Programmable Timer
How to Successfully Start Zinnias Indoors from Seeds
While zinnias can be direct sowed outdoors after all danger of frost passes and the soil has warmed, I prefer to start mine indoors for quicker blooms.
- Zinnias can be started indoors about 4-6 weeks before the last expected frost in your locality. Use a seed starting tray or small pots with drainage holes filled with a quality organic seed starter mix that is pre-moistened. I start mine under grow lights and have found great success starting them in both my basement and sunroom.
- Make a small hole then sow the seeds then lightly cover them with vermiculite. Sow only one variety per cell tray as the different plants will germinate at different times.
- Cover seed trays with a clear dome and move them under the grow lights on a heat mat to speed up germination. They typically germinate within a few days to a week.
- Remove the cover when the seeds start to germinate. It’s OK if they didn’t all germinate, more will grow after the cover is removed.
- Keep soil moist by bottom watering only.
- Before transplanting zinnia seedlings outdoors, harden them off by gradually exposing them to outdoor conditions over a period of 14 days.
- When seedlings are hardened off and ready to plant in the garden, space zinnia transplants about 9 inches apart after the last frost date.
- Water young plants regularly, keeping the soil moist but not waterlogged. Feed with an organic fish fertilizer for a few weeks and then use a slow-release fertilizer so feeding them is set-and-forget. This will help promote healthy growth and lots of blooms.
How Long Does It Take For Zinnia Flowers to Bloom?
Zinnias are relatively fast-growing annuals, and you can expect to see blooms within 60 to 80 days after sowing seeds. This can vary slightly depending on the specific variety, growing conditions, and climate. Since I am a bit of an impatient gardener and want my blooms now, this is why I start zinnia seeds indoors.

How to Grow Zinnias in Pots
Zinnias aren’t just for garden beds! These vibrant flowers thrive in containers, bringing beauty to patios, balconies, and small spaces. While you can grow any type of zinnia in pots, select smaller, more compact varieties for best results. Here’s how to grow your own potted zinnias.
Planting Zinnias in Pots
- Choosing a Pot: Select a pot at least 12 inches in diameter and depth, especially for taller varieties. Larger pots provide more stability and retain moisture better. Ensure your pot has drainage holes to prevent soggy roots.
- Planting: Choose a well-draining potting mix formulated for containers.
- Spacing and Planting Depth: Follow the same spacing guidelines as for in-ground planting, but consider the pot size. Overcrowding can lead to poor air circulation and disease. Sow seeds ¼ inch deep. If planting nursery-grown zinnia flowers, plant 2x the root ball size.
Caring for Zinnias in Pots
- Sunlight: Place your pot in a location that receives at least 6 hours of direct sunlight daily.
- Watering: Water regularly, allowing the top inch of soil to dry out between waterings. Avoid overwatering, which can lead to root rot.
- Fertilizing: Use a balanced liquid fertilizer every 2-4 weeks to encourage healthy growth and blooms.
- Deadheading: Remove faded flowers to promote continuous blooming.
Pro-Tips: Dwarf or compact zinnia varieties are best suited for container gardening. However, any variety can be grown in pots. Keep in mind that strong winds can topple tall zinnias in pots. So place your container in a sheltered location or stake the plants for support.

Best Practices for Harvesting Your Zinnia Flowers
Zinnias are a staple in my cut flower garden as they are cut-and-come-again-type flowers. So the more you cut them, the more they will bloom all season long. Harvest blooms when they are fully open and remove any foliage that will be below the water line in your vase. (See more tips about cutting flowers in this post below.)
How to Collect and Store Zinnia Seeds for Next Season
Harvesting zinnia seeds is a fun and rewarding process that lets you sustainably enjoy your beautiful blooms on a dime for years to come if you save and store the seeds properly. So if you want to save some money from buying fresh seeds every year, you can easily learn how to harvest zinnia seeds in a few simple steps. Here’s how to do it!
Harvesting Zinnia Seeds Timing
When harvesting zinnia seeds, the timing is critical. Wait until the flowers fade and the seed heads begin to dry and turn brown. You can gently crack open a seed head to check inside. The seeds should be dark brown and hard, not plump and white.

Guide to Harvesting Zinnia Seeds Effectively
- Cut the seed heads: Use sharp scissors, garden snips, or pruners to cut the seed heads about 2 inches below the head. Place them in a paper bag or envelope to dry further. This helps prevent seeds from scattering as they mature.
- Dry the seed heads: Store the bag or envelope in a cool, dry place for 2-4 weeks. Or if it’s easier, you can hang them upside down.
- Extract the seeds: Once the seed heads are fully dry, gently rub them between your fingers or break them apart to release the seeds. You can also shake the bag or envelope over a container.
- Clean the seeds: The released seeds will be mixed with chaff (brown petal bits). You can winnow the seeds by blowing gently on them. The lighter chaff will blow away, leaving the heavier seeds behind. You can also pick out any remaining chaff by hand.
Quick Tips for Harvesting and Storing Zinnia Seeds
Store the cleaned seeds in airtight containers, labeled with the variety and harvest date. Keep them in a cool, dark place like a pantry or refrigerator. Zinnia seeds can remain viable for 3-5 years. I have been storing mine in a small file cabinet in my library that has worked well for short-term storage. For longer-term storage, I store my zinnia seeds in the refrigerator.
Harvesting and Storing Zinnia Seeds Quick Tips
- If you have multiple zinnia varieties, harvest and store their seeds separately to avoid cross-pollination and preserve their distinctive features.
- Save seeds from your healthiest and most beautiful zinnias to ensure good genetics for future generations. Do not preserve seeds from plants that had pest or disease problems.

How to Cut Zinnias and Arrange the Flowers
Zinnias are beautiful and long-lasting cut flowers that can brighten up any room. To help prolong the flowers in a vase, here are some tips to follow.
- Always start with a clean vase or floral foam.
- Prepare each flower for the arrangement. If you are cutting your own flowers, start with the freshest flowers you can find. Look for flowers that are just starting to open, with sturdy stems and bright, vibrant colors.
- Cut the stems at a 45-degree angle using sharp garden snips or scissors. Cut the stems early in the morning when the plants are still cool and hydrated.
- Remove any leaves or thorns from the lower part of the stems that will be submerged in water. This will help prevent bacteria growth and keep the water clean.
- Immediately after cutting, place the stems in a vase filled with clean, lukewarm water. And allow them to sit for a few hours so they acclimate to life in a vase.
- Re-cut stems on an angle and arrange flowers in a second vase with room temperature water.
- Add flower food to the water to help extend the life of the flowers. Alternatively, you can make your own flower food by mixing a quart of water with 2 crushed aspirins, a teaspoon of sugar, and a teaspoon of bleach.
- Keep flowers in a cool shady spot that is away from direct sunlight and drafts.

How to Grow Zinnias FAQs
Do Zinnias Come Back Every Year?
Those new to growing them sometimes wonder whether to consider zinnias annual or perennial. But, zinnias are typically grown as annuals, meaning that they complete their life cycle in one growing season and do not come back the following year. However, some zinnia varieties are known to reseed themselves and return the following year. Such varieties include ‘Cut and Come Again’, ‘State Fair’, and ‘Persian Carpet’.

What Month Do You Plant Zinnias?
When to plant zinnias depends on your climate and hardiness zone. In general, zinnias are warm-season annuals that are planted after the danger of frost has passed and the soil has warmed up. In most regions, this means planting zinnias in the spring or early summer.
If you live in a cooler climate, you can start seeding zinnias indoors in early spring and transplant them outdoors once the weather warms up. I garden in zone 6b, so I like to start my zinnia seed indoors so I can transplant them after all danger of frost has passed which is usually mid-May. If I decide to plant them a little earlier, I watch the weather like a hawk in case we get a frost.
To determine the best time to plant zinnias in your specific region, consult with your local cooperative extension service or other local gardeners for advice.

How Do You Keep Zinnias Blooming?
Zinnias are relatively easy to care for, but there are a few things you can do to keep them looking amazing and continually blooming throughout the growing season.
- Pinch seedlings back when they are about 8-10 inches tall to encourage bushier branching. More branching = more blooms!
- Deadhead regularly.
- Keep them hydrated.
- Fertilize them.
- Grow them in full sun.
- Watch for pest or disease problems.

Are Zinnias Deer Resistant?
Zinnias are often listed as deer-resistant, but the truth is a bit more nuanced. Rutgers Cooperative Extension categorizes them as “seldom severely damaged,” meaning deer may nibble on them, but usually don’t cause significant damage.
In my own deer-prone garden, I’ve found that zinnias are generally left alone, though deer may occasionally sample those directly in their path. If deer pressure is high in your area, consider these protective measures:
- Other deterrents: Motion-activated sprinklers, noisemakers, and reflective surfaces can also help keep deer away.
- Fencing: A physical barrier is the most effective way to exclude deer.
- Repellents: Commercial deer repellents like these can deter browsing, but may need frequent reapplication.

Top Picks: My Favorite Varieties of Zinnias to Cultivate
Here are some of my favorite zinnia varieties to grow. I’ve got a few growing in the potager garden this season.
- ‘Benary’s Giant Wine’
- ‘Precious Metals’
- ‘Dawn Creek Blush’
- ‘Queen Lime Orange’
- ‘Queen Lime with Blush’
- ‘Senora’
- ‘Oklahoma Salmon’
- ‘Benary’s Giant Carmen Rose’
- ‘Uproar Rose’
- ‘Zinderella’
- ‘Profusion’
For more information about growing zinnias see:

Final Thoughts About How to Grow Zinnia Flowers
Zinnias are one of my favorite flowers to grow in my cutting garden. They are super easy to start from seed, perform well, look gorgeous and add lots of cheer to the beds. I cut loads of blooms for bouquets throughout the growing season. If you are looking for an easy flower to grow that you’ll enjoy for years to come, I highly suggest adding zinnias to your garden.
Do you grow zinnias in your garden? What are your favorite varieties? Do you start them from seed? If so, how? Let’s chat more about it in the comments below.
For more information about growing zinnias, read these informative articles that I wrote!
- The Best Way to Start Zinnia Seeds For Your Cut Flower Garden
- How to Grow Zinnias: Best Tips for Beginners
- Must-Have Zinnia Varieties for Your Cutting Garden
- Grow Better Zinnias: 15 Companion Plants You Need to Grow
- How to Beat Japanese Beetles on Zinnias
To drill down on more beginner gardening techniques and tips, please read these posts:
- Flower Gardening 101
- Growing a Cut Flower Garden for Beginners
- Container Garden Ideas for Beginners
- How to Start a Vegetable Garden
- Herb Gardening for Beginners
Happy Gardening!
