How to Start Zinnia Seeds Indoors (or Direct Sow) for a Beautiful Cut Flower Garden

Learn how to start zinnia seeds indoors or by direct sowing. This step-by-step guide covers timing, supplies, and tips for strong, healthy plants.
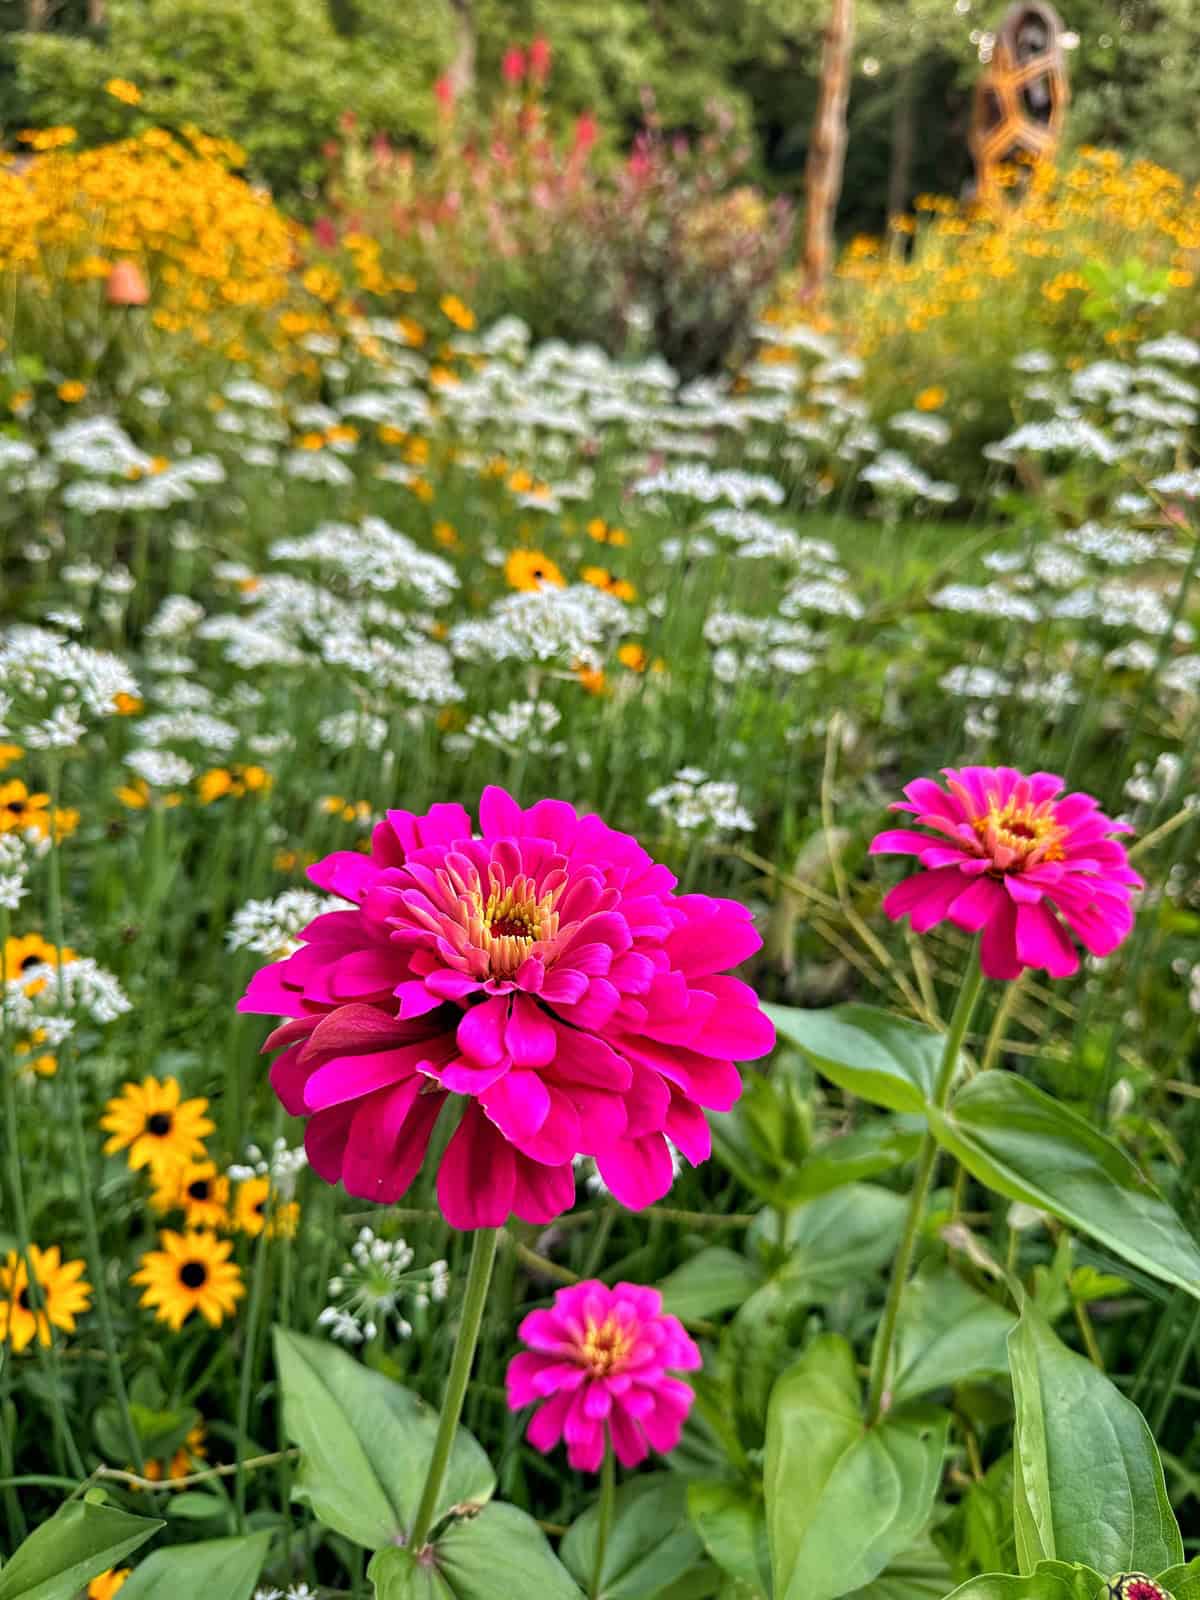
Starting zinnias from seed is one of the easiest and most rewarding ways to fill your cutting garden with vibrant summer color. I’ve been starting zinnia seeds indoors for several years here in my Zone 6b garden, and every season I’m reminded why this method works so well getting stronger seedlings, earlier blooms, and far more variety than you’ll ever find at the nursery.
If you’re growing zinnias for cut flowers, seed starting gives you a serious head start. And while you can direct sow them outdoors, I’ve found that beginning them indoors produces sturdier plants, better stems, and earlier blooms, especially in cooler climates like mine. I’ll walk you through the exact method I use each year so you can enjoy the same success.
This guide focuses specifically on how to start zinnia seeds, whether indoors under grow lights or by direct sowing in the garden. For a full overview of growing zinnias, including planting, care, pests, and harvesting, please visit my main guide: 👉 How to Grow Zinnias
If you’re brand new to seed starting, you may also find these helpful:
Whether you’re starting just a few trays or filling an entire cutting garden, this step-by-step guide will show you the best way to start zinnia seeds successfully.
(Posts on stacyling.com may contain affiliate links. Click HERE for full disclosure.)

Planting Zinnia Seeds: Deciding Whether to Sow Indoors or Outdoors
Before you start planting, the biggest decision is whether to start your zinnia seeds indoors or direct sow them outside. Both methods work beautifully, so you just need to choose the one that fits your climate, timing, and gardening style.
Climate Considerations
Cooler climates (like my Zone 6b):
Starting zinnia seeds indoors gives you a valuable head start and earlier blooms, especially if you have a shorter growing season. I’ve always had the best results beginning mine indoors 4–6 weeks before my last frost date.
Warmer climates:
If you garden in a longer, warmer season, direct sowing is easy, efficient, and gives excellent results once frost danger has passed.

Personal Preference
Convenience:
Direct sowing is simpler and requires no equipment. If you want a fuss-free approach, it’s a great option.
Control:
Starting seeds indoors offers more control over germination conditions, spacing, and seedling health. It’s especially helpful if you’re growing specific zinnia varieties or want the strongest possible plants.
If you want a full breakdown of indoor seed-starting systems, including lighting, shelves, and supplies, see:
👉 How to Start Seeds Indoors Without a Greenhouse
👉 DIY Seed Starting Setup

Other Factors to Consider
- Bloom timing:
Start indoors for the earliest flowers; direct sow for later summer blooms. - Budget:
Indoor seed starting requires grow lights, trays, and heat mats; direct sowing is more cost-effective. - Variety:
Some zinnias germinate more reliably indoors, especially smaller or specialty seeds. - Gardening experience:
Beginners often appreciate the control of indoor seed starting, while experienced gardeners may prefer the simplicity of sowing outdoors.
Ultimately, the best method is the one that suits your goals and growing conditions. Many gardeners try both approaches and you may find different methods work better for different varieties.
I know some gardeners that prefer direct sowing while others like myself prefer starting zinnia seeds indoors.
Here’s a quick summary table to help you better visualize the decision.
| FACTOR | STARTING INDOORS | DIRECT SOWING OUTSIDE |
|---|---|---|
| Climate | Warmer climates, short growing seasons | Warmer climates, longer growing seasons |
| Cost | More expensive, need supplies | Less expensive, don’t need as many supplies |
| Convenience | Less convenient, requires more attention | More convenient, less work |
| Control | More control over germination and seedling care | Less control over germination conditions |
| Planting Time | Earlier blooms | Later blooms |
| Variety | May be necessary for some varieties | Works well for most varieties |
| Experience | May be easier for beginners | Works well for experienced gardeners |

My Preferred Method
After starting zinnias for over twenty years using both methods, I prefer beginning them indoors. For many years, I sowed them directly outdoors because it was easier and I didn’t have to worry about hardening them off. But since I’m an impatient gardener and love seeing blooms as early as possible, I sow their seeds under grow lights in my sunroom about 4–6 weeks before my last frost.
Back at my former home, I used a basement seed-starting station to grow my zinnia plants this way. Indoor starting consistently gives me strong, uniform seedlings and earlier flowers.
That said, many gardeners have wonderful success direct sowing, and I use that method too if I’m planting later successions. It truly comes down to preference, climate, and how much control you want over the process.
Starting Zinnia Seeds Indoors
Starting zinnias indoors is one of the easiest ways to get a jump on the season, especially in cooler climates like my Zone 6b. If you want to start zinnias indoors, begin 4–6 weeks before your last frost date. You can look up your frost date online. Always check your seed packet too because the grower’s instructions take priority.
Seed-Starting Supplies I Use Every Year
Here are the tools and materials I rely on for strong, healthy zinnia seedlings:
- Seeds
- Vermiculite
- Seed Starting Mix
- Seed Trays
- Bottom or Drainage Trays
- Clear Dome Lids
- Grow Lights
- Table or Shelf System for Seedlings
- Heat Mat
- Plant Labels
- Oscillating Fan
- Programmable Timer
If you’re setting up an indoor seed-starting station, you may find these helpful:
👉 How to Start Seeds Indoors Without a Greenhouse
👉 DIY Seed-Starting Setup

How to Start Zinnia Seeds Indoors (Step-by-Step)
1. Prepare Your Seed Trays
Fill seed cells with pre-moistened seed-starting mix. Avoid garden soil—it’s too heavy and may introduce disease.
2. Sow the Seeds
- Make a small hole about ¼ inch deep.
- Drop in one seed per cell.
- Lightly cover with vermiculite for even moisture and clean germination.
- Only sow one variety per tray, since different types germinate at different speeds.

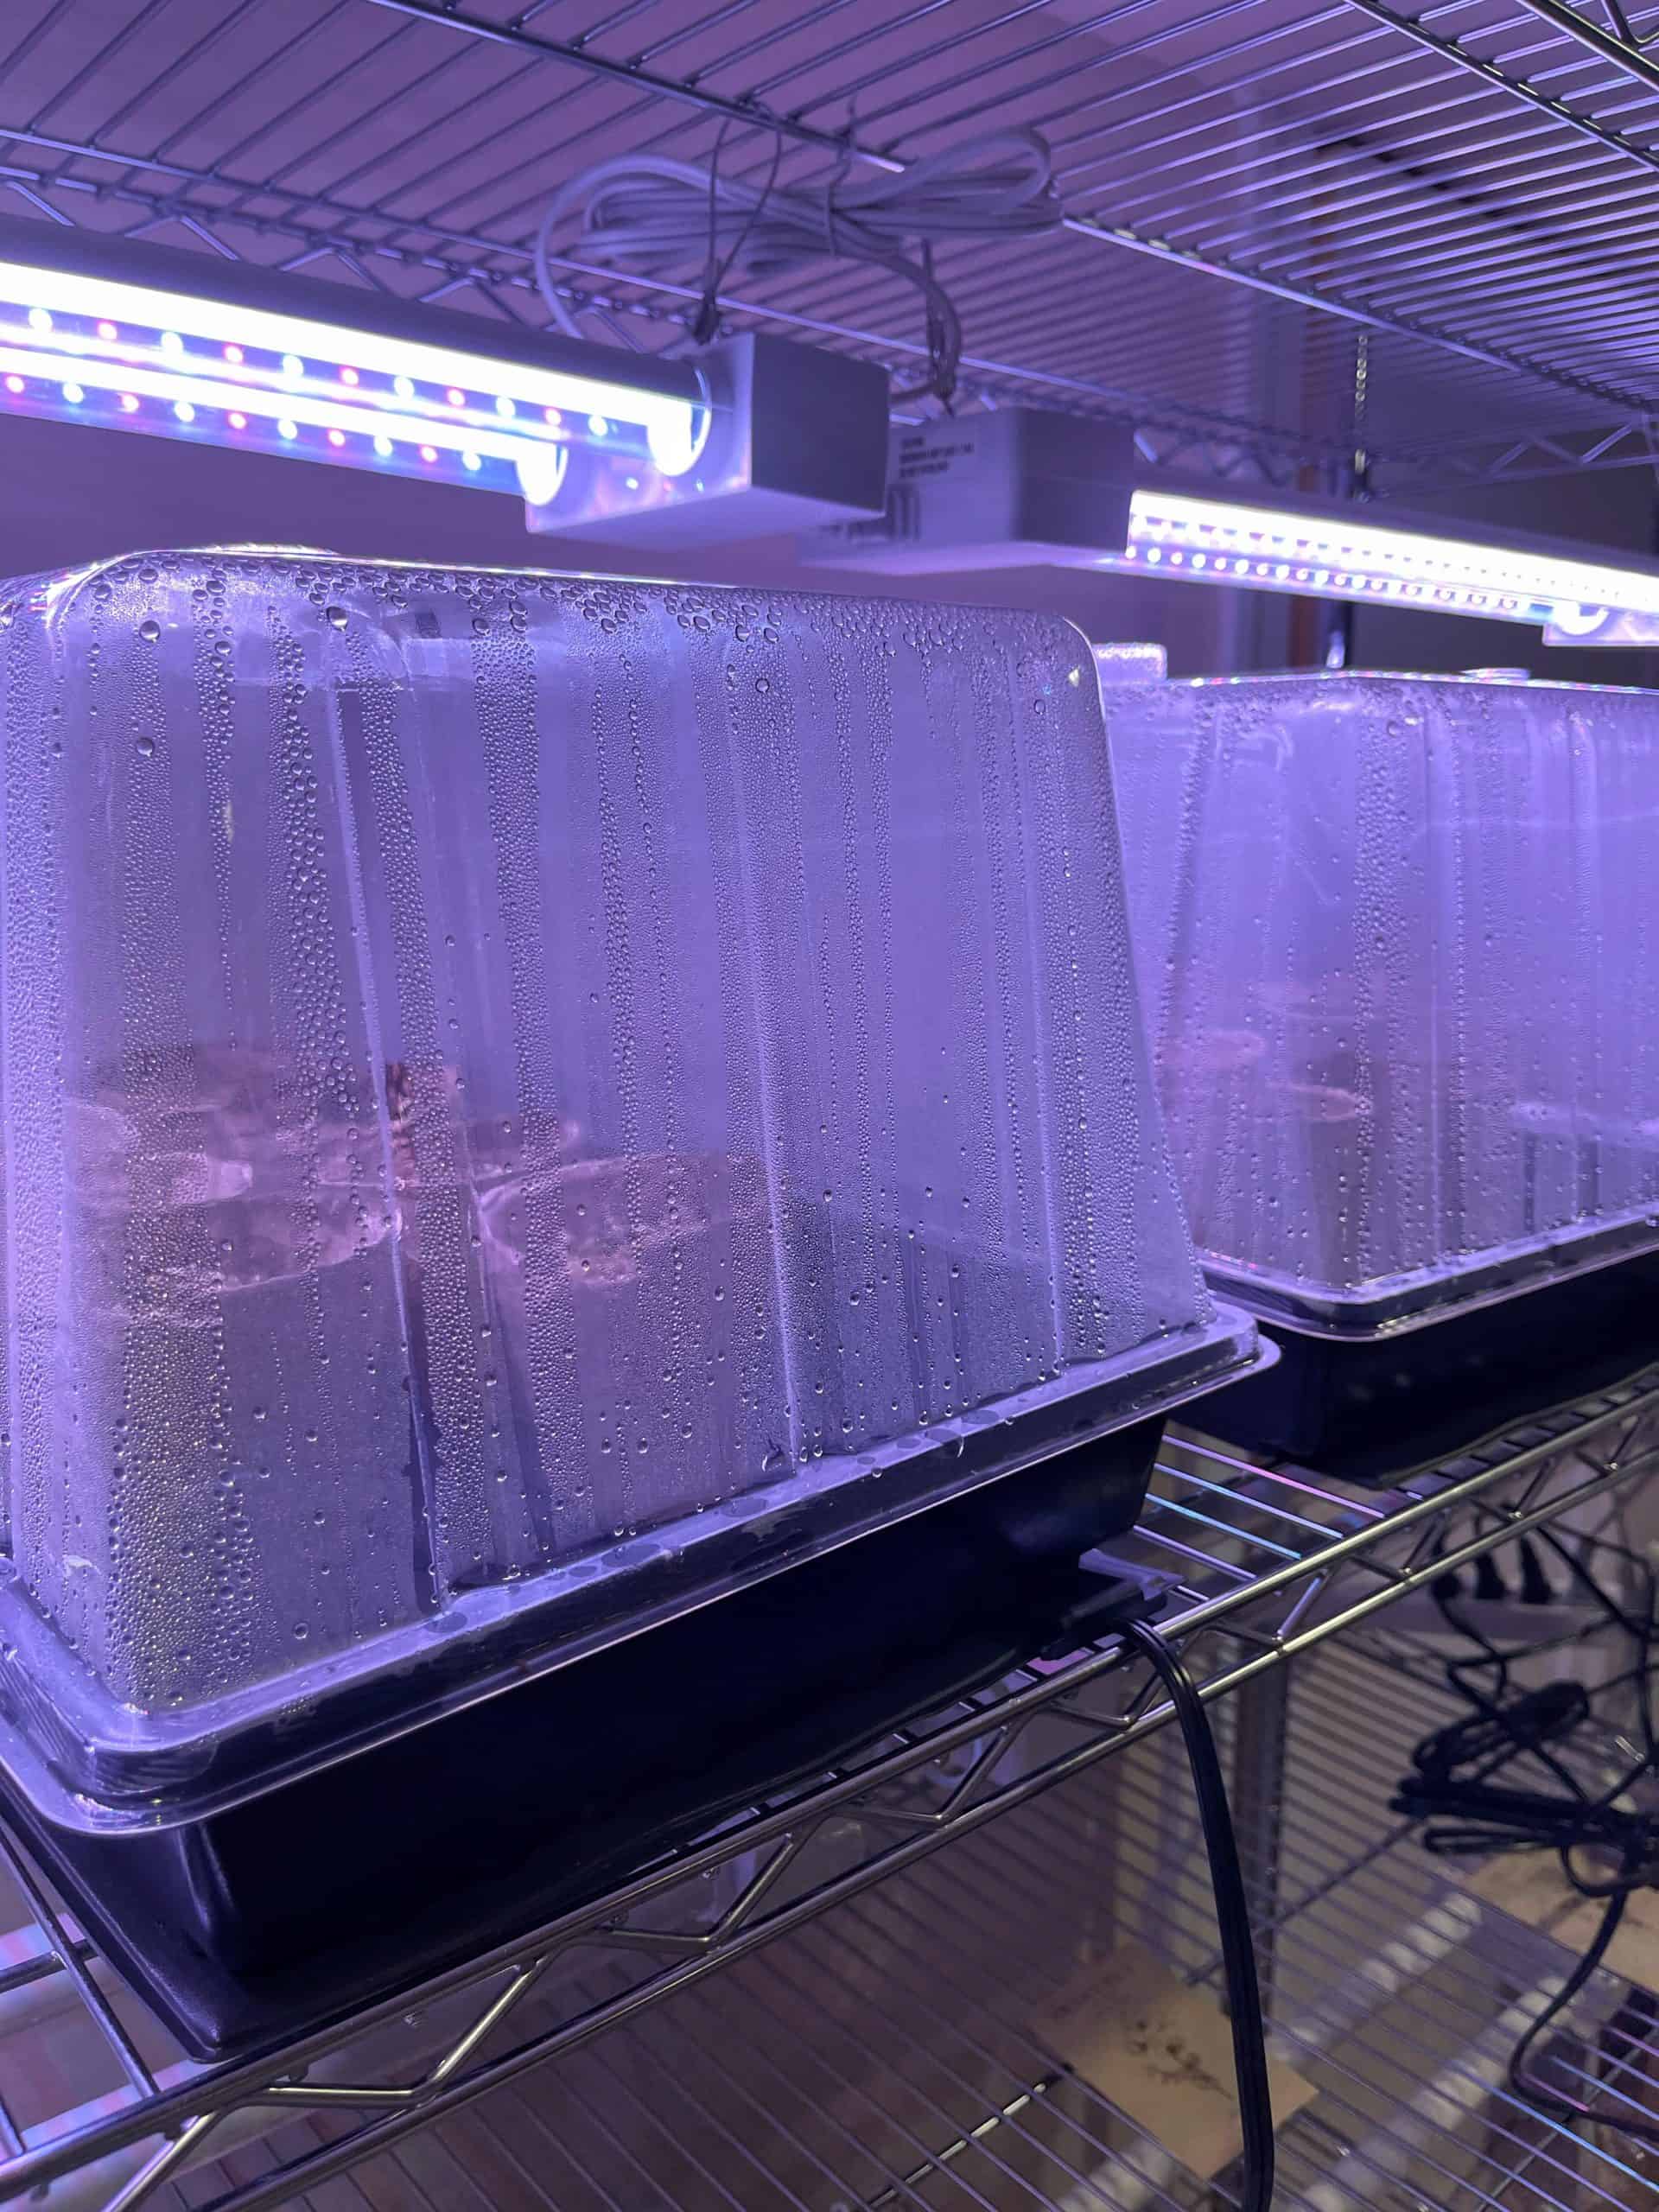
3. Provide Warmth & Humidity
- Place trays on a heat mat for faster germination.
- Cover with a humidity dome until seedlings emerge (usually 3–7 days and I’ve seed as early as 2!).
- Remove the dome as soon as you see green growth because zinnias damp off easily if kept too moist. Don’t worry if some seeds didn’t sprout yet because they will.
4. Give Them Proper Light
Move trays under grow lights immediately after germination. Keep lights about 2–3 inches above the seedlings to prevent legginess.
5. Water from the Bottom Only
Pour water into the tray beneath the cells and allow the soil to wick it up. This prevents fungal issues and keeps stems strong.
6. Strengthen Seedlings with Airflow
Use an oscillating fan on low to encourage sturdy stems and reduce disease. This is one of the easiest ways to get compact, healthy seedlings.
Caring for Zinnia Seedlings Indoors (Before Hardening Off)
Once your zinnia seeds have germinated, proper care indoors will set the stage for strong, healthy plants later in the season. These are the exact steps I follow each spring.
Provide Strong, Consistent Light
Keep grow lights 2–3 inches above the seedlings and adjust them as the plants grow. Zinnias become leggy very quickly if the light is too high or too weak.
Water from the Bottom Only
Fill the bottom tray and allow the soil to wick moisture upward. This prevents damping off and keeps stems firm. Let the tray dry out between waterings so seedlings never sit in standing water.
Maintain Good Airflow
I run an oscillating fan on low near my seed trays to help strengthen stems and reduce fungal issues. This single step has dramatically improved seedling quality for me over the years.
Monitor Temperature
Zinnias grow best at 65–75°F indoors. Too much heat can cause spindly growth, while cold rooms slow development.
Thin Only If Necessary
If multiple seeds sprout in one cell, snip the weaker seedlings at the soil line so the strongest plant can take over the cell.
Avoid Fertilizing Too Early
Seed-starting mix contains enough nutrients to carry seedlings through the early stages. I wait until seedlings develop several true leaves before adding a very diluted liquid feed.
A full indoor seedling-care overview is available here if you need more general guidance: 👉 How to Start Seeds Indoors Without a Greenhouse

Hardening Off Zinnia Seedlings
Before transplanting, zinnias need to acclimate to outdoor conditions. Sudden sun, wind, or temperature swings can shock them.
- Begin hardening off 10–14 days before transplanting.
- Start with 1–2 hours outdoors in shade, increasing time each day.
- Gradually introduce morning sun, wind, and outdoor temperatures.
For a full walkthrough, see:
👉 What You Need to Know About Hardening Off Plants

Transplanting Zinnia Seedlings Outdoors
Once seedlings are hardened off and all danger of frost has passed:
- Plant them 6–12 inches apart (refer to your variety for exact spacing).
- Choose a sunny location with good airflow to reduce powdery mildew.
- Water deeply at planting time and keep the soil evenly moist while roots establish.
- Feed with a gentle fertilizer until plants begin active growth.
Once your seedlings are ready to go in the ground, spacing becomes really important for plant health and long-term performance. I go into more detail here on how far apart to plant zinnias and why it makes such a difference later in the season.
After transplanting, hop over to my main zinnia guide for full-season care: 👉 How to Grow Zinnias

Direct Sowing Zinnia Seeds Outdoors
If you prefer a simpler, low-maintenance approach, direct sowing zinnia seeds is a wonderful option. I often use this method for later successions because zinnias germinate quickly and grow vigorously once the weather warms.
When to Direct Sow Zinnias
- Wait until all danger of frost has passed.
- Soil temperature should be above 60°F for reliable germination.
- In cooler climates (like my Zone 6b), this usually means late spring.
If you’re unsure how warm your soil is, a simple soil thermometer makes it easy to check.
For a full guide to outdoor seed sowing, you may also find this helpful:
👉 Beginner’s Guide to Direct Sowing Flowers

Preparing Your Planting Area
Choose a location with:
- Full sun (at least 6–8 hours daily)
- Well-drained soil
- A weed-free, loosened planting bed
Before sowing, I like to amend the soil with a few inches of compost to improve structure and moisture retention. Zinnias aren’t fussy, but they do appreciate well-prepared soil.

How to Direct Sow Zinnia Seeds
1. Sow at the proper depth
Plant seeds about ¼ inch deep—shallow sowing ensures quick germination.
2. Space appropriately
Follow your seed packet, but these guidelines work well:
- 6–12 inches for dwarf varieties
- 9-12 inches for taller cutting varieties
Proper spacing reduces disease pressure and improves airflow.
3. Cover lightly
Brush a thin layer of soil over the seeds. Zinnias don’t like being buried deeply.
4. Water gently
Use a soft spray or watering wand so seeds don’t wash away. Keep the top layer of soil consistently moist until seedlings emerge.
A Note About Scattering Seeds
Some gardeners scatter zinnia seeds and walk away. And yes, it absolutely can work. Zinnias are forgiving! But if you want:
- More predictable germination
- Healthier plants
- Fewer thinning chores
- Stronger airflow around plants
- Longer bloom time
- Birds not eating your seeds
…sowing seeds intentionally rather than scattering will give you better results.
Spacing plays a bigger role than most people expect, especially once plants mature and start filling in. If you want a deeper look at how spacing affects airflow, plant health, and issues like powdery mildew later in the season, read my guide on how far apart to plant zinnias give you better results.

Caring for Zinnia Seedlings After They Emerge (Outdoors)
Once your direct-sown zinnia seeds sprout outdoors, a little early care will set them up for success.
Thin Seedlings If Needed
Once your seedlings develop their first true leaves, thin them to the spacing recommended on your seed packet. Proper spacing improves airflow and reduces disease pressure, which leads to stronger, healthier plants. I know it can be tough to remove extras, but it really does make a difference. When possible, I gently separate any seedlings that are easy to tease apart and relocate them, but if they’re too tangled, thinning is the better choice.
Protect Young Seedlings
Birds, rabbits, and insects sometimes nibble tender sprouts. You can use insect netting or wire cloches temporarily until plants are established. I’ve found rabbits in particular leave my plants alone after they hit about a foot tall.
Label Your Rows
Always label your sowing areas, especially if you’re growing multiple varieties. I’ve learned the hard way that it’s easy to forget what was planted where!
How Long Until Zinnias Bloom?
With warm weather and consistent moisture, zinnias typically begin blooming 6–8 weeks after sowing.
For full-season care, including watering, fertilizing, pinching, and preventing powdery mildew, see my main guide: 👉 How to Grow Zinnias

Troubleshooting Common Zinnia Seed-Starting Problems
Even though zinnias are some of the easiest flowers to grow from seed, things can still go wrong, especially indoors. Here are the most common issues I see (and have personally experienced!) along with simple ways to correct them.
Leggy Seedlings
What it looks like: Tall, stretched seedlings that fall over or look weak.
Cause: Grow lights are too high, too dim, or not on long enough.
Solution:
- Keep lights 2–3 inches above seedlings
- Increase light duration to 14–16 hours per day
- Add an oscillating fan to strengthen stems
Slow or Uneven Germination
Possible causes:
- Soil is too cold
- Inconsistent moisture
- Seeds planted too deeply
Fixes:
- Use a heat mat to maintain warmth
- Keep the seed-starting mix consistently moist
- Sow seeds only ¼ inch deep

Damping Off (Seedlings Suddenly Collapse)
Cause: A fungal issue caused by overly wet soil, stagnant air, or contamination.
Solution:
- Remove humidity dome as soon as seedlings emerge
- Bottom water only
- Increase airflow with a fan
- Always use clean, sterile seed-starting mix
Mold or Algae on the Soil Surface
Cause: Excess moisture or poor air circulation.
Solution:
- Increase airflow
- Allow the soil surface to dry slightly between waterings
- Bottom water instead of overhead watering
Weak, Pale, or Yellow Seedlings
Cause: Insufficient light or lack of nutrients.
Solution:
- Ensure grow lights are close enough
- Once seedlings have several true leaves, apply a diluted liquid fertilizer
Mistakes I’ve Made (So You Don’t Have To!)
I’ve started thousands of zinnia seeds over the years in my zone 6b gardens, and I’ve made just about every mistake possible. Here are a few big ones you can easily avoid:
1. Keeping the humidity dome on too long
This is one of the fastest ways to cause damping off. Remove the dome the moment you see green. Like I said earlier, it’s okay if the other seeds haven’t germinated yet; they will.
2. Planting seeds too deeply
Zinnias need shallow sowing. Early on, I buried them too deep and my germination suffered.
3. Not using a fan
Before I added airflow, my seedlings were always leggy. A simple fan makes a huge difference by helping them grow much stronger.
4. Overwatering seedlings
Zinnias hate soggy soil. Bottom water only and allow trays to dry between waterings. Keep an eye on the trays every single day because too much (and even too little) can ruin your tray.
5. Forgetting to label trays
More than once, I thought I’d remember which tray held which variety and spoiler alert: I never did. Always label everything. Trust me when I tell you that you won’t remember!
6. Hardening off too quickly
One of my early mistakes was moving seedlings straight into full sun. Transition them slowly over 10–14 days. For a full walkthrough, see: 👉 How to Harden Off Plants
Final Thoughts: The Best Way to Start Zinnia Seeds
Starting zinnias from seed is one of the easiest and most rewarding ways to fill your cutting garden with vibrant summer color. After growing thousands of zinnias over the years, I still prefer to start mine indoors under grow lights every spring. It gives me a head start on the season, produces strong, reliable seedlings, and lets me enjoy blooms weeks earlier than direct sowing outdoors. I’m an impatient gardener and indoor sowing never lets me down!
Whether you choose to start seeds indoors or sow directly into the garden, zinnias are incredibly forgiving and fun-to-grow plants. Once your seedlings are ready for the outdoors, be sure to check out my full growing guide to help you care for them all season long: 👉 How to Grow Zinnias
If you’re planning a cut flower garden this year, you might also enjoy these related posts:
- Cut Flower Gardening for Beginners
- Must-Have Zinnia Varieties for Your Cutting Garden
- Beginner’s Guide to Direct Sowing Flowers
- How to Start Seeds Indoors Without a Greenhouse
- DIY Seed-Starting Setup
However you get your zinnias started, I hope this guide makes the process easier and more enjoyable. And if you grow zinnias every year like I do, you already know it’s nearly impossible to plant just one variety.
Do you start your zinnias indoors or direct sow them? Which varieties are your favorites? I’d love to hear about your seed-starting setup and what you’re growing this season, so feel free to share in the comments below so we can chat more.
For more information about growing zinnias from seed, please read this article from the Minnesota Cooperative Extension.
Thank you for visiting the blog today!
Enjoy your day! xo


I love Zinnias and have planted both indoors and direct seeding. My problem are slugs cutting down my direct seeded seedlings. They all germinate, look great then I go out one morning and they are gone! Tried copper strips last year in raised beds for strawberries with some success and will try with my zinnias. Any ideas?
Hey Kathy! I use this around susceptible plants and it works well for me! (affiliate) https://urlgeni.us/amzn/sluggo