Sowing seeds indoors made easy for a beautiful cut flower garden. Get step-by-step guide, tips, and tricks with amazing results!
Sowing seeds indoors is a simple and cost-effective way to kick-start your cut flower garden. With just a few basic tools and some knowledge of seed starting, you can grow healthy plants from the comfort of your own home.
And the best part is? You don’t need a greenhouse to do it!
Not only is this method ideal for those who want to get a head start on the growing season, but it’s also perfect for those who live in areas with short growing seasons or limited outdoor space.
Whether you’re a seasoned gardener or a beginner, sowing seeds indoors is an easy and rewarding process that anyone can do. It’s especially exciting when you’re dreaming of a garden overflowing with beautiful blooms to create your own stunning bouquets!
(Posts on stacyling.com may contain affiliate links. Click HERE for full disclosure.)

Why Start Seeds Indoors?
Imagine having a garden bursting with colorful flowers that you nurtured from tiny seeds. Starting your cut flower garden indoors offers several advantages:
- Longer Growing Season: Get a jump-start on the season and enjoy earlier blooms.
- Wider Variety: Access a broader selection of flowers than what’s available locally.
- Head Start on Blooms: Enjoy beautiful bouquets sooner by giving your flowers a head start.
- Cost-Effective: Growing from seed is much cheaper than buying established plants.
Choosing the Right Seeds
Before you start gathering your supplies, it’s important to choose the right flower varieties for your cut flower garden. Consider these factors:
- Your Climate and Growing Conditions: Select flowers that thrive in your local climate and the specific conditions of your garden (sun exposure, soil type, etc.).
- Desired Bloom Time and Colors: Choose a variety of flowers with different bloom times to ensure a continuous supply of fresh blooms throughout the season. Consider your favorite colors and the overall aesthetic you want to achieve.
- Stem Length and Vase Life: Opt for flowers with long, sturdy stems and a good vase life for beautiful, long-lasting arrangements.
Here are a few flower varieties that are easy to start indoors and perfect for cutting:
- Zinnias: Vibrant, long-lasting blooms in a wide array of colors.
- Cosmos: Delicate, airy flowers that add a touch of whimsy to bouquets.
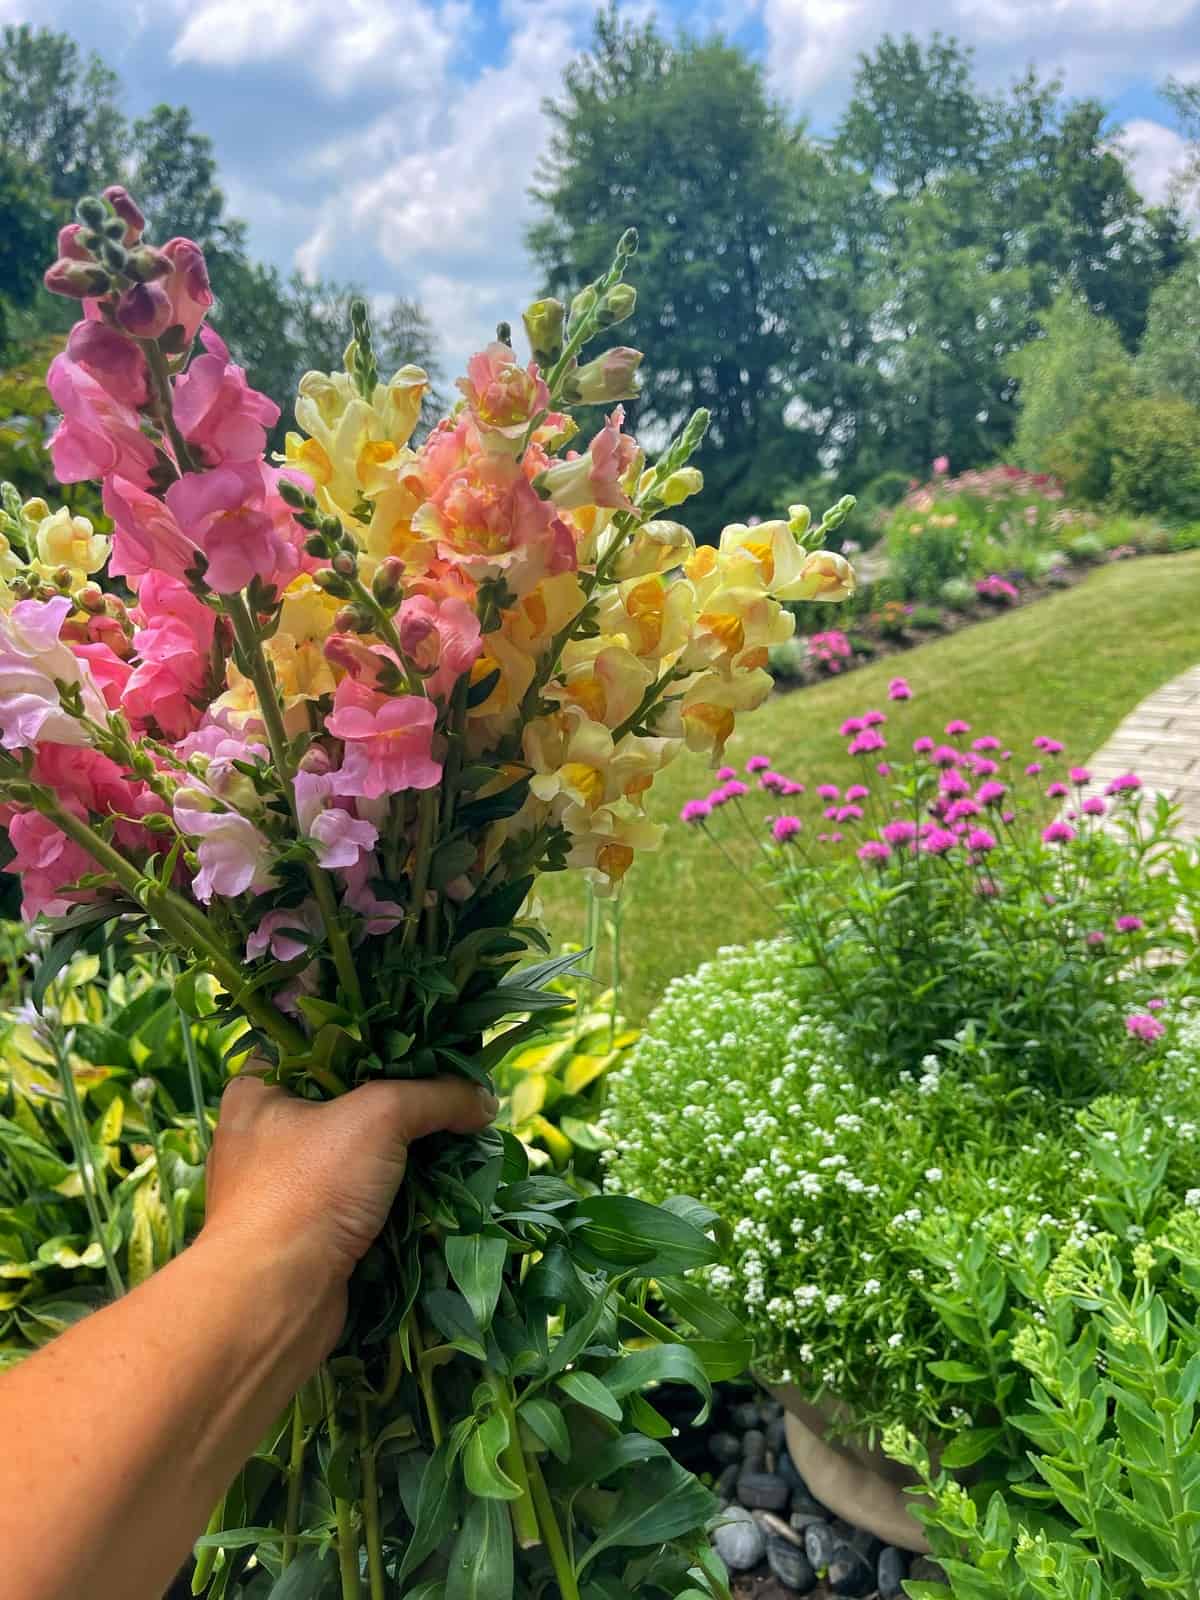
- Snapdragons: Tall, elegant flowers with a unique shape and long vase life.
- Sweet Peas: Fragrant, romantic blooms with a classic cottage garden charm (remember to soak these seeds for 24 hours before sowing!).
- Strawflowers: Beautiful blooms with a papery feel that look amazing in bouquets and dry really well.

Sowing Seeds Indoors Supplies
- Seeds: This might seem obvious, but high-quality seeds are the foundation of your success! Choose varieties suited to your climate and gardening goals.
- Vermiculite: While not strictly necessary, vermiculite is a fantastic seed-covering medium. It’s lightweight, helps retain moisture, and allows seedlings to emerge easily.
- Seed Starting Mix: Unlike regular potting mix, seed starting mix is finer and lighter, providing the ideal texture for delicate seedlings.
- Seed Trays: These come in various sizes and configurations. Choose seed trays that fit your space and the number of seedlings you plan to start. I usually go with the 72 or (2) 36 cells.
- Bottom or Drainage Trays: Essential for catching excess water and preventing soggy roots. Look for drainage trays that fit snugly beneath your seed trays.
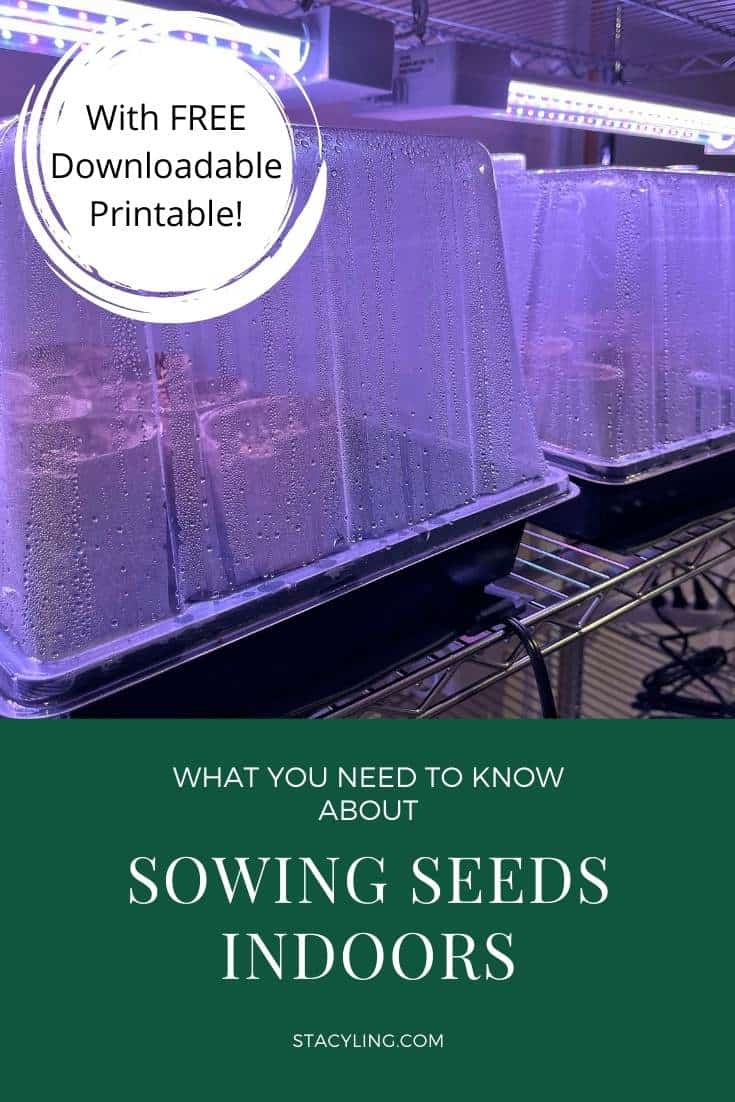
- Clear Dome Lids: Clear dome lids create a mini-greenhouse effect, maintaining humidity and warmth for optimal germination.
- Grow Lights: Crucial for providing adequate light, especially in areas with limited sunlight. LED grow lights are energy-efficient and provide the right spectrum for seedlings.
- Programmable Timer: Timers help your lighting go on and off daily with a low-maintenance, set-and-forget approach.
- Table or Shelf System for Seedlings: A sturdy surface to hold your trays and lights. You can DIY a system using wire shelves, as I did, or repurpose existing furniture.
- Heat Mat: Heat mats provide gentle bottom heat, which can significantly speed up germination. Not all seeds need additional heat, so read the seed packets for information.
- Plant Labels: Don’t forget to label your trays! You’ll be surprised how quickly you forget what you planted where.
- Oscillating Fan: Oscillating fan improves air circulation, which helps prevent damping-off (a fungal disease that can kill seedlings).


Sowing Seeds Indoors: Step-by-Step Directions
- Provide Warmth and Light: Place the trays or pots under grow lights and set them on a timer for 14-16 hours of light per day. If using a heat mat, place the trays on the mat to provide extra warmth for germination.
- Moisten the Seed-Starting Mix: Pre-moisten the seed-starting mix with water so it’s damp but not soggy.
- Fill Trays or Pots: Fill your seed trays or pots with the moistened seed-starting mix. Gently pack it down to remove any air bubbles and gaps.
- Sow Seeds at the Correct Depth: Refer to the seed packet instructions for the recommended sowing depth. As a general rule, plant seeds twice their depth. Note: Sow only one seed variety per tray, as different varieties germinate at different rates.
- Cover Seeds: Lightly cover the seeds with additional seed-starting mix or vermiculite. Vermiculite is a good choice because it’s lightweight and allows seedlings to emerge easily.
- Label Containers: Clearly label each tray or pot with the flower variety and sowing date.
- Water Gently: Use a watering can with a gentle rose to water the seeds without displacing them.


Caring for Seedlings
Once your seedlings start to emerge, it’s important to provide them with the right care to ensure they grow strong and healthy.
- Watering: Keep the seed-starting mix consistently moist but not soggy. Water from the bottom by placing the trays in a shallow dish of water and allowing the soil to soak it up.
- Thinning: If you sowed multiple seeds per cell or pot, thin out the weaker seedlings once they have a few sets of true leaves. This will give the remaining seedlings more space to grow.
- Fertilizing: Once your seedlings have a few sets of true leaves, you can start fertilizing them with a diluted liquid fertilizer.

Hardening Off Seedlings
Before you transplant your seedlings into the garden, it’s crucial to harden them off. This process gradually acclimates them to outdoor conditions, such as sunlight, wind, and temperature fluctuations.
To harden off your seedlings:
- Start Gradually: Begin by placing your seedlings outdoors in a sheltered location for a few hours each day.
- Increase Exposure: Gradually increase the amount of time they spend outdoors over 7-10 days.
- Monitor Conditions: Make sure to protect them from harsh sunlight, strong winds, and extreme temperatures.
For more information about how to harden off seedlings, read this post that I wrote here.

Transplanting Seedlings
When the danger of frost has passed and your seedlings are hardened off, it’s time to transplant them into your garden.
- Timing: Refer to your local frost dates and choose a time when the weather is consistently warm.
- Spacing: Space your seedlings according to the mature size of the plant. This information is usually found on the seed packet.
- Soil Preparation: Prepare your garden bed by amending the soil with compost or other organic matter to improve drainage and fertility.


Final Thoughts About Sowing Seeds Indoors For Your Cut Flower Garden
Sowing seeds indoors for your cut flower garden is a rewarding experience that allows you to enjoy beautiful, homegrown blooms throughout the season. By following these steps and providing your seedlings with the proper care, you’ll be well on your way to creating a stunning cut flower garden that will be the envy of the neighborhood.
Remember
- Enjoy the process and the beautiful blooms to come!
- Choose the right seeds for your climate and preferences.
- Gather the necessary supplies.
- Follow the steps for sowing and caring for your seedlings.
- Harden off your seedlings before transplanting.
Are you starting seeds indoors this year? What are you growing? I would love to know more in the comments below.
For more information about sowing seeds indoors, please see this article from the University of Maryland Cooperative Extension.
To drill down on more beginner gardening techniques and tips, please read these posts:
- Flower Gardening 101
- Growing a Cut Flower Garden for Beginners
- Container Garden Ideas for Beginners
- How to Start a Vegetable Garden
- Herb Gardening for Beginners
Happy Gardening!
Thanks for stopping by the blog today!
Enjoy your day! xoxo


Want To Get More Organized for Sowing Seeds?
CLICK HERE to get my FREE DOWNLOADABLE PRINTABLE that will help you get organized to sow seeds this year.
Print as many pages as you want and add to your gardening journal for ease of reference during the growing season.
Watch It on YouTube
Check out my video demonstrating how to sow seeds indoors without a greenhouse. Click on the video below to see the live-action. And be sure to subscribe to my YouTube Channel so you don’t miss my gardening how to’s, home and garden tours and latest DIY projects.
How to Start Seeds Indoors Without a Greenhouse Series
- Overview of How to Start Seeds Indoors Without a Greenhouse
- Supplies for Starting Seeds Indoors Without a Greenhouse
- 7 Simple Tips to Getting Organized Before Starting Seeds Indoors
- What You Need to Know About Sowing Seeds Indoors (you are here)
- 7 Lessons I Learned While Starting Seeds Indoors
- What You Need to Know About Hardening Off Plants
- How to Plant a Garden After Starting Seeds Indoors
- 7 Lessons I Learned From Growing a Cut Flower Garden
- How to Keep Fresh Flowers Longer
- Cut Flower Gardening for Beginners


