Starting cut flowers from seed success secrets revealed! Learn valuable lessons from my seed-to-bloom journey, with tips for specific flowers like zinnias and cosmos. Discover which varieties thrived indoors and which ones I’d skip next time!
The prospect of snipping fresh, homegrown blooms to brighten your home year-round is undeniably appealing. Cultivating a vibrant cut flower garden is possible from the comfort of your home.
In this post, I’ll share the 7 essential lessons I learned on my journey after starting cut flowers from seed indoors. But that’s not all! I’ll also delve into my experiences with various cut flower types, helping you choose the perfect blooms for your garden.
So let’s get into it!
(Posts on stacyling.com may contain affiliate links. Click HERE for full disclosure.)
7 Lessons I Learned Growing Cut Flowers From Seeds Indoors
After starting cut flowers from seed indoors the last several years, there are things that I would and wouldn’t do anymore given my experiences. Here are lessons I learned along the way.
Lesson #1: Avoid Biodegradable Pots
The first year I grew sweet peas, I started them in 4″ biodegradable peat pots. As much as I love using biodegradable them for certain types of plantings, they stayed really moist early on and grew some mold around the outside of them. They did OK overall, but I think it’s a little risky to use them. So moving forward, I will only use recycled and reusable plastic moving forward.
Note: If you reuse materials from the prior growing season, make sure you clean and sanitize them with a 1:10 bleach to water ratio to kill off any lingering pest or disease issues.

Lesson #2: Pay Attention to the Number of Seeds that Come in a Seed Packet
I wish I paid attention to the number of seeds in a packet and how to sow them. Because if I did, I would have purchased more sweet peas and snapdragons the first year I started seeds indoors. I wanted to grow a lot more of them and didn’t have as much after sowing them.
Different growers include a different amount of seeds in each packet so make sure you read all of the information before you purchase seeds.
Lesson #3: Turn Heat Mats So the Cord Hangs in the Back
Turn heat mats around so the cord hangs down in the back of your shelving. Seems kind of obvious, but apparently not to me. I was so excited to start and get my sweet peas on the mats that first year that I set it all up without really thinking about it. So there were my seeds ready to go with the cords dangling down in the front of the shelves.

Lesson #4: To Use or Not Use Seed Starting Kits
If you use the seed starting kits, I was not a fan of dealing with the pellets. I wound up tossing them and using seed starting mix instead. When using the kits, the pellets took some time to swell and stayed a bit chunky. I found it easier to swap them out for seed starting soil instead.
Lesson #5: Calculate the Number of Heat Mats You Actually Need
Calculate the most heat mats you will need at one time. Before beginning my indoor seed starting adventure under grow lights, I thought I would need heat mats for every single type of seed I was planning to grow. However, you really only need enough mats for the seeds you are starting at one time. And you can space the timing out if you needed, so think through how many heat mats you will actually use at any one given time.
Not sure how to do this? Take a look at your seed starting chart. Look at your estimated sowing dates and determine the maximum amount of cut flowers you’d be starting at one time.

Lesson #6: Not All Seeds Need to Be Started on a Heat Mat
Heat mats can be a helpful tool for seed germination, but they aren’t always necessary. Many warm-season vegetables and flowering plants, like zinnias and celosia, benefit from the gentle bottom heat a heat mat provides. This simulates their native growing conditions and can accelerate germination. However, some cool-season flowers, like snapdragons and poppies, actually prefer cooler soil temperatures for sprouting. In fact, heat can inhibit their germination process.
Before you invest in a heat mat, research the specific temperature needs of the seeds you plan to start. This will ensure you’re providing the optimal environment for successful germination. If you choose to use a heat mat, look for ones that come with a thermostat if possible to regulate the temperature and prevent overheating.

Lesson #7: Learn Best Practices for Each Type of Seed You Sow BEFORE You Sow
Read each seed packet before sowing AND research best practices for that particular seed. Different seeds need different accommodations before and after sowing.
For example, when I first started growing larkspur, I didn’t realize it needed to be refrigerated before sowing the seeds to aid with their germination. This is helpful to know because when I went to go sow them that first year, I had to hold off a bit because I didn’t take that step.
Those little packets hold a wealth of information. So before you even sow a single seed, take a close look at the information printed on the packet. Here’s what to look for:
Step 1: Learning the Basics for that Variety of Seed
- Planting Depth: This tells you exactly how deep to bury your seeds for optimal germination.
- Spacing Requirements: This ensures your seedlings have enough room to grow strong and don’t become overcrowded.
- Germination Time: Knowing the typical timeframe for sprouting helps you manage expectations and avoid unnecessary worry.
- Light Requirements: Some seeds need plenty of sunshine, while others prefer cooler, shaded areas.

Step 2: Level Up Your Seed Starting Skills.
The information on the packet is a great start, but don’t stop there! Use the seed variety name as a springboard to delve deeper online. Search for “[seed variety name] seed starting guide” or “[seed variety name] indoor growing tips.” Here’s what this additional research might reveal:
- Specific Germination Needs: Some seeds benefit from pre-soaking or scarification (scratching the seed coat) to enhance germination.
- Transplanting Tips: The ideal timing and pot size for transplanting can vary depending on the flower variety.
- Feeding Preferences: Learn if your chosen flowers prefer a specific fertilizer or feeding schedule for optimal growth and blooms.
By combining the information from the seed packet with a little online research, you’ll be well-equipped to provide each seed variety with the specific conditions it needs to thrive. This personalized approach will significantly increase your chances of germination success and ultimately lead to a flourishing indoor cut flower garden.

Lessons I’ve Learned About Specific Cut Flowers I’ve Grown
It’s been a few weeks now since I started my sweet peas, snapdragons, iceland poppies and larkspur. So here’s a quick update on how they are all doing and what I’ve learned.
Sweet Peas
The first year I grew sweet peas I started them indoors under grow lights. They were easy to grow but did not perform well in my former garden.
When we moved I decided to start sweet peas using the winter sowing method. They did so well that I have not looked back since! I won’t waste the indoor seed starting space on growing these cut flowers when they do so well starting them in milk jugs outside.

Iceland Poppies
The iceland poppies I started from seed did pretty well. Most if not germinated with ease. After sowing the seeds in trays, I read that they are not fans of being transplanted. This raises an issue because, at some point, these will get transplanted to the garden. For me they did okay after planting but the flowers didn’t perform all that amazing. I don’t grow these anymore from seed.
Snapdragons
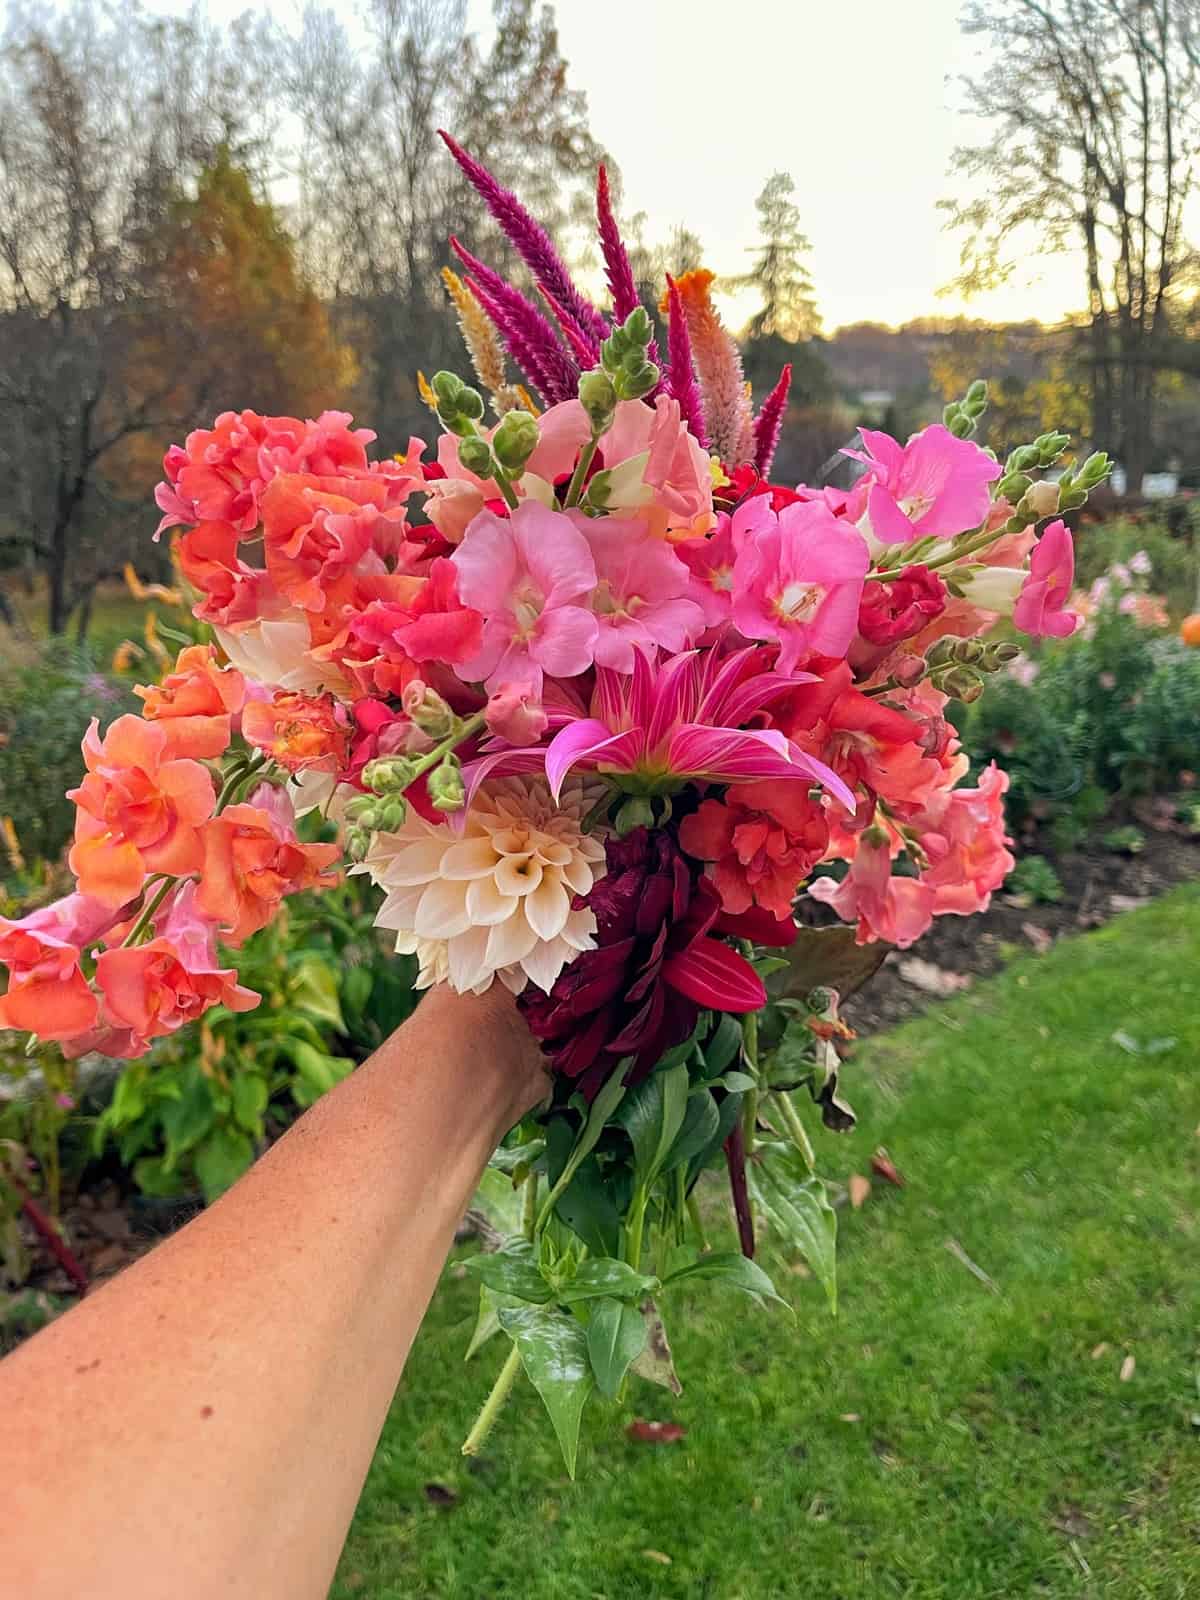
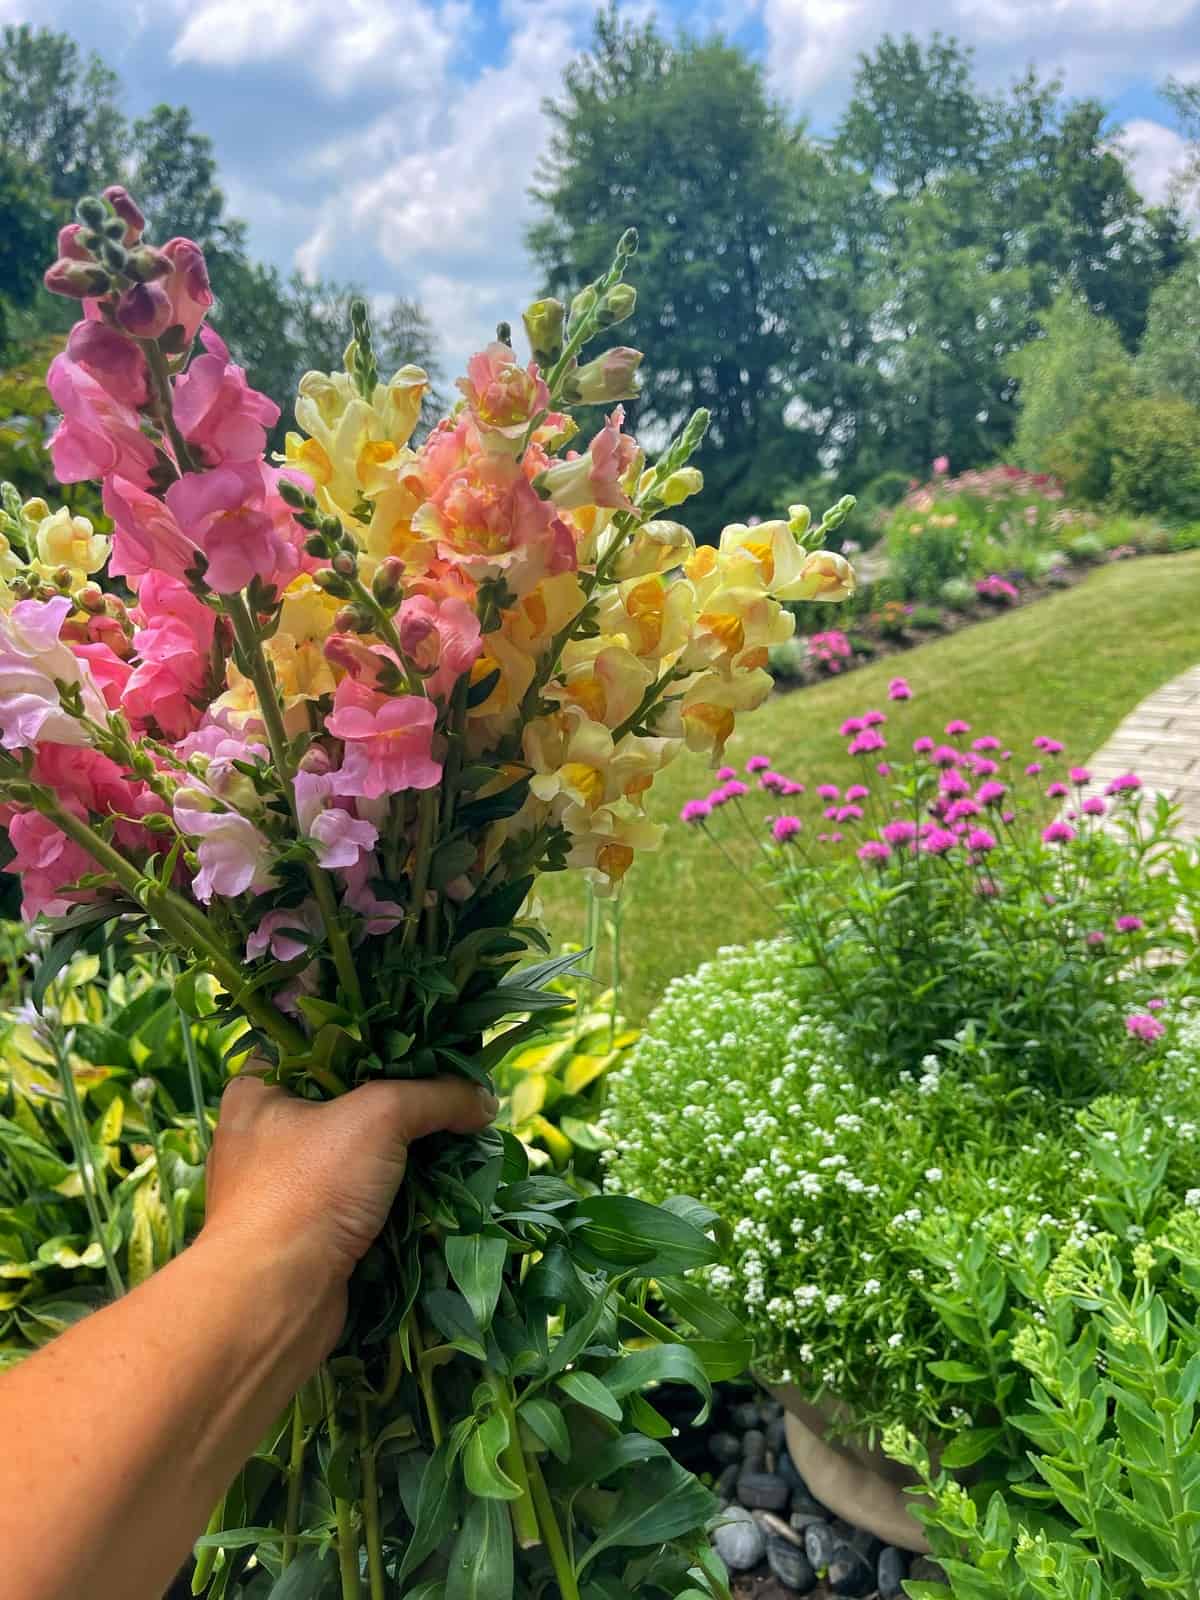
I’ve had great success starting my snapdragons from seed. They quickly germinate with ease and grow very well in my zone 6b garden. Like I mentioned earlier, they don’t need to be started on a heat mat. And if you want to save some indoor seed starting space, you can easily start snapdragons using the winter sowing method as well.
As your seedlings begin to grow outdoors, make sure you pinch them back to encourage a bushier plant. Cut flowers often and deadhead spent blooms to help the plant produce more flowers. Snapdragons need strong support so the blooms don’t fall over. And keep in mind they prefer cooler temperatures so they will slow down their flower production during the hot summer months.

Larkspur
I messed up my larkspur the first year I grew it because they needed to be chilled in the freezer prior to sowing them and I did not know that initially. So I got a later start with them than I wanted. The flowers did okay but I wasn’t sure if I wanted to waste the indoor seed starting space with them again.
I read they did well with winter sowing so I tried it last year and they did AMAZING! It’s the only way I’ll start larkspur from seed moving forward because you don’t have to waste your time chilling the before. They will get that chill when you winter sow them!
Similar to snapdragons, make sure you provide ample support for larkspur so they don’t topple over. I found corralling and trellis netting worked best with these types of cut flowers.

Zinnias
A staple in my cut flower garden are zinnia flowers. Are you growing them yet? They are easy to start from seed, look amazing in both the garden and a vase, and always perform well here in the garden.
What I’ve learned about growing them from seed is they germinate quickly and are fast growers. I still prefer to start them indoors to get a jump on the growing season.
Make sure you pinch them back when they get to be about a foot tall so they grow bushier and produce more flowers. If you grow the taller varieties, I would give them support so they don’t topple over.

Strawflowers
Strawflowers are also pretty easy to start from seed and grow really well. I start mine indoors every year and they germinate in less than a week. Strawflowers can grow pretty tall so check your height maturity and give them the proper support if needed.

Celosia
Celosia is such a pretty bloom to grow for summer and fall flower arrangements. They come in lots of bright colors and have lots of texture. I’ve found them to germinate with ease starting them indoors and out. And they even reseed themselves in my zone 6b garden so I don’t have to replant them yearly.
Depending on the variety, you may or may not need to give them additional support while they grow. So check your seed packets to determine whether its necessary or not. The varieties I’ve grown needed staking.

Amaranth
I first grew amaranth last year and enjoyed the flowers. They germinated with ease under grow lights but definitely needed to be supported in the beds. I ordered a few different types of amaranth flowers this year and can’t wait to see them grow!
Lisianthus
I’ve always heard lisianthus is difficult to start from seed and everything I heard about it was true. Before sowing them indoors under grow lights, I read up other gardeners’ experiences and really followed their recommendations. Lisianthus germinated with ease but once it germinated had minimal growth. FOR MONTHS.
Now I can handle a slow grower, but this didn’t grow at all. And all the while, soaking up an entire shelf under my grow lights, getting fungal gnats (which I’ve never had before with my houseplants or my seed starts) and it was not fun to grow them.
They eventually all died off one by one until I was down to two. I wound up planting them to see if they’d do anything and they STILL NEVER GREW! They were exactly the same size they were shortly after germinating. So nope, not growing these again from seed. There are much easier flowers to grow!
Eucalyptus
Although its not a flower, I wanted to grow eucalyptus as filler for arrangements. It germinated with ease indoors and grew okay, but did not do much once I had it in the ground. I was expecting a little more out of them and they weren’t really worth my time, seed starting or garden space. So I won’t be growing this again anytime soon either.

Cosmos
I’ve started cosmos both indoors and outside after all danger of frost has passed and I only do the latter now. They germinate so quickly and so easily it’s an easy one to start outdoors and watch them grow. If I started them indoors they’d probably bloom a little quicker, but for me, I start so many seeds indoors its easier to move a few of them outside. If you grow cosmos, check their height at maturity because taller ones will need additional support to keep the blooms upright.

More Lessons I’ve Learned Growing Cut Flowers From Seed
With each growing season, I test new things and try them out. It’s a great way to learn how certain plants grow and adapt to your climate and gardening abilities. What have you learned from growing your own gardens? I would love to know more in the comments below.


Want To Get More Organized to Start Seeds?
CLICK HERE to get my FREE DOWNLOADABLE PRINTABLE that will help you get organized to sow seeds this year.
Print as many pages as you want and add them to your gardening journal for ease of reference during the growing season.
How to Start Seeds Indoors Without a Greenhouse Series
- Overview of How to Start Seeds Indoors Without a Greenhouse
- Supplies for Starting Seeds Indoors Without a Greenhouse
- 7 Simple Tips to Getting Organized Before Starting Seeds Indoors
- What You Need to Know About Sowing Seeds Indoors
- 7 Lessons I Learned While Sowing Seeds Indoors (you are here)
- What You Need to Know About Hardening Off Plants
- How to Plant a Garden After Starting Seeds Indoors
- 7 Lessons I Learned From Growing a Cut Flower Garden
- How to Keep Fresh Flowers Longer
- Cut Flower Gardening for Beginners

Thanks for stopping by the blog today!
Enjoy your day! xoxo


Where Will These Seed Starts Be Planted in the Garden?
This week, I dismantled the existing vegetable bed that is located in front of the garden shed. This will become the new location for the cutting garden and all of my seed starts. But what about the vegetable garden?
We are completely moving and renovating the vegetable garden as raised beds in the middle of the backyard. It is the best location for receiving full sun, closer to my kitchen, closer to a water source, and will be easier to access. More on the new vegetable garden later.
Next Up On my Seed Starting Journey
Zinnias, Phlox, Cosmos and Sunflowers are the next seeds to be sowed. I’ve decided to direct sow both the sunflowers and cosmos outdoors in early May. I’ll need to keep an eye on the weather though since a late frost can be an issue.


