Learn how to release ladybugs in your garden for natural pest control and boost plant health with this eco-friendly guide. Discover the best tips and benefits today!
Several years ago, I had a huge problem with scale in my gardens. There was a major population causing damage to my plants and knocking them off with a strong stray of the hose was not doing the job.
Because scale became so pervasive in my beds, I needed to do a lot more. I wanted to approach the problem organically without the use of pesticides, if possible because it can affect the population of native beneficial insects.
Not to mention, pesticides are not good for pollinators like butterflies and hummingbirds.
As an alternative to applying an organic pesticide, I wanted to see if releasing ladybugs in each of the beds would help. I’d never done it before so I wanted to test it out.
And the result was amazing!
Are you looking for a natural and effective way to control pests in your garden? Look no further than ladybugs! These beneficial insects are not only charming but also powerful allies in maintaining a healthy garden ecosystem.
In this guide, I’ll show you how to release ladybugs in your garden to combat pests organically. From attracting them with specific plants to the best practices for releasing them, this post has you covered.
Discover the steps to create a thriving garden free of harmful pests with the help of ladybugs.
(Posts on stacyling.com may contain affiliate links. Click HERE for full disclosure.)

Why Ladybugs Are Essential for Your Garden
Ladybugs are beneficial insects that eat aphids, mealybugs, scale, and other soft-bodied insects in the garden.They are attracted to pollen-rich flowers that are light and bright in color.
While my garden had some native ladybugs, the scale problem was growing astronomically by the week and I likely didn’t have have enough to combat the problem. So I decided to add some to the population to see if it would help eradicate the scale.
6 Compelling Reasons to Attract More Ladybugs to Your Garden
They are considered one of the most effective predators for a wide range of garden pests. Here’s why ladybugs are good for pest control:
- Aphid Predators: Ladybugs have a strong appetite for aphids, which are notorious pests that can damage and weaken plants. A single ladybug can consume a large number of aphids in a day, making them highly effective in controlling aphid populations.
- Feeding on Other Pests: Ladybugs also prey on other soft-bodied insects that can harm your garden, including mites, scale insects, whiteflies, and mealybugs. They are generalist predators, meaning they have a broad diet and can tackle various garden pests.
- Rapid Pest Population Control: Ladybugs are efficient hunters and reproduce quickly. They lay clusters of eggs near pest populations, and their larvae emerge as voracious predators, feeding on pests in large numbers. This rapid population growth allows ladybugs to exert significant control over pest populations.
- Targeted Pest Control: Ladybugs have an uncanny ability to detect and target specific pests. They are attracted to the pheromones released by pests, making them effective at finding and eliminating infestations. This targeted approach ensures that ladybugs focus on the pests causing the most harm to your plants.
- Reducing Chemical Use: By introducing ladybugs into your garden, you can reduce the need for chemical pesticides. Ladybugs provide a natural and eco-friendly alternative to controlling garden pests. They do not harm beneficial insects, pollinators, or the environment, making them a sustainable pest control option.
- Year-Round Pest Control: Ladybugs will remain in your garden as long as there is a sufficient supply of prey. They will continue to patrol your plants, feeding on pests and maintaining a balanced ecosystem. By supporting ladybug populations, you can establish a long-term pest control solution.
While ladybugs are highly effective at controlling garden pests, it’s important to note that they are not a silver bullet solution.
In cases of severe infestations, you may need to combine ladybug releases with other pest management strategies. But overall, ladybugs are a valuable asset in your efforts to maintain a healthy and pest-free garden.

Best Plants for Attracting Ladybugs
If you want to attract more ladybugs to your garden, planting the right plants is essential. Here are some that attract them.
- calendula
- dill
- cilantro
- achillea
- cosmos
- fennel
- scented geraniums
- coreopsis
- alyssum
- Queen Anne’s lace
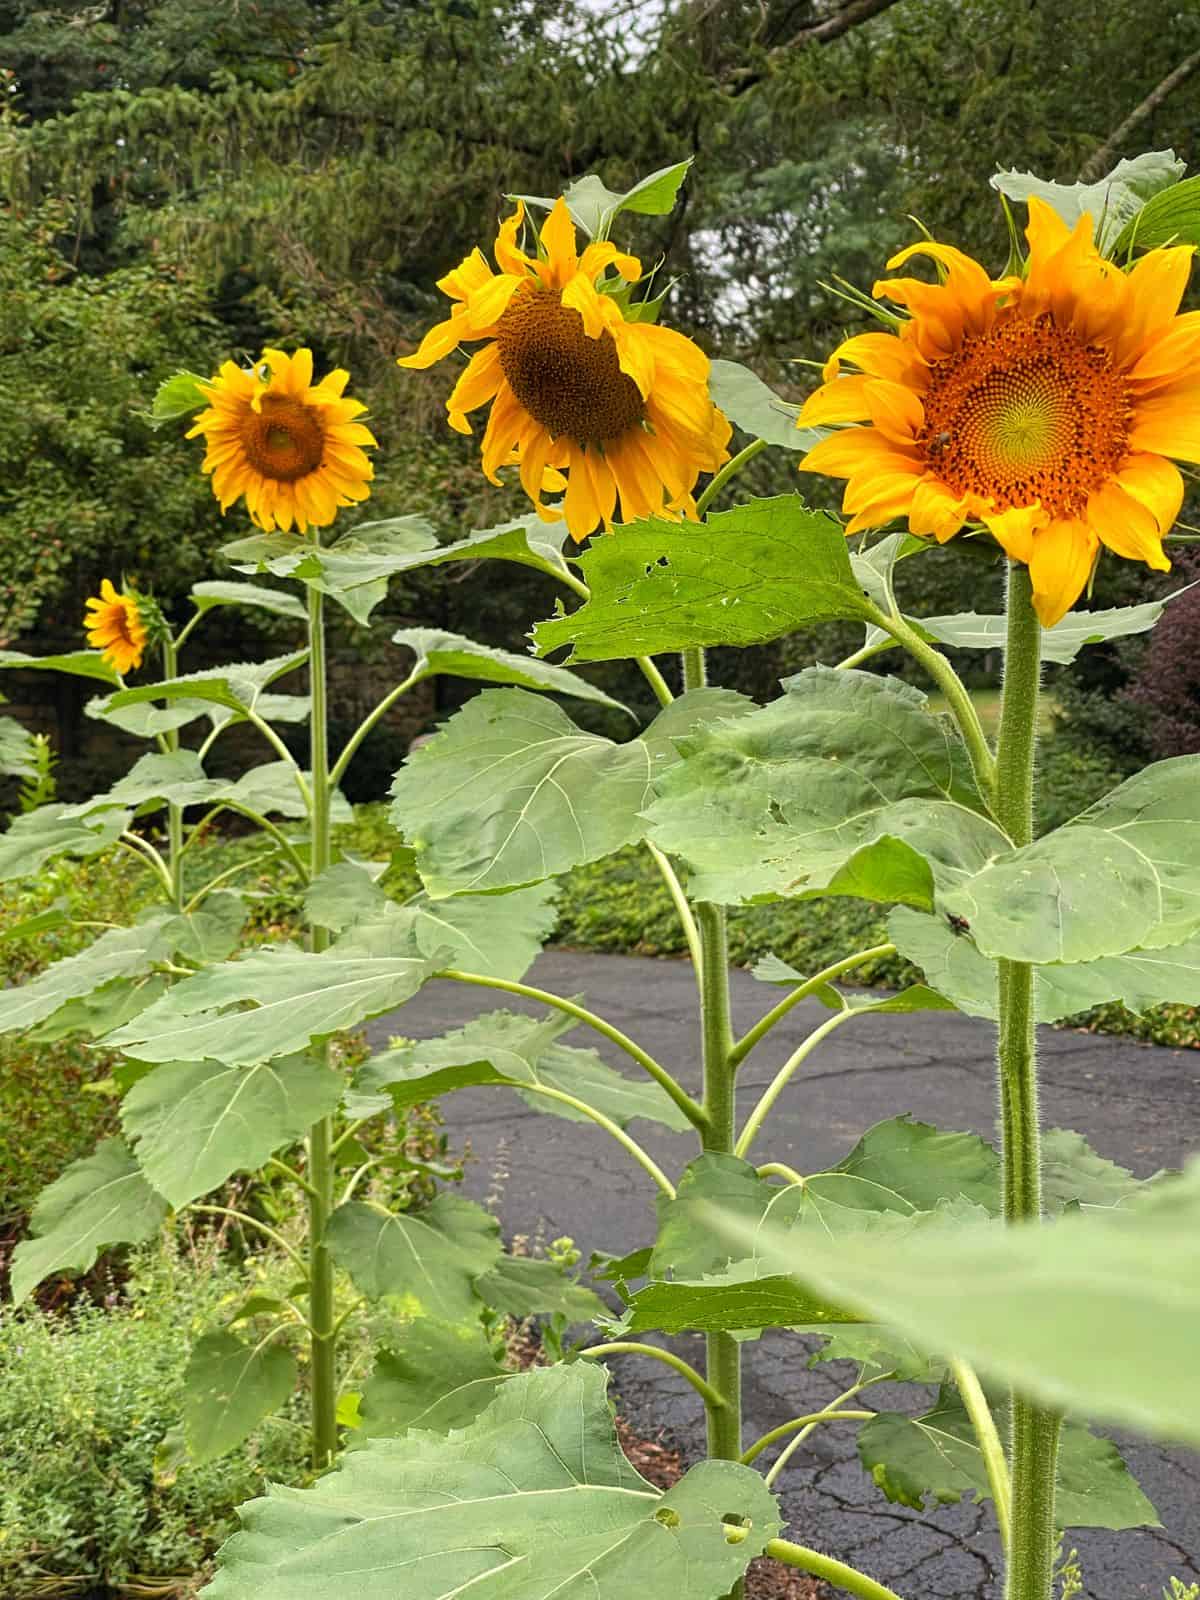
- Sunflowers

Where to Purchase Ladybugs for Your Garden
After researching best practices for ladybugs, I searched local nurseries and online retailers to find where to buy them. You can find them earlier in the season.
If possible, I recommend buying them from a local nursery so you can actually see them in person before you buy them. It’s really important to know whether you are actually purchasing ladybugs or Asian ladybeetles. Both look very similar but Asian lady beetles are invasive, so we don’t want to release those.
If purchasing ladybugs in person, look at them and verify whether they are ladybugs or Asian ladybeetles.
When purchasing online, I recommend reading the reviews, calling the retailer if possible, and really inspecting them when they arrive. The last thing you want to do is release something invasive into the environment. So please beware.

Ladybug vs. Invasive Asian Ladybeetle: Key Differences
It’s essential to be able to differentiate between the native ladybugs and the invasive Asian lady beetles (Harmonia axyridis) so you don’t purchase or release the wrong one. While they may look similar at first glance, there are a few key features you can look out for to tell them apart:
- Color and Spotting: Native ladybugs typically have bright red or orange shells with black spots. In contrast, Asian lady beetles can vary in color from pale yellow to dark orange, and they may have no spots or numerous spots that can range from black to white. They often have an “M” or “W” shape marking behind their head.
- Shape and Size: Native ladybugs have a rounder and more dome-shaped body. Asian lady beetles, on the other hand, have a more oval or elongated shape. They are generally larger than native ladybugs, ranging from 1/4 to 3/8 inch in length.
- Behavior: Asian lady beetles are known to be more aggressive and prone to invading homes during the fall season in search of shelter. They release a yellowish, foul-smelling fluid when disturbed or threatened, which native ladybugs do not do.
- Seasonal Patterns: Native ladybugs are more commonly seen during the spring and summer months, while Asian ladybeetles tend to appear in the fall and winter, especially when seeking refuge indoors.
It’s worth noting that while both ladybugs and Asian lady beetles feed on garden pests, the latter can sometimes become a nuisance due to their tendency to gather in large numbers, both inside and outside homes.
If you come across an unfamiliar ladybug-like beetle and are uncertain about its identification, it’s always a good idea to consult your local cooperative extension who can properly help you identify what it is.

Why Do They Release Ladybugs?
Releasing ladybugs in the garden is an eco-friendly way of controlling issues without the use of pesticides. However, there is a growing number of experts leaning towards not releasing ladybugs them because more and more sellers are not actually selling ladybugs, but are actually selling Asian ladybeetles.
Moreover, there is a growing decline in the ladybug population so many merchants who were selling ladybugs, are choosing not to sell them anymore.
How to Store Ladybugs Before Release
Proper storage of ladybugs is essential to ensure they remain healthy and effective for pest control. After purchasing ladybugs, keep them in the refrigerator at a temperature between 35°F and 40°F.
This simulates their natural overwintering state and keeps them dormant. Avoid storing them for more than a week, and ensure they have a small amount of moisture to prevent dehydration.
Before releasing, allow the container to reach room temperature gradually to avoid shocking the ladybugs. Following these steps will help maintain the ladybugs’ vitality until you are ready to release them into your garden.
After purchasing mine, I kept mine in the refrigerator until I was ready to release ladybugs in my flower gardens.

Optimal Timing for Releasing Ladybugs
Releasing ladybugs at the right time is crucial for their effectiveness in pest control. The best time to release ladybugs is in the early evening when temperatures are cooler and they are less active. This helps them settle in your garden overnight. Ideally, release them during spring or early summer when pests like aphids are most prevalent.
Avoid releasing ladybugs during the heat of the day or in adverse weather conditions to ensure they remain in your garden and start feeding on pests immediately. With this in mind, I released my ladybug population in the early evening to get the best results.
How to Release Ladybugs in the Garden: Step-by-Step Instructions
Assuming you’ve purchased them, here are a few tips for releasing ladybugs in the garden. Keep in mind there are no guarantees they will stick around, but hopefully some will stay.
- Refrigerate the ladybugs as soon as you bring them home. I noticed they slowed down when they were refrigerated and perked up when they were at room temperature.
- Use adequate release rates. I released 3,000 ladybugs in one night instead of spreading it out. If I were to do again, I would release half in one week and then half the next to break it up to give them the best shot at working.
- Ladybugs need a good supply of aphids or another food source. If there isn’t enough for them to eat, they are not going to stay.
- Water the areas well where they will be released. Ladybugs are likely very thirsty or dehydrated from being contained. This will encourage them to stay.
- Release ladybugs early in the morning or early evening because they will fly away almost immediately if released in the heat of the day.
- Release ladybugs at the base of problem plants so they can find food much quicker.
- Expect most of them to fly away in a few days. To give it your best shot, I recommend doing a second and third release spaced out over the course of a few weeks.
For more detailed information about how to release ladybugs, see UC Ladybugs Need Special Care to Control Aphids

Did Releasing Ladybugs in the Garden Work?
After following the above guidelines, I released about 3,000 ladybugs in my gardens around the base of problem plants around 7 PM EST.
As I started watering, nature blessed us with a brief rain shower. So that helped with watering everything down before releasing ladybugs in the gardens. Within twenty minutes of releasing them, I walked around the beds to see if they were still hanging around.
I saw several of them marching up and down my plants attacking the scale. Yay! The real test though would be how effective it will work over time. The next morning, I walked around the beds.
I did not see as many ladybugs but saw several hanging around feasting on the scale. I walked the beds daily and noticed fewer and fewer ladybugs but a little less scale.
If I were to release ladybugs in the garden again, I would purchase more and release them weekly to see if it would be more effective.
Although it did not eradicate the problem, it did make a small dent in the scale population. I’m not sure I would do it again to control a pest problem, but releasing them was really fun!

Follow-Up Care After Releasing Ladybugs
Proper follow-up care ensures that ladybugs remain in your garden and continue to control pests effectively. After releasing ladybugs, monitor your garden regularly to ensure they are adapting well.
Since pest and disease problems can get out of control quickly, it’s really important to walk the beds every day and check out the plants.
I do this daily with a hot cup of coffee in hand and the dogs at my side. When problems arise, I make it a point to address them that day.
Provide a steady supply of water by misting plants lightly in the early morning or evening, which helps ladybugs stay hydrated. Plant a variety of nectar-producing flowers, such as dill, fennel, and yarrow, to attract and keep ladybugs in your garden.
Avoid using chemical pesticides, as they can harm ladybugs and reduce their effectiveness in organic pest control. By maintaining a ladybug-friendly environment, you can ensure a thriving and healthy garden.

Troubleshooting Common Issues with Ladybug Releases
Even with careful planning, you might encounter some challenges when releasing ladybugs. Here are solutions to common issues:
- Ladybugs Dispersing Quickly: Release ladybugs in the evening when temperatures are cooler to encourage them to stay. Ensure plants are lightly misted with water to provide hydration.
- Lack of Pest Control: Ensure there is a sufficient food source, such as aphids, to keep ladybugs in the garden. Planting attractant flowers like dill and yarrow can help.
- Predators: Watch for predators like birds and larger insects. Providing shelter with dense foliage or ladybug houses can offer protection.

Final Thoughts on Releasing Ladybugs in Your Garden
Releasing ladybugs in your garden is an effective and eco-friendly method of organic pest control. However, it is vital to be able to distinguish ladybugs from the Asian ladybeetle. Use caution when purchasing them.
By following proper storage and timing guidelines, and implementing follow-up care, you can ensure a thriving ladybug population that naturally manages garden pest control.
If you encounter issues, our troubleshooting tips will help you maintain a healthy balance. Embrace these natural solutions to create a vibrant and pest-free garden, promoting a sustainable and environmentally friendly gardening practice. Happy gardening!
Have you ever released ladybugs in your garden before? I would love to know more in the comments below.
If you have any questions, comments or suggestions, please let me know in the comments below. I’d love to hear! And feel free to share this post with anyone you think would find it helpful too.
Thanks for stopping by the blog today!
Enjoy a beautiful day! xoxo

More Gardening Posts You May Enjoy
- Gardening 101: A Beginner’s Guide to Gardening
- Cut Flower Gardening for Beginners
- 7 Ways to Keep Deer From Eating Garden Plants
- The Basics of Hydrangea Care
- Potting Bench Idea
- Garden Shed Makeover
- Outdoor Living Space Home Tour
- How to Add Solar Lights to Your Yard
- 7 Tips to Get the Best Curb Appeal
- Gardening for Hummingbirds
- How to Get Non-Stop Color in the Garden With Annuals
- How to Create a Butterfly Garden


To learn the difference, check out this article from Better Homes and Gardens.
Tour My Gardens to See What’s Blooming Today!
Welcome to my July 2020 Garden Tour! (I updated this post in July 2021, to see my most recent garden tour, CLICK HERE. It’s amazing how different the backyard gardens changed between 2020 and 2021 so be sure to check it out!) Everything looks gorgeous full and lush.
The gardens transitioned from pink, blue, and purple hues to the brighter summer colors of yellow, orange, and reds. Scale was big problem in July 2020. Releasing ladybugs helped rectify that problem.
Front Yard Gardens
With every season, the front yard gardens look prettier and prettier as I make tweaks to the beds and the plants fill in. Doesn’t it look so pretty?
I’m so glad we added those solar string lights. They work so well, brighten up the area and add lots of ambiance. This photo was taken in the early morning just as the sun was rising.
The bright orange daylilies are preparing to start their day!
As we approach my front door, we are greeted by fresh midsummer flowers that include echinacea, daylillies, balloon flower, moonbeam coreopsis, dahlias, knock-out roses, bee balm and globe thistle.
The garden is so bright and colorful, isn’t it? I spent a lot of time planning and planting a succession of blooms that required minimal effort year after year. They pretty much take care of themselves. And then I tuck in some pretty annuals to keep the color going while the perennials fade.
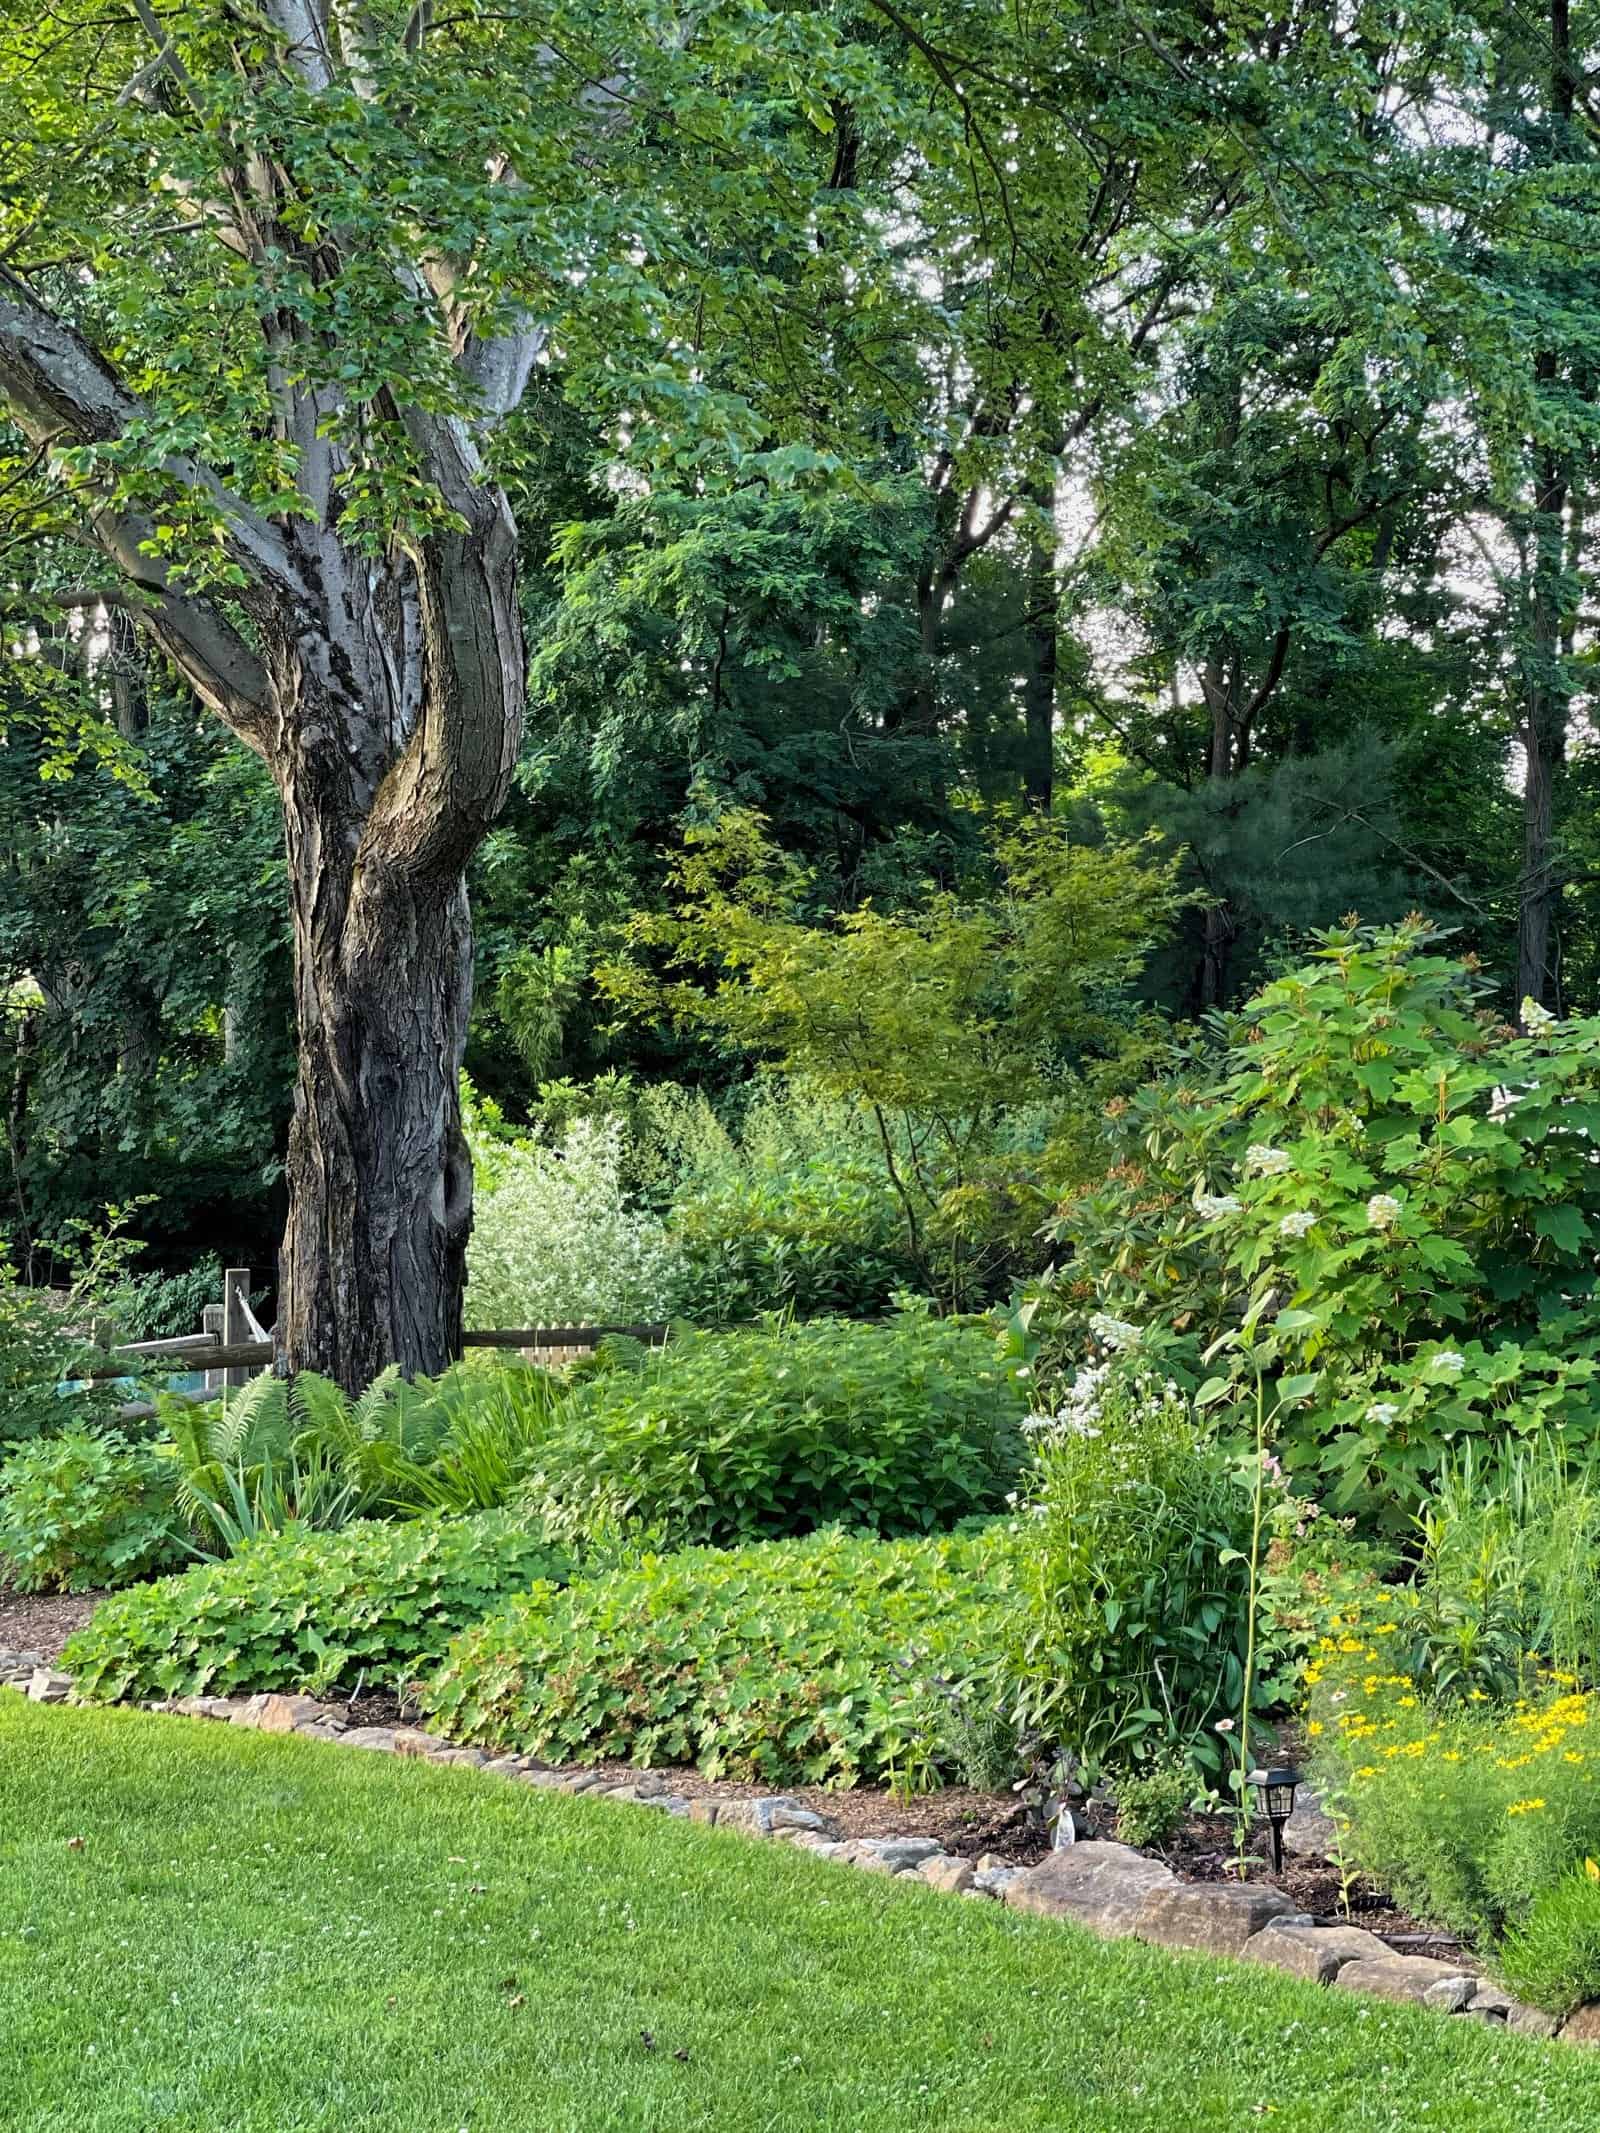
The woodland garden on the side of my house is doing really well.
The oak leaf hydrangea is in full bloom but starting to fade.
The cranesbill in front is happier than ever and I love this view of the backyard gardens.


