How to Dry Hydrangeas Perfectly: 4 Foolproof Methods

Learn 4 easy, foolproof methods to dry hydrangeas perfectly without wilting and preserve their beauty for months to come.
Drying hydrangeas is a simple way to extend the joy of these captivating blooms far beyond their usual season. Forget store-bought arrangements that drain your wallet and wilt away. Drying your own hydrangeas is a cost-effective way to create beautiful, long-lasting décor elements.
In today’s post, I’m sharing foolproof secrets to preserving your own hydrangeas with gorgeous colors and long-lasting charm that you can enjoy all year round. There are a few ways to preserve hydrangeas, but my favorite one is the easiest method. Wait until you see how simple it is to dry hydrangea flowers for your home!
(Posts on stacyling.com may contain affiliate links. Click HERE for full disclosure.)
Why Preserve Hydrangea Flowers?
Drying hydrangeas allows you to capture their lush beauty and vibrant colors long after their peak season. These preserved blooms can be used in various creative ways to adorn your home on a budget throughout the year, adding a touch of timeless elegance and natural charm.
From stunning wreaths to captivating centerpieces, dried hydrangeas bring warmth and nostalgia to your living space year-round.
When to Dry Hydrangeas for Best Results
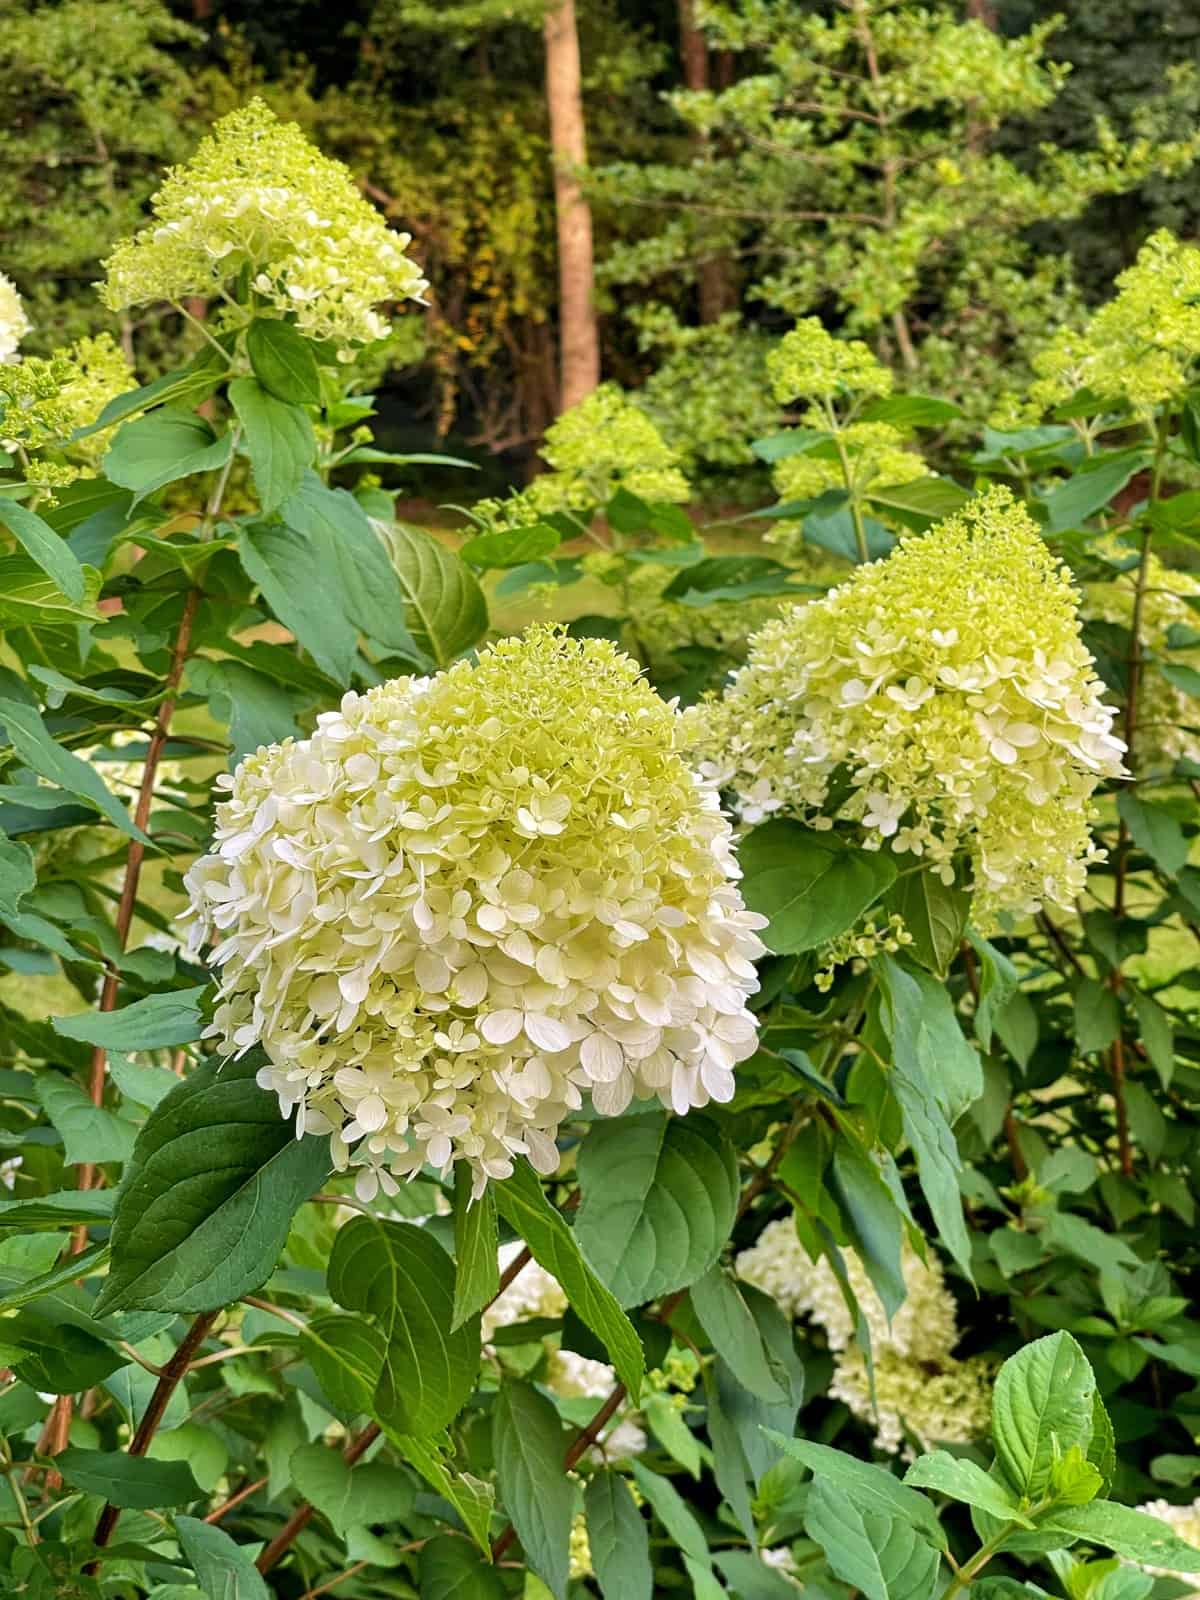
To prevent wilting during the preservation process, timing is key when harvesting hydrangeas. Avoid harvesting blooms during their peak summer season, as they may shrivel up when dried. Instead, wait until late summer or early autumn when the petals feel papery. This indicates the blooms are mature enough and will hold their shape better while drying.
Key Timing Tips
- Avoid Rainy Days: Excess moisture can hinder the drying process. Choose a dry period with low humidity.
- Before the First Frost: Harvest before the first frost, as it can damage the blooms.
- Mid-Morning Harvest: The best time of day to cut hydrangeas for drying is mid-morning because they are well-hydrated then ensuring they have enough moisture before drying.
- Healthy Stems: Select strong, healthy stems with no signs of disease or damage.
Now that you understand how to prevent dried hydrangeas from wilting, we’ll cover the four preservation methods.

How to Dry Hydrangeas in a Vase (Super Easy Method)
This is the way I dry my hydrangea flowers. It’s the EASIEST way to do it and to me, the best method for drying them!
Supplies
- sharp pruners
- small vases or glasses (I love to use mason jars)
- water
Directions for Drying Hydrangeas in a Vase
- Allow the blooms to dry naturally on the plants (typically in August through October). They are ready when the petals look a little more vintage than bright and the flowers might feel a little papery.
- Find some pretty blooms that meet this criteria and cut about 12-18″ long if you can.
- Cut them at varying heights. It helps with the drying process when grouped together.
- Remove all the leaves from the stems.
- Grab a few glass jars or vases. I love to use mason jars for drying hydrangeas.
- Fill each jar with about 2-3″ of water.
- To dry hydrangeas well, don’t overcrowd the blooms in the jars so they get enough air circulation.
As the water evaporates, the hydrangea blooms will start naturally drying. And that’s it! Preserving hydrangea flowers could not be any easier, am I right?


Drying Hydrangeas Upside Down
Another method to preserving hydrangeas is by hanging them. For me, it’s not as simple as simple as dropping them in water and leaving them in a vase to dry. But this method isn’t laborious and can also preserve hydrangeas without wilting them as well.
Hanging hydrangea flowers involves using a gentle and gradual preservation method that allows the flowers to retain their shape and color. Here’s a step-by-step guide to drying hydrangeas using the hanging method.
Materials Needed to Hang-Dry Hydrangeas
- Freshly cut hydrangea stems
- Pruners
- Rubber bands or string
- A dry and well-ventilated location
- Optional: a container or vase
Hanging Hydrangeas to Preserve the Blooms: A Step-by-Step Guide
- Choose the right time to cut them as I explained before.
- Using sharp pruning shears, cut the hydrangea stems at an angle. Cut the stems to your desired length, but keep in mind that longer stems may take longer to dry.
- Remove excess foliage.
- Group about 3-5 hydrangea stems and secure them together at the cut end using a rubber band or string. Avoid tying them too tightly to avoid crushing the stems.
- Choose a dry, dark, and well-ventilated location for preserving the hydrangeas. An ideal spot could be a closet, attic, or a dry basement.
- Hang the bundled hydrangea stems upside down from a hook or a hanger. This position helps the flowers retain their shape and prevents wilting. You can also use a drying rack or a clothesline to hang them.
- Let the hydrangeas air dry for about two to three weeks.
- After the drying period, gently touch the petals to ensure they feel papery and slightly brittle. If they are not completely dry, give them a little more time.
- Once the hydrangeas are completely dry, you can display them in a vase or use them in your preferred dried flower arrangements.
Patience is key in this process, but the end result is well worth it!

Preserving Hydrangeas With Silica Gel
If you’ve never tried the silica gel method of drying flowers before, let me tell you how amazing it works to preserve their color. Silica gel is an absorbent material that desiccates flowers quickly, so it helps retain their shape and color well. You can easily find it online or at your local craft store. Or save them from products you buy since they come with them anyway.
To use this method, you’ll need to bury blooms completely in silica gel in an airtight container for about a week, maybe a little more. The container needs to be wide and deep enough for your hydrangea blooms to fit without touching the sides or bottom to help retain the shape. Pour silica around the flower and in between the petals, then allow the hydrangea to dry.
I’ve not specifically used silica gel with my hydrangeas but have with other types of flowers and am quite impressed at how well it retains the color and shape.

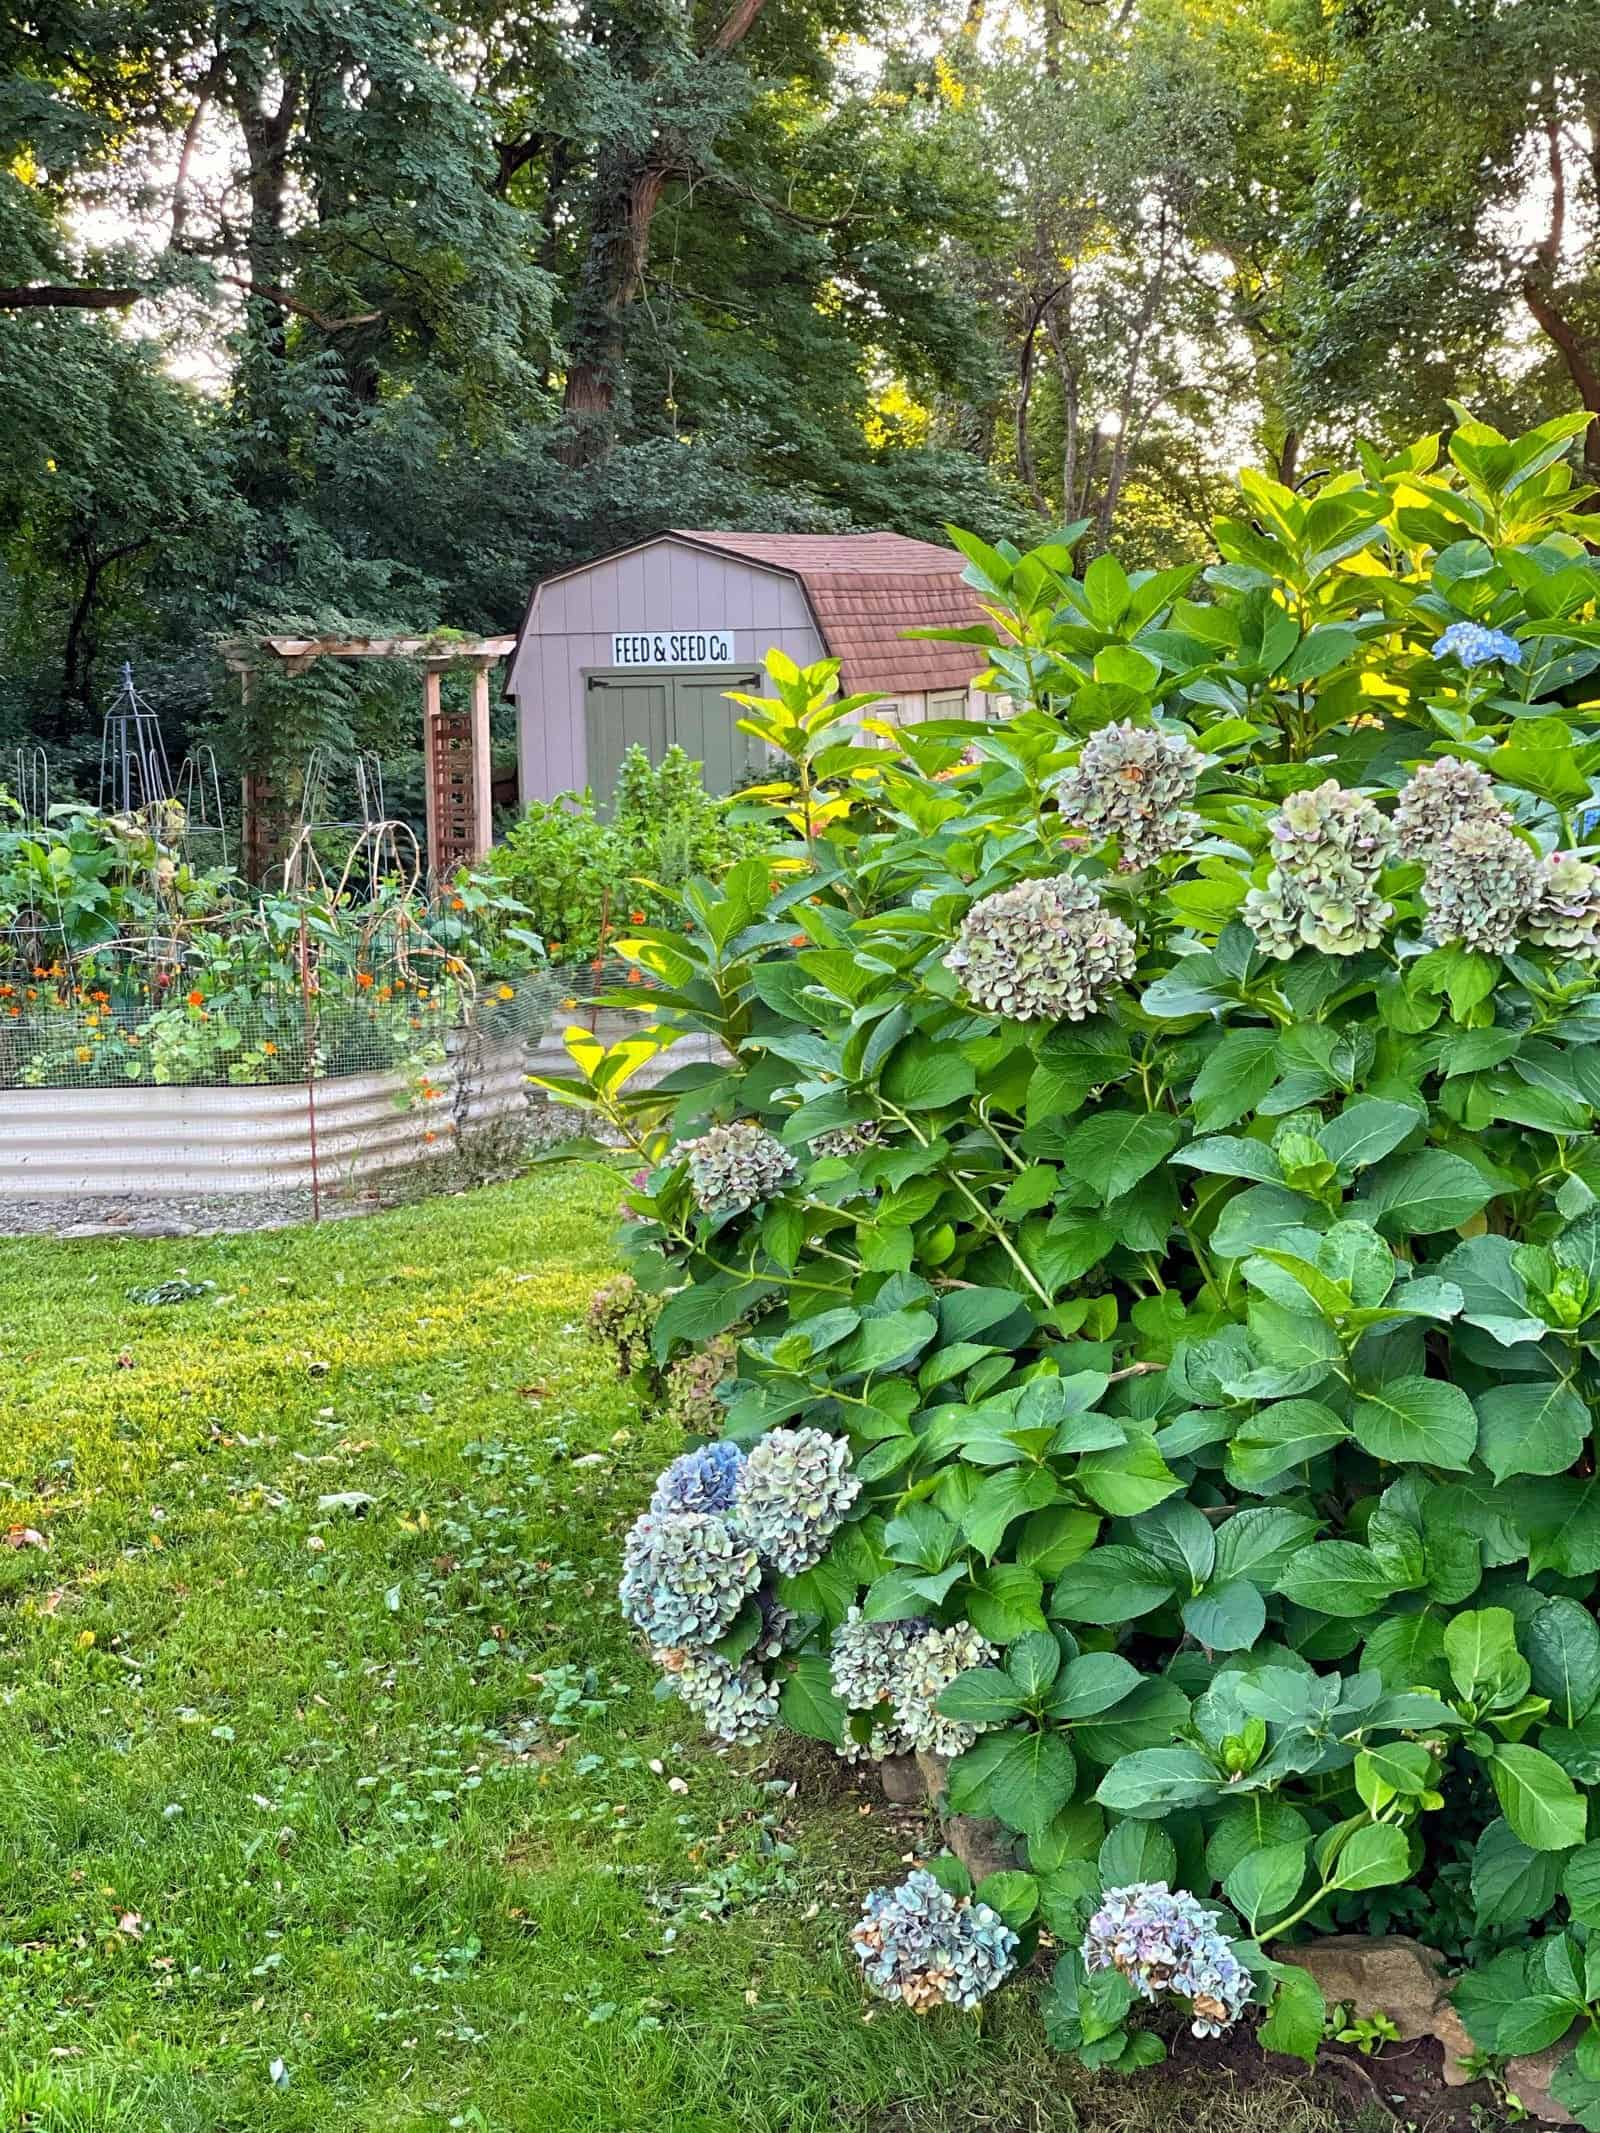
Preserving Hydrangeas on the Bush
If you have access to hydrangea bushes, consider letting them dry naturally for a beautiful, easy way to preserve their blooms. This method intensifies the colors of the flowers and can be combined with other drying techniques if needed.
Keep a close eye on your hydrangea flowers and harvest them when the petals feel papery, but before they start to turn brown. If they aren’t fully dry when cut, simply continue drying them using another method from this post.

How to Preserve Hydrangeas After Drying So They Keep Their Color After Drying: Expert Tips
Keeping the beautiful hues of your dried hydrangeas is all about minimizing color loss during the drying process. Keep the following in mind so you get the best-dried hydrangea blooms possible!
- Make sure you harvest flowers at the right time. Early picking can result in shrunken blooms with muted colors, while waiting too long might lead to browning and petal shedding.
- Choose the best way to dry hydrangeas that works for you!
- For extra color vibrancy, you can lightly mist the blooms with hairspray before drying to lock in the pigments. or add a commercial floral preservative (read label directions) for a few hours before drying to help the blooms retain more color.
Post-Drying Care
- Once dry, store your hydrangeas in a cool, dry place away from direct sunlight.
- Use hairspray periodically to refresh the color and prevent dust accumulation.
- Gently handle your dried blooms, as they become more delicate than fresh ones. The petals fall off very easily when you move them around so be careful when moving dried hydrangeas around.
Experimenting with different drying methods can help you discover the best approach for preserving the specific hydrangea variety you have and achieving your desired result.

Troubleshooting Common Hydrangea Drying Problems
Even with the best intentions, you might encounter a few common issues when drying hydrangeas. Don’t worry, many of these can be easily avoided or rectified!
Problem: Hydrangeas are turning brown or black.
- Cause: This often happens when the flowers are harvested too early (before their petals are papery and mature) or if they are exposed to too much direct sunlight during the drying process. High humidity can also contribute.
- Solution: Ensure you harvest your hydrangeas at the optimal time—late summer or early autumn when the blooms feel papery. Dry them in a cool, dark, and well-ventilated area, away from direct sunlight. If drying in a vase, ensure there’s minimal water, allowing it to evaporate slowly.
Problem: Hydrangeas are wilting or drooping significantly.
- Cause: Wilting usually occurs if the hydrangeas are picked when they are still too “fresh” or hydrated, or if they don’t get enough initial water when using the vase method, causing them to dehydrate too quickly.
- Solution: For the vase method, ensure stems have about 2-3 inches of water initially. For all methods, harvest in the mid-morning after the dew has dried, but before the heat of the day. The petals should feel firm and papery, not soft and fleshy.

Problem: Mold is growing on the dried hydrangeas.
- Cause: Mold is a sign of too much moisture and insufficient air circulation during the drying process.
- Solution: Always choose a dry, well-ventilated space for drying. If hanging upside down, ensure flowers aren’t packed too tightly. If using the vase method, make sure the water evaporates completely and no stagnant water remains. Good air circulation is key to preventing mold.
Problem: Dried hydrangeas are losing their vibrant color.
- Cause: While some color fading is natural with any dried flower, excessive fading can be due to direct sunlight exposure or harvesting flowers that are already past their prime vibrancy.
- Solution: Harvest hydrangeas when their color is at its peak. Dry them in a dark or dimly lit area. Once dried, store them away from direct sunlight. A light mist of hairspray before or after drying can sometimes help “seal” the color, but test on an inconspicuous part first.
Problem: Dried hydrangeas are very brittle and fragile.
- Cause: This is a natural characteristic of dried flowers. However, excessive brittleness might mean they dried too quickly or were left in a very dry environment for too long.
- Solution: Handle dried hydrangeas with extreme care. A light mist of hairspray can add a very thin protective layer, making them slightly more resilient, but they will always be delicate.

How to Preserve Hydrangea Flowers FAQs
As with any creative endeavor, you might have a few questions along the way. In this section, I’m sharing the most commonly asked questions that will provide you with expert answers and helpful tips to ensure your dried blooms turn out fabulous.
How Long Do Dried Hydrangeas Last?
With proper care, dried hydrangeas can retain their beauty for several months to even a year or more. To maximize their lifespan:
- Store in a Dry, Dark Place: Avoid direct sunlight and excessive moisture, which can fade colors and make petals brittle.
- Handle with Care: Avoid placing them in high-traffic areas to prevent damage.
- Regular Dusting: Gently remove dust with a soft brush or hairdryer on a low, cool setting.

Should You Spray Dried Hydrangeas with Hairspray?
While some recommend using hairspray to preserve the color and shape of dried hydrangeas, it’s important to consider a few factors before applying it:
- Test First: Before spraying the entire bloom, test a small area for any adverse effects like discoloration or stickiness.
- Choose the Right Hairspray: Opt for a low-hold or flexible-hold formula that won’t weigh down petals or leave a sticky residue.
- Use Sparingly: Apply a light, even mist from a distance to avoid dulling the color or creating an unnatural shine.
- Let Dry Completely: Allow the hairspray to dry thoroughly before handling or displaying the hydrangeas.
Ultimately, whether or not to use hairspray is a personal preference. If you choose to use it, follow these tips for the best results.pen_spark
What Is the Best Method to Dry Hydrangeas?
There isn’t a single “best” method for drying hydrangeas, as each offers different results. However, if you prioritize simplicity, vibrant color, and minimal wilting, here’s my personal favorite:
- Partial Drying on the Bush: Let the hydrangeas begin drying naturally on the bush. Harvest when the petals feel slightly papery.
- Vase Method: Transfer the harvested stems to a vase with a small amount of water. Allow the water to evaporate naturally, completing the drying process.
This combination allows for maximum color retention and prevents the flowers from wilting prematurely. Feel free to experiment with different methods to find what works best for you and your hydrangeas!

10 Easy Ways to Use Dried Hydrangeas
Dried hydrangeas are incredibly versatile and can be used in a variety of creative and decorative ways. Here are some inspiring ideas to make the most of your preserved blooms.
- Dried Hydrangea Arrangements: Create stunning and long-lasting floral arrangements by combining preserved hydrangeas with other dried flowers, grasses, or seed pods. Place a dried bouquet in vases, baskets, or rustic containers for an elegant and timeless look.
- Wreaths: Craft your own wreaths using preserved hydrangeas as the focal point. Follow my super easy DIY Hydrangea wreath tutorial here.
- Table Centerpieces: Use dried hydrangea flowers to design unique centerpieces for special occasions or everyday dining.
- Home Decor: Incorporate preserved hydrangea flowers into your home decor by placing them in decorative bowls, on mantels, or as accents in bookshelves.
- Bouquets and Corsages: Create your own everlasting bouquets or corsages.
- Dried Flower Art: Press dried blooms between the pages of a heavy book to flatten them, and then use them for various art projects.
- Potpourri: Mix preserved hydrangea petals with other dried flowers, herbs, and spices to create homemade potpourri.
- Dried Flower Jewelry: Embed dried hydrangea petals into resin to make unique and personalized jewelry pieces like pendants or earrings.
- Wedding Decor: Preserved hydrangeas are an excellent choice for rustic and bohemian wedding decor.
- Gift Wrapping: Add a touch of nature and sophistication to your gift wrapping by tucking a few preserved blooms into bows or using them as decorative accents on the gift itself.

Final Thoughts on Preserving Hydrangeas
I absolutely love having a garden overflowing with hydrangeas, and preserving their blooms has become one of my favorite ways to bring the outdoors in. It’s incredibly satisfying to see those pretty flowers transform into rustic elegant decorations that adorn my home.
Experimenting with different drying methods is a great way to learn what works best for you. I’ve learned so much about preserving their unique colors and textures. While I’ve found that letting them partially dry on the bush before finishing in a vase works best for me, I encourage you to try different techniques and discover what works best for your hydrangeas and personal style.
Whether you create a stunning centerpiece for your dining table or a simple wreath for your front door, preserving your blooms are a beautiful and lasting reminder of the joys of summer. So next time you’re strolling through your garden, don’t let those blooms fade away – save their beauty and bring a piece of your garden indoors!
Have you dried hydrangeas before? What method did you use? Do you have any tips you’d like to share? Let’s chat more about it in the comments below!
For more information about drying the blooms, please read these articles from Oregon State University Extension Office, the University of Connecticut Cooperative Extension, and Rutgers Cooperative Extension.
Thank you for visiting the blog today!
Enjoy your day! xo

More About Hydrangeas
- The Complete Guide to Hydrangea Care and Their Flowers
- The Basics of Hydrangea Care
- Growing Hydrangeas in Pots
- How to Dry a Hydrangea the Easy Way
- How to Divide Hydrangeas
- 7 Easy Steps to Propagating Hydrangeas
- Why Aren’t My Hydrangeas Blooming?
- Are Hydrangeas Deer Resistant?
- How to Prune Hydrangeas
- How to Make a Hydrangea Wreath for Free
- Pruning Hydrangeas, Ornamental Shrubs, and Other Woody Plants


Once dry, they will make great hydrangea centerpieces in my fall decor. I love using them in a vintage toolbox that I found thrifting in Vermont.


Stacy thank you so much for including me in your beautiful post today🥰
You are welcome! I love how you decorated with those hydrangea blooms! I’m on the hunt for new vessels today at some antique stores! Woohoo!
Hi Stacy, I have only one hydrangea plant,and it is in a pot, Ian afraid to put it in the ground because of the gofers, do you think it would be safe to put it in the ground and if so, when would be the best time to separate them and transplant them?
I live on the central coast of CA.. in Salinas, in Monterey County. I am not sure of the zone.
Thank you
Wanda henson
Hi Wanda! Have gophers damaged your hydrangeas before? I have a resident groundog who eats my other plants but leaves my hydrangeas alone.
I love hydrangeas. They are one of my favourite flowers. Thanks for sharing all your tips.
Mine too! Thank you Carol! Enjoy your day!
Stacy – you have no idea how timely this is! We’ve been renovating our gardens and just planted many hydrangeas. I love hydrangeas and I’m looking forward to extending the joy by drying them so they can be used year round. I appreciate all the reference links too … I’ll be heading down this rabbit hole and will soon be a hydrangea mama extraordinaire! xo
Hydrangeas are so much fun! Last year my area had a huge problem with lack of blooms so that prompted the hydrangea series. I love drying them too! I just found a cool vintage crate this weekend for these as soon as they are dry! xoxo
I love fresh and dry hydrangeas. I always let them dry on the plant, but never thought to bring a bunch inside. Such a great idea!
This. is a new way for me. I think I may have a few blossoms left to try to try them.
I’m so glad to hear Linda! Mine are fully dry now. Yay!
How can one preserve bittersweet?
Hi James! Bittersweet is highly invasive and not recommended for decorating outdoors at all. The berries can blow around or birds can disperse them around helping them reproduce and take over. If you are going to use, I recommend inside your home only – hanging them to dry would likely be the easiest and most economical. I hope this helps! Enjoy your day!