The Easiest Way to Make a Hydrangea Wreath DIY for Free

Learn how to make a stunning hydrangea wreath DIY for free! This easy do-it-yourself project uses hydrangeas from your garden and repurposed materials for beautiful fall decor.
If you’re lucky enough to have hydrangea blooms in your garden—or if a kind neighbor has an abundance—you already have the perfect materials to make beautiful fall home decor.
(Posts on stacyling.com may contain affiliate links. Click HERE for full disclosure.)

Why Make Your Own Free Hydrangea Wreath DIY?
Crafting your own hydrangea wreath isn’t just a fun thing to do with flowers. Because it also offers numerous benefits, making it the perfect addition for your fall decor.
- Connect with Nature: Enjoy the rewarding process of foraging for natural materials from your garden. It’s a wonderful way to bring the outdoors in while crafting a stunning floral wreath.
- Tailored to Your Taste: Unlike store-bought wreaths, a DIY hydrangea wreath lets you perfectly customize the design to match your personal style, creating uniquely you fall decor.
- Unleash Your Creativity: Experiment with arrangements and embellishments to create a one-of-a-kind garden wreath that reflects your vision.
- Incredibly Cost-Effective: Make a stunning floral wreath without spending a dime! Utilize your own hydrangeas and an old wreath form for the ultimate budget-friendly seasonal decor.
- Add a Personal, Warm Touch: Your free hydrangea wreath will infuse your home with warmth and individuality, showcasing your effort and a truly personal touch.

Timing is Key: When to Harvest Your Hydrangeas
For the best results, harvest your hydrangeas when the blooms have developed a “vintage” look and feel slightly papery to the touch. This usually happens later in the season, towards the end of summer or early fall. If you cut them too early when they are still fresh, they won’t dry as well on the wreath and will likely wilt.
Hydrangea Harvesting & Drying Nuances
Why does timing matter so much? Well, those late summer/early fall hydrangeas have less sap content in their stems, and their cells are more mature. This means they’re naturally primed to air-dry and hold their shape, rather than just wilting and turning soggy.
And a little pro-tip: Panicle hydrangeas (like ‘Limelight’ or ‘Annabelle’) tend to be total rockstars for drying, often holding their shape and color wonderfully. Mophead hydrangeas (the big round ones) can also work, but sometimes they’re a bit trickier, so keep an eye on how papery they feel.

The Best Hydrangeas for Your Wreath
Choosing the right type of hydrangea is also a game-changer for a successful dried wreath. The key is to select varieties that are known to dry well, holding their shape and color.
Panicle Hydrangeas are awesome blooms for this project. Varieties like ‘Limelight’, ‘Little Lime’, ‘Quick Fire’, and ‘Annabelle’ have sturdy stems and naturally papery petals, making them ideal for air-drying. They are known for holding their shape and subtle color beautifully.
Mophead Hydrangeas (the ones with the big round blooms) also work well but it is super important to use mature, late-season blooms that have a stiffer, almost papery, leathery feel. They may not hold their vibrant color as much as panicles, but they are still a great option for a rustic, colorful wreath.
Why does timing matter so much? Well, those late summer/early fall hydrangeas have less sap content in their stems, and their cells are more mature. This means they’re naturally primed to air-dry and hold their shape, rather than just wilting and turning soggy.
If I had to choose which one? I love the mopheads a little more on a wreath. But that’s just me!

Materials You’ll Need
You’ll be surprised at how few supplies you need for this craft.
- pruners or scissors
- bucket or other container to collect the blooms
- An old grapevine wreath or other wreath form. Repurpose one you have on hand so this fall diy project is free!
- Late summer/Early fall hydrangea flowers (from your garden or a neighbor’s) – preferably panicle or mophead varieties.
- Optional: Floral wire or zip ties (if your wreath form doesn’t allow for easy tucking)
Step-by-Step DIY Guide
1 – Prepare Your Wreath Base
If you’re using an old wreath form, give it a quick clean-up and remove any faded decorations. A grapevine wreath is perfect for this project because the stems easily tuck into the vine without needing wire.

2 – Gather Your Hydrangeas
Head out to your garden and snip off some hydrangea flowers with stems roughly 8-10 inches long. Don’t worry about cutting them too short just yet – you’ll trim them as you work. If you don’t have hydrangeas, ask a friend or neighbor if you can snag a few – it’s a fun project to do together!


3 – Prep the Blooms
Strip the leaves off the stems and trim each stem down to about 4-6 inches. If you’re not making the wreath right away, place the flowers in a bucket of water to keep them fresh.
4 – Start Attaching
Begin tucking the hydrangea stems into the wreath form, working your way around. If you’re using a grapevine wreath, the stems should stay put without wire. If not, use floral wire or zip ties to secure them.

5 – Fill It Up
Continue adding hydrangeas, alternating the direction (left and right) to create a full and balanced look. Don’t be afraid to go back to the garden for more flowers if needed. The beauty of this project is that the hydrangeas will dry right on the wreath!

Get Creative with Hydrangea Wreath DIY Variations
Don’t limit yourself to a single style! Experiment with different variations by working with different hydrangea varieties. Here are some ideas.
- Monochromatic: Use hydrangeas of all one color for a sleek, sophisticated look.
- Multi-colored: Combine different colored hydrangeas for a playful wreath.
- Mixed Materials: Incorporate other dried flowers, foliage, or even berries for a unique touch. You could even use faux hydrangeas for a longer-lasting wreath!
Display and Enjoy Your Free Hydrangea Wreath
Your stunning hydrangea wreath is ready to go! Hang it on your front door, above the fireplace, or anywhere that needs a touch of natural beauty. With proper care (avoiding direct sunlight, moisture, and excessive handling), it will last for months, reminding you of the joys of summer/fall.

Quick Troubleshooting Tips for Your Hydrangea Wreath
Sometimes, things don’t go exactly as planned, but don’t worry! Here are a couple of common issues and easy fixes:
“What if my hydrangeas wilt after cutting?”
This can happen if they’re cut when they’re still too “thirsty” or immature. Don’t freak out! Try re-cutting the very end of the stem (a fresh cut helps them drink better) and immediately placing them into a bucket of water. Let them rehydrate for a few hours or even overnight before trying to use them for your wreath. I also recommend waiting a bit longer to cut them from your hydrangea.
“How do I ensure the hydrangeas stay in the wreath?”
Grapevine wreaths are usually pretty forgiving for tucking, but if your stems feel loose, or if you’re using a different type of wreath form, don’t be afraid to give them some extra support! Floral wire is perfect for securing stems discreetly. Small zip ties can also work in a pinch. For a super secure hold, especially if the wreath will be in a windy spot or handled a lot, a dab of hot glue on the end of the stem as you tuck it in can provide extra peace of mind.

Hydrangea Wreath DIY FAQs
Is it cheaper to make your own wreath?
Absolutely! You can save a significant amount of money by using materials you already have.
What can I use for the base of the wreath?
I prefer a grapevine wreath, but a styrofoam, floral foam, or wire wreath form will work too.
How do you preserve a hydrangea wreath?
Apply a clear sealant, avoid direct sunlight and moisture, and handle with care. For longer-lasting wreaths, consider using faux hydrangeas instead.
How long does a hydrangea wreath last?
With proper care and preservation, a hydrangea wreath can last anywhere from a few weeks to several months, depending on the drying stage of the blooms, their quality, and the environment where the wreath is displayed.
Could I Make a hydrangea wreath using faux flowers?
Absolutely! Choose your faux hydrangea blooms and simply tuck them in the grapevine wreath.

More About Making Hydrangea Wreaths
As a lover of all things natural and budget-friendly, I have to tell you, this DIY hydrangea wreath is a true gem! I actually started making these back in my old house, playing around with all sorts of hydrangeas, and I just brought that love for them right here with me.
It’s such a simple, yet stunning way to bring the beauty of the outdoors in, especially as we shift from those long summer days into cozy fall evenings. You’re really just repurposing materials and letting nature do its thing as the hydrangeas naturally dry. So, you’re not just making a cool piece of decor, you’re also celebrating the whole cycle of nature with the seasonal shift.
Seriously, these wreaths last a long time and they look so pretty, they’ve become a permanent part of my fall home decor. This project is proof that you really don’t need to spend a fortune to create something beautiful and meaningful.

Have you ever made this kind of hydrangea wreath before? What would you do differently? Let’s chat more about it in the comments below!
Share Your Creation
I’d love to see your DIY hydrangea wreaths! Share photos with me over email at bricksnblooms@gmail. com or on social media tagging me @bricksnblooms and inspire others with your creativity.
For more information about general hydrangea care, check out this article from the Oregon State Cooperative Extension, Ohio State University Cooperative Extension, and Rutgers Cooperative Extension.
Happy crafting!
Thank you so much for following along.
Enjoy a beautiful day! xo

More About Hydrangeas
- The Complete Guide to Hydrangea Care and Their Flowers
- The Basics of Hydrangea Care
- Growing Hydrangeas in Pots
- How to Dry a Hydrangea the Easy Way
- How to Divide Hydrangeas
- 7 Easy Steps to Propagating Hydrangeas
- Why Aren’t My Hydrangeas Blooming?
- Are Hydrangeas Deer Resistant?
- How to Prune Hydrangeas
- How to Make a Hydrangea Wreath for Free
- Pruning Hydrangeas, Ornamental Shrubs, and Other Woody Plants


Want to Make a Fall Wreath Using Other Garden Flowers?
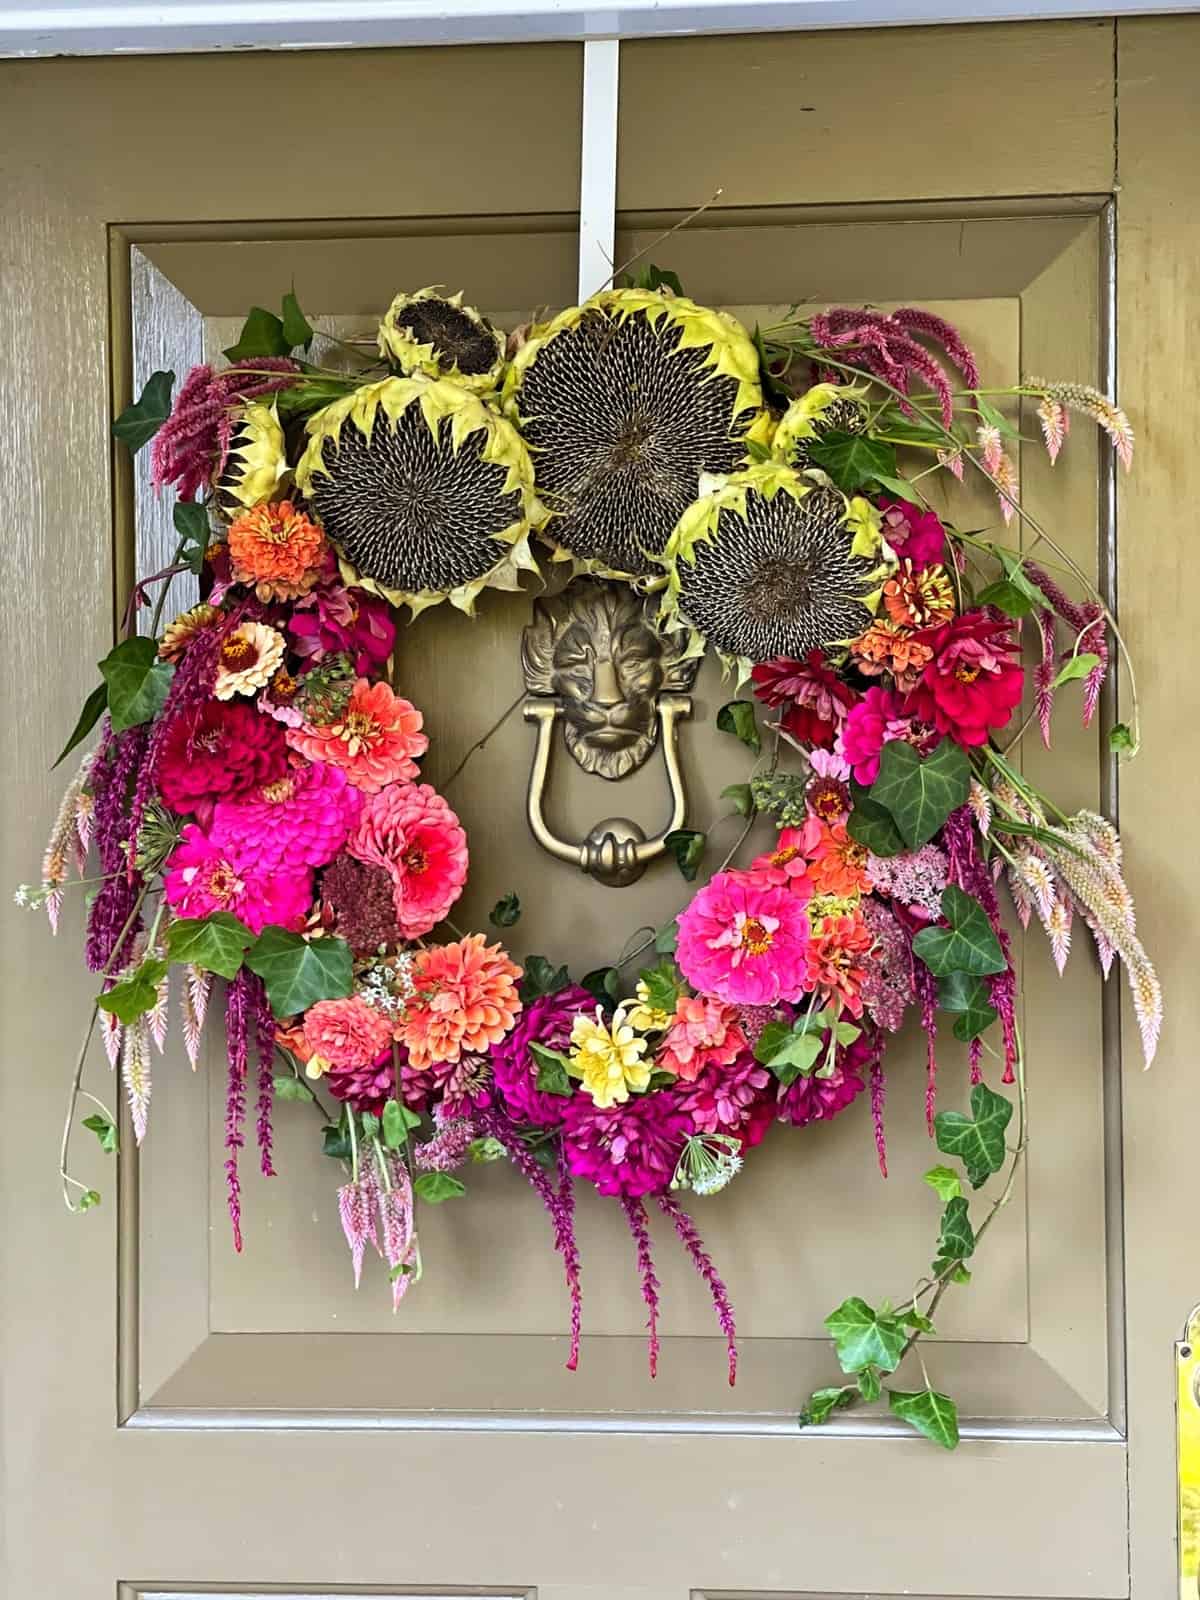
Last year, I made the prettiest fall wreath for my front door after harvesting sunflowers in my garden. Wait until you see how easy this one is to make! And look how pretty it looks!


You’ve convinced me that I definitely have to make a hydrangea wreath Stacy!
They are so fun to make! Plus they are free!
It’s so beautiful, Stacy! I love that the flowers can just dry right on the wreath form! Such pretty color and texture for any space.
Thank you so much Rachel! I’m hoping to make one here this fall too!
This is such a great idea! I need to make it this year. Pinned!
I’m so happy to hear that thank you!
Pinning this post Stacy! I’m just starting to dry out my hydrangeas for decor and this wreath is gorgeous!
Thank you so much! It’s so easy to make and looks so beautiful you will love it!
Absolutely gorgeous! I have always wanted to make one. Hopefully, this is the year. Hugs to you.
I hope you do it’s so easy!
What a beautiful wreath. I love dried hydrangeas. They are such a great flower to work with.
They really are!
Your wreath is so gorgeous, Stacy. I need to find a friend to let me “borrow” some hydrangeas so I can make one. My hydrangeas didn’t bloom this year.😒
Oh no! Did you look into why? and Thank you!
What a lovely wreath, Stacy! Since I have some Nantucket Blue hydrangeas this season, it makes me want to make my own.
Thanks Kim! I hope you do! xo
This wreath is amazing Stacy! And the price is even better!! Such a great DIY project, thanks for sharing sweet friend.
Thanks AnnMarie! xo