
How to Arrange Flowers at Home Using Fresh Garden or Store-Bought Blooms

Learn how to arrange flowers at home using fresh garden or store-bought blooms with simple tips for creating beautiful bouquets.
One of my favorite ways to brighten my home is with fresh flowers. Sometimes they’re gathered from my cutting garden, and other times they’re picked up from the grocery store or local florist. No matter where they come from, arranging flowers is a simple way to bring color, texture, and a little bit of the outdoors inside.
After nearly 30 years of gardening and years of creating bouquets from both homegrown and store-bought flowers, I’ve learned that beautiful arrangements don’t have to look professionally designed. A few simple techniques can help you create natural, balanced bouquets that complement your home and reflect the season.
In this guide, I’ll walk you through the basics of arranging flowers step by step, whether you’re working with flowers you’ve grown yourself or a bouquet you’ve picked up on the way home. Along the way, I’ll also share a few tips that help fresh flowers stay beautiful longer, no matter where they came from.
(Posts on stacyling.com may contain affiliate links. Click HERE for full disclosure.)

Start With Fresh, Healthy Flowers
Beautiful flower arrangements begin long before you place the first stem in a vase. Whether you’re working with flowers from your own garden or a bouquet from the grocery store or florist, starting with the freshest flowers possible will always give you the best results.
If you’re harvesting flowers from your garden, taking a few extra minutes before arranging them makes a noticeable difference. I recommend learning when to cut flowers for the longest vase life and how to condition flowers after cutting from the garden before you begin arranging. Those two simple steps help flowers hydrate properly and stay beautiful longer.
I’ve also found that garden flowers don’t always behave the same way as florist flowers. Some homegrown blooms last even longer in a vase, while others are simply meant to be enjoyed for a shorter time. My guide to why garden-grown flowers behave differently than florist flowers explains why those differences exist and how they can influence your arrangements.
Once your flowers are fresh, hydrated, and ready to go, arranging them becomes much easier.
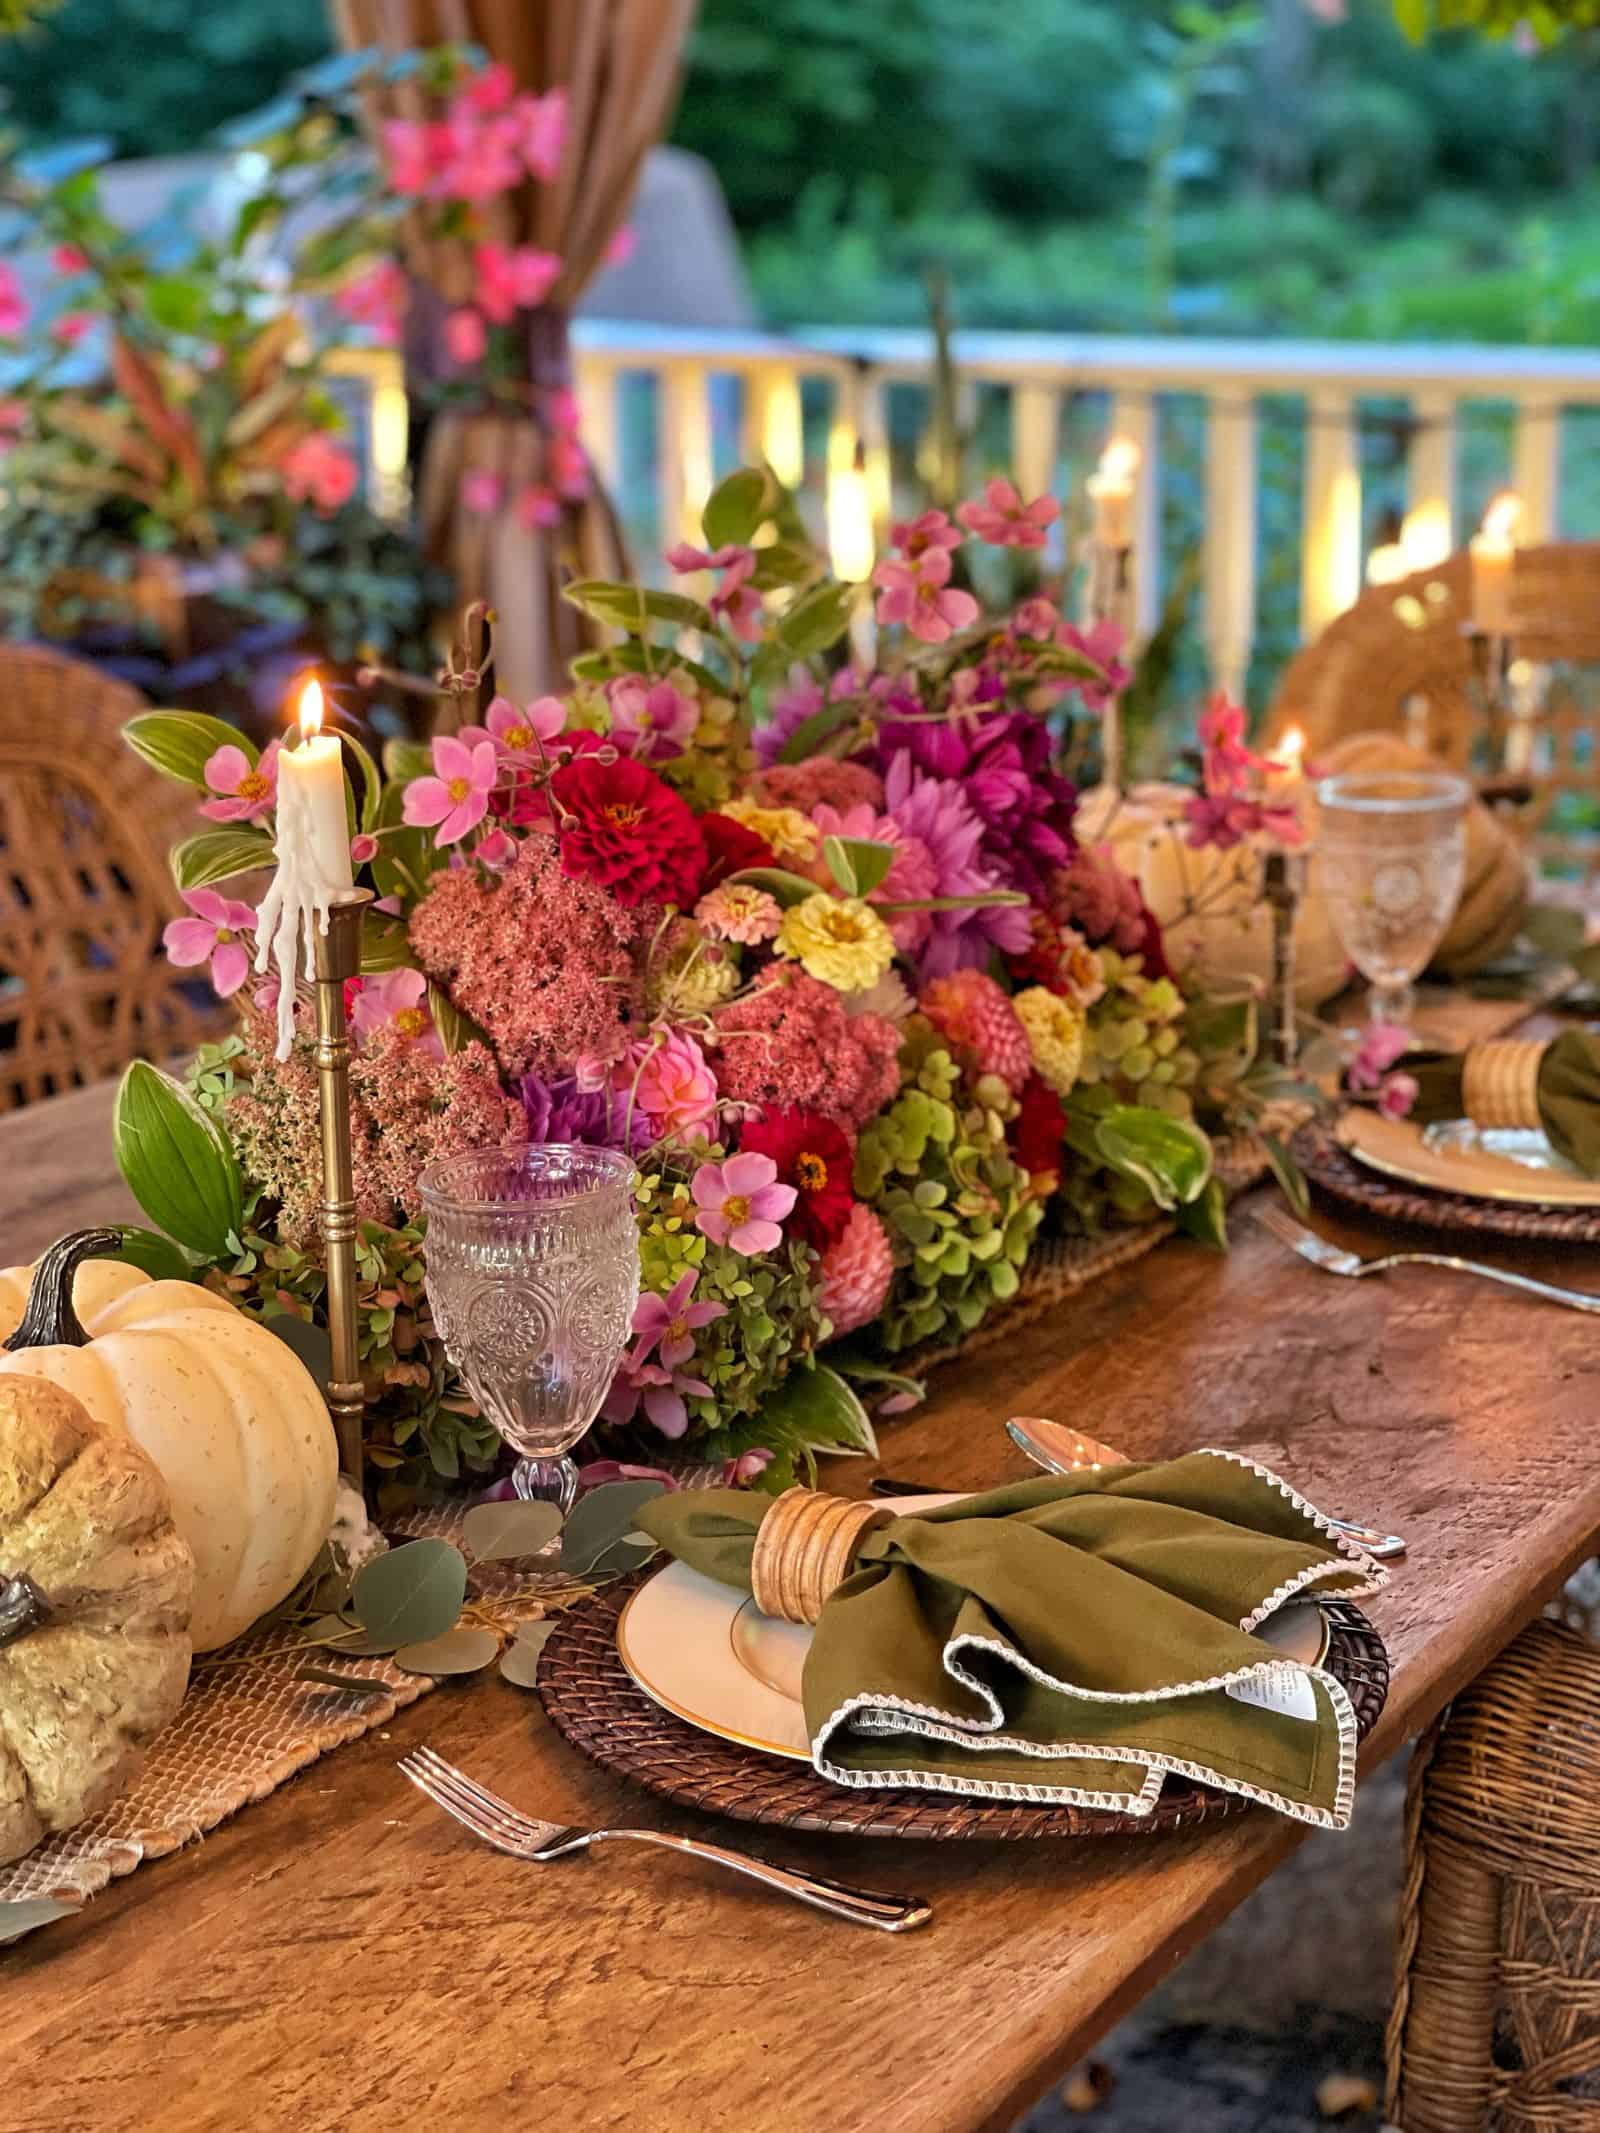
Choose Flowers That Work Well Together
One of the things I love most about arranging flowers is that there really isn’t a right or wrong way to do it. Every bouquet is a little different because every season in the garden is different.
Whether you’re cutting flowers from your own garden or arranging a bouquet from the grocery store, I like to think about a few basic design principles before I begin. Consider the balance, scale, color palette, texture, and overall shape of your arrangement. Most importantly, choose flowers that make you happy.
If you’re using flowers from your own garden, harvesting them at the right stage and conditioning them properly will help them look their best once they’re arranged. If you’re new to cutting flowers from your garden, my guides on when to cut flowers for the longest vase life and how to condition flowers after cutting from the garden will help you get your bouquets off to the best start.

Flowers I Love Using in Arrangements
Over the years, these are some of my favorite flowers to arrange, whether they’re grown in my cutting garden or purchased fresh from a florist or market.
Spring
Summer
- Roses
- Snapdragons
- Scabiosa
- Yarrow
- Zinnias
- Dahlias
- Sunflowers
- Hydrangeas
Late Summer and Fall
- Chrysanthemums
- Sedum
- Dahlias
- Zinnias

Don’t Forget Foliage
Greenery is often what makes an arrangement feel finished. Ferns, eucalyptus, herbs from the garden, and leafy branches all add texture and help support the flowers without overwhelming them.
Mix Different Flower Forms
One of the easiest ways to create a bouquet that looks balanced is to combine flowers with different shapes and textures.
For example, I often pair:
- Large focal flowers like dahlias, peonies, or hydrangeas
- Medium flowers such as roses or zinnias
- Airy flowers like scabiosa or baby’s breath
- Greenery to frame the arrangement
Using a variety of flower forms creates movement and keeps arrangements from looking flat or overly formal.
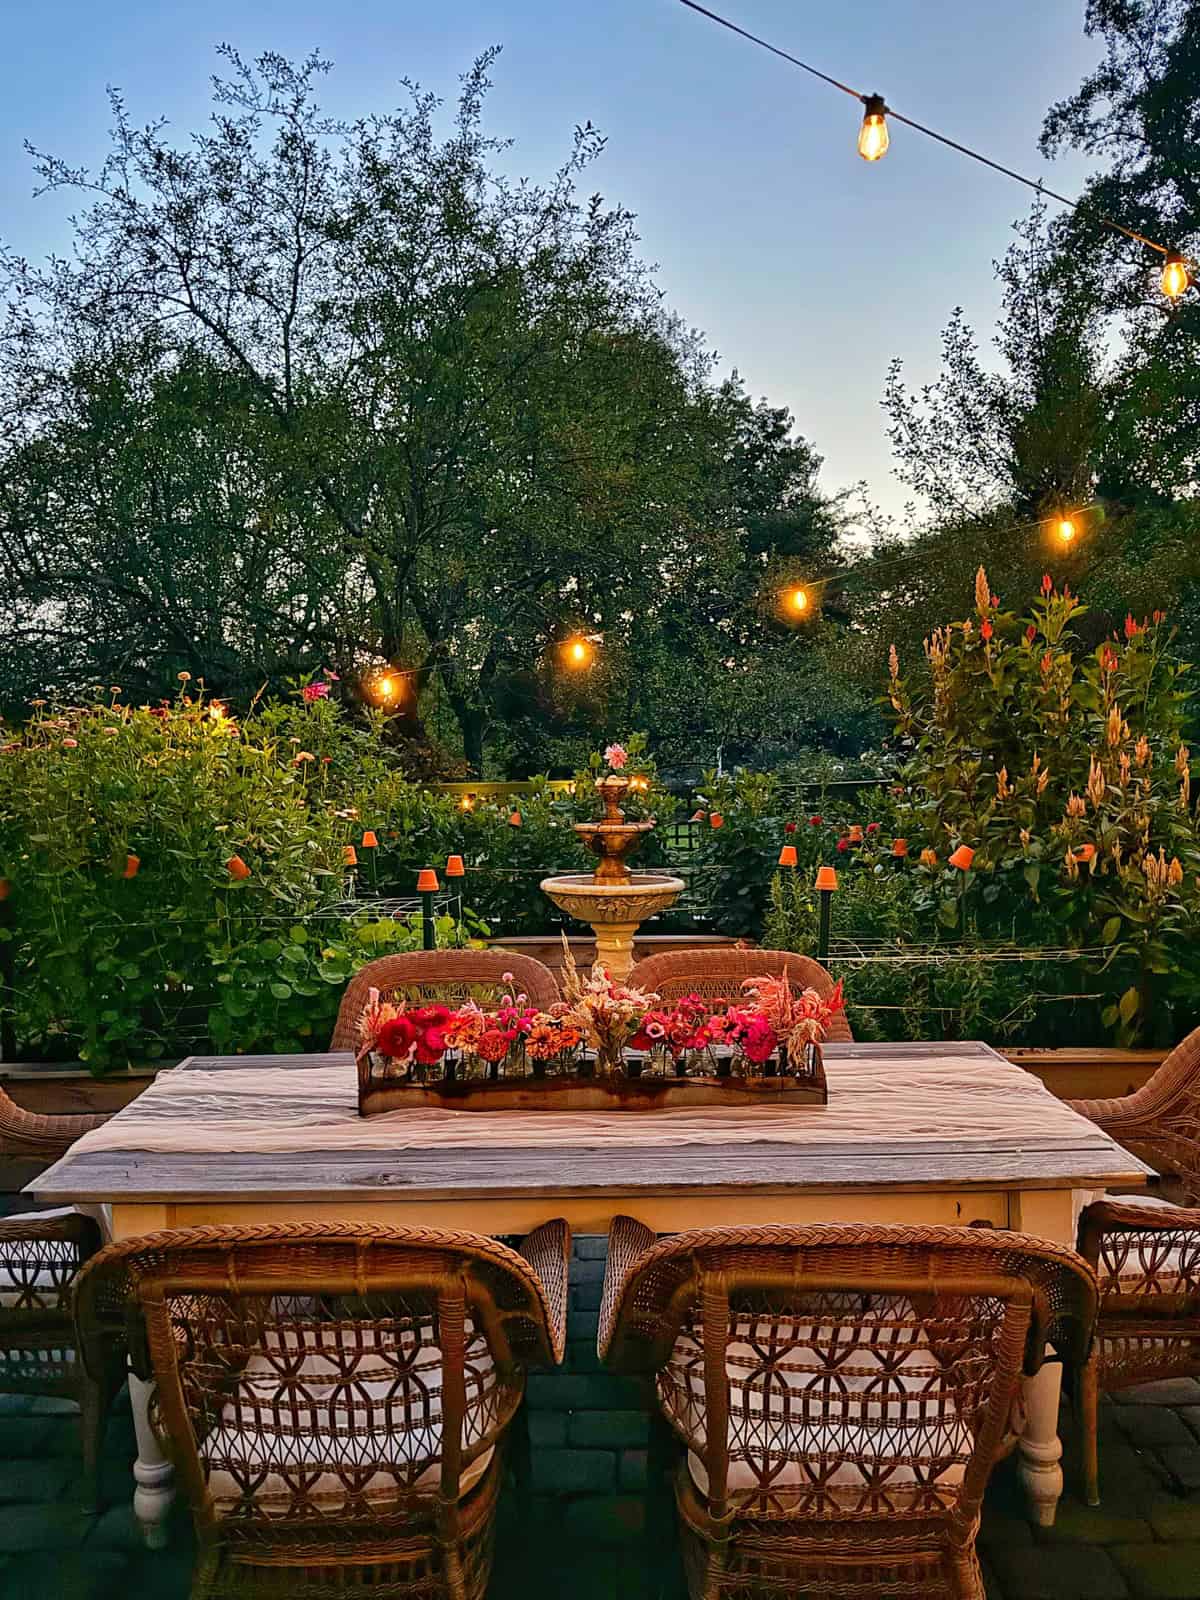
How to Arrange Flowers at Home
Once your flowers are harvested, conditioned, or unwrapped from the market bouquet, it’s time for the fun part: creating an arrangement.
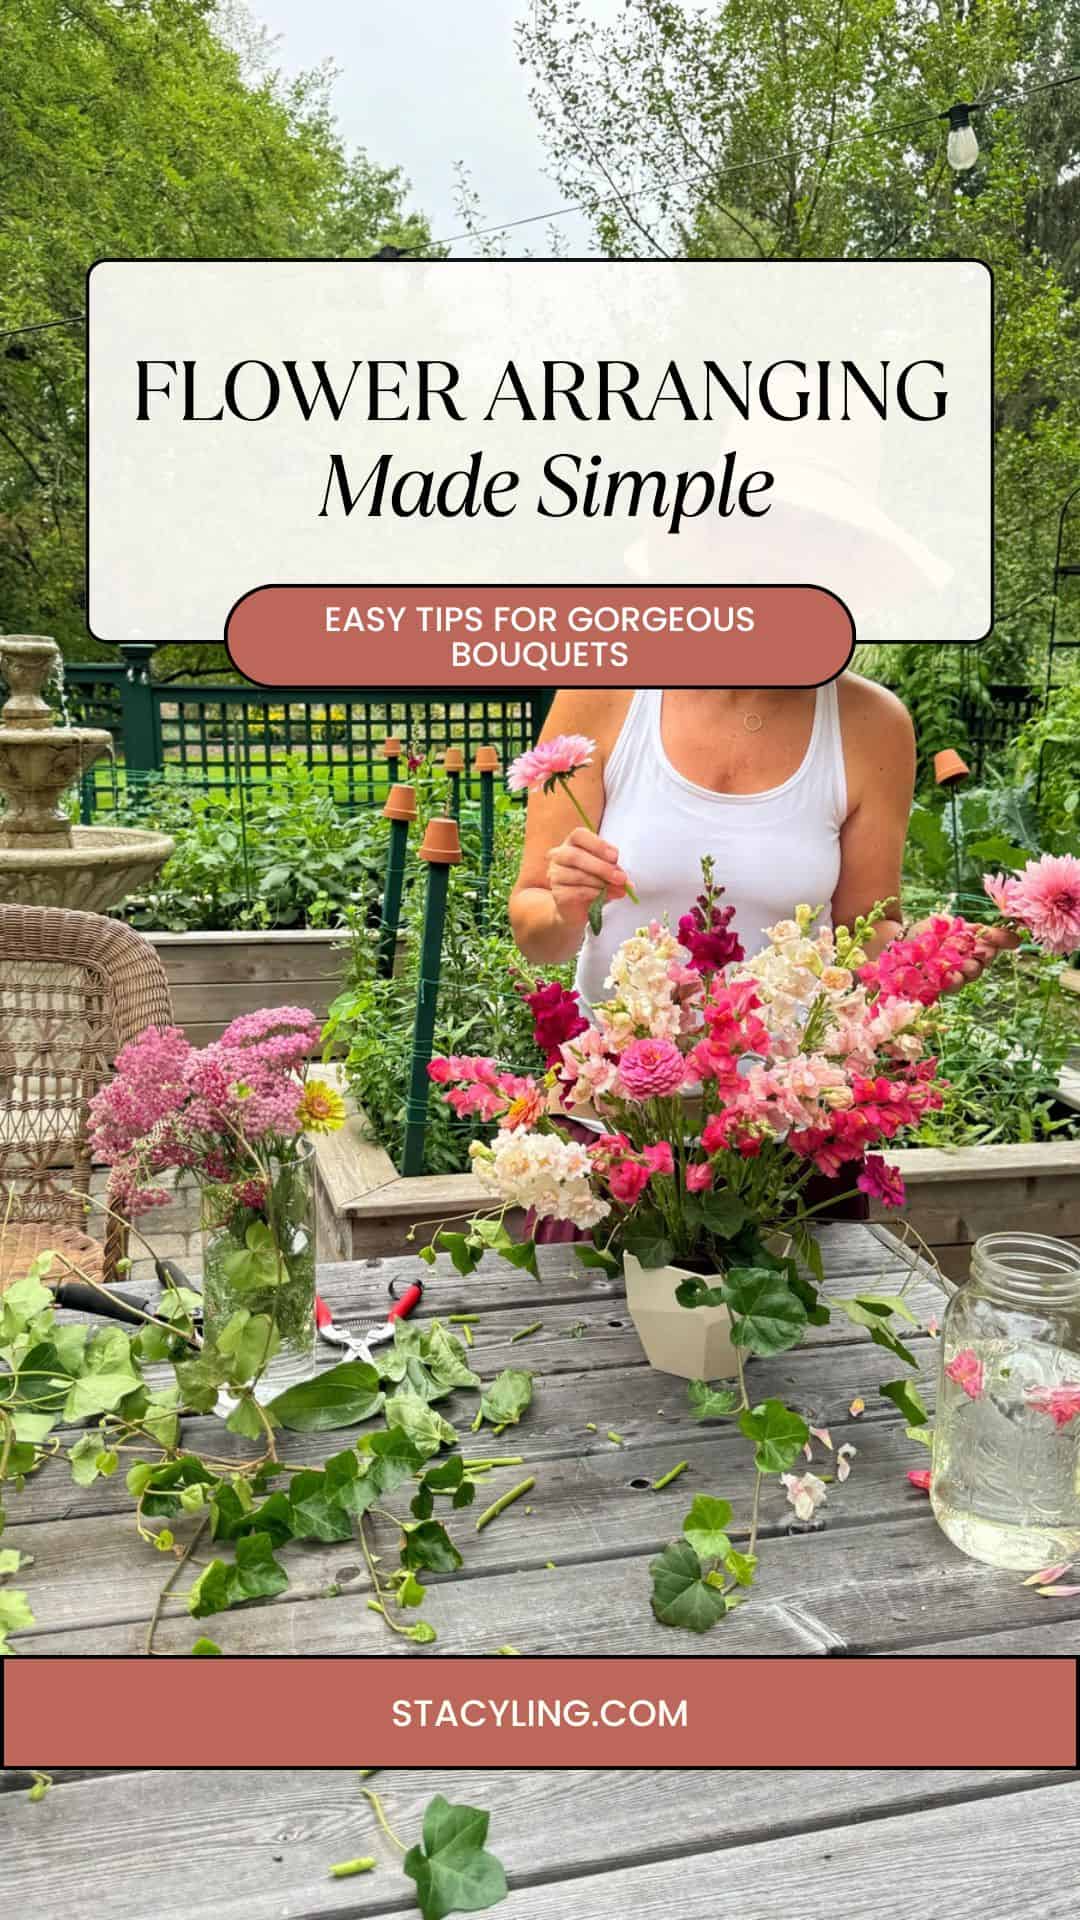
One of the biggest lessons I’ve learned over the years is that beautiful bouquets don’t have to be complicated. In fact, some of my favorite arrangements are the simplest ones. A handful of flowers in a mason jar can be just as beautiful as an elaborate centerpiece when the flowers are balanced and the stems are arranged naturally.
I don’t worry about making every bouquet look professionally designed. Instead, I focus on creating arrangements that reflect what’s blooming in the garden or what caught my eye at the market. That relaxed approach makes flower arranging much more enjoyable and encourages you to experiment with different colors, textures, and flower combinations throughout the seasons.
With just a few basic supplies and a simple design formula, you’ll be creating beautiful arrangements in no time.
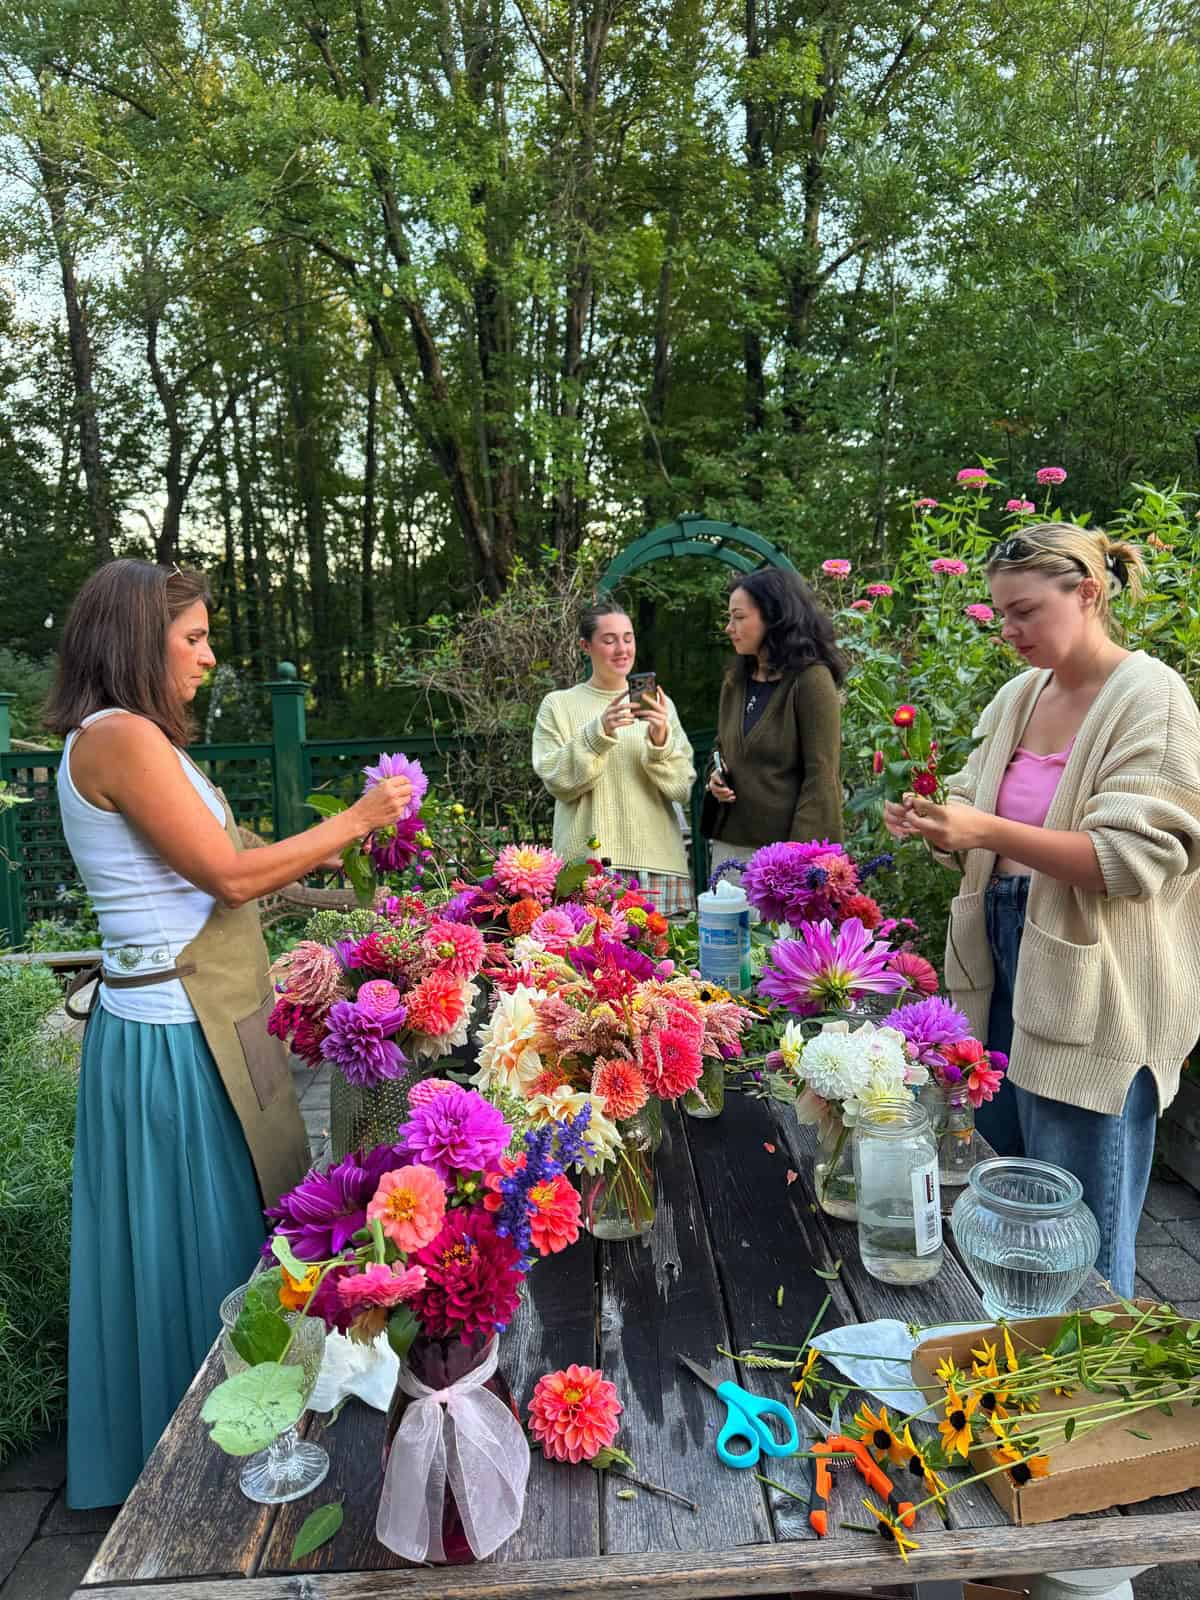
Supplies You’ll Need
One of the things I love about arranging flowers is that you don’t need a lot of fancy equipment to create a beautiful bouquet. Whether I’m cutting flowers from my garden or picking up a bunch from the grocery store, I keep the process simple and use just a handful of basic supplies.
Before you get started, gather:
- Sharp garden snips or floral scissors
- Fresh flowers
- A clean vase, pitcher, mason jar, or other container
- Fresh water
- Flower food (optional, but recommended). To DIY your own, grab my homemade flower food recipe here.
- A floral frog, chicken wire, floral tape, or floral foam if your arrangement needs extra stem support
I personally prefer using a floral frog whenever possible because it holds stems naturally while allowing the arrangement to look loose and relaxed. Chicken wire is another great option for larger containers. While floral foam certainly has its place, I generally reach for reusable mechanics first whenever I can.
One tip I’ve learned over the years is to always start with a thoroughly clean container. Even if a vase looks clean, leftover bacteria from a previous bouquet can shorten the life of fresh flowers. A quick wash with warm, soapy water before arranging is a simple step that can make a noticeable difference.
Now that you have everything ready, it’s time to start arranging. If you’re new to flower arranging, I like to use a simple design formula that helps create balanced, natural-looking bouquets every time.
Start With a Simple Design Formula
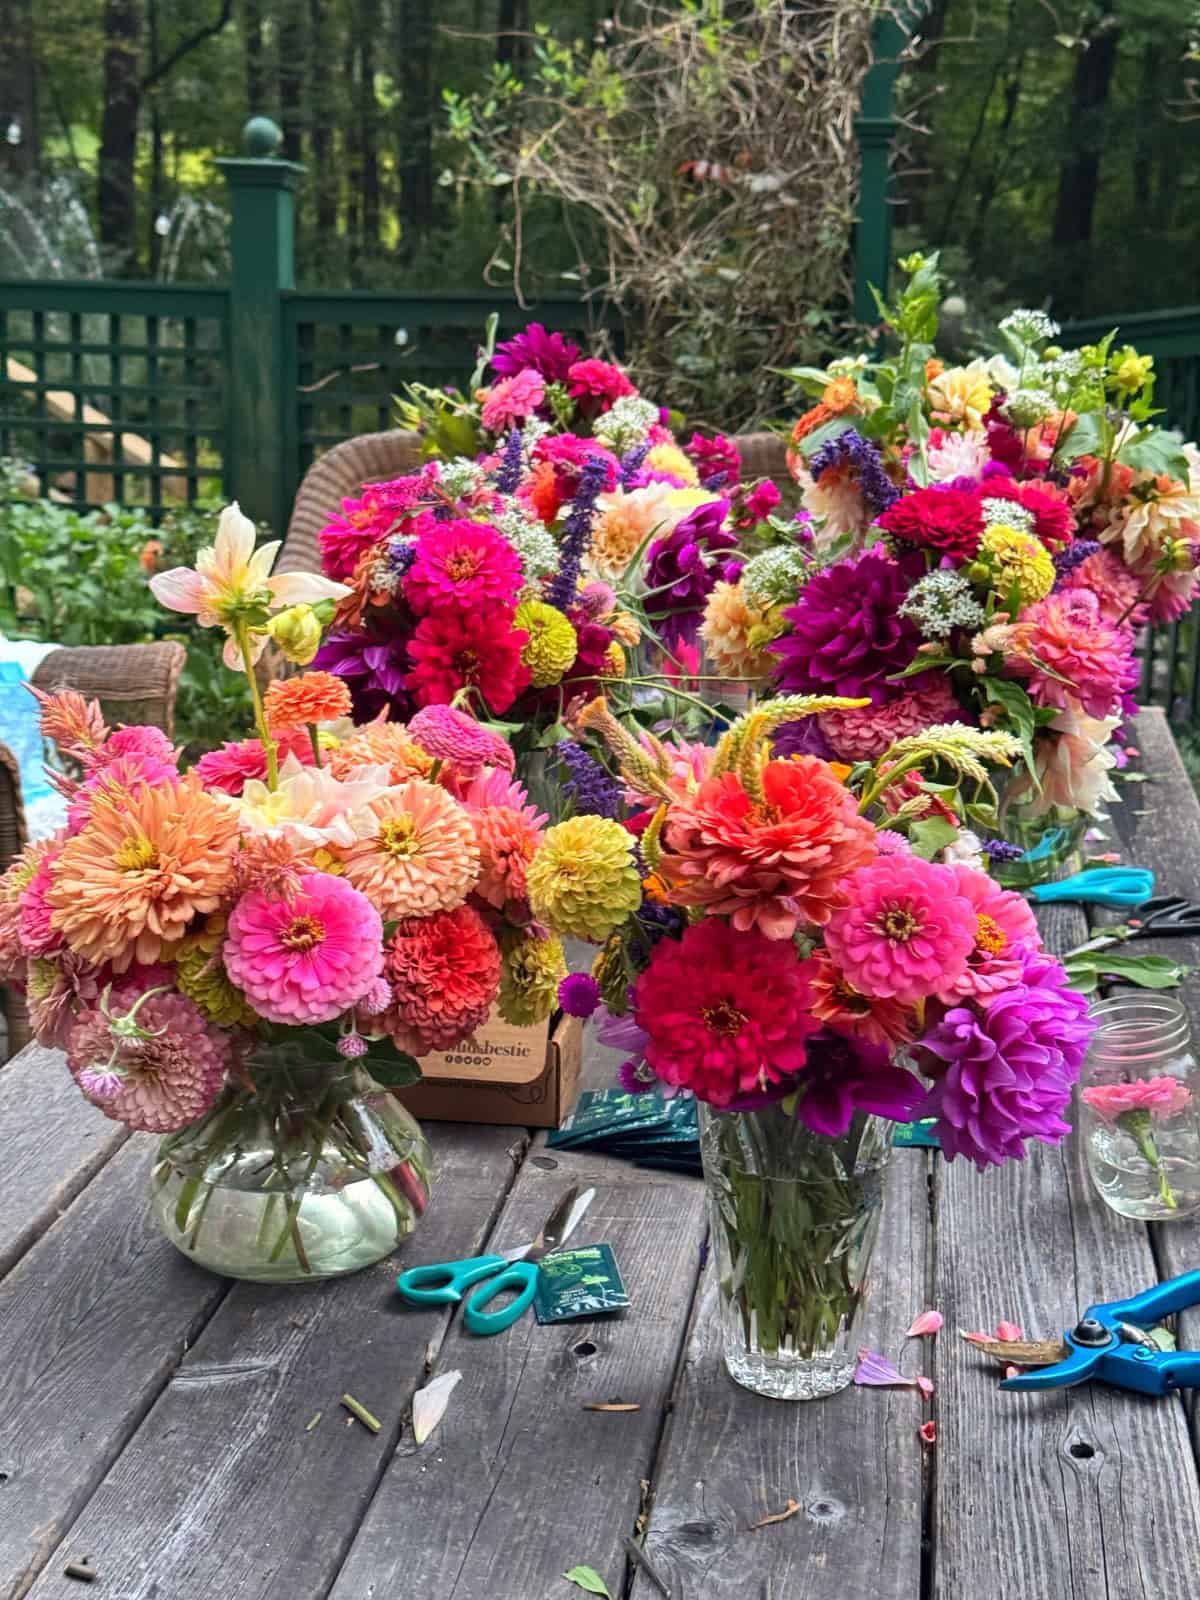
If you’re new to arranging flowers, one of the easiest ways to create a bouquet that looks balanced is to think in terms of thriller, filler, and spiller. Don’t worry about following these categories perfectly. They’re simply a helpful guide that gives your arrangement shape, texture, and movement.
Thriller
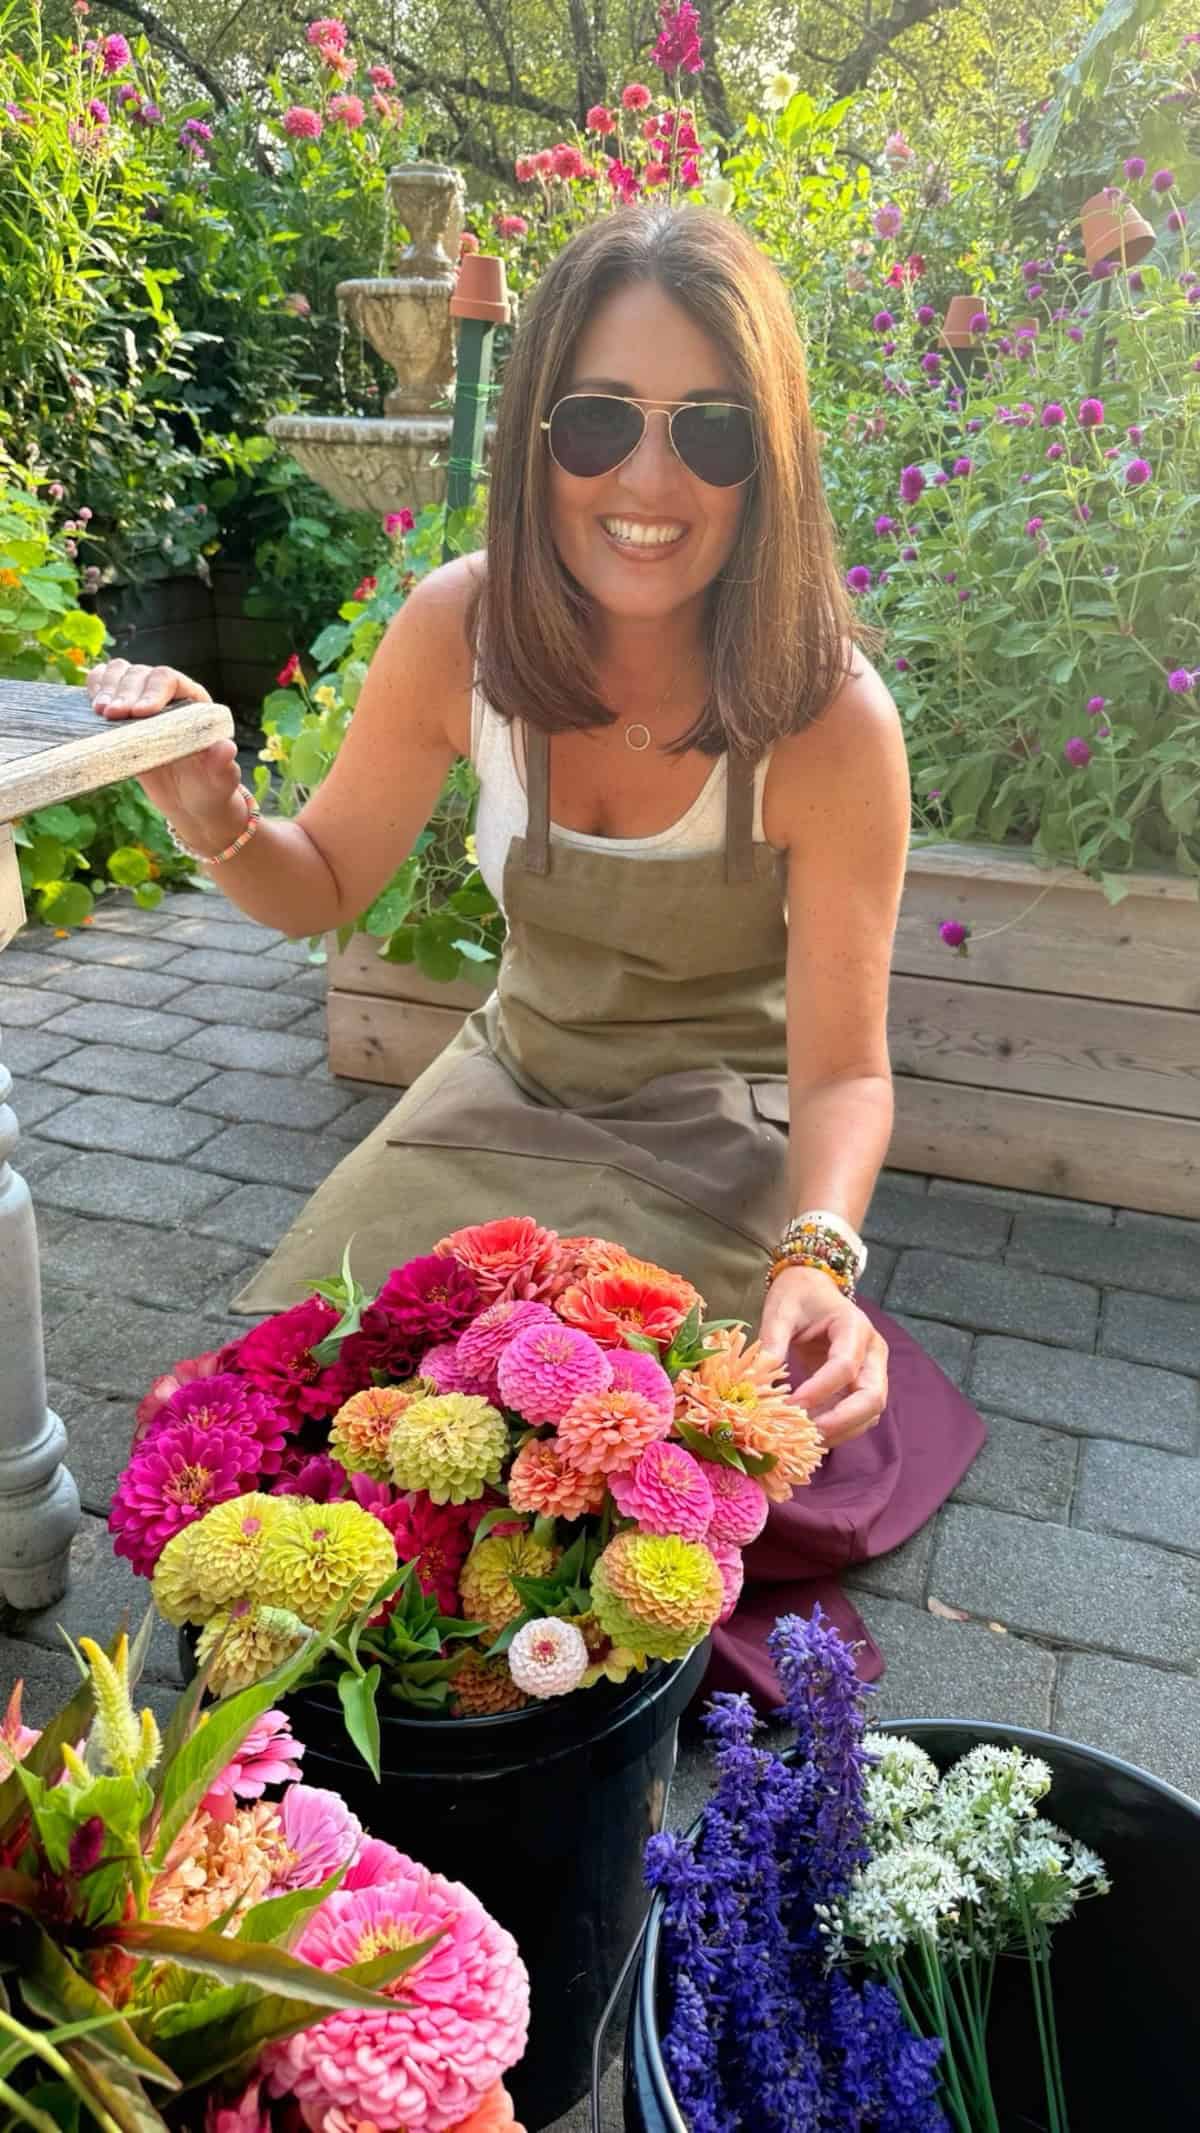
Your thriller is the focal point of the arrangement. These are usually the largest or most eye-catching flowers that immediately draw your attention.
Some of my favorite thriller flowers include:
- Dahlias
- Peonies
- Hydrangeas
- Sunflowers
- Roses
I like to spread these flowers throughout the arrangement rather than placing them all in the center. Doing so creates a more natural, balanced look.
Filler
Filler flowers soften the arrangement, add texture, and help connect the larger blooms together.
Some of my favorite fillers are:
- Snapdragons
- Scabiosa
- Yarrow
- Baby’s breath
- Chrysanthemums
Filler doesn’t have to mean tiny flowers. It’s really about creating fullness and helping your eye move through the bouquet.
Spiller
Spillers are the flowers or foliage that soften the edges of the arrangement and create movement. Depending on the season, this could be trailing greenery, airy stems, herbs from the garden, or flowers with naturally arching stems.
Don’t feel like every arrangement needs a dramatic spiller. Sometimes a few stems of fresh greenery are all that’s needed to give a bouquet a relaxed, garden-inspired feel.
One thing I’ve learned after years of arranging flowers is that these categories aren’t rigid. A flower that acts as a focal point in one arrangement might become a filler in another. Use them as a guide, then let the flowers tell you where they belong.
To learn more about how I use thriller, filler and spiller in my designs, please visit my complete guide to the thriller, filler and spiller method here.
How to Arrange Flowers Step by Step
Creating a beautiful flower arrangement doesn’t require formal training or expensive supplies. Whether you’re designing a centerpiece for your dining table or filling a small vase for the kitchen counter, the same basic techniques apply.
As you arrange, remember to step back every few stems and rotate the vase. Looking at your bouquet from all angles helps you spot gaps, balance the shape, and create a more natural arrangement.
Step 1: Prepare Your Flowers
Before placing a single flower in the vase, prepare each stem.
If you’re working with flowers from your garden, they should already be conditioned and hydrated. If you’re arranging grocery store or florist flowers, give each stem a fresh angled cut before placing it in water.
Remove any leaves that will sit below the water line, as submerged foliage encourages bacterial growth and shortens vase life.
Step 2: Choose the Right Container
Your vase should complement the size of your bouquet.
A narrow vase works well for smaller arrangements because it naturally supports the stems, while wider containers are ideal for fuller bouquets. Fill the vase about halfway with fresh water and add flower food if you’re using it.
If your arrangement needs extra support, place your floral frog, chicken wire, or floral tape in the vase before adding any flowers.

Step 3: Build the Framework
I almost always begin with greenery.
Greenery creates the overall shape of the arrangement and provides natural support for the flowers you’ll add next. It also adds texture and helps the bouquet feel fuller without relying entirely on blooms.
Don’t worry about making it perfect. You’re simply creating the foundation.
Step 4: Add Your Focal Flowers
Now begin placing your largest or most eye-catching flowers.
Instead of grouping them all together, spread them throughout the arrangement. This helps create balance and naturally draws your eye around the bouquet.
Remember to rotate the vase often so it looks attractive from every angle.

Step 5: Fill the Gaps
Next, begin adding your secondary flowers and filler blooms.
Mix different flower sizes, textures, and heights to create depth and interest. One of the easiest mistakes to make is placing every flower at the same height. Allow some stems to sit higher while others tuck deeper into the arrangement to create a more relaxed, garden-inspired look.

Step 6: Add the Finishing Touches
Finish by adding airy flowers, trailing stems, or extra greenery wherever the arrangement needs a little softness or movement.
Don’t be afraid to remove a stem if something feels crowded. In my experience, taking one flower out often improves an arrangement more than adding another one.
Once you’re happy with the overall shape, top off the vase with fresh water, wipe away any fingerprints, and place your bouquet where you can enjoy it.

Flower Arranging Tips I’ve Learned Over the Years
After arranging flowers from both my garden and store-bought bouquets for many years, here are a few habits that consistently make my arrangements look better and last longer.
- Rotate the vase often while you’re arranging so the bouquet looks balanced from every angle.
- Don’t feel like you need to use every flower. Sometimes removing a stem creates a cleaner, more natural arrangement.
- Mix flowers with different shapes, textures, and heights to add movement and interest.
- Change the water every few days and recut the stems if you want your bouquet to last longer.
- Keep arrangements away from direct sunlight, heating vents, and ripening fruit to help extend vase life.
- Most importantly, don’t strive for perfection. Some of my favorite bouquets are the ones that look the most relaxed and natural.

Creating a Garden-Inspired Centerpiece
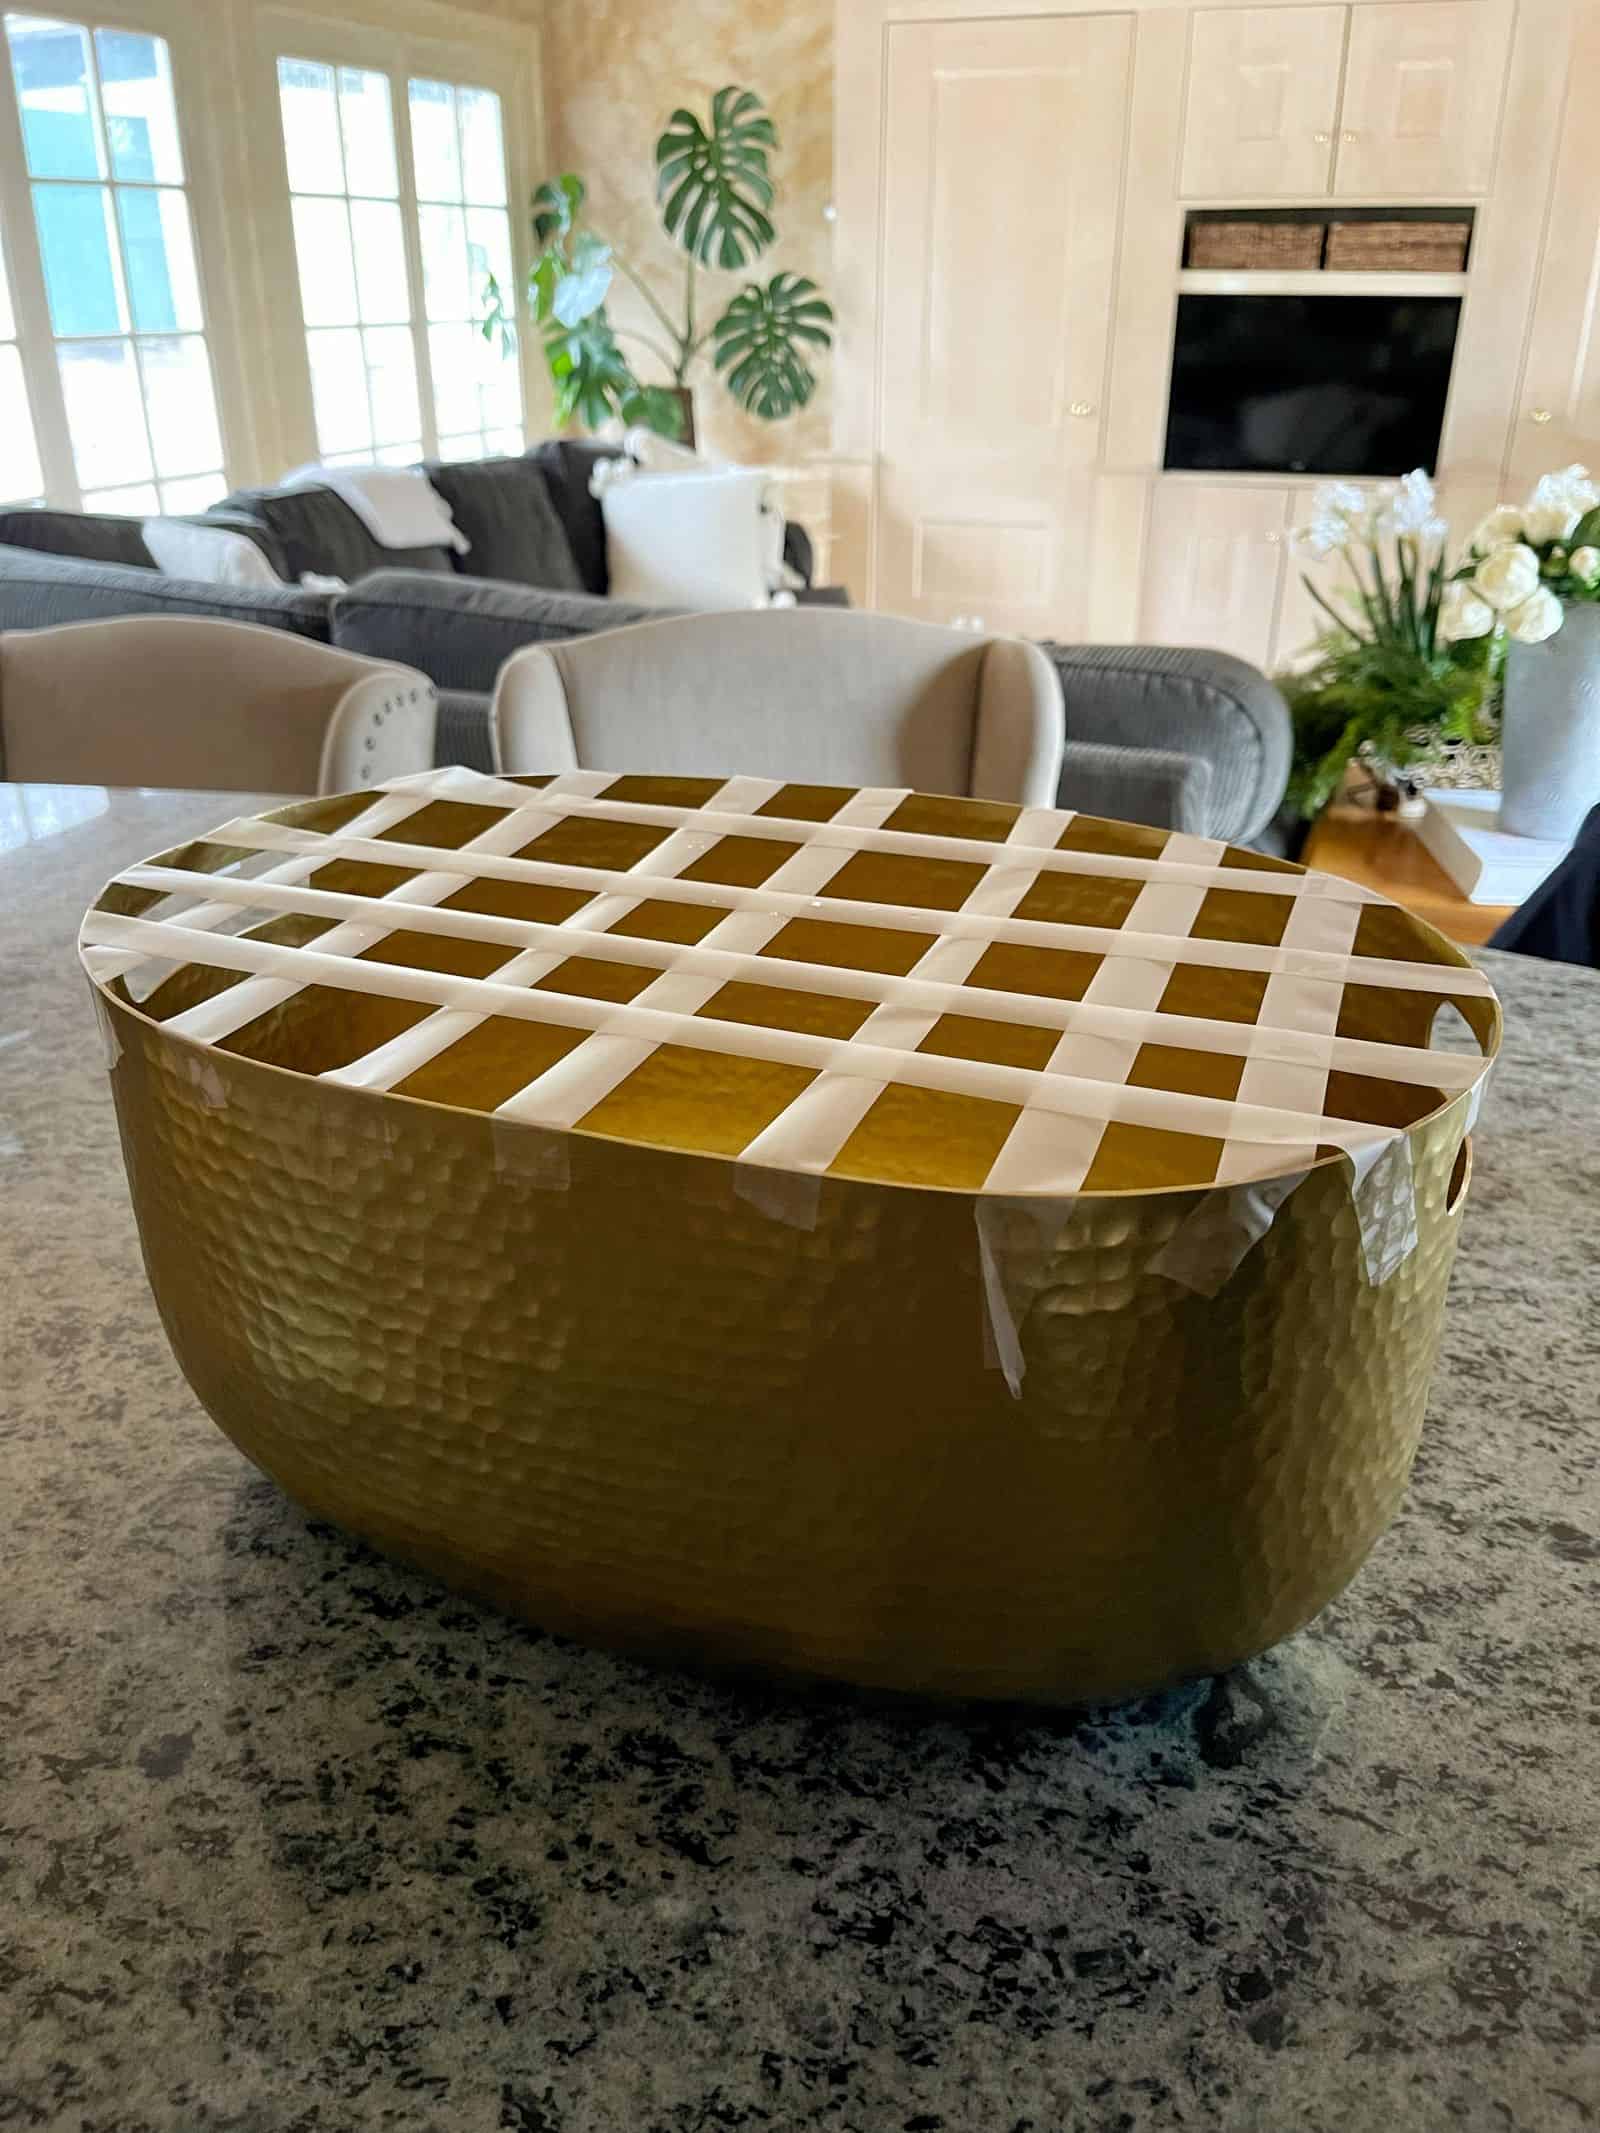
One of my favorite arrangements started in an unexpected container: a gold hammered ice bucket. At first, I tried using only floral tape to support the stems, but the opening was simply too wide, and the flowers kept flopping over as I worked.
Rather than fighting with the arrangement, I added a small piece of wet floral foam to the bottom of the container to provide extra support. Sometimes the best mechanics depend entirely on the vase you’re using, and there’s nothing wrong with adjusting your approach if something isn’t working.
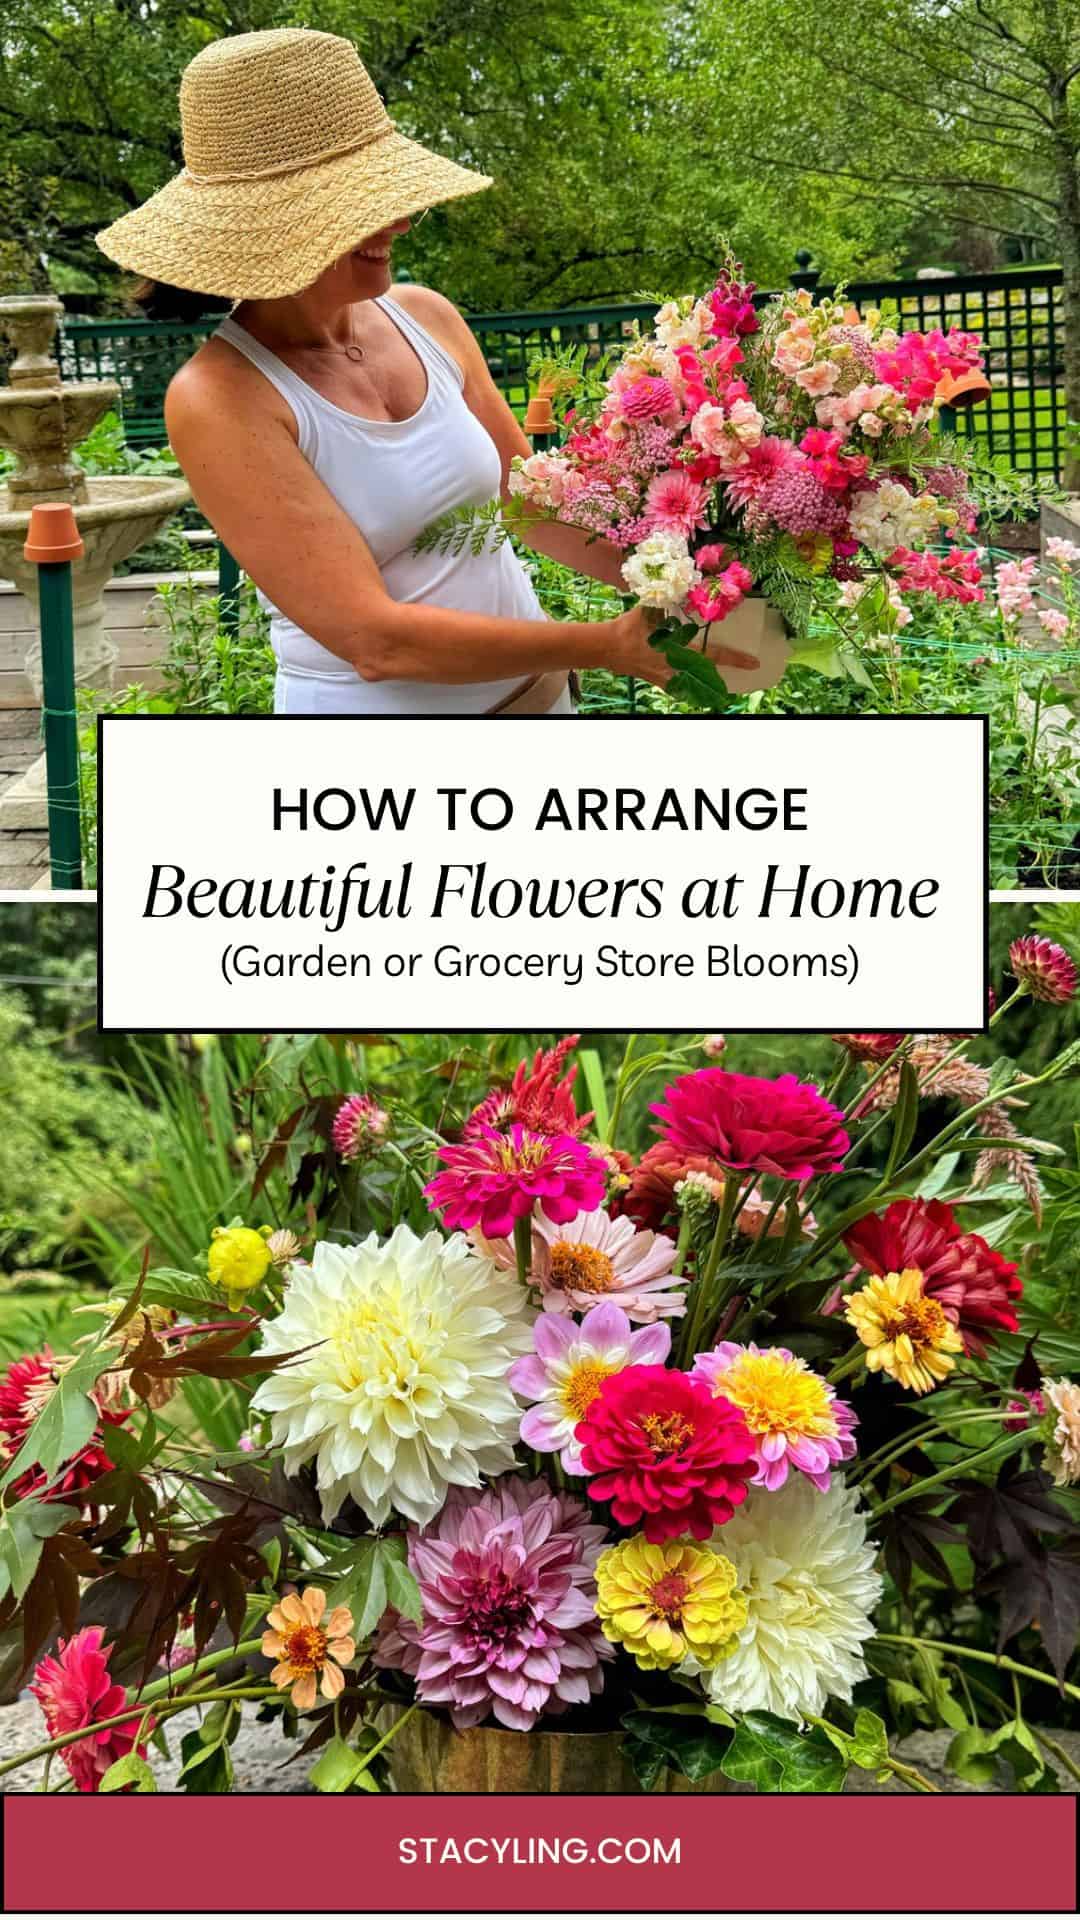
I always begin by creating a framework with greenery. Once that foundation is in place, I add my focal flowers. For this arrangement, I used hydrangeas and roses before filling in with baby’s breath, carnations, and fluffy white chrysanthemums for added texture.
One thing I’ve learned after years of arranging flowers is that the first version is rarely the final version. I constantly step back, rotate the arrangement, and move stems until everything feels balanced. In fact, I’ve completely taken arrangements apart and started over more times than I can count, including this centerpiece.
Don’t be afraid to experiment. Flower arranging is a creative process, and every bouquet teaches you something new.
A Few Tips That Make Every Arrangement Better
No matter what flowers I’m using, these simple habits help my arrangements stay fresh and look their best.
- Start with a clean vase or container.
- Give every stem a fresh angled cut before arranging.
- Remove any foliage that will sit below the water line.
- Choose your container before trimming stems so you can cut them to the proper height.
- Use floral frogs, chicken wire, floral tape, or floral foam when your arrangement needs additional support.
- Refresh the water every few days to help extend the life of your bouquet.
- Don’t be afraid to incorporate unexpected elements like herbs, seed heads, berries, interesting branches, or pinecones to add seasonal texture and personality.

Common Flower Arranging Mistakes (and How to Fix Them)
Flower arranging gets easier with practice, and I’ve certainly learned through plenty of trial and error over the years. If your bouquets don’t look quite the way you imagined, chances are one of these common mistakes is the reason.
Starting With Flowers That Aren’t Fresh
Even the best arrangement won’t last if the flowers are already stressed before they reach the vase.
If you’re cutting flowers from your garden, harvest them during the coolest part of the day and condition them before arranging. If you’re using store-bought flowers, give each stem a fresh angled cut before placing it in water.
Using a Vase That’s the Wrong Size
The container is just as important as the flowers.
A vase that’s too large can allow stems to fall outward, while one that’s too small can make the arrangement feel crowded. Choose a container that supports the size and shape of the bouquet you’re creating.

Making Every Stem the Same Height
One of the easiest ways to make an arrangement look flat is by cutting every stem to the same length.
Instead, vary the height of your flowers and allow some blooms to sit deeper in the arrangement while others extend above them. That difference in height creates movement and gives the bouquet a more natural, garden-inspired look.
Overfilling the Arrangement
It can be tempting to use every flower you have, but more isn’t always better.
Some of my favorite arrangements came together after I removed a few stems. Giving flowers a little breathing room allows each bloom to stand out and creates a cleaner, more balanced design.
Forgetting to Step Back
This might be the biggest lesson I’ve learned over the years.
While I’m arranging flowers, I constantly step back, rotate the vase, and look at it from different angles. Sometimes a bouquet looks perfect from the front but unbalanced from the side.
And don’t be afraid to make changes. I’ve completely taken arrangements apart and started over more times than I can count. That’s simply part of the creative process.

Arrange Flowers With the Seasons in Mind
One of the things I love most about arranging flowers is that every season offers something different. Instead of trying to recreate the same bouquet year-round, I let what’s blooming inspire the arrangement. Whether I’m cutting flowers from my garden or picking up a few stems at the market, seasonal flowers always feel the most natural and beautiful.
Spring Arrangements
Spring bouquets are some of the happiest to create. I love combining tulips, daffodils, ranunculus, lilacs, and peonies with fresh greenery for arrangements that celebrate the start of the gardening season.
Soft pastel colors work beautifully in spring, but don’t be afraid to mix bold tulips with delicate blossoms for extra contrast and texture.

Summer Arrangements
Summer is when my cutting garden really shines. This is the season when I can walk outside with my snips and create bouquets using whatever happens to be blooming that week.
Some of my favorite summer flowers include:
- Dahlias
- Zinnias
- Snapdragons
- Roses
- Sunflowers
- Scabiosa
- Yarrow
Summer arrangements tend to be fuller, more colorful, and a little more relaxed than spring bouquets, which is part of what makes them so much fun to create.

Fall Arrangements
Autumn may be my favorite season for arranging flowers. Rich colors, interesting textures, and dried elements all come together beautifully.
I often combine chrysanthemums, sedum, celosia, strawflowers, hydrangeas, ornamental grasses, berries, and seed heads to create arrangements that celebrate the changing season.
Natural elements like branches, pinecones, or small gourds can add even more seasonal character.

Winter Arrangements
Even when the garden is resting, I still enjoy creating arrangements.
Evergreens, holly, winterberry, pinecones, magnolia leaves, and interesting branches can be combined with fresh flowers from the florist or grocery store for beautiful winter displays.
These arrangements bring life indoors during the colder months and are especially lovely throughout the holiday season.

Create Arrangements for Holidays and Special Occasions
While I usually let the seasons guide my flower arrangements, I also enjoy creating bouquets for holidays, family gatherings, and special celebrations. It’s an easy way to make your home feel a little more festive without spending a lot of money.
For Valentine’s Day, I might arrange roses with soft filler flowers and greenery for a classic romantic look. Around Easter, I love using tulips, daffodils, hyacinths, or lilies in pastel shades to celebrate the arrival of spring. During the holidays, evergreen branches, pinecones, winterberry, magnolia leaves, and fresh white flowers create beautiful seasonal centerpieces.
You don’t need to follow strict rules or buy elaborate decorations. Sometimes simply choosing flowers and foliage that reflect the colors and mood of the season is enough to create a centerpiece that feels welcoming and personal.


Keep Your Flower Arrangements Looking Fresh Longer
Once your arrangement is complete, a little ongoing care will help you enjoy it for as long as possible.
I refresh the water every two to three days, remove any fading flowers, and trim the stems whenever I change the water. I also make sure no leaves sit below the water line, since they can encourage bacterial growth and shorten the life of the bouquet.
Keeping arrangements out of direct sunlight, away from heating vents, and away from ripening fruit can also help flowers stay fresh longer.
If you’d like to dive deeper into extending vase life, I’ve shared my favorite tips in How to Keep Cut Flowers Fresh Longer, along with my favorite homemade flower food recipe that I use when arranging flowers at home.

Some Flowers Need a Little Extra Attention
Not every flower behaves the same way once it’s cut. Over the years, I’ve found that a few favorites benefit from special handling before they go into an arrangement.
Tulips continue to grow after they’re cut and naturally bend toward light. I embrace that movement because it creates a relaxed, natural look, but if you prefer straighter stems, there are a few simple tricks that can help.
Hydrangeas need a little extra care to prevent wilting. If they’re one of your favorite flowers, you’ll want to read my guide on how to keep cut hydrangeas from wilting.
Daffodils release a sticky sap after they’re cut that can shorten the vase life of other flowers. I always condition them separately for about 24 hours before combining them with other blooms.

Frequently Asked Questions About Arranging Flowers
How long do fresh flower arrangements usually last?
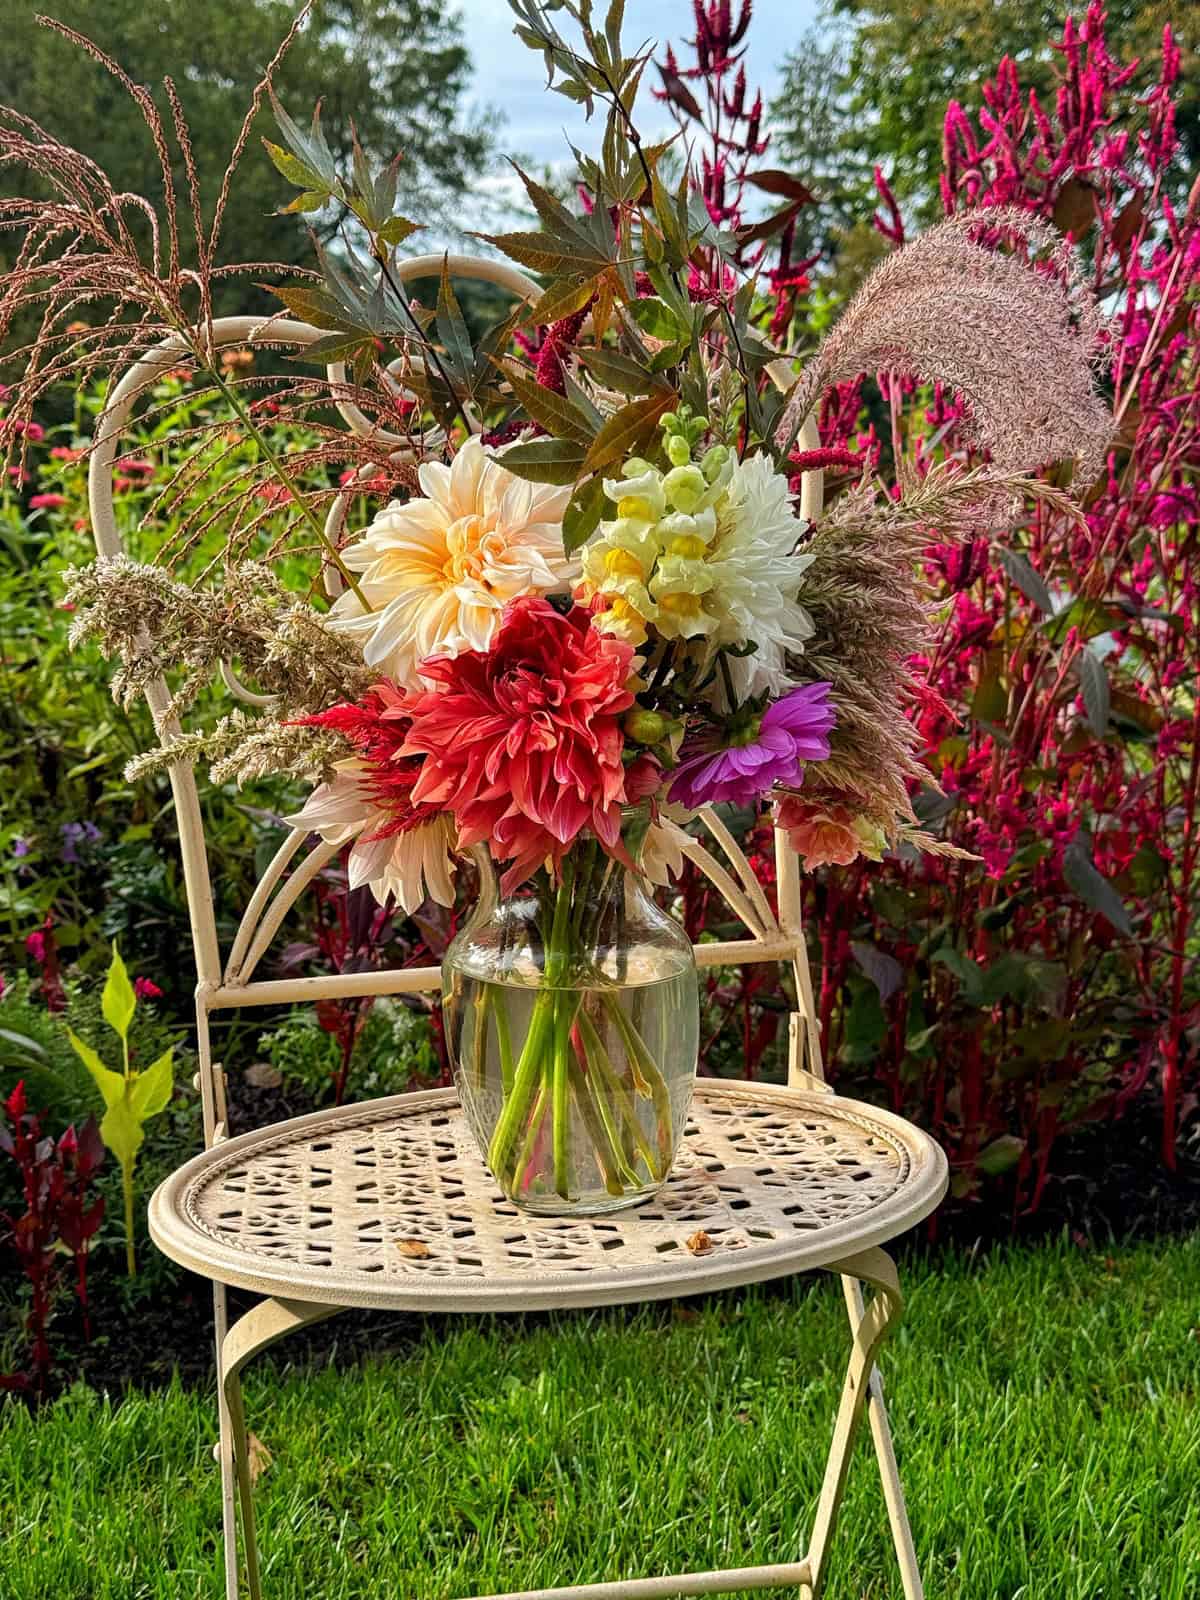
It depends on the types of flowers you’re using and how they were harvested and cared for before they reached the vase. Some flowers naturally last much longer than others.
I’ve found that flowers cut fresh from my own garden often outlast bouquets I’ve purchased because they’re used immediately after harvesting. To help any arrangement last longer, start with fresh flowers, change the water every few days, and keep the bouquet out of direct sunlight and heat.
If you’d like to learn more, read my guides on when to cut flowers for the longest vase life, how to condition flowers after cutting from the garden, and why garden-grown flowers behave differently than florist flowers.
What are the easiest flowers to arrange?
If you’re just getting started, choose flowers with sturdy stems and different shapes to create a balanced bouquet.
Some of my favorites include:
- Roses
- Zinnias
- Dahlias
- Sunflowers
- Snapdragons
- Hydrangeas
- Chrysanthemums
These flowers are easy to work with and combine beautifully in both garden and store-bought arrangements.

Do I need floral foam to arrange flowers?
No. While floral foam can be helpful for some containers, it’s certainly not required.
I often use a floral frog because it supports stems while creating a loose, natural-looking arrangement. Chicken wire and floral tape are also great options depending on the container you’re using. The best support method is the one that works for your vase and the style of arrangement you’re creating.
To learn more about how I use flower frogs with my arrangements, please visit my complete guide on how to use a flower frog.

Is it cheaper to make your own flower arrangements?
In most cases, yes.
If you’re growing your own cut flowers, creating bouquets is significantly less expensive than buying fresh arrangements throughout the season. Even if you’re purchasing flowers from the grocery store or florist, arranging them yourself usually costs less than buying a professionally designed centerpiece.
There may be a small upfront investment in basic supplies like snips, a floral frog, or a few vases, but those tools can be used again and again.
Bring More of Your Garden Indoors
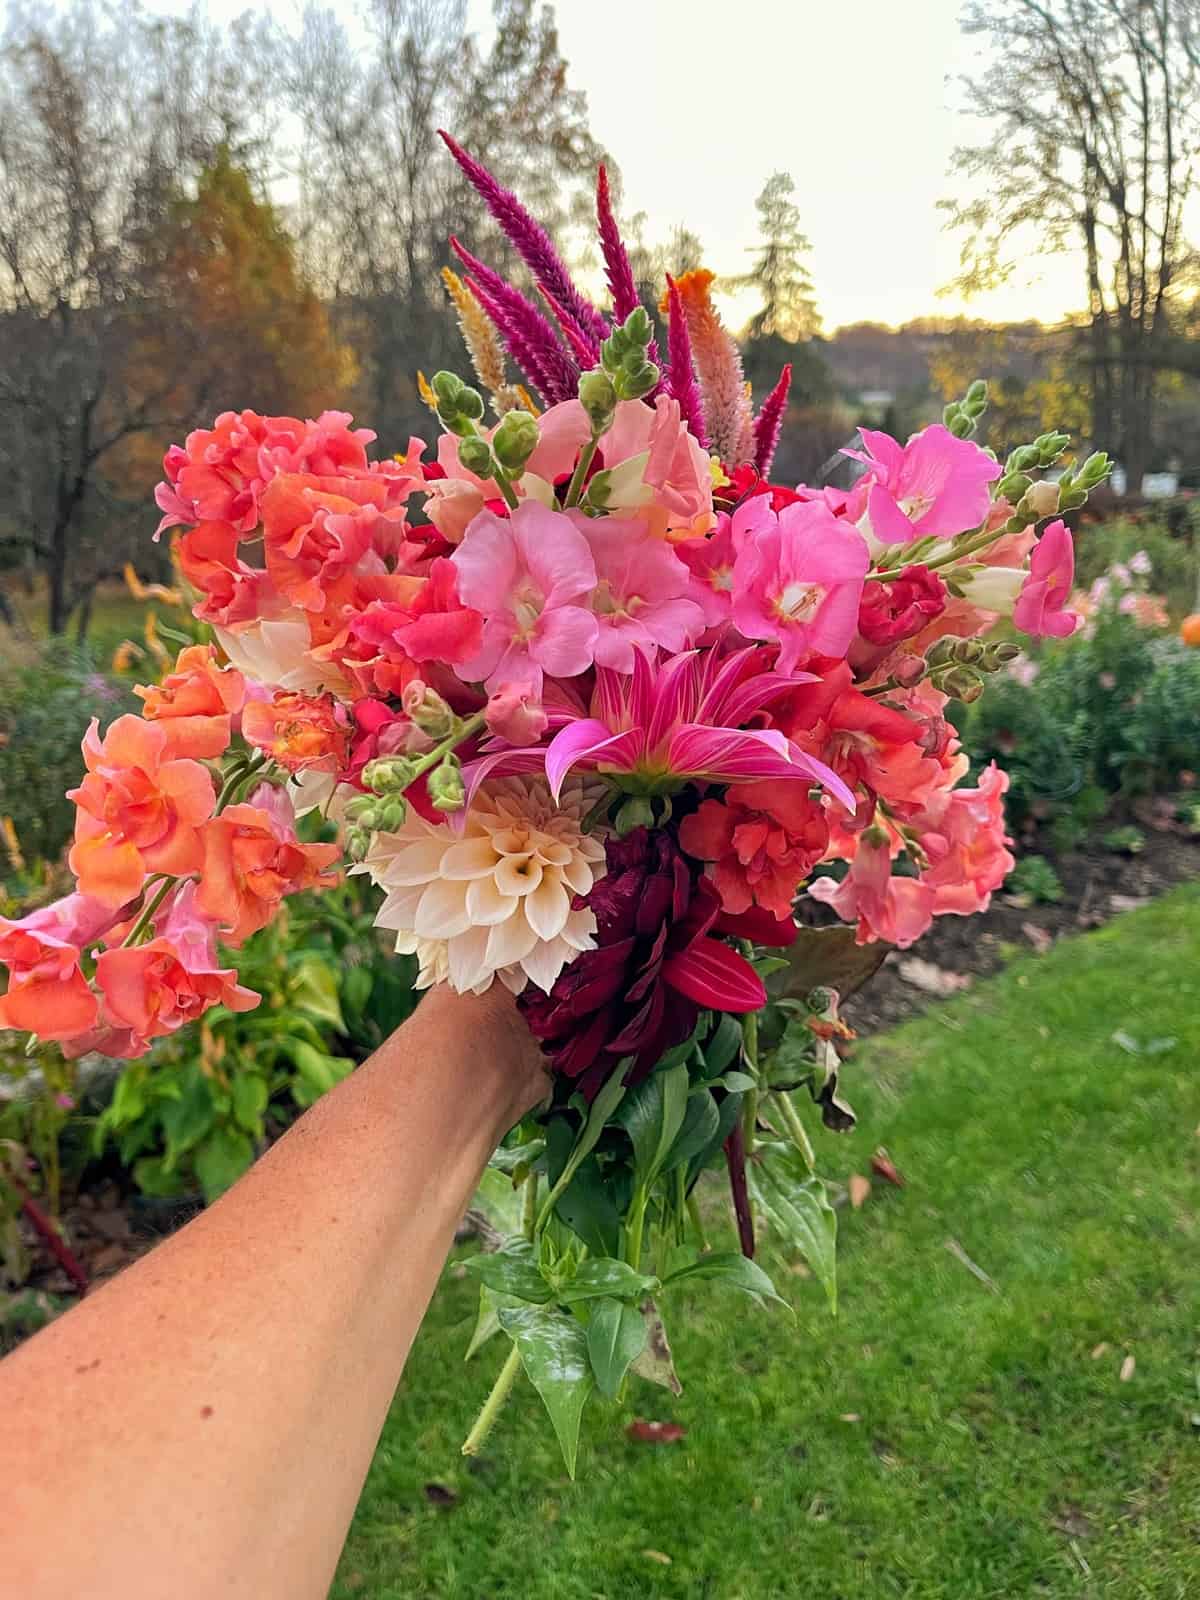
One of my favorite ways to enjoy the garden is by bringing fresh flowers inside. Whether it’s a simple mason jar filled with zinnias from the cutting garden or a centerpiece for the dining table, fresh flowers make a home feel warm, welcoming, and connected to the seasons.
If you’re growing your own flowers, The Bricks ‘n Blooms Beautiful and Easy-Care Flower Garden Planner is a great place to record your favorite flower combinations, bloom times, and the varieties that perform best in your bouquets. I use those notes every season to plan an even better cutting garden the following year.
And if you love surrounding yourself with plants year-round, you’ll also enjoy my book, Filling Your Home With Life, where I share simple, practical ways to style your home with thriving houseplants so you can enjoy the beauty of nature indoors long after the garden season ends.

Final Thoughts on Arranging Flowers at Home
One of the things I love most about arranging flowers is that there isn’t one “right” way to do it. Some of my favorite bouquets have come from flowers I gathered while walking through the garden on an ordinary summer morning. Others started with a simple bunch of grocery store flowers that caught my eye. Both can become beautiful arrangements with just a little creativity.
Over nearly 30 years of gardening, I’ve learned that the flowers themselves are only part of the story. Choosing fresh blooms, harvesting them at the right time, conditioning them properly, and giving yourself permission to experiment all play a role in creating arrangements you’ll enjoy.
If you’re growing your own flowers, learning how to start a cut flower garden, when to cut flowers for the longest vase life, and how to condition flowers after cutting from the garden will make every bouquet even more rewarding. Those simple practices have completely changed the way I harvest and arrange flowers from my own garden.
Most importantly, don’t worry about making your arrangements look like they came from a florist. Some of the most beautiful bouquets are the ones that capture what’s blooming right now, reflect the changing seasons, and bring a little piece of your garden into your home.
Thank you for visiting the blog today!
Enjoy your day! xo



Originally Published .

Stacy,
Your flower arrangements are always so beautiful. I’ve pinned for future reference.
Thank you so much Rachel! xo
I can always use all the tips I can get when it comes to flower arranging Stacy. I loved your beautiful pictures.
Thank you Kim! I love playing with flowers. xo
Stacy, your arrangement is absolutely gorgeous. Thank you for sharing your talents (and your tips!) Pinned!
Thank you so much Jen! xoxo
Stacy,
Thanks for sharing all your amazing tips with us.
Thank you Rachel! xo
Seeing your zinnia picture is making me miss my garden today!! Can’t wait for Spring to get here!
I seriously can’t wait!!!
Your flower arrangement is beautiful. Thanks for the tips.
Thanks so much Wendy!
As always, your flower arrangement centerpiece is stunning Stacy!
Thank you Michele! xo
Stacy – boy do you have the touch. Your flower arranging skills are amazing. Thanks for all of the tips, I get so intimidated to do anymore then a few cuts flowers in a vase.
Thank you so much Regina!!! I really appreciate that. You got this! xo
Stacy
Great information. Have a wonderful week.
Thanks Rachel! You too!
So much great information. Such gorgeous bouquets.
Thank you so much!