How to Grow Tulips (Even With Deer): Planting, Protection, and Care Tips

Want beautiful tulips that deer won’t destroy? Learn planting, care, and simple ways to protect tulips from deer.
Tulips are one of the most beloved flowers in spring gardens, known for their vibrant colors and classic cup-shaped blooms. But if you garden where deer roam, growing tulips can feel a little risky. I’ve planted tulips in my own garden for years and learned that with the right planting approach, timing, and protection strategies, you can still enjoy a beautiful display even in areas with heavy deer pressure.
Tulips are planted in fall like most spring-blooming bulbs, and getting that step right makes a big difference in how well they perform the following spring. If you’re new to planting bulbs, be sure to check out my complete guide on how to plant bulbs in fall before getting started. Once they’re in the ground, a few simple care tips can help your tulips grow strong, bloom beautifully, and stand a better chance against hungry wildlife.
In this guide, I’ll walk you through everything you need to know about growing tulips, from choosing the right varieties to planting, care, and practical ways to protect them from deer so you can enjoy stunning spring blooms year after year.
(Posts on stacyling.com may contain affiliate links. Click HERE for full disclosure.)

What to Know Before Growing Tulips
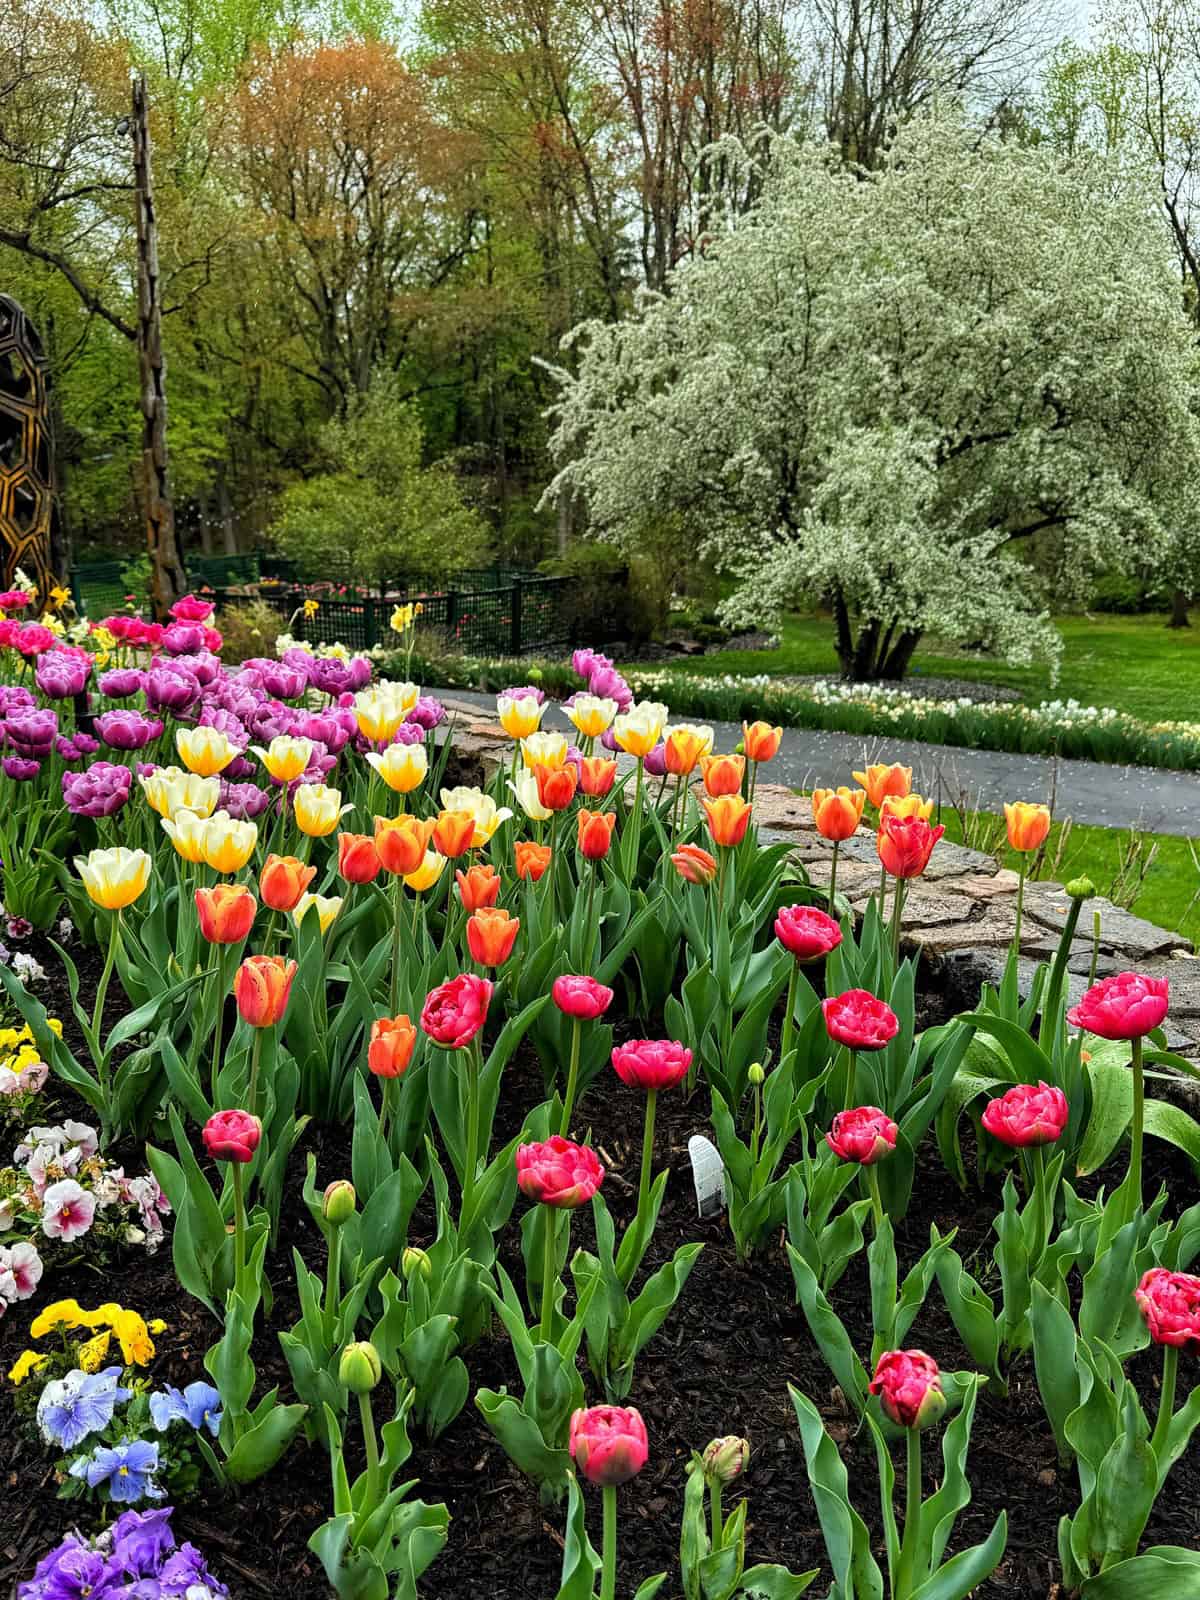
Tulips are one of the most recognizable signs that spring has arrived. Their classic cup-shaped blooms come in an incredible range of colors, from bright reds and sunny yellows to deep purples and nearly black varieties. With their clean, architectural shapes and cheerful flowers, tulips bring vibrant color and structure to spring gardens.
These popular spring bulbs also come in a surprising range of forms, heights, and bloom times. Some varieties flower early in the season while others bloom later in spring, making it possible to extend your tulip display for weeks with the right selection.
I’m a huge fan of growing tulips and add more to my flower beds almost every year. Over time I’ve experimented with different varieties, planting methods, and ways to help them return despite deer pressure in my garden. Once you understand how tulips grow and what they need, they are surprisingly easy bulbs to plant and enjoy each spring.
But keeping them looking full and consistent year after year is a different story. I share more about how I handle that in my garden in this post on why I keep planting tulips anyway.

Tulip Varieties
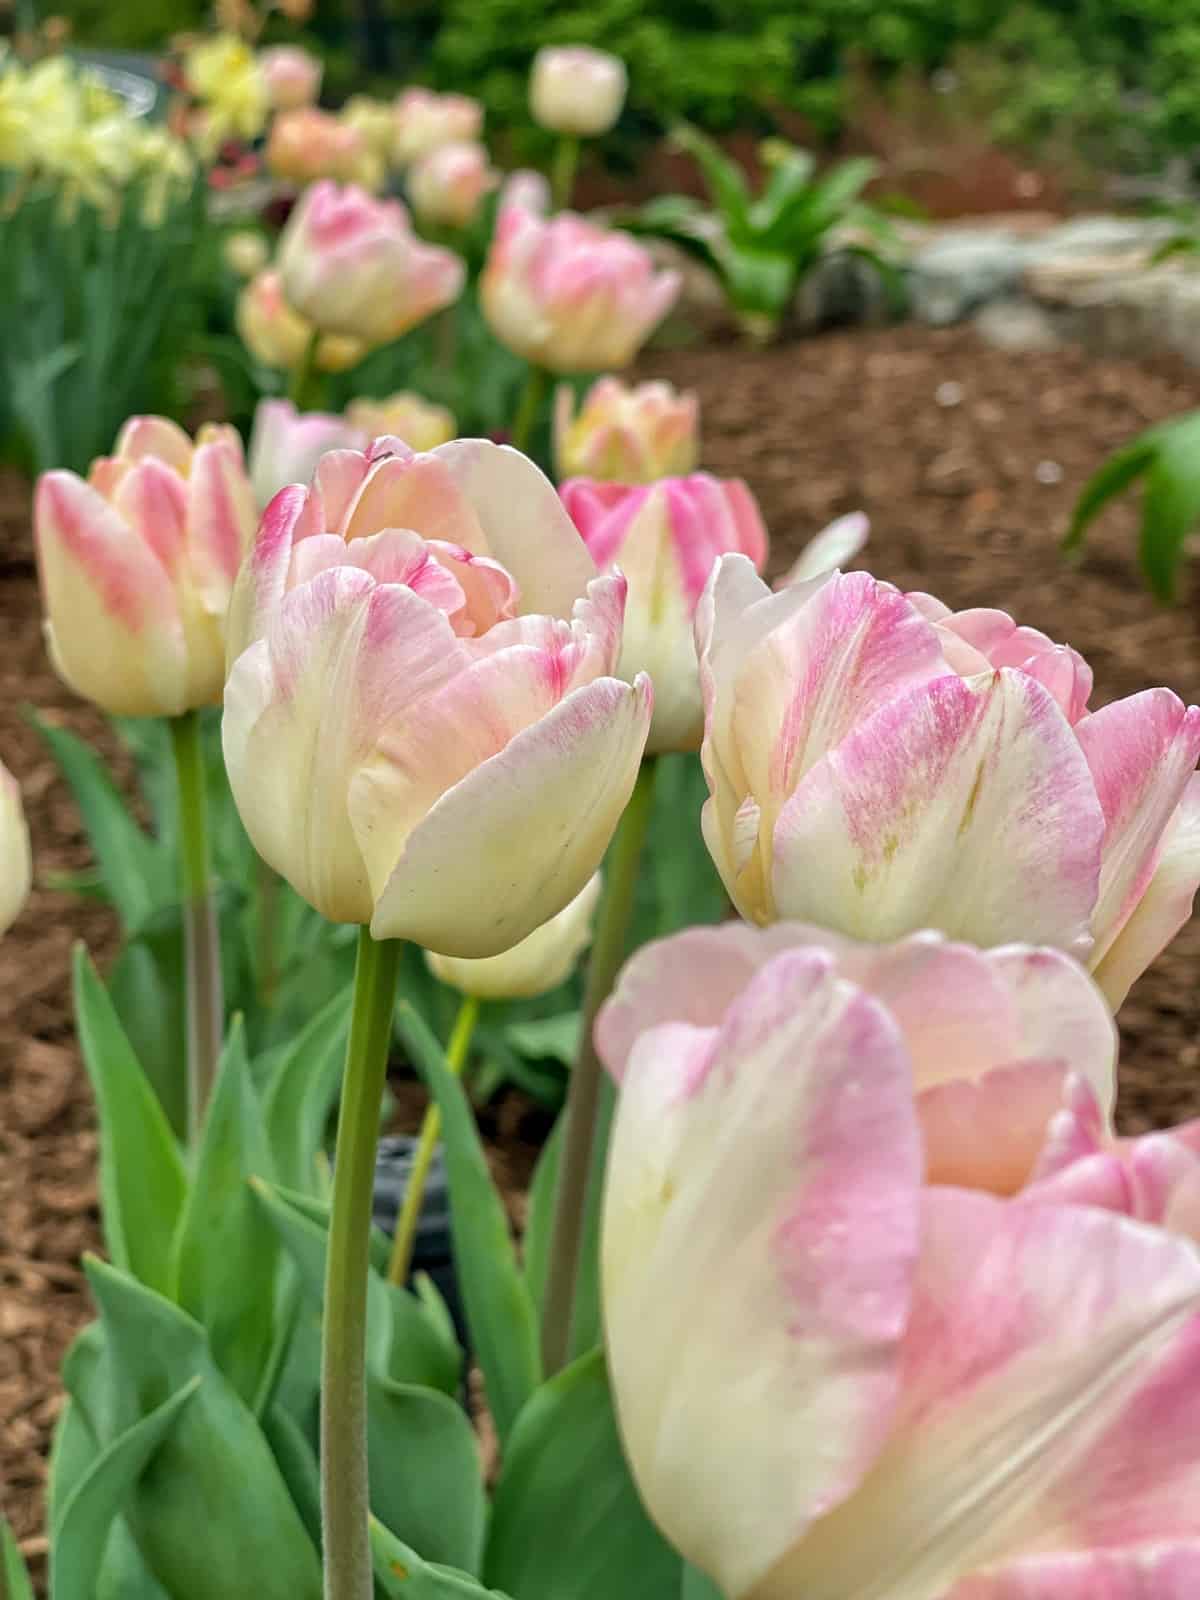
There are many types of tulips, each with unique flower shapes, heights, and bloom times. Some popular choices include classic Darwin Hybrid tulips, elegant Fringed Tulips, and lush Double Tulips. Double tulips are one of my personal favorites because their full blooms resemble peonies in the spring garden.
Choosing the right variety can influence both the look of your garden and how well tulips perform in your climate. Pay attention to bloom time and plant height so you can create a layered display that extends your tulip season.
In my Zone 6b garden in the Northeast, most tulip varieties grow well because they receive the winter chill they need to bloom. Over the years, I’ve grown many different types and shared them in a guide featuring the tulips I grow in my own garden. If you’d like to see them in bloom and explore more varieties, visit my tulip varieties guide.

How to Plant Tulip Bulbs in Fall
Planting tulips is simple, but a little planning in fall makes all the difference when spring arrives. Choosing healthy bulbs, planting at the right time, and giving them the proper growing conditions will help ensure a beautiful display of blooms the following season.
Purchasing Tulip Bulbs
Selecting healthy tulip bulbs is the first step toward a successful spring display. Look for firm bulbs that feel heavy for their size and have a dry, papery outer shell. Avoid bulbs that feel soft, moldy, or damaged.
Larger bulbs usually produce larger flowers, so I recommend choosing bulbs that are labeled “top size” or “jumbo.” I typically order mine from White Flower Farm, though you can often find good selections at local nurseries in the fall.

When to Plant Tulips
Tulip bulbs are planted in fall so they can develop roots before winter and bloom in spring. The ideal planting time is a few weeks before the ground freezes.
In my Zone 6b garden in the Northeast, I usually plant tulips in mid-October. If you’re new to planting bulbs, you can learn more in my complete guide on how to plant bulbs in fall, where I walk through the full process step by step.
Location and Soil
Tulips grow best in full sun and well-drained soil. Heavy or wet soil can cause bulbs to rot, so improving drainage is important. I like to amend my beds with compost or well-rotted manure before planting to enrich the soil and help bulbs establish strong roots.
How Deep to Plant Tulip Bulbs (Spacing Tips Included)
Tulip bulbs should generally be planted about three times as deep as the height of the bulb, which usually works out to about 6 inches deep depending on bulb size. Always check the bulb packaging for specific planting recommendations.
Space bulbs about 4 to 6 inches apart to give them room to grow and allow air circulation around the plants.
When planting large groups, I often dig a trench with a spade shovel. If I’m planting smaller clusters, a bulb auger attached to a drill makes digging holes much faster.

Planting Tulip Bulbs Directions
Tulips are planted in fall so they can develop roots before winter and bloom the following spring. If you’re new to planting bulbs, check out my complete guide on how to plant bulbs in fall for a detailed step-by-step tutorial.
For tulips specifically, the process is simple.
Supplies
- Shovel or hand trowel
- Tulip bulbs
- Bulb fertilizer
- Compost or organic matter
Directions
Choose a sunny location
Tulips grow best in full sun and well-drained soil. Choose a spot that receives at least six hours of direct sunlight per day.
Prepare the soil
Loosen the soil and mix in compost or other organic matter to improve drainage and fertility.
Plant at the right depth
A good rule of thumb is to plant tulip bulbs about three times as deep as the bulb’s height. Most tulips are planted about 6″ inches deep. Always check the bulb packaging for exact recommendations.
Position the bulbs correctly
Place bulbs in the hole with the pointed end facing up and the flat root side down.
Add fertilizer and backfill
Sprinkle bulb fertilizer in the planting hole, then backfill with soil and water thoroughly. Avoid using bone meal if rodents or small mammals are common in your garden since it can attract them.

Essential Tulip Care After Planting
Once tulip bulbs are planted, they require very little care. With proper watering, occasional fertilizing, and a few harvesting tips, you can enjoy healthy plants and beautiful spring blooms.th
How to Water Tulips
Tulips need regular moisture during their spring growth period, particularly if the weather is dry. However, avoid overwatering because tulip bulbs can rot in soggy soil.
In my Northeast garden, spring rainfall usually provides all the water my tulips need, so I rarely need to water them myself.
How to Fertilize Tulips
Tulips benefit from a low-nitrogen fertilizer applied at planting and again in early spring when the shoots first appear. Avoid high-nitrogen fertilizers, which can encourage leafy growth instead of flowers.
I typically use an organic fertilizer formulated for spring-flowering bulbs to support strong growth and healthy blooms.

How to Cut Tulips
Tulips make beautiful cut flowers. For the longest vase life, cut stems when the buds are just beginning to show color but have not fully opened. Use sharp scissors or pruners and cut the stem at a slight angle.
Some flower growers pull the entire tulip plant, bulb and all, when harvesting flowers. This allows for extra stem length, which can be helpful for shorter varieties or for arranging bouquets.
However, if you want your tulips to return next year, it’s best to cut only the flower stem and leave the foliage in place. The leaves continue photosynthesis and help replenish the bulb’s energy for the following spring.
Leaving the foliage in place is one of the most important steps if you want tulips to return. Cutting it back too early is one of the biggest reasons bulbs fail to bloom again the following spring.
If you want more detail on timing and what to do after flowering, see my guide on when to cut back spring bulbs, where I walk through exactly when and how to handle the foliage.
In my Zone 6b garden, some tulip varieties return reliably while others are better treated as annuals and replanted each fall. If you’re wondering why, I share exactly how I handle that in my post on why I keep planting tulips anyway.
Tip: If your cut tulips tend to droop in a vase, try adding an older copper penny (minted before 1982) to the water. The copper can help slow fungal growth and keep stems firmer. You can also stick a pin through the top of the stem below the bloom and that will help as well
Of course, growing tulips comes with one common challenge in many gardens: deer love them. If deer visit your yard, protecting tulips becomes just as important as planting and caring for them properly.

Do Deer Eat Tulips? How to Protect Them
While several spring-flowering bulbs are deer resistant, tulips are not. Deer love tulips and can wipe out a planting overnight if they discover them.
If deer are common in your area, protecting tulips becomes just as important as planting them properly. Eight-foot fencing is the most reliable solution, but since that’s not always practical in home gardens, there are other effective strategies you can use.
In my garden, we get herds of deer throughout the year that would quickly decimate my tulips if I didn’t take preventative measures. For beds that aren’t fenced, I rely on two main strategies: repellents and companion planting.
If you’d like to see the full system I use, check out my complete guide on how to keep deer out of your garden.
Why Deer Love Tulips
Tulips are especially attractive to deer because the plants are tender, high in moisture, and emerge early in spring when natural food sources are still limited. The fresh shoots and flower buds are easy for deer to eat and provide a quick source of nutrition after winter.
Unfortunately, this means tulips often become one of the first plants deer browse in spring gardens. Without protection, a small herd can quickly eat the foliage and buds before the flowers even have a chance to open.
How to Use Deer Repellent on Tulips
Repellents work best when they are applied early and consistently.
Start spraying deer repellent as soon as tulip shoots emerge from the soil. This usually means checking your garden regularly in early spring so you can catch the plants as soon as they begin to grow.
Reapply the repellent several times during the growth cycle:
- When shoots first emerge
- When plants reach about one-third to half their mature height
- When flower buds form
- When blooms begin to open
Being consistent with applications is the key to making repellents effective.
I prefer using a mint-scented deer repellent because it works well, doesn’t clog my sprayer, and is more pleasant to use than many other products. If you’d like to see the repellents I’ve tested and recommend, I shared them in my guide to the best deer repellents for gardens.

Companion Plants That Help Deter Deer
Another strategy I use is companion planting. Some spring flowers are naturally deer resistant, so planting them alongside tulips can help discourage browsing.
Companion planting can also improve the look of your garden and attract beneficial insects while reducing pest pressure.
Here are a few early spring plants that deer tend to avoid:
- Daffodils
- Hyacinths
- Muscari
- Alliums
- Hellebore
- Bleeding Hearts
- Myostotis
Planting these flowers near tulips can help reduce the chances of deer grazing on your blooms while adding layers of color and texture to your spring garden.
Advanced Tulip Growing Tips
Once you’ve mastered planting and basic care, a few additional techniques can help you get even more from your tulip display each spring.
Deadheading Tulips
After tulips finish blooming, remove the spent flowers by snipping off the flower head. This prevents the plant from putting energy into seed production.
However, leave the foliage in place until it naturally yellows and dies back. The leaves continue photosynthesis and help replenish the bulb’s energy for the following year’s bloom.
To learn more about how I deadhead flowers, please see my full deadheading flowers guide here.
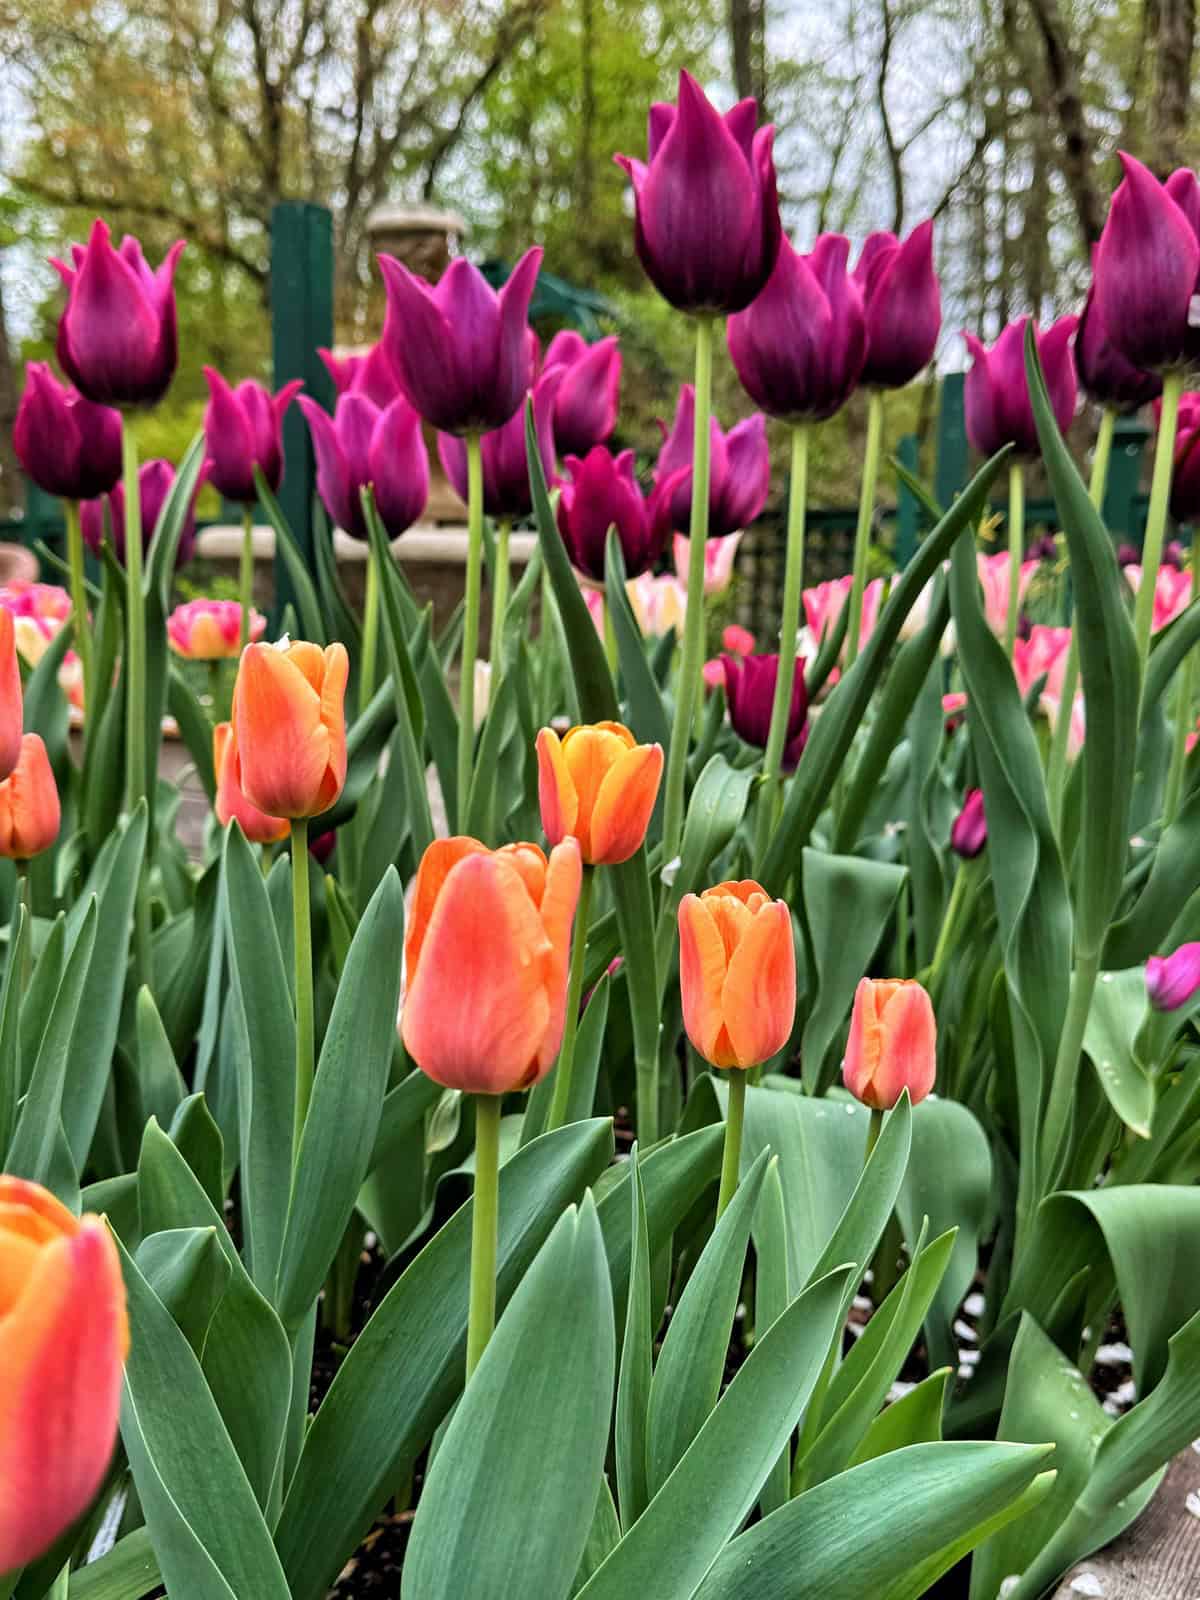
Layer Tulips for a Longer Bloom Season
Tulips come in early, midseason, and late-blooming varieties. By planting a mix of bloom times, you can extend your tulip display for several weeks instead of having all the flowers bloom at once.
Combining early and late varieties also helps keep color in your garden while other spring flowers begin to emerge.
Plant Tulips in Groups for Greater Impact
Tulips look best when planted in clusters rather than single bulbs scattered throughout a garden bed. Planting groups of 7–15 bulbs together creates a fuller, more natural display and makes the colors stand out more in the landscape.

Common Tulip Problems: Pests and Diseases
Tulips are generally easy to grow, but like many garden plants they can occasionally run into pest or disease issues. Before applying any organic or synthetic pesticides, take time to properly identify the problem. A little troubleshooting can help you avoid unnecessary treatments in your garden.
Tulip Diseases
One of the most common diseases affecting tulips is tulip fire, a fungal disease that causes brown or gray spots on leaves and distorted plant growth. In severe cases it can damage an entire planting.
To help prevent disease:
- Plant bulbs with adequate spacing for good air circulation
- Avoid overhead watering when possible
- Remove infected plants promptly
- Rotate planting locations every few years
These practices help reduce the spread of fungal problems in the garden.
Tulip Pests
Several pests may occasionally affect tulips. The most common include:
- Aphids, which feed on plant sap and can spread viruses
- Bulb mites, which can damage bulbs underground
- Tulip breaking virus, often transmitted by aphids and known for causing streaked or distorted flowers
Regularly inspecting plants during the growing season can help catch pest problems early. In many cases, strong plant health and proper garden maintenance help prevent serious infestations.
Rodents and Other Wildlife
Small animals like chipmunks and squirrels may dig up tulip bulbs shortly after planting. In my garden, tulips are actually more likely to be dug up by chipmunks than other spring bulbs like daffodils or hyacinths.
If this is a problem in your garden, you can protect newly planted bulbs by covering the area with chicken wire or hardware cloth until the ground freezes. This prevents animals from digging while allowing bulbs to establish roots.wire around the bulbs when planting to help protect them when they are underground.

Extending Your Tulip Bloom Season
Tulip bloom time varies depending on the variety you grow and your local climate. By planting a mix of early, midseason, and late-blooming tulips, you can extend the flowering season and enjoy color in your garden for several weeks.
Tulips generally perform best in climates with cold winters and relatively dry summers, which help bulbs rest and recharge for the following year. In warmer regions, tulip bulbs sometimes need to be pre-chilled in the refrigerator before planting to mimic winter conditions.
If you garden in a warmer climate or have limited garden space, growing tulips in containers can be a great alternative.
How to Grow Tulips in Pots
Tulips grow beautifully in containers and can create a colorful spring display on patios, balconies, or entryways.
Choosing the Right Pot
Select a container with good drainage that is at least 15 inches deep and 18 inches wide. Larger pots provide better insulation for bulbs during winter.
Make sure the pot has drainage holes to prevent waterlogged soil, which can cause bulbs to rot. A layer of gravel or broken pottery pieces in the bottom of the container can also help improve drainage.
Planting Tulips in Containers
Tulip bulbs should be planted in fall, just like bulbs grown in garden beds. Use a well-draining potting mix, since regular garden soil can be too dense for containers.
Plant bulbs with the pointed end facing up, at a depth of about two to three times the height of the bulb. Space bulbs close together, almost touching, to create a fuller spring display.
If you live in a colder climate like I do, water the pots well after planting and then store them in a sheltered location such as a garage or shed for the winter. This helps protect the bulbs from excessive moisture and freezing temperatures.
When spring arrives, move containers to a sunny location. Water regularly during the growing season, especially during dry spells.
After the flowers fade, allow the foliage to die back naturally so the bulbs can store energy for the following year. Once the leaves have fully yellowed, you can either lift and store the bulbs for fall replanting or simply replace them with fresh bulbs the following season.

Final Thoughts on Growing Tulips
Tulips are one of the most rewarding flowers you can grow in a spring garden. With the right planting techniques, good growing conditions, and a little protection from deer and pests, they can create an incredible display of color after a long winter.
In my own garden, I grow well over 1,000 tulips each year and add more to my beds every fall. Over time I’ve experimented with different planting methods, varieties, and ways to help them thrive in my Zone 6b Northeast garden, even with regular deer pressure. Watching those first tulip blooms appear each spring never gets old.
If you’re new to growing spring bulbs, start with my guide on how to plant bulbs in fall, where I walk through the full process step by step. And if you’re looking for inspiration on which tulips to grow, be sure to explore my guide to the tulip varieties I grow in my own garden, where I share many of the beautiful types that return to my beds each spring.
With a little planning in fall, you’ll be rewarded with a spectacular burst of color when spring arrives.
For more information about growing tulips, please see this article from the Rutgers Cooperative Extension.
Happy Gardening!

