How to Plant Bulbs in Fall for a Stunning Spring Garden

Learn how to plant bulbs in the fall and create a stunning spring garden. This guide shares easy-to-follow steps and beautiful results!
As the gardening season winds down, it’s time to start thinking ahead to the vibrant colors of spring. Planting spring-flowering bulbs in the fall might seem counterintuitive because you don’t see an immediate result, but it’s the secret to a breathtaking display of blooms as the winter chill fades.
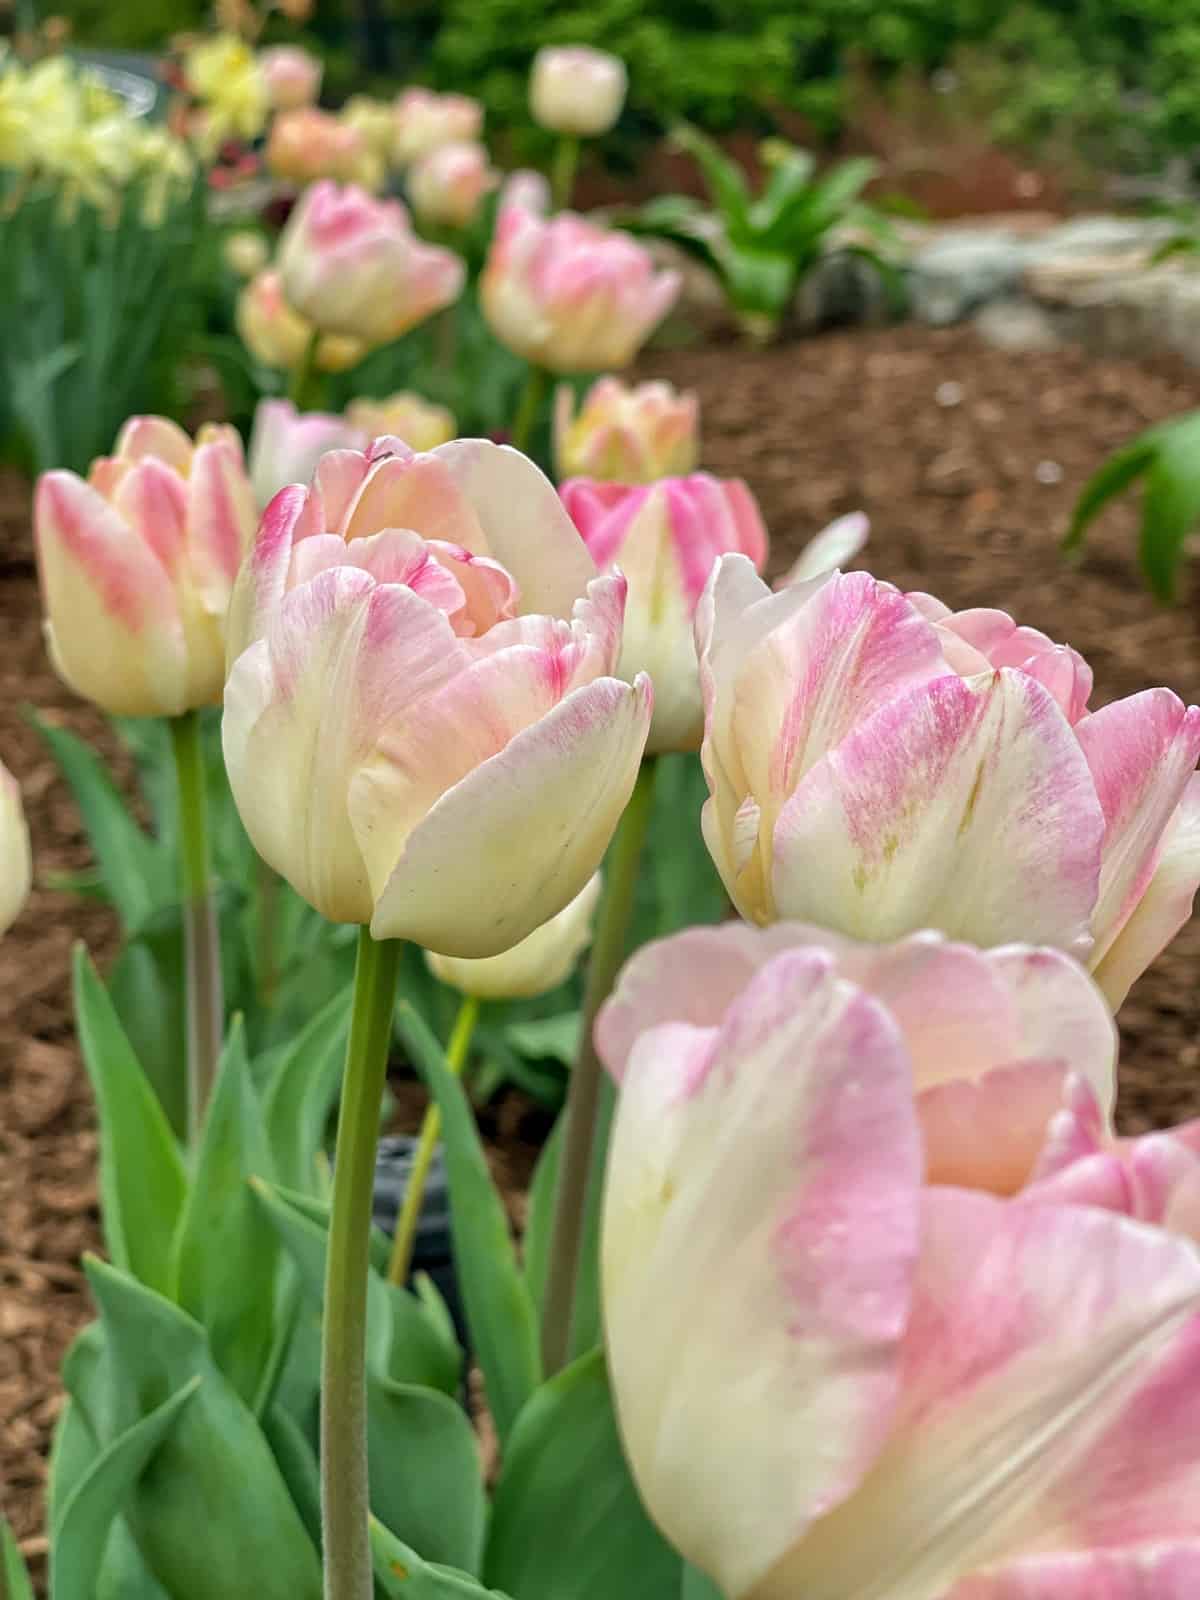
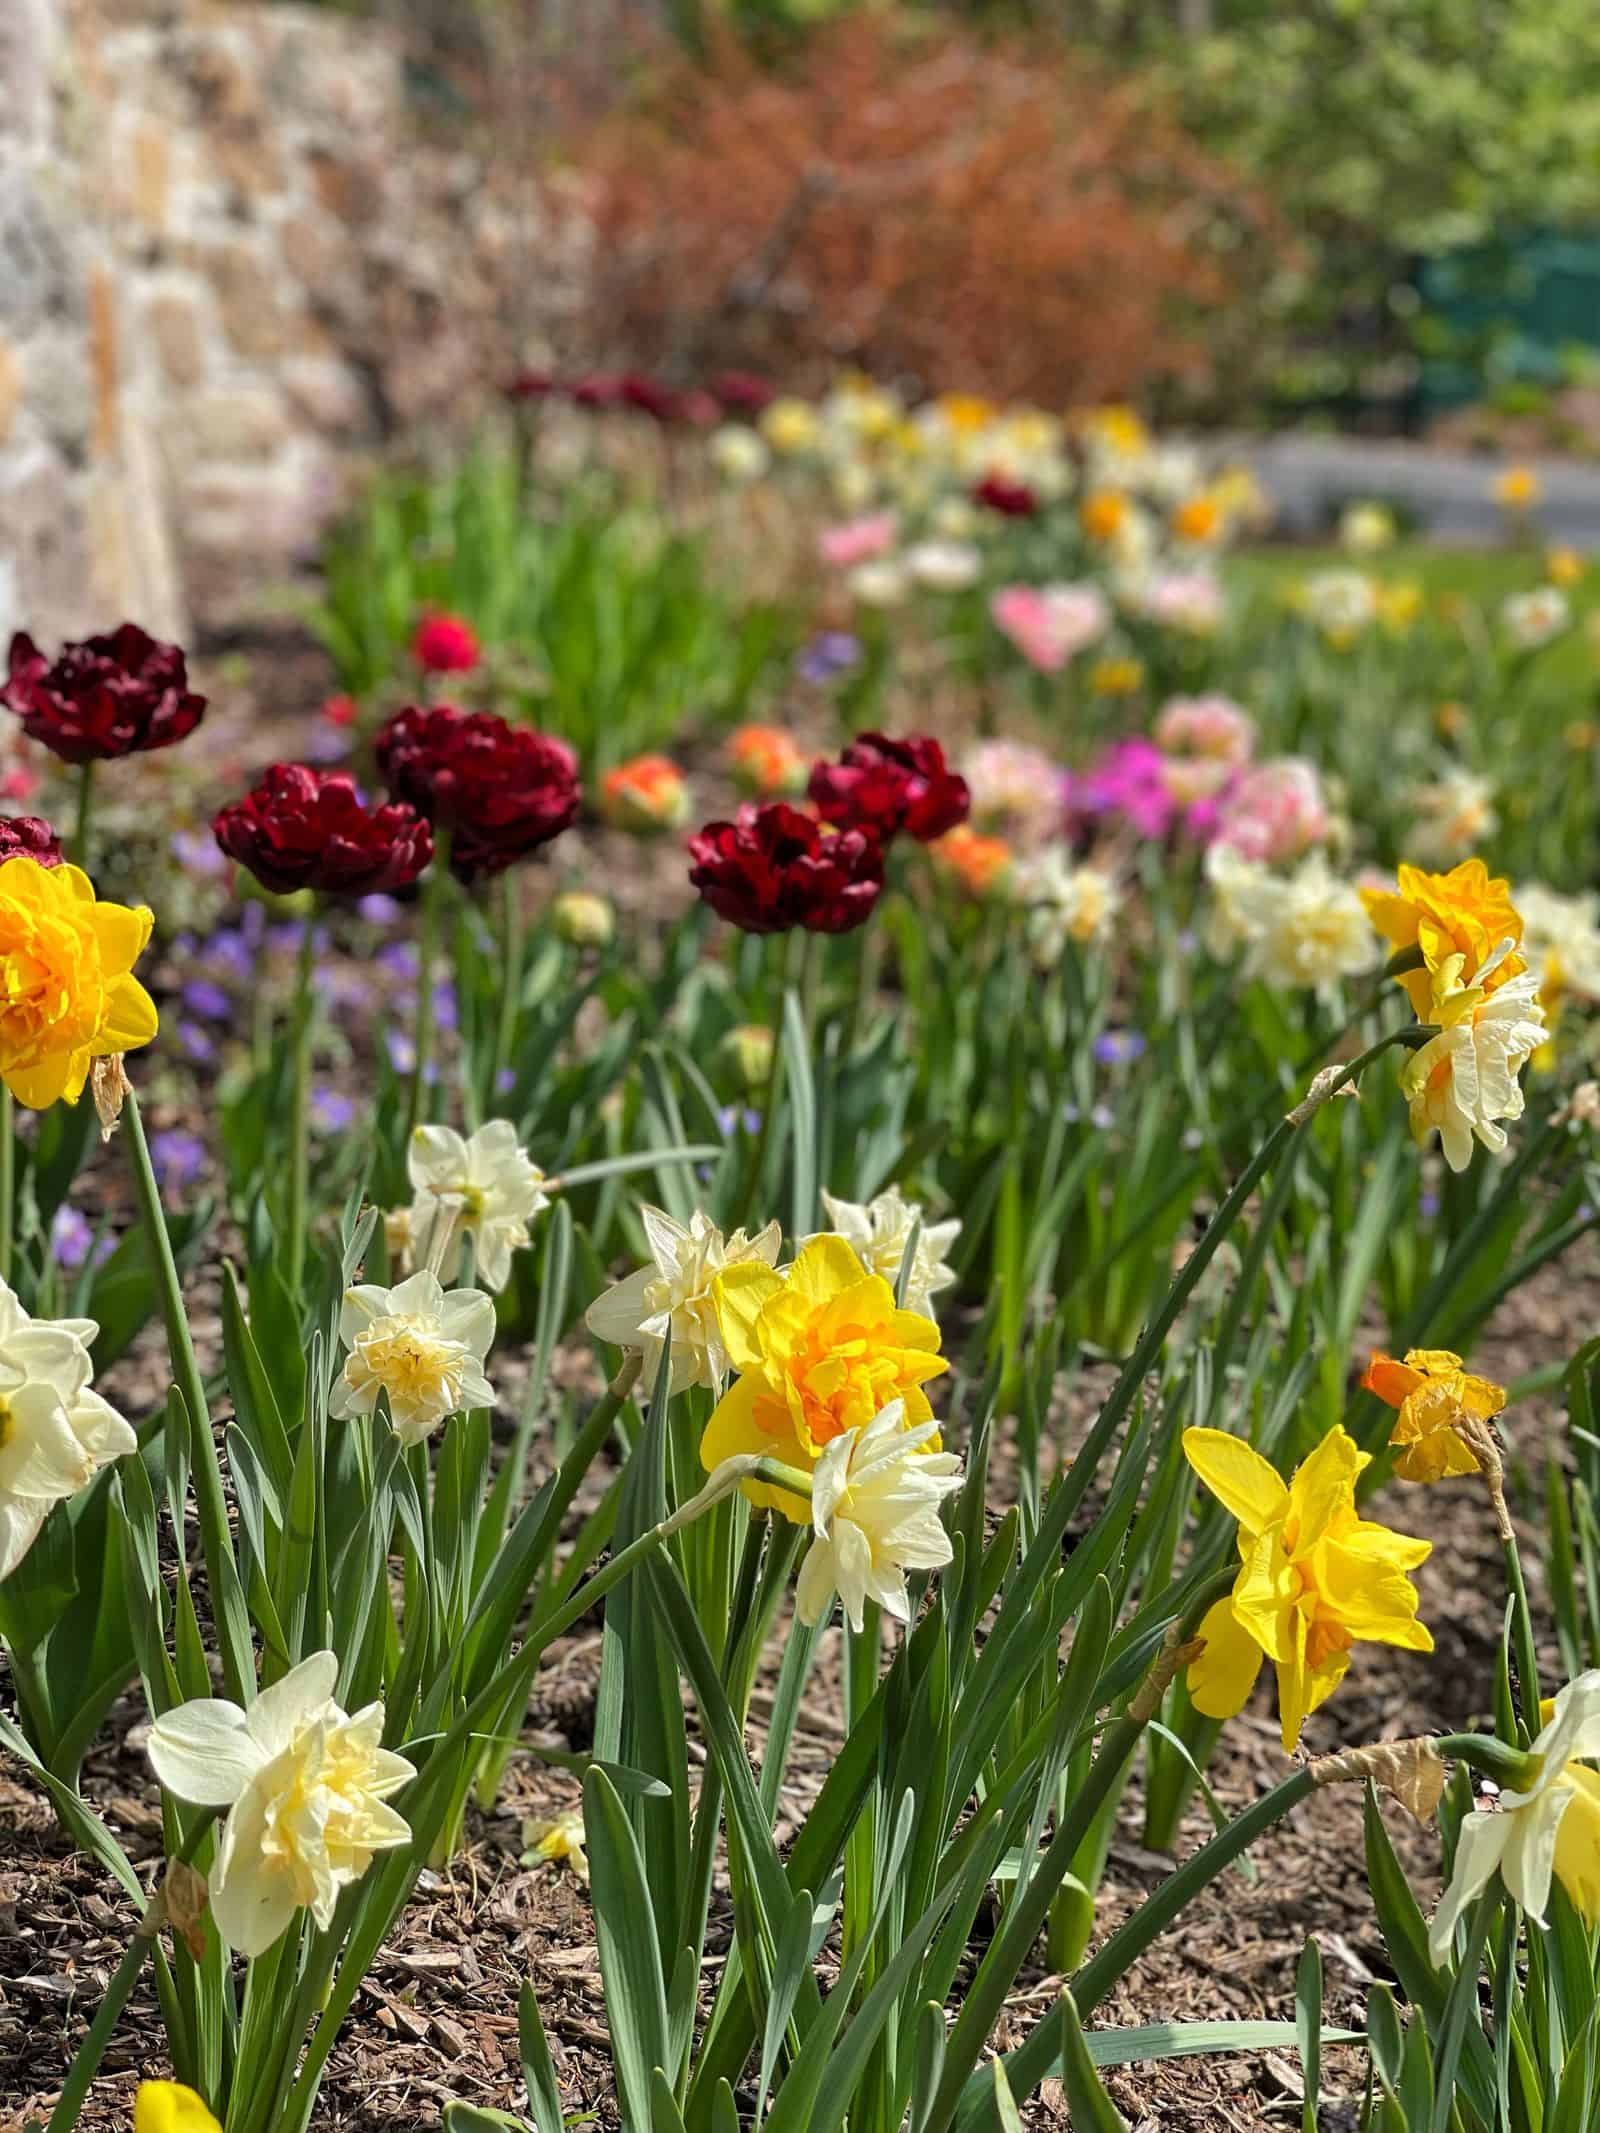
These bulbs, such as tulips, daffodils, and hyacinths, store the energy they need to flower, lying dormant through winter and bursting into growth as the weather warms.
In this guide, we’ll explore the benefits of fall planting and provide step-by-step instructions on how to plant bulbs for a stunning spring garden.
(Posts on stacyling.com may contain affiliate links. Click HERE for full disclosure.)
Why Plant Bulbs in the Fall?
Planting bulbs in the fall might seem counterintuitive, but it offers several key benefits:
- Strong Root Development: Fall planting allows the bulbs to establish strong root systems before winter sets in.
- Cold Dormancy: Many spring-flowering bulbs require a period of cold dormancy to trigger blooming. Fall planting provides this necessary chilling period.
- Protection: Soil provides insulation from temperature fluctuations and harsh weather conditions, ensuring the bulbs’ survival through the winter.
- Less Competition: Bulbs get a head start before other plants emerge in the spring, giving them ample sunlight and nutrients.
- Efficiency: Planting bulbs is more efficient than starting many plants from seed.
When to Plant
The ideal planting time is when soil temperatures consistently fall below 60°F. This usually occurs in mid-September or October, but can vary depending on your location.
I live in hardiness zone 6b, so I typically wait until the end of October to plant when temps are more consistently cool.

What You’ll Need
- Shovel or hand trowel
- Bulbs
- Bulb fertilizer
- Garden soil
- Organic matter (peat moss or compost)
Choosing Bulbs
Select bulbs that are large, firm, have good color and are free of damage. You can purchase them from local nurseries, big box stores, or online retailers. Some popular spring-flowering bulbs include:
- Tulips
- Daffodils
- Crocus
- Hyacinths
- Grape hyacinths
- Fritillaria
- Alliums
- Anemones
Favorite Sources

How to Plant Bulbs in Fall
- Choose a location: Select a sunny spot in your yard that has good drainage and receives at least six hours of direct sunlight per day.
- Prepare the soil: Loosen the soil and add organic matter to improve drainage and fertility. Before planting bulbs, place them in the garden to plan their design.
- Planting Depth: A general rule is to plant them three times as deep as the bulb’s height. However, always refer to the specific instructions on the bulb packaging.
- Planting: Plant bulbs upright with the pointed ends up and root side down at the recommended depth (see plant tag for planting depth).
- Fertilizing: Before backfilling the hole, add organic matter like peat moss to add drainage and help enrich the soil. It’s also a good idea to mix in a special bulb fertilizer (this is the one that I use). Avoid using bone meal if rodents, skunks, or other small mammals are an issue as bone meal attracts them.
- Backfilling: Backfill the holes with fresh garden soil and water thoroughly.
Pro-Tip: Before planting, place bulbs where you want to plant them to get an idea of how they will look. You can plant in individual holes or group them together.


Caring for Bulbs
- Water the bulbs well after planting and during dry periods in the fall.
- Once the foliage emerges in the spring, fertilize lightly at least two inches from the plant.
- Allow the foliage to die back naturally after flowering to replenish the bulb for the following year.
- Consider planting bulbs among perennials and annuals to camouflage their fading foliage.
Additional Tips
- Planting Depth: Planting depth is crucial. Too shallow, and the bulbs may not survive the winter; too deep, and they may struggle to emerge in the spring.
- Orientation: Make sure to plant with the pointed end up. If planted upside down, the bulb will still grow, but it may take longer and produce a weaker flower.
- Protecting from Wildlife: If deer or other animals are a problem, consider using protective measures such as netting or repellents. If rodents dig up your bulbs, try planting them with chicken wire.
- Spring-Flowering Bulb Tip: Remember! When the flower petals fade, remove the flower parts and stem before the plant goes to seed. Don’t cut leaves back until they turn yellow though. This allows the bulb to store more energy for next year’s flower production.
- Spring Garden Design Tip: Bulb foliage that is dying back can be hidden by planting bulbs in between perennials and annuals. This way will provide color while perennials emerge and are camouflaged by perennials while they die back.
Troubleshooting
If your bulbs fail to bloom, it could be due to several factors, such as improper planting depth, poor drainage, or insufficient sunlight. I shared a comprehensive article that will help you drill down on why this happens and how to fix your spring blooming bulbs here.

Planting Bulbs in Fall FAQs
How Deep Should I Plant?
In general, planting depth should be 3x the size of the bulb. So larger bulbs will get planted roughly 6-8″ deep. While smaller bulbs will be planted around 4-5″ deep. While these figures are a general guide, always consult the plant tag that the bulbs arrived in. The grower knows best how to plant and grow their bulbs. So follow the grower’s recommendations for planting and care.
Should I Soak Bulbs Before Planting?
No, it is not necessary to soak fall bulbs before planting because there should be sufficient soil moisture in the ground. Simply open the bag they arrive in and start planting!

Do You Water Bulbs After Planting?
Yes, it is a good idea to water the bulbs well after planting them in fall to give them a good start in your garden.
What Happens If You Plant a Bulb Upside Down?
While it will still grow, planting it upside down will stress out the plant. And because it gets stressed, could die. And we don’t want that! So the best way to know whether you are planting a bulb correctly is to look for the roots which is usually found at the wide base. And the pointed tip should be upright.

Final Thoughts
Planting bulbs in the fall is like sending a message of hope to the future. As the leaves fall and the days grow shorter, we’re tucking away these little bundles of potential, knowing that they’ll emerge in a riot of color when spring finally arrives.
I’m already envisioning the cheerful faces of tulips and the nodding heads of daffodils greeting me as the snow melts. It’s one of the reasons I love fall planting, and I can’t wait to witness the transformation my garden will undergo in just a few short months.
If you’re looking to add a touch of early spring enchantment to your landscape, I encourage you to give fall bulb planting a try. It’s a simple act that yields extraordinary rewards come spring.
Are you planting spring flowering bulbs? What varieties do you plan to grow? I would love to know more in the comments below.
Thanks for stopping by the blog today!
Enjoy your day! xoxo


I need to plant some bulbs Stacy. Tulips are so beautiful in the spring😄
Yes! There’s still time! As long as the ground doesn’t freeze you are good to go! I am hoping to get a few in the ground if I can up there too!
I love Daffodils and I’m planting 100 around our shed this week or weekend. I can’t wait.
Cindy
They are so fun to grow! And I love that the deer don’t bother them too!!! Happy Planting!!! xoxo
Hi- I love the information you post on your site. I would like to ask what bulb fertilizer you recommend that doesn’t contain bone meal. I do have skunks , chipmunks and squirrels that love to dig in my garden and are attracted to the bone meal. The ones I have located say to feed the bulbs right after blooming, not when planting for the first time. Thanks!
Hey Karen! I’d have to research products for you – I was just looking online and most have bone meal. Another option is to plant bulbs wrapped in chicken wire. Have you ever tried that? If you try this, make sure the chicken wire holes are big enough to allow for the flower stalk to grow through from the top part of the bulb (the pointy end) through the wire. In the meantime, I’ll look at products at the nursery when I head out there this week to read the ingredients on some bags.
What a great post Stacy. I am frantically trying to get all of my bulbs planted as well!
I’m hoping to finish this week! And that’s if I don’t go buy anymore LOL xoxoxo
I just planted some alliums! I also bought some tulips. Wish me luck! My first time planting bulbs!!
Alliums are my favorite! I’m so excited for you! It is really fun to see them peak through the ground after a cold winter. xoxo
How do you keep chipmunks from eating the bulbs
Have you tried planting them with chicken wire?
How do you plant the bulbs with chicken wire? Wrap the bulb in chicken wire? Place chicken wire above and/or below the bulb? Please explain your technique. Thank you
To really protect them you’d want to wrap them. In my case, I have had issues with chipmunks digging them up so I just lay a small amount on top. If you’ve got something that tunnels, you’ll want to wrap it around them and the bulb will grow through.
Stacy,
I plan to plant several bulbs this fall. thanks for the recommendations.
I can’t wait to see what your garden will look like in spring! xo
So much great information.
Thank you Rachel!
I’m so enjoying your blog and all your beautiful pics and ideas. I purchased about 250 bulbs over the summer which have all arrived and I was absolutely giddy at the idea of seeing them blooming come Spring. BUT my husband had a stroke 7 weeks ago and I need a total knee replacement! So, here i am trying to figure out how to get my bulbs in the ground! I’m determined to find some help getting them planted, so if nothing else, hubby and I can sit on the porch with cups of coffee and enjoy the flowers
Hey Sarah! I appreciate that so much and love that you are here. I’m so sorry to hear about your husband I hope he is on the mend! And I hope your knee heals quick too! If you can’t find help, are you able to use an auger bit on a drill so you don’t have to move much with your knee? It does require some bending but much easier to plant bulbs than digging!
Hello,
I’m wondering if you know the type of tree pictured in the background of your photo of fuscia colored tulips. The truck structure looks like a live oak to me but I have never seen one budding out like that. Do you know what it is?
I have 3000 tulips in their way to me now in California. This article was a great reminder on best practices for planting. Thank you!
Hey Carrie! I didn’t plant it but it is a flowering crababpple tree. Not sure of the variety but had it identified by a tree expert when we moved in. Thank you so much for your comment and your feedback! I have about the same sitting my garage waiting for planting now! Love fall gardening!