Hydrangea Care: Essential Tips for Thriving Blooms

The only hydrangea care guide you need! Get expert tips on planting, watering, pruning, and ensuring your blooms thrive year after year.
Hydrangeas are flowering shrubs that thrive with consistent moisture, proper light exposure, and pruning timed to their bloom type. While care varies slightly by variety, most hydrangeas succeed when planted in well-draining soil, watered deeply, and maintained according to whether they bloom on old or new wood.
Hi I’m Stacy Ling, a trained Master Gardener in Zone 6b, New Jersey, who is a massive fan of these gorgeous shrubs. Hydrangeas are easily one of my favorite flowers to grow! Here in my garden, I cultivate over 20 different varieties that include a range of old-fashioned macrophyllas to the most reliable paniculatas.
Through years of growing them and learning the specific needs of each one (including those tough seasons where blooms were scarce!), I’ve developed expert strategies for consistent success. I created this essential guide to hydrangea care to share everything I’ve learned, from selection and soil requirements to mastering watering and seasonal pruning, to help you grow abundant, beautiful hydrangeas today.
(Posts on stacyling.com may contain affiliate links. Click HERE for full disclosure.)

Hydrangea Care: The Basics
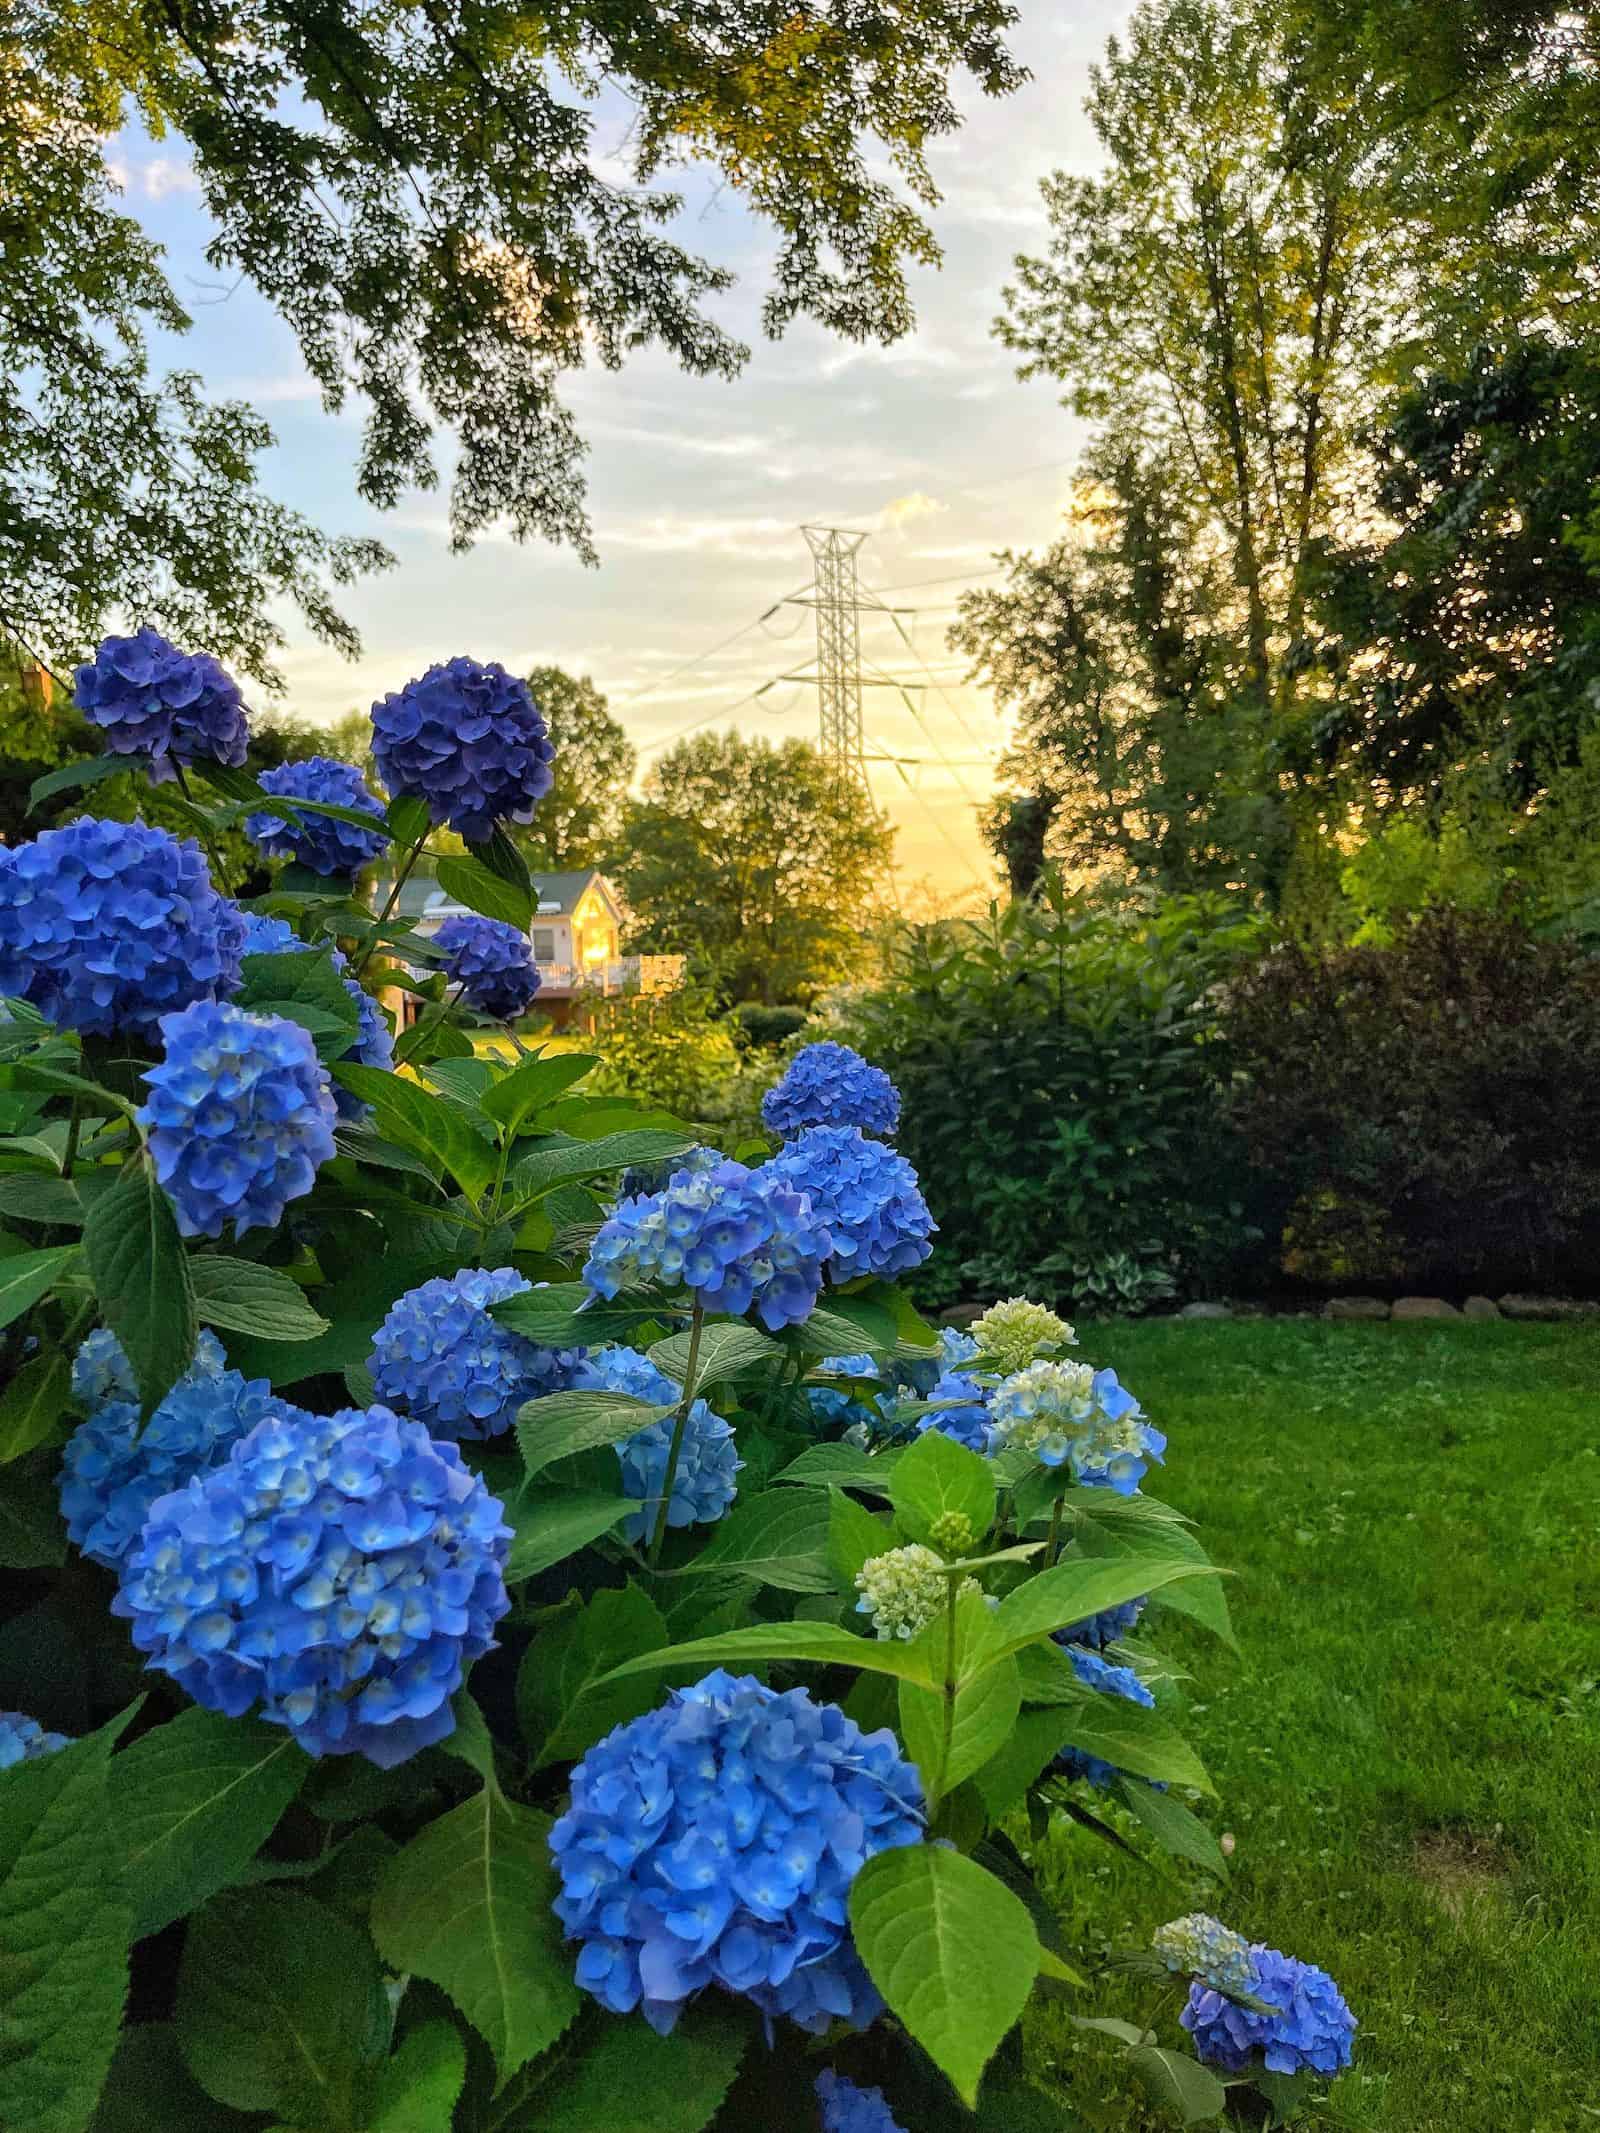
Hydrangeas are beautiful, reliable deciduous shrubs with a stunning color palette that includes shades of white, pink, blue, purple, and chartreuse. While many varieties are quite hardy, thriving across USDA zones 4-9, their specific care (and whether or not they bloom reliably) depends almost entirely on the variety you are growing. (Not sure of your hardiness zone? Check it here.)
Some are bred to rebloom continuously throughout the summer, while others only set flower buds once a season (often called “old wood” bloomers). Knowing the difference between these types is the absolute key to success, especially when it comes to seasonal maintenance and pruning.
- Common Name: Hydrangea
- Plant Type: Shrub
- Hardiness Zone: 4-9
- Light: Full sun to partial shade
- Soil Requirements: Well-drained, rich in organic matter
- Height: 3-10 feet
- Width: 3-10 feet
- Flower Color: White, pink, blue, purple, red
- Foliage Color: Green
- Bloom Time: Summer to fall
As a trained master gardener located in Zone 6b in north-central New Jersey, I know firsthand the challenges these plants face, from our super humid summers to the unpredictable freeze-thaw cycles we experience in winter that can kill of your buds. This range of climate conditions is why understanding the care nuances for each variety is so essential to achieving those beautiful, thriving blooms.

Understanding the Different Hydrangea Varieties
Hydrangeas come in several distinct types, each with unique characteristics and care requirements. Choosing the right variety makes all the difference in how your shrub performs. Below is a quick overview of the main types. For a full breakdown—including bloom styles, care tips, pruning guidance, and my favorite cultivars: see my complete guide to Types of Hydrangeas
Bigleaf Hydrangeas (Hydrangea macrophylla)
Known for their iconic mophead and lacecap blooms, Bigleaf hydrangeas often change color based on soil pH. Many traditional varieties bloom on old wood, while modern rebloomers flower on both old and new wood.
💡 Zone 6b Tip: These often need winter protection in colder climates for reliable blooms. Don’t prune these until the plant is fully leafed out, if at all.

Panicle Hydrangeas (Hydrangea paniculata)
One of the most reliable types for colder climates, panicle hydrangeas tolerate full sun and are incredibly resilient. Their cone-shaped flowers fade beautifully from white to pink.
💡 Zone 6b Tip: They bloom best with six or more hours of direct sunlight. Prune back in late winter early spring, but no more than a 1/3 of the shrub to promote stronger stems.

Oakleaf Hydrangeas (Hydrangea quercifolia)
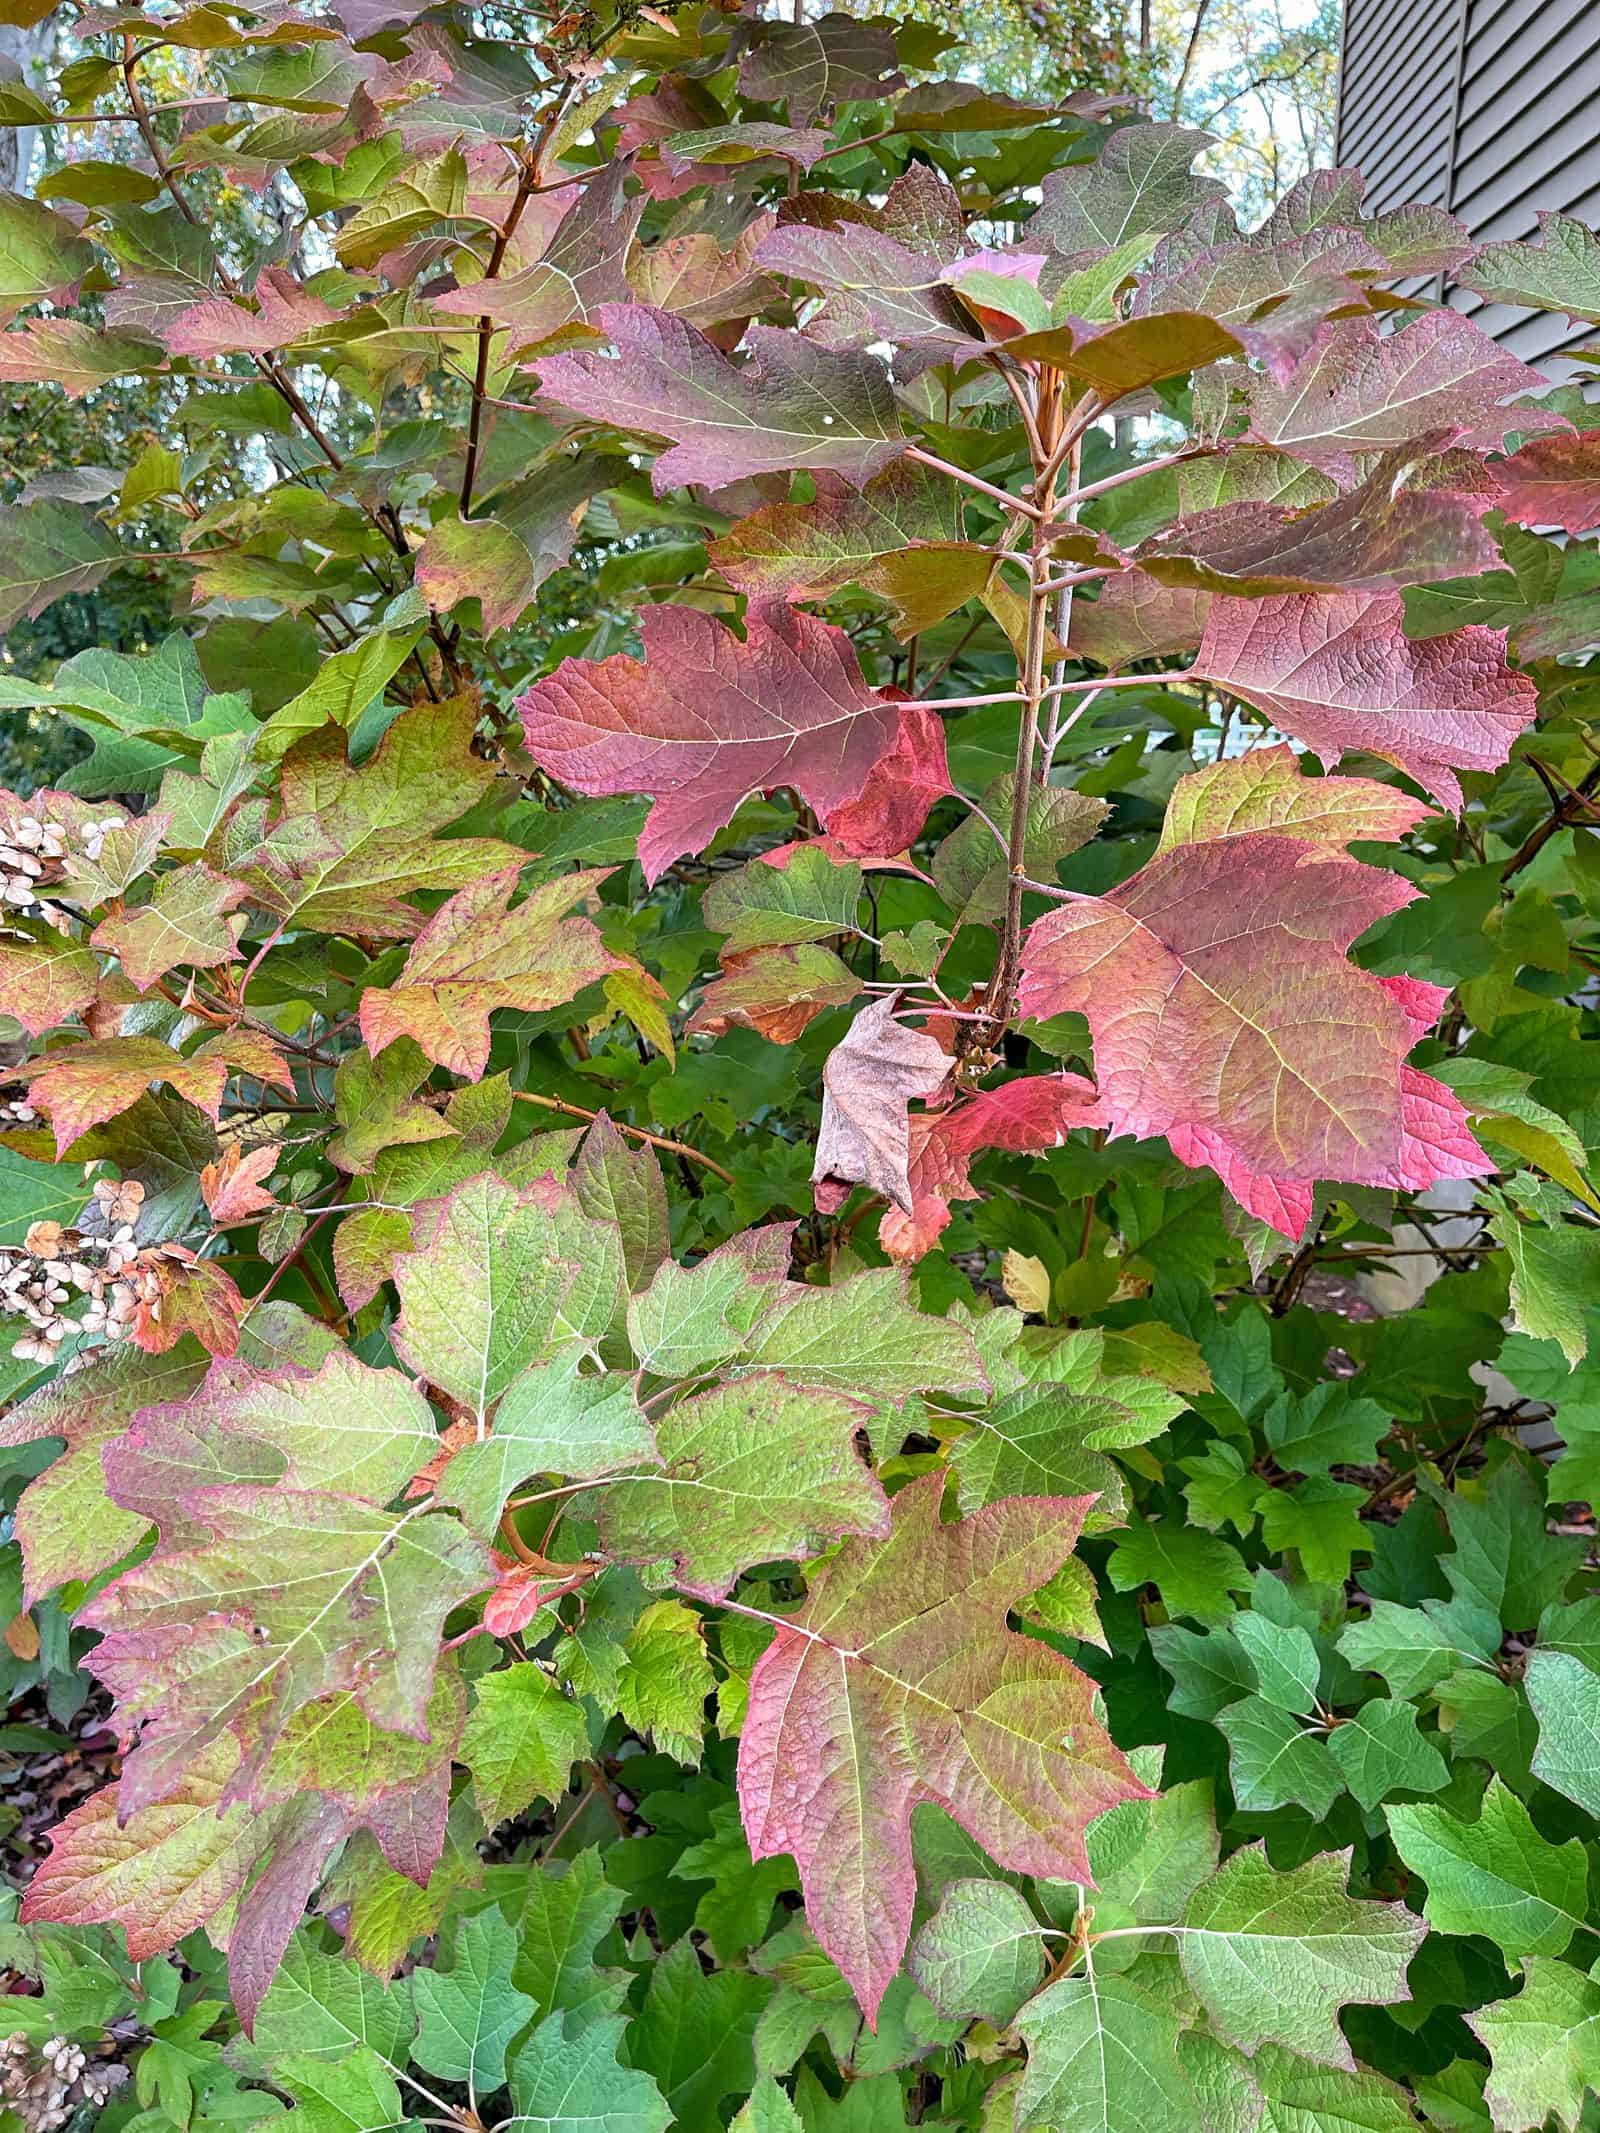
With dramatic cone-shaped flowers and outstanding fall color, Oakleaf hydrangeas add four-season interest. They are more tolerant of dry conditions once established.
💡 Zone 6b Tip: Mine thrive in partial shade to full sun and reward me with spectacular fall foliage. I learned that it bloomed far less when planted in more dense shade.
Smooth Hydrangeas (Hydrangea arborescens)
Native and extremely hardy, smooth hydrangeas like ‘Annabelle’ produce large globe-shaped blooms and flower reliably on new wood.
💡 Zone 6b Tip: Newer varieties have much stronger stems as older ones flop after summer storms. ‘Stormproof’ is a great option!

Climbing Hydrangeas (Hydrangea anomala subsp. petiolaris)
A beautiful vining hydrangea that attaches to structures with aerial rootlets and produces delicate lacecap-like blooms.
💡 Zone 6b Tip: Train them carefully—these vines attach strongly and may damage siding. In my gardens, they seem to take a few years to settle in and bloom. So be patient.

Choosing the Perfect Hydrangea for Your Garden
With so many varieties available, choosing the right one for your garden can feel overwhelming. To help you navigate the world of hydrangeas, here’s a quick starter guide to consider when making your selection.
Sunlight Needs for Hydrangea Care
Before choosing the right hydrangea for your garden, you must assess the light conditions you have. Keep in mind that while some varieties can survive in shadier conditions, you will generally get fewer flowers.
- Full Sun (6+ hours): Panicle Hydrangeas (H. paniculata) are the classic choice for full sun locations. They are the most tolerant of direct heat.
- Part Sun (4–6 hours): Climbing Hydrangeas (H. anomala petiolaris) thrive here and offer fragrant white blooms in early summer, followed by decorative peeling bark in winter.
- Shade (Dappled/Bright): Oakleaf Hydrangeas (H. quercifolia) can flourish in shaded areas and boast unique oak-shaped leaves that turn vibrant shades of red and orange in autumn. I had one that was growing half in sun and half in the shade and the shadier side of the plant had far less blooms.

Consider Bloom Time
If you are limited on growing space, consider when you want your hydrangeas to flower before finalizing your selection.
- Early Summer: Panicle hydrangeas (Hydrangea paniculata) offer long-lasting, cone-shaped blooms in white or pink that start blooming in early summer and last well into fall.
- Mid-Summer: Bigleaf hydrangeas and mountain hydrangeas typically bloom in mid-summer and offer a variety of colors and flower shapes. 💡 Stacy’s Tip: I usually go with rebloomers to get a longer season hout of them.
- Late Summer/Fall: Smooth hydrangeas (Hydrangea arborescens ‘Annabelle’) bloom in late summer and offer large, snowball-like white flowers that add interest to the garden even after the petals fade.

Hydrangea Care: Consider the Overall Size and Shape
The better matched the hydrangea variety is to your garden, the less pruning it will require long-term to manage the overall size and shape.
- Compact Shrubs: Ideal for smaller gardens or containers. Dwarf varieties like Bigleaf hydrangea ‘Mini Penny’ and Panicle hydrangea ‘Little Lime’ offer vibrant blooms without requiring a lot of space.
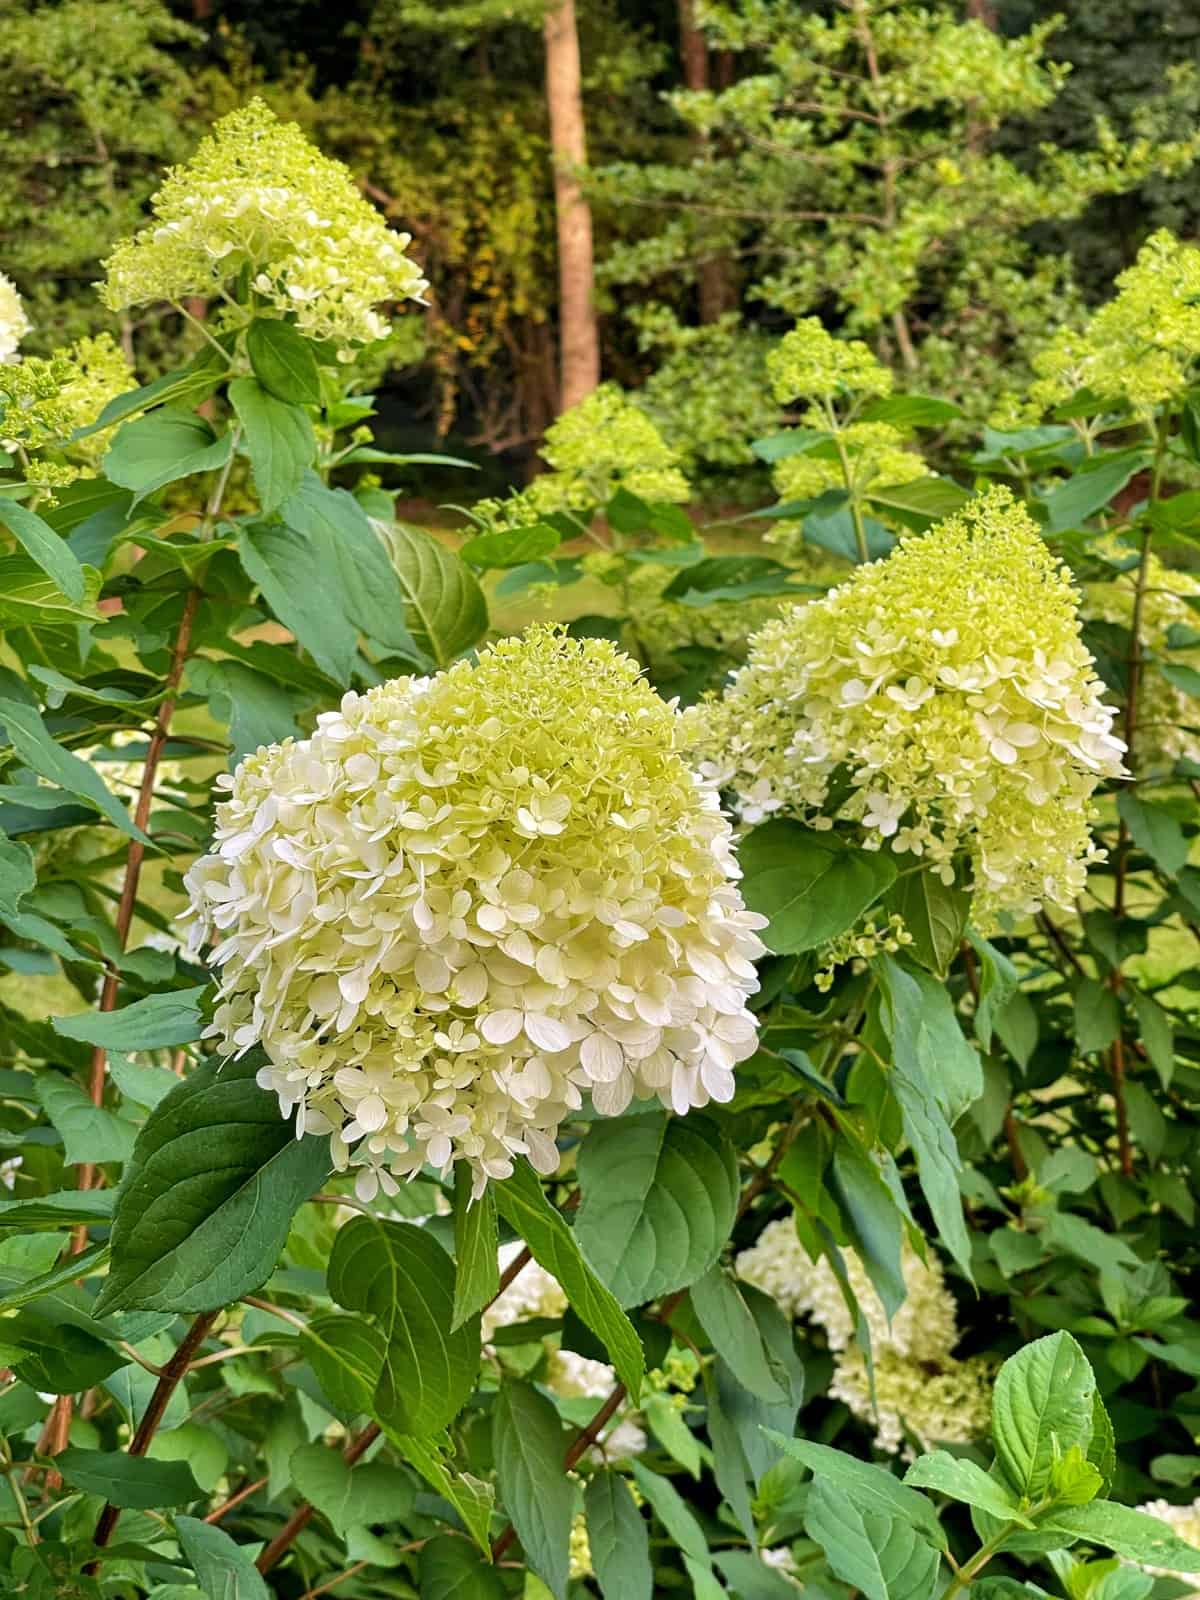
- Mid-Sized: The Little Lime Punch hydrangeas (shown in the pic below) are a great mid-sized choice. I added them because they bloom on stronger stems and get a gorgeous pink color with incredible flower details.
- Large Shrubs: For a more dramatic statement, Bigleaf hydrangeas like ‘Endless Summer’ can grow to be quite large and offer an abundance of beautiful blooms.
- Vining Varieties: Climbing hydrangeas are perfect for covering walls, trellises, or fences, adding a touch of elegance and fragrance to your garden.

Consider Soil and pH for the Best Hydrangea Care and Blooms
- Acidic Soil (pH 5.2–5.5): Blue hydrangeas (specifically macrophylla types) prefer acidic soil.
- Neutral Soil (pH 6.0–7.0): Most other hydrangeas will thrive in neutral soil.
- Alkaline Soil: You can still grow hydrangeas in alkaline soil, but you may need to add amendments to lower the pH and encourage blue blooms on Bigleaf varieties.
💡 Stacy’s Soil Tip: I advise going through your local cooperative extension because they can really help determine your soil quality. In my region, it’s a good idea to send my soil samples to the Rutgers Cooperative Extension every three years to pinpoint the exact soil amendments I need, which is how I learned to adjust the pH for a more vibrant blue.
Think About What YOU Want
Ultimately, the best hydrangea for your garden is the one you love the most. Consider factors like your desired flower color, bloom time, size, and shape when making your decision. Visit your local nursery or reach out to a fellow gardener on socials for inspiration. Ask for hydrangea care advice from the experts.

Hydrangea Care: Planting Hydrangeas
Have you ever heard the saying location location location? Well, it certainly applies to planting hydrangeas because they have light and soil requirements that are necessary to get the best blooms. Here’s what you need to know.
When and Where to Plant Hydrangeas
Timing
It’s best to plant new hydrangeas or relocate established ones in early spring or fall. Avoid planting in the hot summer months, as they struggle to acclimate and require excessive care.
💡 Stacy’s Tip: If I’m getting really specific, I prefer fall when the temperatures have cooled down or early spring before the plant fully leafs out.
Location
Hydrangeas in general prefer shadier spots where they receive morning sun and afternoon shade. However, since light needs vary greatly by type, it is critical to read the plant tag and consult my varieties section above to match your specific hydrangea to the right light conditions.
The Soil Matters
Hydrangeas thrive in well-draining and rich soil with lots of organic matter like compost and leaf mold.
- Amendments: Peat moss and bark are better amendments than fresh animal manure, which is high in nitrogen and can affect flowering (well-aged manure is okay).
- Drainage: They do not tolerate overly-saturated soil. You’ll know they are over-watered if the leaves have brown edges or drop, or if they are under-watered when the leaves droop (and quickly revive shortly after watering).
- Soil Testing: It is a good idea to test your soil before planting so you know exactly what amendments you need to improve drainage and adjust the pH. Reach out to your local cooperative extension or at a minimum, buy your own test kit here.
💡 Stacy’s Tip: To discover how well your soil drains, dig a 1’x1′ area in your garden, add water and watch how fast (or slow) it drains.
How to Plant a Hydrangea
For a complete step-by-step planting tutorial, including soil prep, hole depth, watering, and troubleshooting, see my full guide on How to Plant Hydrangeas.
After planting dozens of hydrangeas throughout my Zone 6b garden, these basic principles apply to most varieties:
- Choose the right spot with room for the shrub to grow and the appropriate amount of sunlight.
- Dig a wide hole, roughly twice the width of the root ball, but no deeper.
- Set the plant at the same depth it was growing in the nursery container.
- Backfill with native soil, amending only if your soil is particularly poor.
- Mulch lightly to help retain moisture and regulate soil temperature.
- Water deeply at the base to help settle the roots.

Hydrangea Care Maintenance
Watering Hydrangeas
Hydrangeas are thirsty plants and crave consistent moisture, especially during hot, dry periods but don’t love their roots sitting in poorly draining soil. Aim to water deeply at the base of the plant, allowing the water to reach the roots. A good rule of thumb is to water when the top inch of soil feels dry to the touch.
Avoid overhead watering, as this can encourage fungal diseases. Instead, opt for drip irrigation, soaker hose or slow, deep watering to saturate the root zone. Underwatering can result in wilting and stunted growth, while overwatering can lead to root rot. So, finding the sweet spot is key to keeping your hydrangeas happy and healthy.
Keep in mind that your watering practices will look different during the different seasons. Here in my New Jersey, zone 6b garden, I don’t water as often as I do during our long hot summers because my climate takes care of itself.

Fertilizing Hydrangeas
In general, hydrangeas do not need to be fertilized. This might come as a bit of a shock to you because there are lots of gardeners out there who recommend fertilizing them, but I’m not one of them. Therefore, the best fertilizer for hydrangeas is amending the soil with good-quality organic matter.
If hydrangeas are planted closely to grass and you fertilize your grass, keep an eye on the blooms. Because grass fertilizer is high in nitrogen and affects hydrangea blooms if it’s fed too close to plants. Nitrogen makes plants greener and more lush. So hydrangeas will not flower as much, if at all if, it receives too much nitrogen.

Deadheading Hydrangeas
Deadheading flowers is a key part of hydrangea care that can promote healthier plants, enhance their appearance and produce more abundant blooms. Here’s what you need to know about deadheading your hydrangeas effectively:
When to Deadhead
In general, the timing for deadheading varies depending on the hydrangea type:
- Bigleaf Hydrangeas (Hydrangea macrophylla): Deadhead throughout the blooming season by cutting just below the flower head. Avoid cutting too far down the stem to preserve next year’s buds.
- Panicle Hydrangeas (Hydrangea paniculata) and Smooth Hydrangeas (Hydrangea arborescens): Deadhead after the flowers fade to encourage reblooming. These varieties bloom on new wood, so they can be pruned more aggressively if needed.
- Oakleaf Hydrangeas (Hydrangea quercifolia): Deadhead after the flowers start to fade, but before they set seed. Be careful not to remove buds for the next season.

How to Deadhead Hydrangea Flowers
Look for flowers that have faded or dried out. Use sterilized sharp pruners to make clean cuts and prevent the spread of disease. I usually wipe my pruners down with a clorox wipe in between hydrangea plants.
For most varieties, cut about 1/4 inch above the first set of leaves below the spent flower. Ensure you don’t cut too far down the stem, especially for bigleaf hydrangeas. Collect and dispose of the spent flowers and any other plant debris to maintain garden hygiene.

Hydrangea Care: Pruning Hydrangeas
Pruning hydrangeas is one of the most popular issues among my readers, and it is the single most important step to ensure your plant flowers reliably. Because incorrect pruning is the number one reason hydrangeas fail to bloom, you must know your variety.
The Three Pruning Categories
All hydrangeas fall into one of three categories, which depend on whether the plant blooms on old wood (buds set last year), new wood (buds set this year), or both:
| Category | Hydrangea Types | Pruning Rule |
| Old Wood | Bigleaf (Macrophylla), Oakleaf (Quercifolia) | Prune immediately after flowers fade in summer (before mid-August). |
| New Wood | Smooth (Arborescens), Panicle (Paniculata) | Prune in late winter or early spring. |
| Both | Everblooming varieties (e.g., Endless Summer) | Minimal deadheading is required to encourage continuous blooms. |
The Critical Difference: If you cut back an Old Wood bloomer between fall and early spring, you won’t get flowers because you’ve trimmed off the buds. Timing is critical!
💡 Stacy’s Pruning Tip: For my new wood bloomers (Paniculatas and Arborescens), I cut them back on the first seasonable day in early spring, taking no more than one-third off the plant. Aside from that, I generally don’t prune my hydrangeas much at all and let them be!
For all the step-by-step instructions on how to make the cut, you must read:
[Click Here: How and When to Prune Hydrangeas Correctly: The Ultimate Guide to Perfect Blooms]

Growing Hydrangeas in Pots (Exper Tips)
If you lack garden space or want to add some to your outdoor living areas, growing hydrangeas in pots is a fantastic option! However, container growing introduces a few unique care challenges you must address.
| Challenge/Tip | Details for Container Growing |
| Overwintering | Choose a hydrangea variety that is two growing zones higher than your hardiness zone to ensure the plant survives winter. |
| Container Choice | Select an all-weather container so it doesn’t crack or become damaged during the winter freeze/thaw cycles. |
| Fertilizing | Hydrangeas need additional nutrition when grown in pots, as the nutrients tend to wash out every time you water. |
💡 Stacy’s Tip: Watering container hydrangeas will need very consistent watering, particularly during the hotter months of the year. I highly recommend using a drip irrigation system set on a timer to keep them well hydrated and healthy without constant effort.
For complete step-by-step instructions on selection, soil, and proper winterizing techniques, read the full guide:
[Click Here: The Ultimate Guide to Growing Hydrangeas in Pots]

What to Plant With Hydrangeas
Hydrangeas are often used as anchor plants in the garden, but what you plant around them can completely change how the space looks and performs.
In my own garden, I like to layer hydrangeas with a mix of shrubs, perennials, and even bulbs to create a planting that feels full and interesting from early spring through fall. The key is choosing plants with similar light and moisture needs, then mixing textures, shapes, and bloom times so everything works together.
One thing that surprises a lot of gardeners is that hydrangeas can also be layered with other hydrangeas. Different varieties have unique sizes, bloom shapes, and timing, which makes it possible to create a really dynamic, layered look using hydrangeas alone.
If you want to see exactly what plants pair well together and how to design these combinations, I share my favorite companion plants and real garden pairings in this post: What to Plant With Hydrangeas.

Hydrangea Care: Common Problems and Solutions
Hydrangeas are relatively easy to care for, but here’s how to address common pests and diseases:
- Powdery Mildew and Blackspot: These fungal diseases thrive in damp, shady conditions. Move affected plants to sunnier areas with better drainage in spring or fall.
- Rust Spots: Overexposure to sun and overhead watering can cause rust spots. Water hydrangeas at the base, ideally in the early morning or late afternoon, or use drip irrigation.
- Sunburn: Too much direct sun can damage hydrangeas. If you see signs of sunburn, relocate the plant to a slightly shadier location during spring or fall.
- Slugs and Snails: These pests can create holes in hydrangea foliage. Use organic slug and snail bait for control.
- Deer Damage: Deer love hydrangeas. Protect plants with deer repellent sprays or other deer-resistant methods. (Personal note: I rely heavily on deer repellent sprays due to my unfenced property.)

How to Change the Hydrangea Flower Color
Hydrangeas are sensitive to pH in the soil. Testing the soil will tell you the pH of your soil. But you can also tell from the color of your hydrangea flowers. Except white flowering varieties, acidic soil conditions cause flowers to be more blue or purple. A favorite of mine.
Note: Avoid trying to change the color of young or newly established plants.
How to Make Hydrangeas Pink
When you see blue or purple flowers, soil pH is generally 6 or lower. If you want to raise the soil pH to get pink flowers, amend the soil with garden lime.
How to Make Hydrangeas Blue
Alternatively, more neutral soils generally produce flowers that are pink or red. In general, when you see pink or red flowers, soil pH is around a 6-7.5 pH. To lower your soil pH, add a soil acidifier like this.
As an aside, I don’t play around with the flower color and don’t really recommend doing it. I prefer my plants to do what they want in the environment that they are in. Because I believe plants do better if we don’t mess with them so much and just leave them be providing the general care they need to thrive.

Hydrangea Care: Propagating Hydrangeas for More Plants
Propagating hydrangeas is a fun and easy way to multiply your favorite shrubs and get free new plants for your landscape! It’s a rewarding process that allows you to easily share or expand your collection.
The Three Easy Methods:
We cover three different methods for propagating hydrangeas. Each works equally well, and the method you choose is simply a matter of preference:
- Stem Cuttings: Taking small cuttings from new growth.
- Ground Layering: Pinning a low-growing branch to the soil.
- Dividing Hydrangeas: Splitting up an established clump (best for Smooth and Panicle varieties).
Ready to Expand Your Garden?
The tutorials for each of these methods are long but simple to follow! For the complete, step-by-step guide, read the full post here:
- [Click Here: How to Propagate Hydrangeas in 7 Easy Steps (Stem Cuttings and Layering]
- [Click Here: How to Divide Hydrangeas for More Garden Blooms]
Overwintering Hydrangeas
If you’re growing hydrangeas that bloom on old wood—especially bigleaf or mountain varieties—and you garden in a colder climate, winter protection can make a big difference in how well they bloom the following season. Their flower buds form in late summer and sit exposed on the stems all winter long, which means cold winds, temperature swings, and late frosts can damage or completely wipe out next year’s flowers.
At a minimum, give these hydrangeas a layer of mulch at the base to protect the roots. Many gardeners (myself included) also wrap tender varieties in burlap or create a simple burlap screen to shield the buds from harsh winter weather.
If you want step-by-step instructions and the exact methods I use in my Zone 6b New Jersey garden, I’ve put together a full guide here: How to Protect Hydrangeas From Winter Damage
This expanded guide walks you through when to wrap, what materials to use, how to protect potted hydrangeas, and the winter techniques that have given me the best results over the past thirty years.

Drying Hydrangea Flowers
Preserving the beauty of your hydrangeas is a wonderful way to enjoy them year-round!
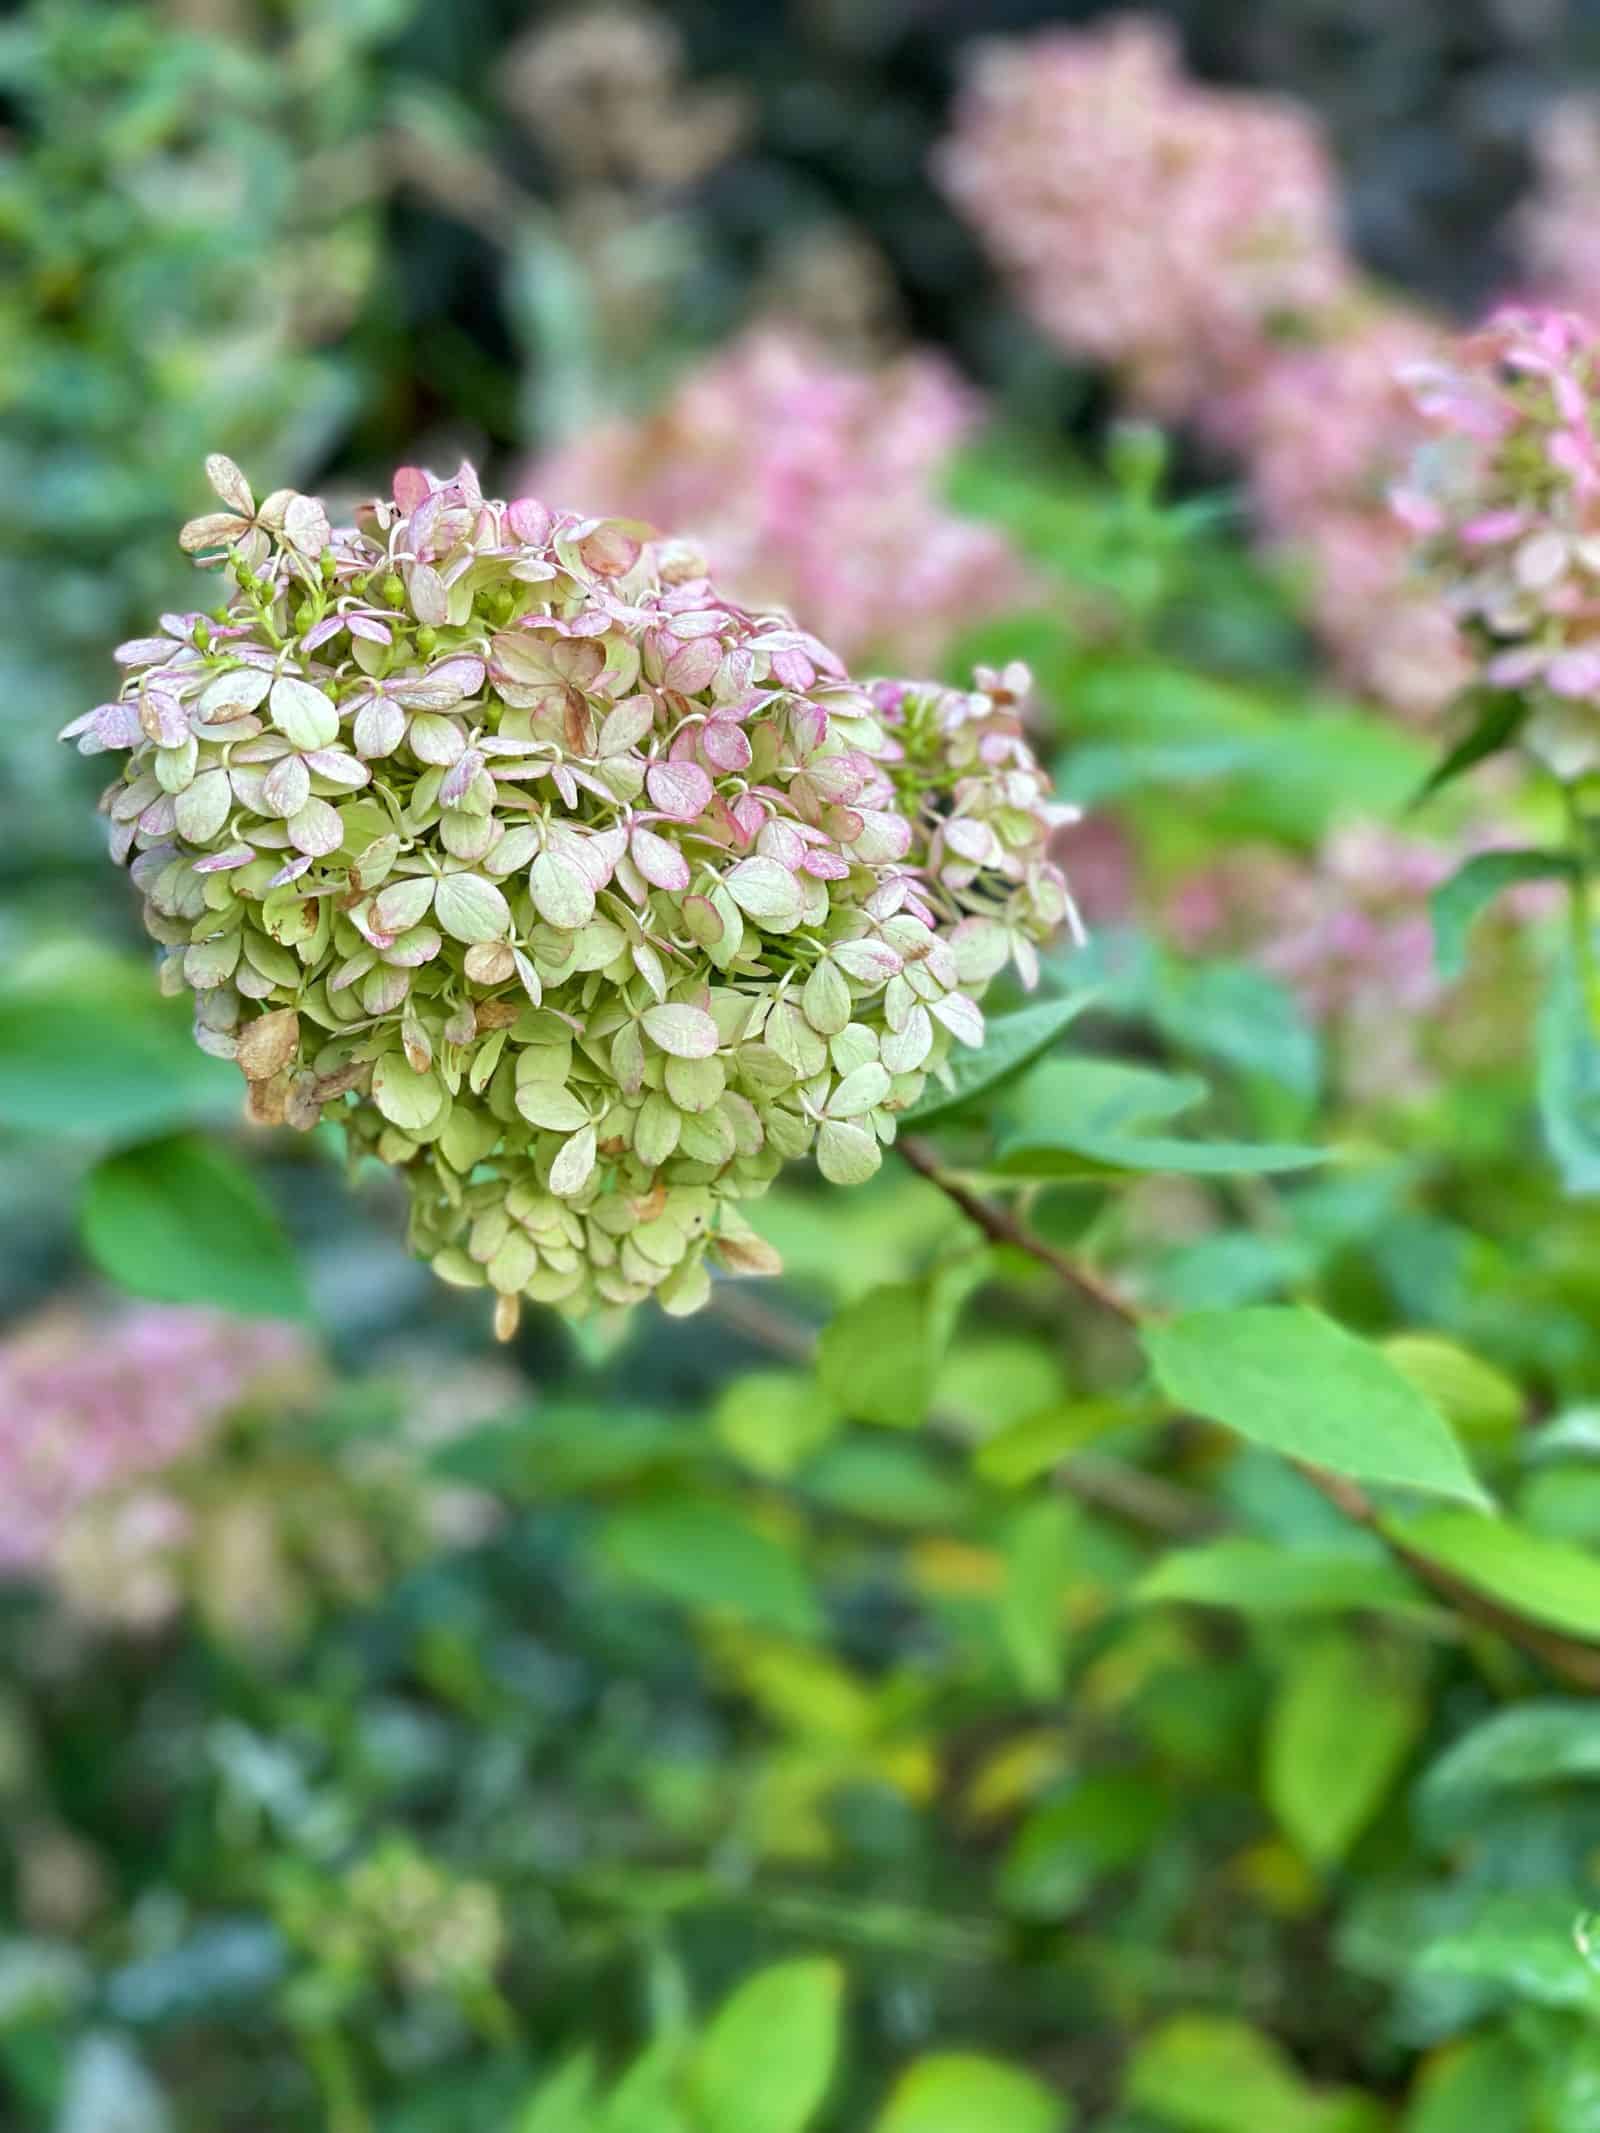
The most critical step in successful drying is timing. You must wait until the blooms have developed a vintage, papery look, which is typically 6–8 weeks after they first start flowering, before cutting them. Freshly cut hydrangeas will simply wilt and collapse.
💡 Stacy’s Drying Tip: My favorite method is the simple water-drying technique, where you cut the blooms and place them in a vase with a small amount of water. It’s incredibly easy, but there are a few key tips to ensure they don’t spoil!
For the full step-by-step process and all the secrets to successful drying, read my complete guide:
[Click Here: How to Dry a Hydrangea the Easy Way]
If you want a fun fall decorating idea using your hydrangea blooms, I even shared a step-by-step tutorial for making a simple hydrangea wreath where they flowers dry right on the wreath form. If you decide to make it, I’d love to see how it looks!

Hydrangea Arrangements: Garden to Vase
Bringing the magnificent beauty of your hydrangeas indoors is one of the most rewarding aspects of growing them. You don’t need to be a professional florist to transform a few stems into a gorgeous centerpiece!
The key to stunning DIY bouquets is selecting mature blooms with sturdy stems and understanding basic floral design principles, like achieving balance and creating a focal point.
Learn How to Style Hydrangeas Like a Pro
For all my expert tips on cutting, conditioning, and designing stunning hydrangea bouquets that look like they came from a high-end flower shop, read the full guide:
Click Here: Hydrangea Arrangements: Creating Stunning Bouquets from Your Garden

Fresh Cut Hydrangea Care: Preventing the Wilt
If you want to enjoy fresh-cut hydrangea flowers indoors, you need to follow a few rules right at the moment of cutting to ensure they last:
- Timing is Key: Wait until the flowers are completely open before cutting them.
- Cut in the Morning: Always cut your blooms in the cool of the morning.
- Strip the Leaves: Immediately remove all the leaves from the stem. Leaves continue to draw moisture, so stripping them ensures the stem retains as much water as possible for the flower head.
Solving the Drooping Problem
Even with the best preparation, hydrangeas are notoriously prone to wilting in a vase. If you notice your blooms starting to droop, there are several simple tricks to fix it!
For the two best ways to prevent wilting, plus the quick fix for reviving already-droopy hydrangeas, head to the full guide:
[Click Here: The Ultimate Guide to Keeping Fresh Cut Hydrangeas from Drooping]

Hydrangea Care FAQs
Can Hydrangeas Grow Indoors?
If you buy a hydrangea in the greenhouse from a florist or local nursery, they can do OK for a bit but I’ve not found success growing them indoors. While they are wonderful to receive as a gift, I treat them more like fresh cut flowers and don’t have the expectation they’ll last long indoors.
Yes, you can plant them outside, but they are not guaranteed to bloom as they were grown differently than ones you’d find at your local nursery. So if you receive a hydrangea in foil or gift wrap, keep your expectations low when planting them outdoors.

Why Isn’t My Hydrangea Blooming?
If your hydrangeas fail to bloom, you are not alone! This is one of the most common and frustrating problems for gardeners. The good news is that diagnosing the issue is usually straightforward.
Here are the most common reasons hydrangeas fail to set flowers:
- Pruning Errors: You pruned an old-wood bloomer at the wrong time (the most common issue!).
- Wrong Location: The plant isn’t getting the right light or its roots are struggling with drainage.
- Climate/Hardiness: The buds were damaged over winter because the plant is not hardy enough for your climate.
- Too Much Fertilizer: Excess nitrogen encourages leaves but inhibits flowers.
- Variety Type: You may have a florist or gift hydrangea not suitable for in-ground planting.
- Age: Recently planted hydrangeas need time to establish before blooming heavily.
Diagnose and Fix the Problem
To learn how to pinpoint the exact issue and apply the remedy for each of these reasons, read the full problem-solving guide here:
[Click Here: Why Isn’t My Hydrangea Blooming? (And How to Fix It!)]

Are Hydrangeas Deer Resistant?
No, hydrangeas are unfortunately not deer resistant and will need protection from nibblers in your garden. Deer will happily eat not only the flowers but also the foliage.
While some varieties, like Climbing Hydrangeas and Oakleaf Hydrangeas, may be slightly less palatable, they are still susceptible to damage. Whether you use 8-foot fencing or a repellent spray, I recommend offering some form of protection to all types of hydrangeas in high-pressure areas.
Protect Your Blooms
For a complete guide to the most effective protection methods, including my recommendation for the best repellent and fencing strategies, read the full post here:
[Click Here: The Best Deer Protection Method for Hydrangeas]

More Hydrangea Guides and In-Depth Posts
- How to Divide Hydrangeas
- How to Plant Hydrangeas
- How to Propagate Hydrangeas
- Why Are My Hydrangeas Not Blooming?
- Types of Hydrangeas
- Protecting Hydrangeas in Winter
- Are Hydrangeas Deer Resistant?
- How to Prune Hydrangeas
Final Thoughts on Hydrangea Care Basics
After growing hydrangeas in my Zone 6b New Jersey gardens for more than 30 years, I can tell you that these shrubs are some of the most rewarding plants you can add to your landscape. Each variety has its own personality, and once you understand their individual needs with sunlight, soil, water, and timing, they’ll reward you with incredible color from spring through fall.
Over the decades, I’ve learned that even small adjustments can make a big difference. Amending heavy New Jersey clay soil to improve drainage, timing pruning correctly for old-wood versus new-wood varieties, and staying consistent with watering during our hot, humid summers all help hydrangeas perform at their best. And while every garden season is different, hydrangeas are wonderfully forgiving once you match them with the right spot and routine.
I’ve also dealt with just about every bump in the road—late frost damage, droopy blooms after a heat wave, deer browsing, and stubborn shrubs that refuse to flower. These experiences taught me how to troubleshoot quickly so the plants bounce back stronger. I hope the tips in this guide help you skip a few of the mistakes I made early on and give you the confidence to grow hydrangeas with ease.
Whether you’re just starting your first garden or looking to elevate the beauty of an established landscape, hydrangeas bring tremendous joy. With thoughtful care and a little seasonal attention, they’ll repay you year after year with lush foliage, reliable growth, and those show-stopping blooms we all love. And if my decades of trial-and-error gardening have taught me anything, it’s that hydrangeas truly are worth the effort—they have a way of making every garden feel a little bit magical.
For more detailed guidance and expert advice, read these resources from university extensions.
Do you grow hydrangeas? What varieties are you growing? Let’s chat more about it in the comments below.
To drill down on more beginner gardening techniques and tips, please read these posts:
- Flower Gardening for Beginners
- Growing a Cut Flower Garden for Beginners
- Container Garden Ideas for Beginners
- How to Start a Vegetable Garden
- Herb Gardening for Beginners
Thank you for visiting the blog today!
Enjoy your day! xo


This is a GREAT post and exactly what I needed. My hubby and I have tried several times to grow hydrangeas with zero luck. I think we have been planting in areas with too much sun. We vowed to give it another try, this spring. Don’t be surprised if you get a private message, with a question or two…or three! lol Thanks for sharing this, Stacy!!!
I’m so glad you found it helpful Kim and thank you! You can message me anytime I’ll chat about flowers all day if you want! xoxo
Stacy,
Mine did so well last year but that was a first! I’m definitely going to take your advise and hope to have a repeat year of gorgeous blooms. I
‘m also sharing a link on Sunday.
I’m so glad to hear that! And thank you!!!
I love hydrangeas. They are such a huge statement in the garden from spring through fall and I love drying them. Thanks for the great gardening post, Stacy.
Thank you! I love how you designed them in that garden room! xo
Hydrangeas are my favorite!! I planted some last spring and enjoyed them so much. I’ve especially enjoyed using dried hydrangeas throughout the winter! Thanks so much for this very informative post!!
I really appreciate that Kim! They are truly one of the prettiest flowers!
So much great info! I love growing hydrangeas and the more I know, the better!!
Thanks so much Michele!
Thanks so much for this incredibly helpful article, Stacy! I finally found a spot on our property where hydrangeas get the right amount of sun/shade. (after much experimentation!) I am now enjoying beautiful Summer Crush hydrangeas. Definitely saving this article as it answers all my questions! Thank you!
Missy I truly appreciate that thank you so much!
Truly my favorite plant ever!!!! thanks for all of the fabulous information.
Thank you – mine too. The flowers are the best!
Did I miss any mention of keeping hydrangeas in a pot?
If you’d like to keep hydrangeas in a pot, choose a variety that is two zones higher than your current zone.
How do I take care of hydrangea in a potted bird cage ? My niece gifted me the beautiful flowers. It didn’t come with instructions.
That’s a really good question. Do you have an outdoor living space you can keep it on for the rest of the growing season? You’ll need to keep it watered but ultimately, if you want to keep it, I’d remove it from the birdcage, put an indoor plant in there instead, and plant your hydrangea outside and see how it does. It’s not guaranteed to flower again but you can keep it going easier outdoors than planted in the birdcage. I’ve not found great success with gift hydrangeas when keeping them as houseplants.