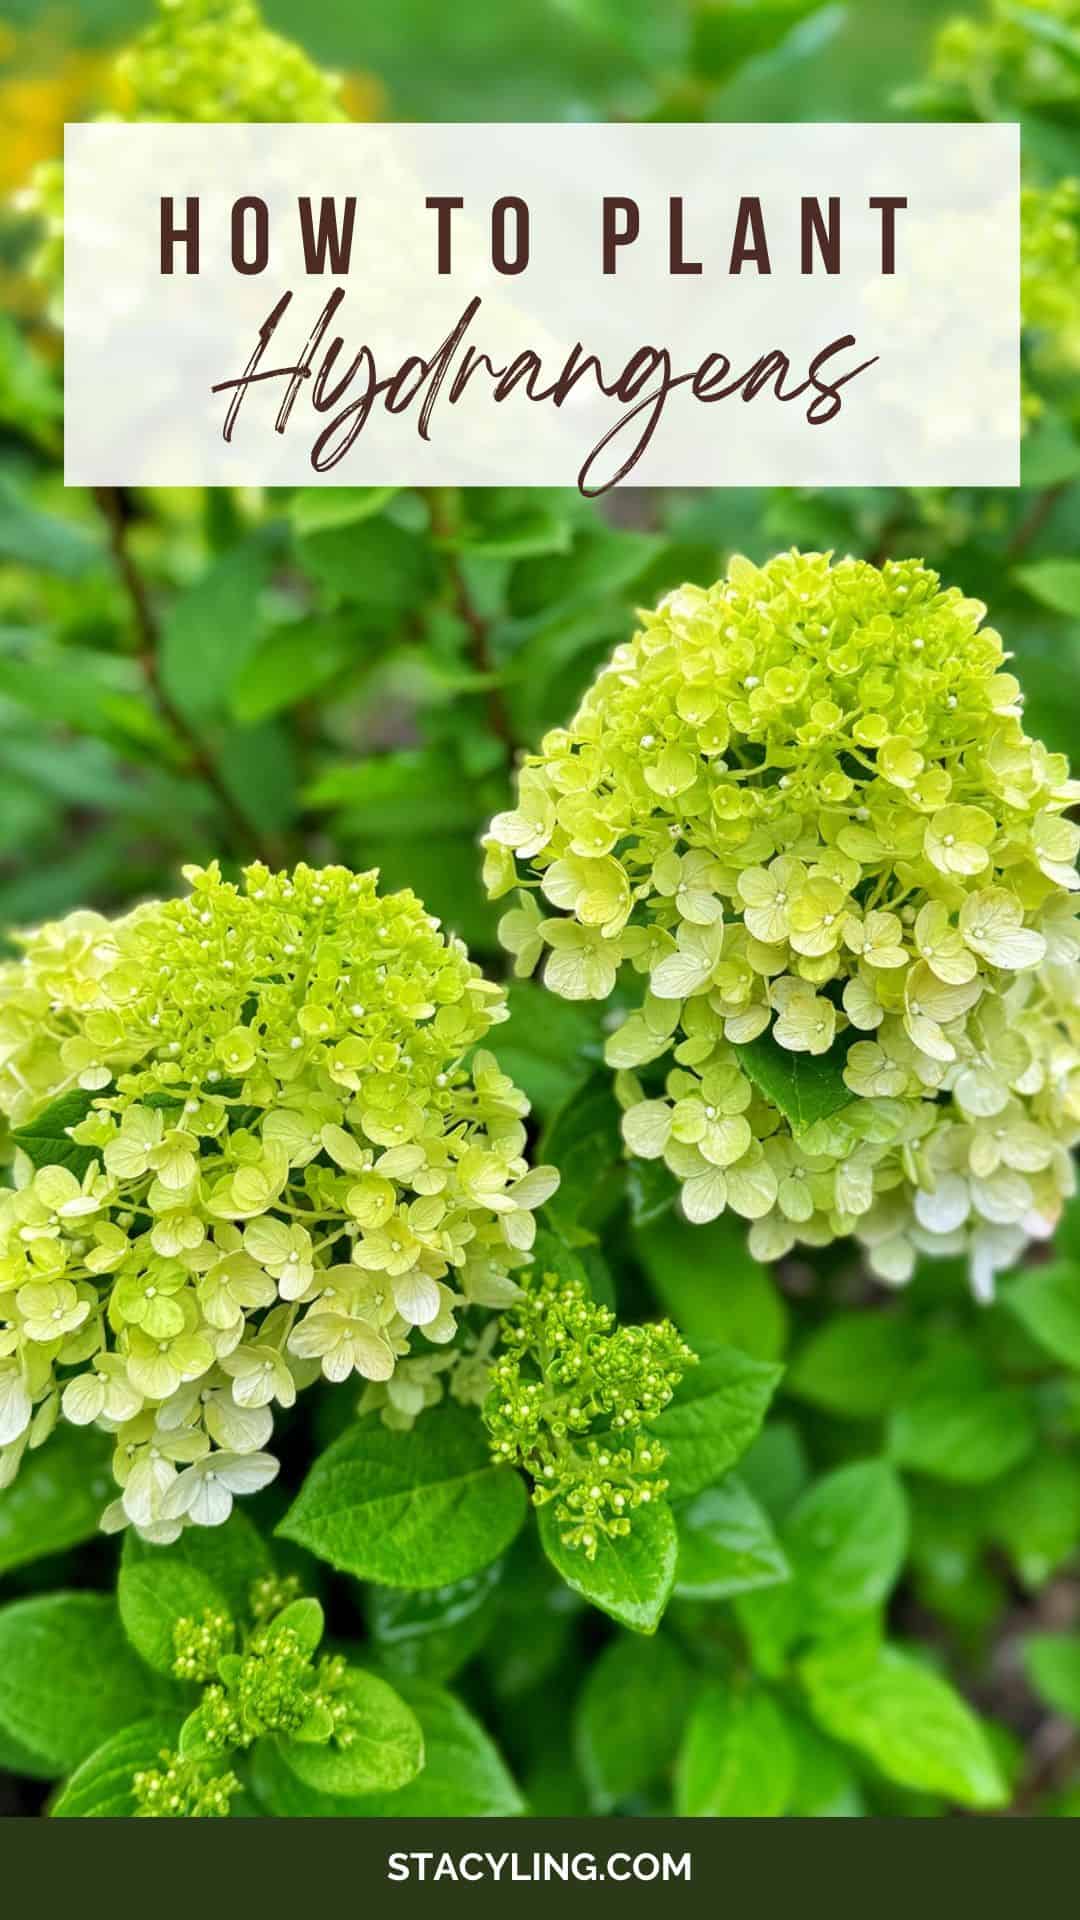
How to Plant Hydrangeas: A Step-by-Step Guide for Beautiful, Healthy Shrubs

Learn how to plant hydrangeas the right way. Sun, soil, spacing, and step-by-step tips to help your hydrangeas thrive from day one.
As someone who grows and cares for more than a hundred hydrangeas across six different varieties, I can promise you this: planting hydrangeas correctly makes all the difference in how well they perform. This past fall, I renovated several of my garden beds and planted a wide range of hydrangeas, from reblooming bigleaf varieties to compact panicles and oakleaf types. Planting them well from the start is the key to helping them settle in, root deeply, and thrive for years to come.
Whether you’re planting your very first hydrangea or adding more to your collection, this guide walks you through everything you need to know: when to plant, where to place them, how to prepare the soil, and the exact steps I follow when planting hydrangeas in my Zone 6b New Jersey garden. If you’re new to hydrangeas and want to explore their overall care, be sure to check out my Hydrangea Care Basics guide as well.
(Posts on stacyling.com may contain affiliate links. Click HERE for full disclosure.)

The Best Time to Plant Hydrangeas
Hydrangeas can technically be planted any time the ground isn’t frozen, but some seasons are better than others.
Fall is my favorite time to plant hydrangeas because the soil is still warm while the air is cooler. This encourages strong root growth without stressing the plant. Most of the hydrangeas I added during my recent bed rehabs were planted in fall, and they settled in beautifully.
Spring is a close second. It gives hydrangeas the entire growing season to establish. Just wait until the soil is workable and temperatures are consistently above freezing.
Summer is the least ideal time, especially during heat waves. Hydrangeas struggle to establish in intense heat or drought. If summer planting is your only option, be prepared to water regularly until the plant is fully rooted in.
Avoid planting when the ground is frozen or overly saturated.

Choosing the Right Location
Placement is everything with hydrangeas. They all like consistent moisture and rich, well-draining soil, but their sunlight needs vary by type.
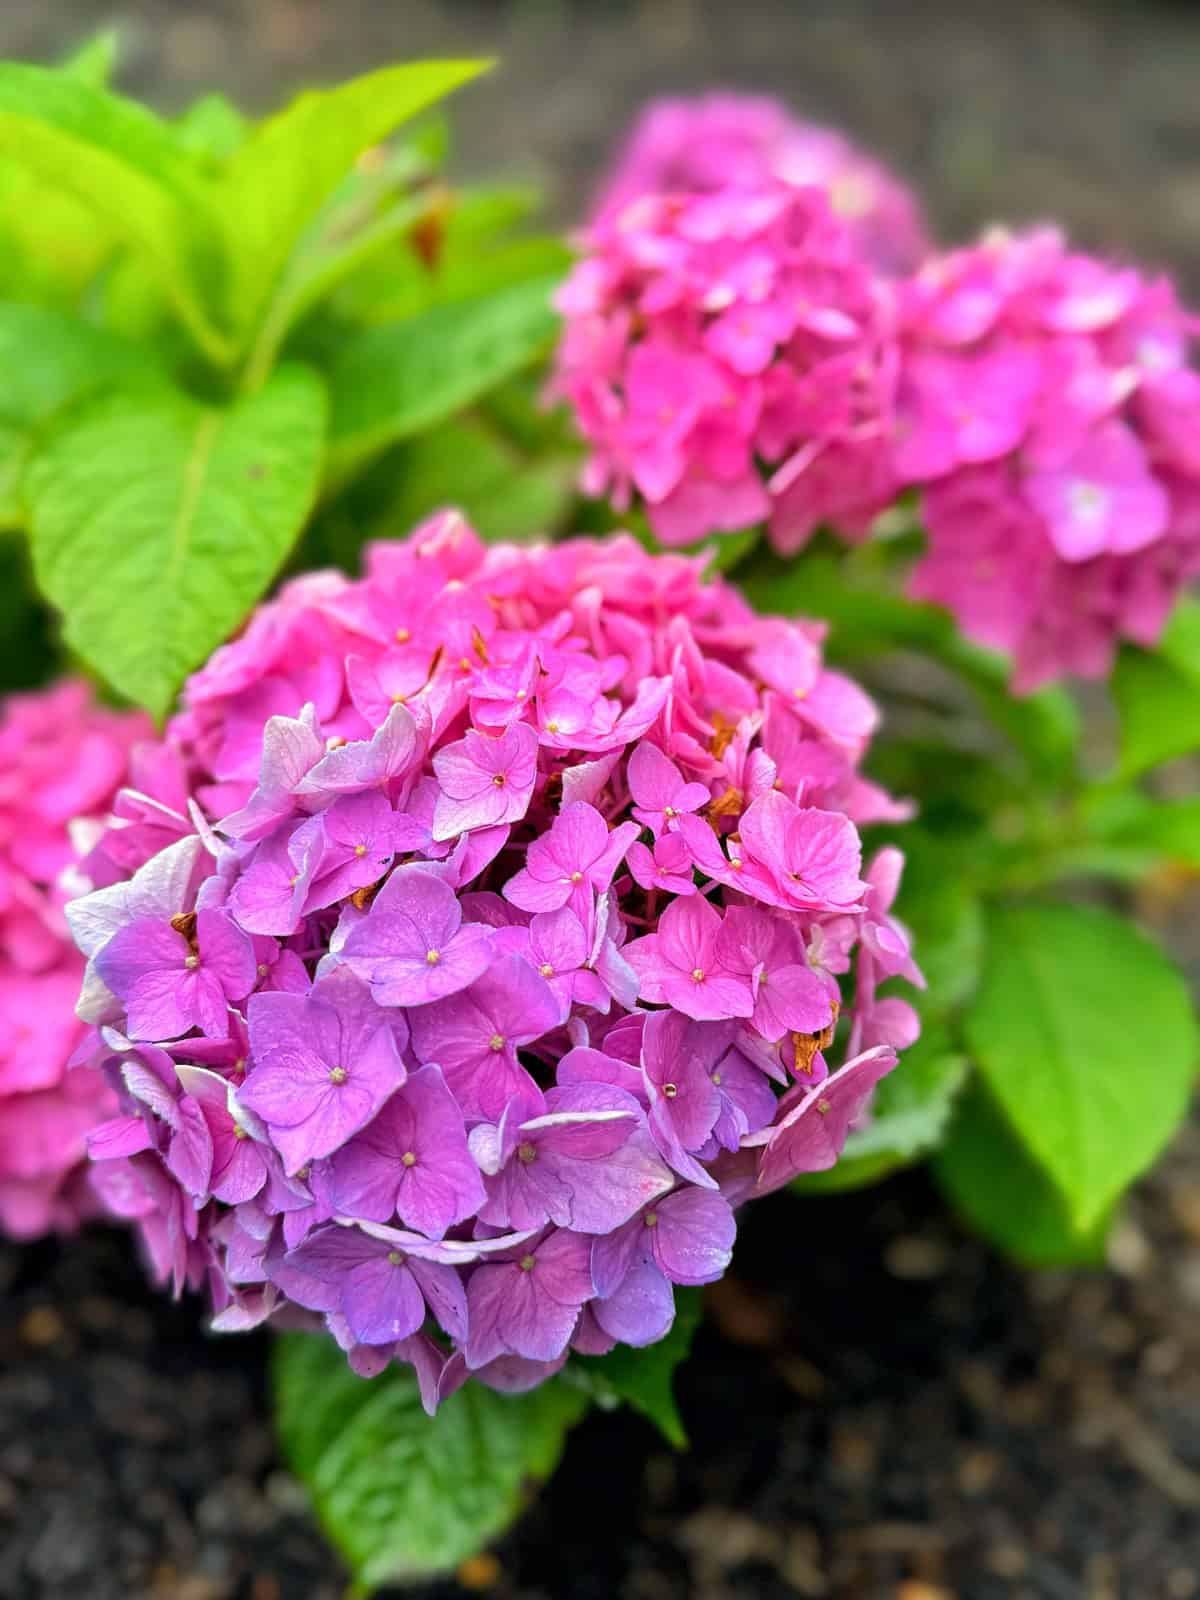
Bigleaf and mountain hydrangeas prefer morning sun and afternoon shade. They’re happiest where they get bright light early in the day but are protected from hot afternoon sun. Many of mine are planted this way, though I do have a few mountain hydrangeas thriving in full sun.
Panicle hydrangeas love full sun and produce the strongest stems and best bloom color with at least six hours of direct sunlight.
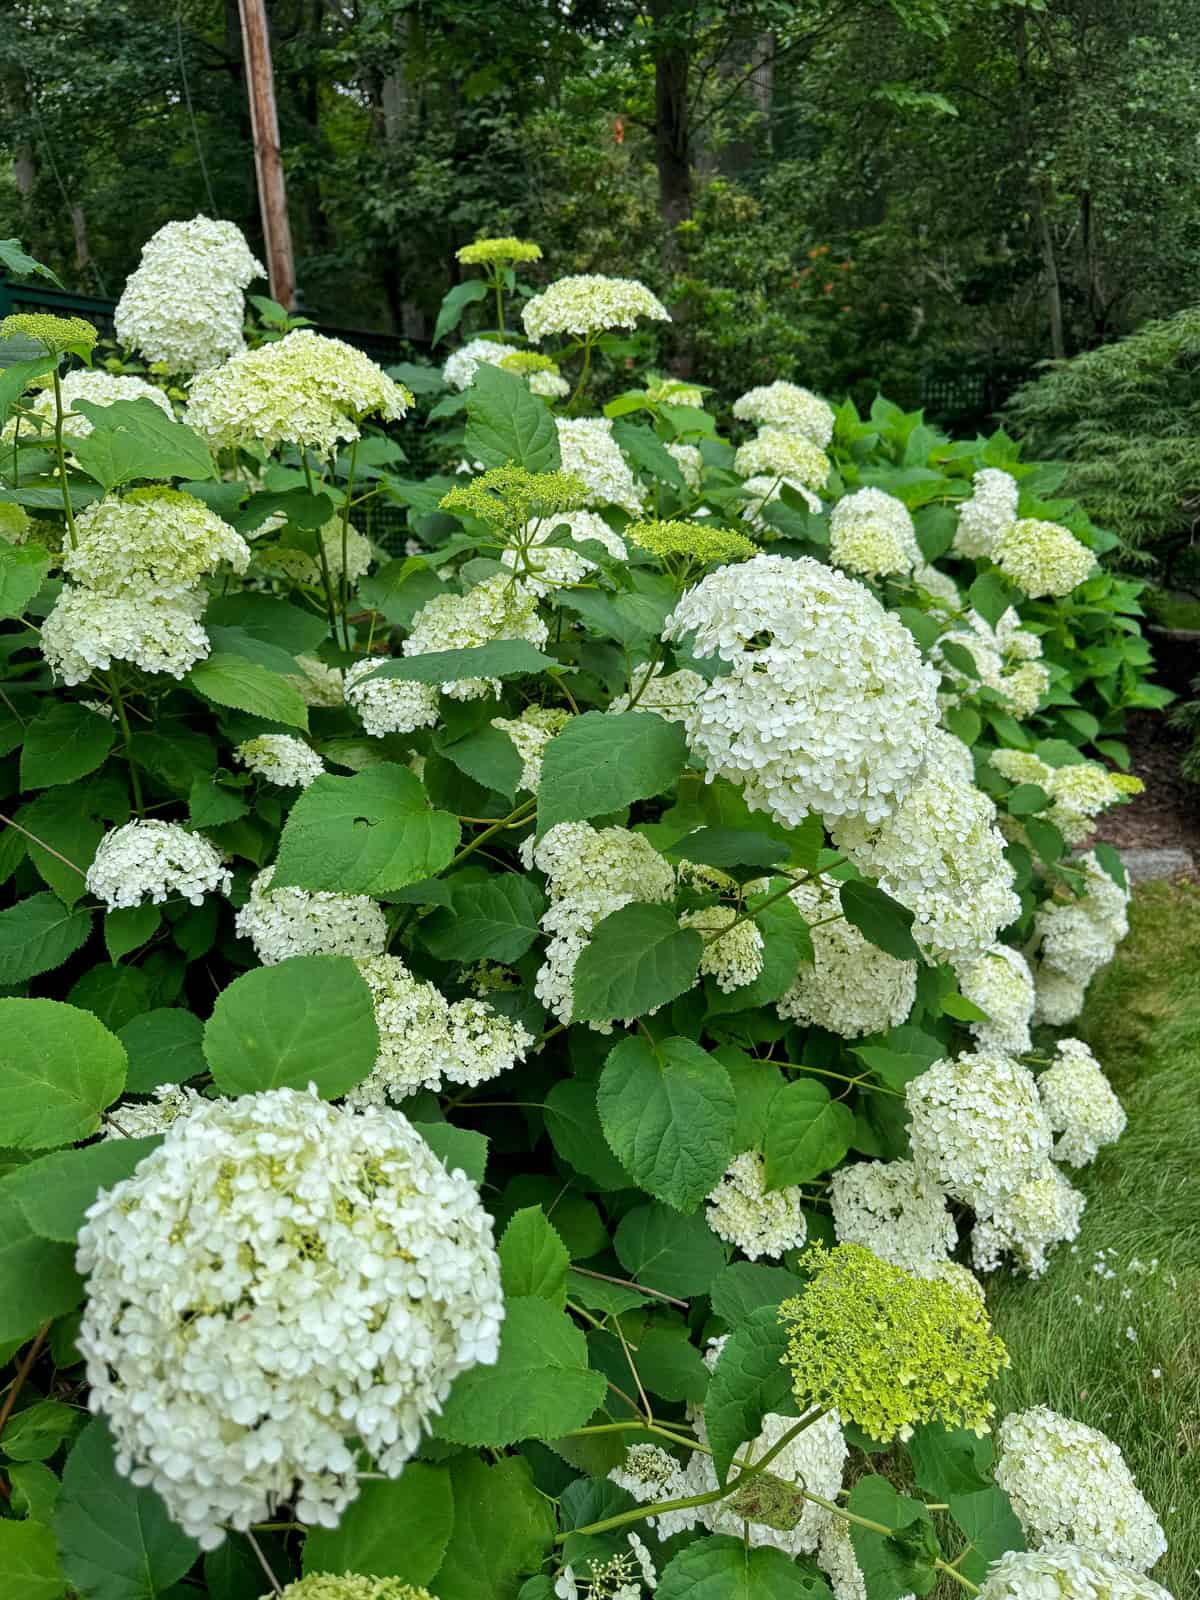
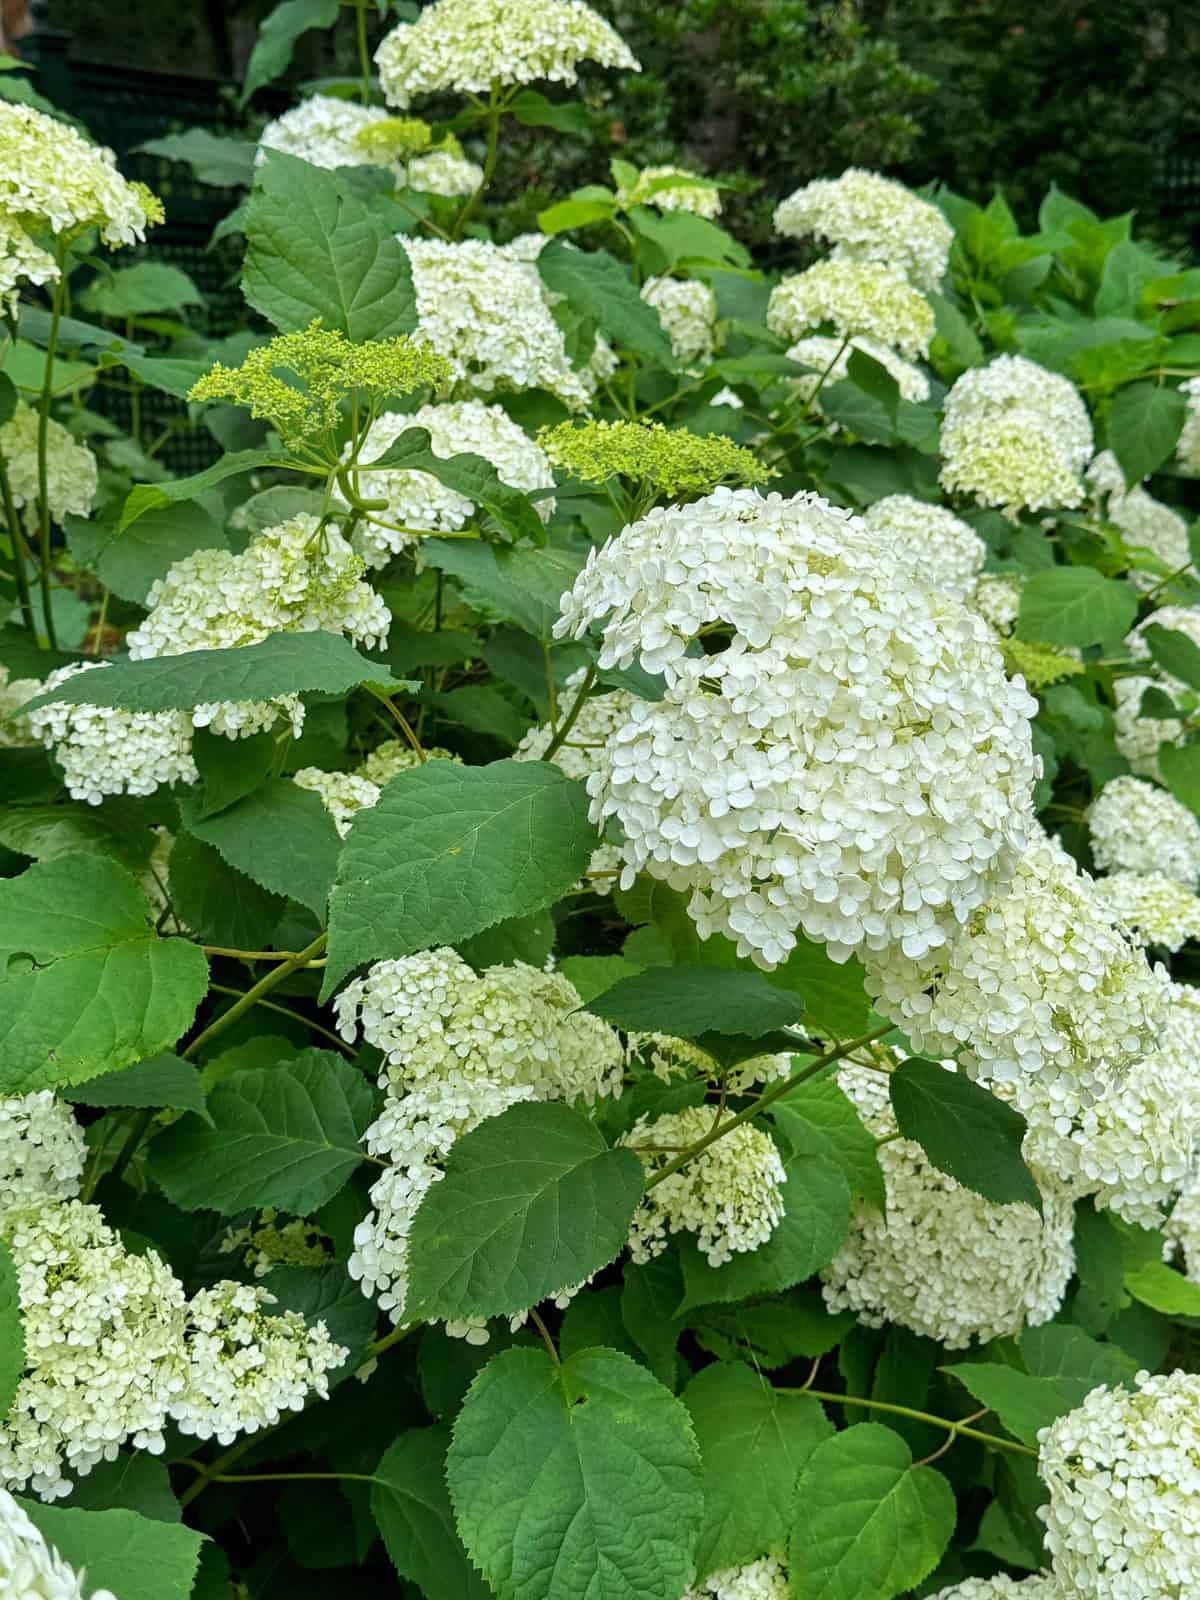
Smooth hydrangeas grow well in part sun to part shade and tolerate more light than most people think.
Oakleaf hydrangeas prefer part shade but can handle more sun in cooler climates. They’re an excellent choice for woodland edges or lightly shaded borders.
Climbing hydrangeas thrive in part shade and are ideal for growing up sturdy structures or mature trees.
Beyond light, look at wind exposure, drainage patterns, and how the plant will look at maturity. Hydrangeas grow larger than the pots they come in, so give them the room they need.

Preparing Soil for Hydrangeas
Hydrangeas love rich, well-draining soil with plenty of organic matter. Before planting, loosen the soil and mix in compost or leaf mold. This improves moisture retention while keeping the soil airy—perfect for new roots.
If you’re planting in heavy clay, amend the top 12 inches with compost, but avoid over-amending. Hydrangeas need to adapt to the native soil around them so they can root deeply.
If your soil is sandy, add compost to help it hold moisture longer.
Hydrangeas do not need fertilizer at planting. In fact, adding too much can stress the plant. Stick with organic matter. You can fertilize lightly in spring once the plant wakes up.
For more general soil tips, see the soil section of my Hydrangea Care Basics guide.

How to Plant Hydrangeas Step-by-Step
Here’s the method I follow in my own garden when planting hydrangeas. It works for every type.
- Dig a hole two times wider than the root ball but no deeper. Hydrangeas should never be planted below the soil line.
- Remove the plant from its container and loosen the outer roots gently. If the roots are circling, tease them apart lightly to encourage outward growth.
- Set the plant in the hole so the crown is level with the surrounding soil.
- Backfill with the soil you removed, mixing in compost only if your soil truly needs improvement.
- Water deeply to settle the soil around the roots and eliminate air pockets.
- Apply a two-to-three-inch layer of mulch around (but not touching) the base to retain moisture and regulate soil temperature.
- Stake taller hydrangeas in windy areas if needed, especially young panicle varieties.
This is the exact method I used when planting several ‘Let’s Dance Sky View,’ ‘Bobo,’ and ‘Gatsby Pink’ hydrangeas this fall. Each one rooted beautifully before winter.
Spacing Hydrangeas Properly
Spacing depends on the hydrangea type and its mature size—not the size of the plant you purchased. Crowding hydrangeas limits airflow and can encourage fungal issues.
As a general guideline:
- Bigleaf hydrangeas need 3–6 feet of spacing.
- Mountain hydrangeas need 3–5 feet.
- Panicle hydrangeas need 6–10 feet depending on the variety.
- Smooth hydrangeas need 3–5 feet.
- Oakleaf hydrangeas need 4–8 feet.
- Climbing hydrangeas need room to spread along their support.
When we created the “hydrangea room” around our pool, I made sure to give the panicles plenty of space to grow and breathe. It makes a dramatic difference in both their health and their appearance.

Planting Hydrangeas in Pots
If you’re short on space or love adding seasonal color to patios, hydrangeas grow beautifully in containers. Choose a pot that is at least two inches wider than the current root ball and has drainage holes.
Use high-quality potting soil and water regularly, especially in summer. Bigleaf and mountain hydrangeas are the best candidates for containers, but compact panicle varieties can also work.
For full care details, visit my How to Grow Hydrangeas in Pots guide.


After-Planting Care
After planting, keep the soil evenly moist but not saturated. Hydrangeas need consistent moisture to establish a healthy root system. Mulch helps retain moisture and prevents weeds.
Avoid fertilizing until spring. Let the plant settle in first.
If you plant in fall, water until the ground freezes. In colder climates, consider protecting new bigleaf and mountain hydrangeas during their first winter. My guide on How to Protect Hydrangeas from Winter Damage explains several simple methods.
Check the plant periodically for settling. Sometimes a new hydrangea sinks slightly after its first watering or first rainfall. If that happens, lift it gently and backfill underneath so the crown stays at soil level.
Common Planting Mistakes to Avoid
- Planting too deep is the most common planting mistake. Hydrangeas should always sit level with the soil surface.
- Over-amending soil can cause the plant to struggle once roots reach the native soil.
- Planting bigleaf and mountain hydrangeas in too much shade reduces blooms significantly.
- Planting too close to a structure can limit airflow and space for mature growth.
- Overwatering new hydrangeas can lead to root issues, but underwatering can stress them. Find the balance and check soil moisture regularly.

What to Plant Around Hydrangeas After Planting
Once your hydrangea is planted, the next step is deciding what to grow around it so the space feels full and well-designed.
Hydrangeas make excellent anchor plants, but they look their best when paired with other shrubs, perennials, or even bulbs that complement their size, shape, and bloom time. Choosing the right companions can help create a garden that feels layered and interesting from early spring through fall.
One thing that surprises a lot of gardeners is that hydrangeas can also be planted with other hydrangeas. Different varieties have unique bloom shapes, sizes, and timing, which makes it possible to create a really dynamic look using hydrangeas alone.
If you’re not sure what pairs well together, I share my favorite companion plants and real garden combinations in this post: What to Plant With Hydrangeas.
Frequently Asked Questions About Planting Hydrangeas
Can I plant hydrangeas in full sun?
Panicle hydrangeas thrive in full sun. Smooth hydrangeas can tolerate it with enough moisture, but bigleaf and mountain prefer some shade.
How long does it take hydrangeas to establish?
Hydrangeas generally take one full growing season to root deeply. In my experience, fall-planted hydrangeas hit their stride faster the following year.
Should I amend the soil when planting?
Only lightly, and only if your soil really needs it. Hydrangeas grow best when they can adapt to the native soil.
Do hydrangeas need staking when young?
Some panicle varieties benefit from staking their first year, especially in windy conditions. But I have not needed to do it in my zone 6b gardens.
Can I plant hydrangeas in summer?
Yes, but be ready to water consistently until they’re established. I generally don’t recommend it though as it’s much easier to help them establish in spring and fall.

Still Not Sure You’re Planting Hydrangeas the Right Way?
If you’ve ever planted something and then second-guessed whether you chose the right spot, the right variety, or the right combination, you’re not alone. That’s one of the most common frustrations I hear from gardeners.
That’s exactly why I wrote The Bricks ‘n Blooms Guide to a Beautiful and Easy-Care Flower Garden. I dedicate an entire section to hydrangeas, along with the foundational basics of planting, plant selection, and garden design so you can stop guessing and start building a garden that actually works together. You can take a closer look here.
And once you’ve planted your hydrangeas, the next challenge is remembering what worked. Where did they thrive? Which combinations looked best? What would you change next year?
That’s exactly what my Beautiful and Easy-Care Flower Garden Planner is designed for. It gives you a place to track your plantings, layout ideas, and results so your garden improves year after year instead of starting from scratch each season. Find it here
Final Thoughts on Planting Hydrangeas
Planting hydrangeas correctly sets the foundation for healthy shrubs and abundant blooms. After growing well over a hundred hydrangeas here—and planting dozens of new varieties just this past fall—I’ve seen firsthand how much proper placement, soil preparation, and thoughtful planting matter. When a hydrangea is given the conditions it prefers, it settles in quickly and rewards you for years.
If you’re planting your first hydrangea, start with the basics and trust the process. And if you’re building a hydrangea-heavy garden like mine, take your time choosing the right spot for each type. I’ve learned that a little planning during planting makes a dramatic difference in how hydrangeas perform season after season.
If you’d like to continue learning about hydrangeas, here are a few guides to explore:
- Hydrangea Care Basics
- Why Aren’t My Hydrangeas Blooming?
- How to Protect Hydrangeas From Winter Damage
- Pruning Hydrangeas
- Growing Hydrangeas in Pots
- Types of Hydrangeas
With the right planting approach and a bit of patience, your hydrangeas will become some of the most reliable, rewarding, and beautiful shrubs in your garden.
Have you planted hydrangeas before? Got any tips you’d like to share? Let’s chat more about it in the comments below.
For more information about planting hydrangeas, please see The University of Connecticut Cooperative Extension.
Thank you for visiting the blog today!
Enjoy your day! xo