
Zinnia Leaf Spot: What Causes Brown and Black Spots on Zinnia Leaves?

Zinnia leaf spot causing brown or black leaves? Learn what causes it, what to do now, and how to prevent the problem from returning next year.
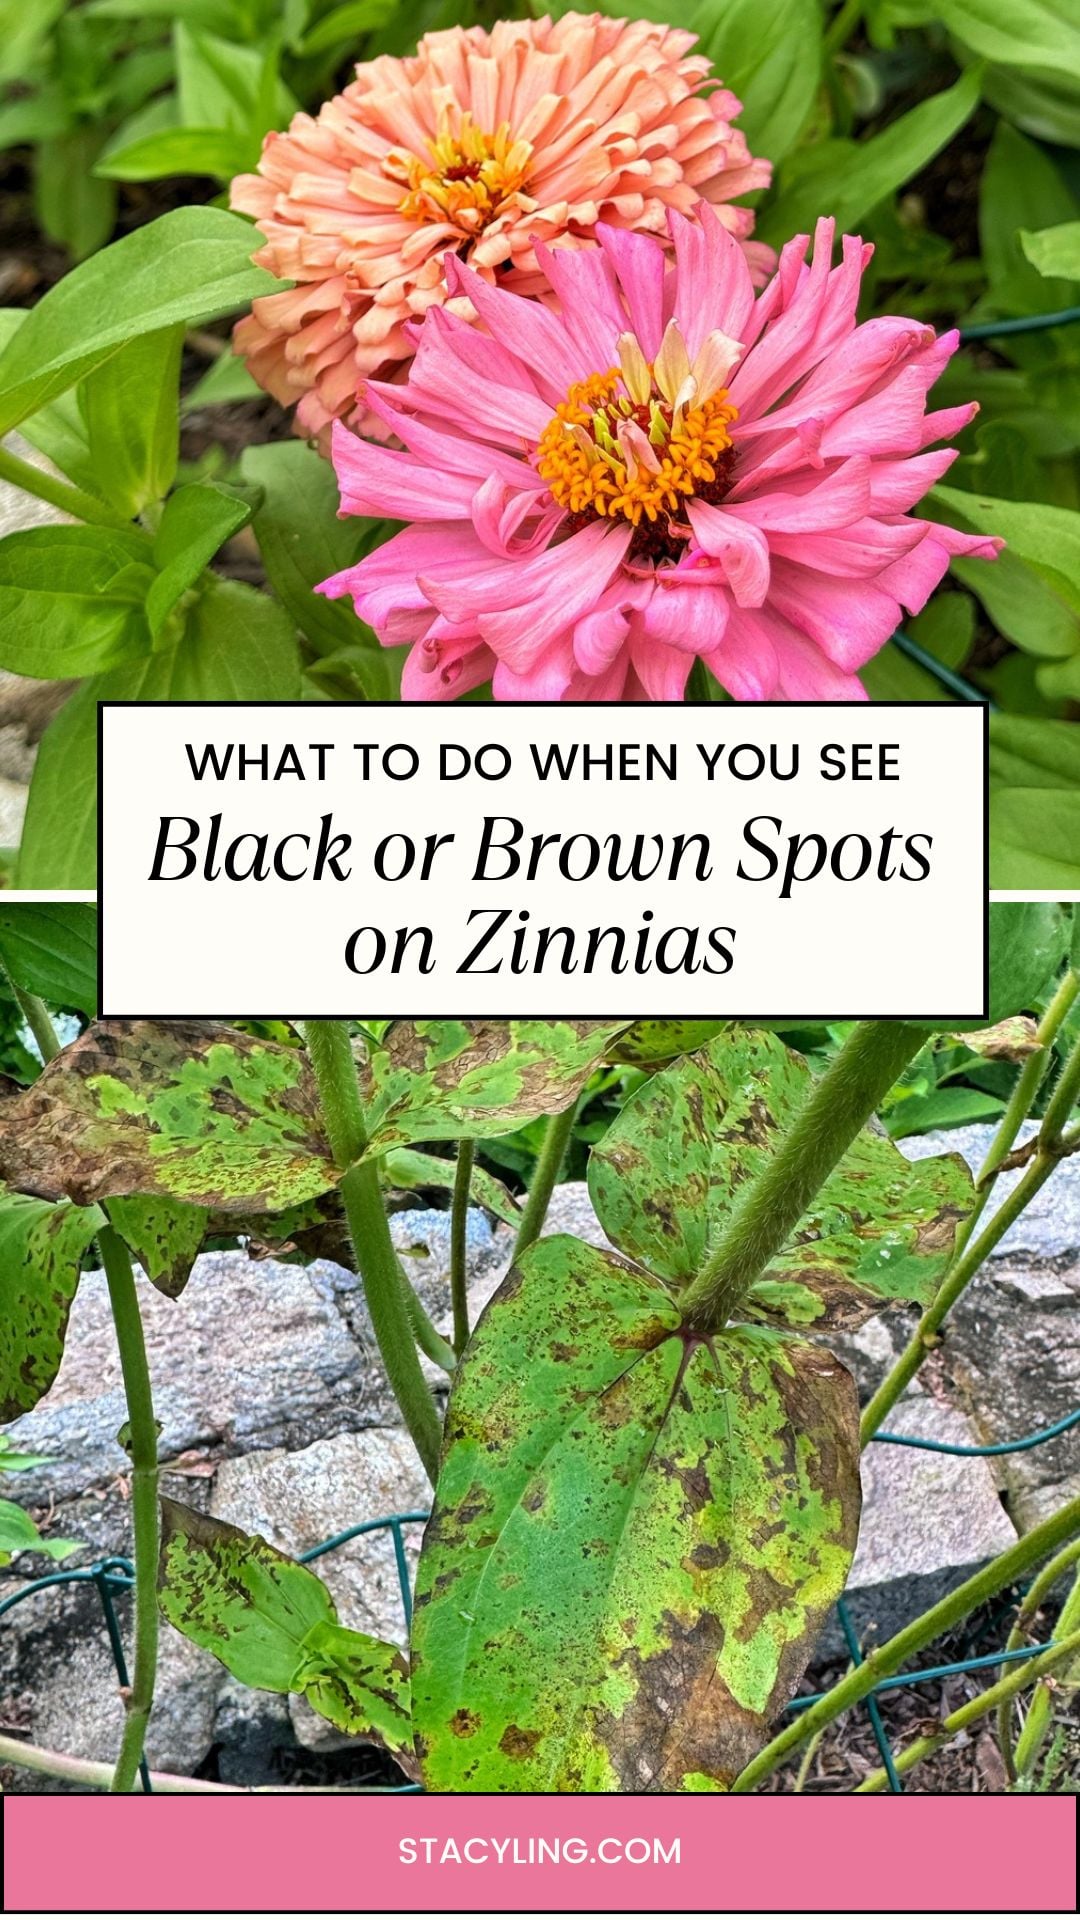
Zinnia leaf spot can cause brown or black spots that gradually spread across the foliage, leaving previously healthy plants looking pretty rough by midsummer. Several fungal and bacterial diseases can cause similar symptoms, so figuring out exactly what’s happening isn’t always as straightforward as it looks. For complete zinnia growing and care information, start with my guide on how to grow zinnias.
I’ve been growing zinnias for more than 20 years in my Zone 6b New Jersey gardens, and I started noticing this particular problem in one of my beds last summer. I cleaned things up and managed it, but this year it came back with a vengeance. We’ve had an incredible amount of rain, and I’ve watched the leaf spotting and damage get progressively worse as the season has gone on.
The interesting part is that my zinnias are still growing and blooming, even though some of the foliage looks terrible. So I’ve been digging into what’s happening and figuring out the best way to manage these plants now while thinking differently about how I grow zinnias here going forward.
If your zinnias are suddenly covered in brown or black spots too, let’s look at what might be causing them and what you can do about it.
(Posts on stacyling.com may contain affiliate links. Click HERE for full disclosure.)
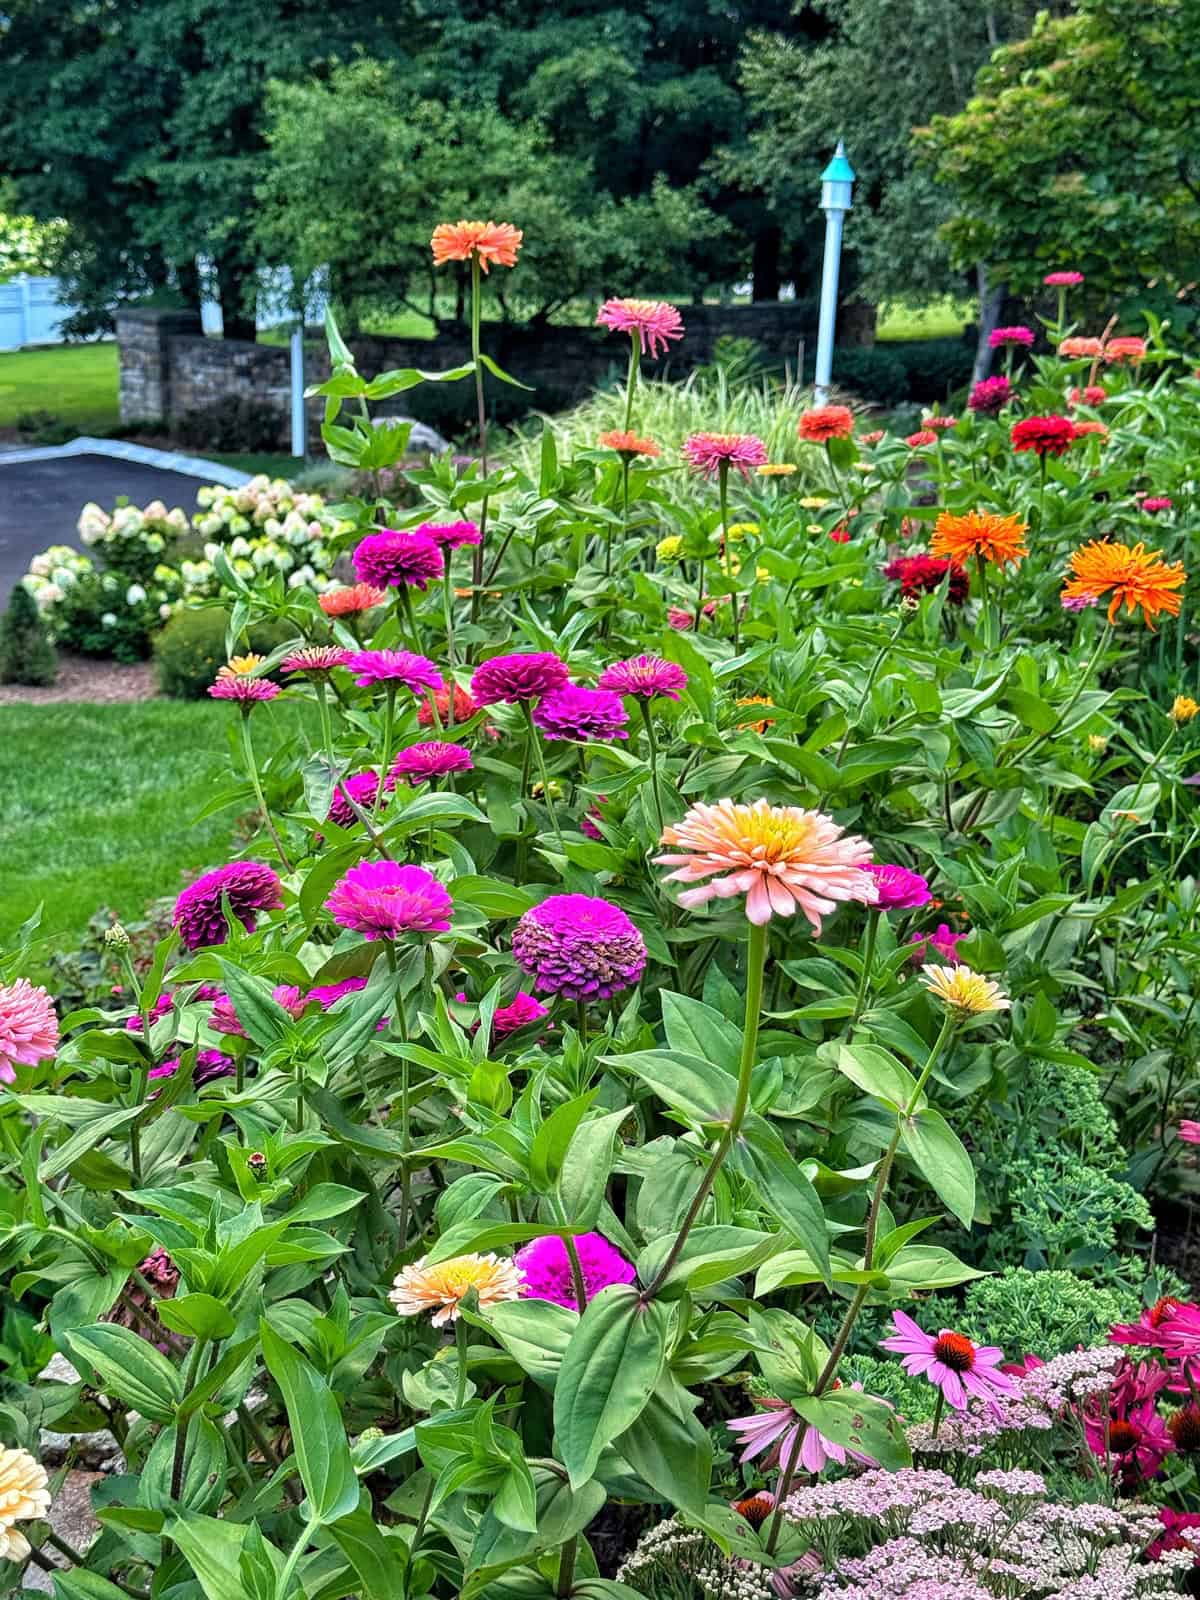
What’s Causing Brown or Black Spots on My Zinnia Leaves?
I’ve dealt with plenty of zinnia issues over the years, but this level of leaf spotting is new for me. Rather than looking at the leaves and assuming I knew exactly what was happening, I started researching zinnia diseases through university Extension resources.
There are three primary leaf-spot diseases worth knowing about.
Bacterial Leaf Spot
Bacterial leaf spot of zinnia is caused by Xanthomonas campestris pv. zinniae. According to Penn State Extension, it can begin as small reddish or purplish spots that enlarge and become more angular under wet conditions. A yellow halo may also develop around the spots.
University of Minnesota Extension describes small brown-to-black angular spots that can eventually merge into larger areas of dead tissue.
Extended periods of leaf wetness favor the disease, which immediately caught my attention given the amount of rain we’ve experienced this year.
Alternaria Leaf Spot
Alternaria leaf spot, sometimes called Alternaria blight, is a fungal disease caused by Alternaria zinniae.
It typically begins with small reddish-brown or purplish spots that enlarge and may develop pale gray or tan centers. Older spots can develop concentric rings, and the damaged tissue in the center may eventually fall out and leave holes behind.
With a severe infection, entire leaves can brown, shrivel, and die.
Warm, wet, humid conditions favor Alternaria, which again makes it something worth considering during a rainy summer.
Cercospora Leaf Spot
Cercospora leaf spot is another fungal disease that can affect zinnias, although Clemson Extension notes that it occurs less commonly than Alternaria, powdery mildew, or bacterial leaf spot.
The spots are typically small and round with reddish-purple margins and lighter gray or white centers. As the disease progresses, individual spots can merge and heavily affected leaves may die.
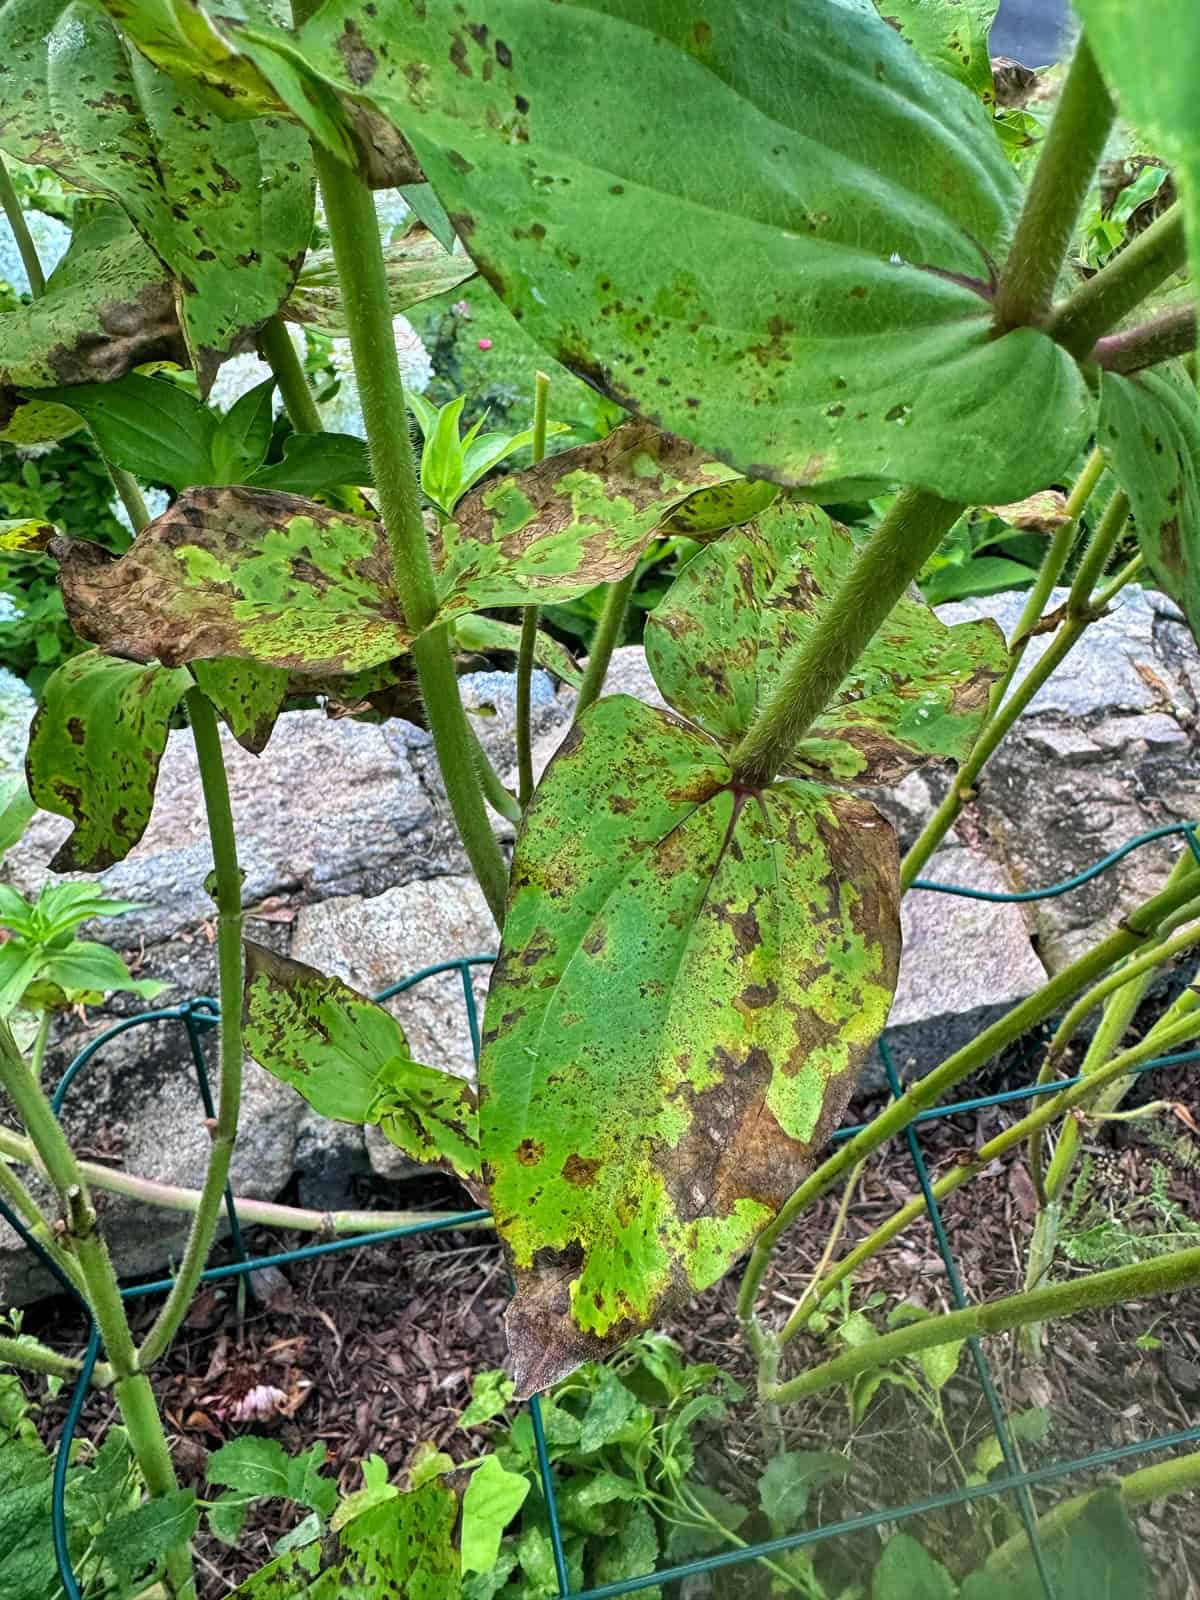
So Which One Do My Zinnias Have?
That’s the question I wanted answered too. But here’s what I learned while researching this problem: I can’t reliably tell you based on the appearance of my plants alone.
Penn State Extension notes that bacterial leaf spot can be difficult to distinguish from Alternaria and Cercospora leaf spot, and more than one of these diseases may even occur on the same leaf.
Without sending plant material to a diagnostic laboratory, I’m not comfortable declaring that my zinnias definitely have one specific pathogen.
And I think that’s an important point for gardeners. Brown spots can give us clues about what’s happening, but a photograph isn’t always enough to make a definitive diagnosis.

Is Zinnia Leaf Spot the Same as Powdery Mildew?
No. And this was one of the first things I noticed about my plants. I’m very familiar with powdery mildew because I’ve dealt with it on zinnias for years. It typically produces that unmistakable white or gray powdery coating across the foliage.
The problem I’m dealing with here looks very different. These leaves have brown and black spots and areas of dead tissue rather than primarily white powdery growth.
If your zinnias have that telltale white coating instead, head over to my complete guide on powdery mildew on zinnias, where I share what actually helps and what can make the problem worse.
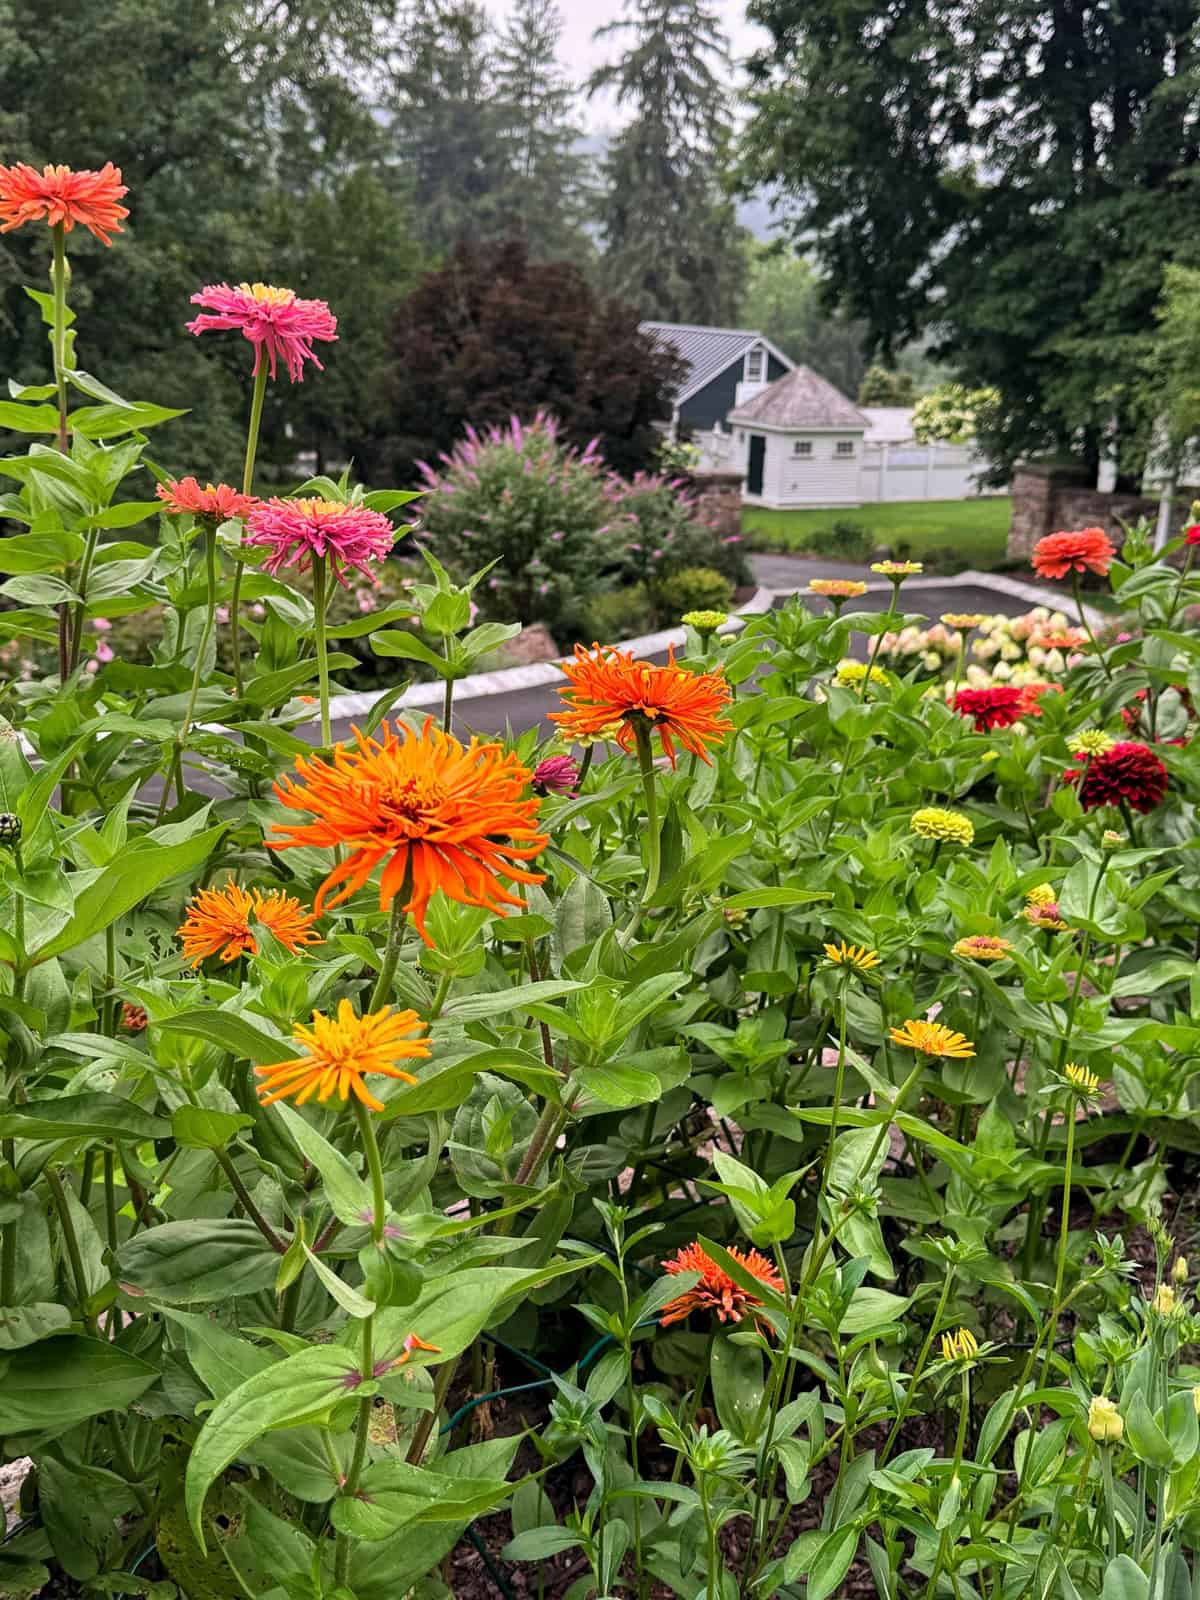
Why Did My Zinnia Leaf Spot Get So Bad This Year?
This is the part of the problem that really got my attention. I noticed some spotting in this same zinnia garden bed last year, so this didn’t appear completely out of nowhere. I cleaned up what I saw and got the plants through the season.
But this year we’ve had so much rain. As the wet weather continued, I watched the damage become progressively worse.
That lines up with what I found in my research. Penn State Extension reports that zinnia leaf-spot diseases can be particularly difficult to prevent during consistently wet, humid weather. Bacterial leaf spot is favored by extended periods of leaf wetness, while warm, wet, humid conditions also favor Alternaria.
And there are several things happening during a rainy stretch that can work against your plants. Leaves stay wet longer. Humidity remains high within the planting. Rain can splash infected material onto nearby foliage. And once mature zinnias fill out, dense growth can make it harder for foliage to dry quickly.
This is why zinnia spacing matters so much. Plants that looked perfectly spaced when they were small can create a dense canopy by midsummer. I share what I’ve learned from testing different spacing in my guide on how far apart to plant zinnias.
It’s also why I normally water my zinnias at soil level with drip irrigation and soaker hoses. You can’t control the rain, but you can avoid adding unnecessary moisture to the foliage when you irrigate. I share more about that in how I water my flower gardens.
This season has been a good reminder that sometimes you can do a lot of things right and still have weather conditions tip the scales in favor of disease.
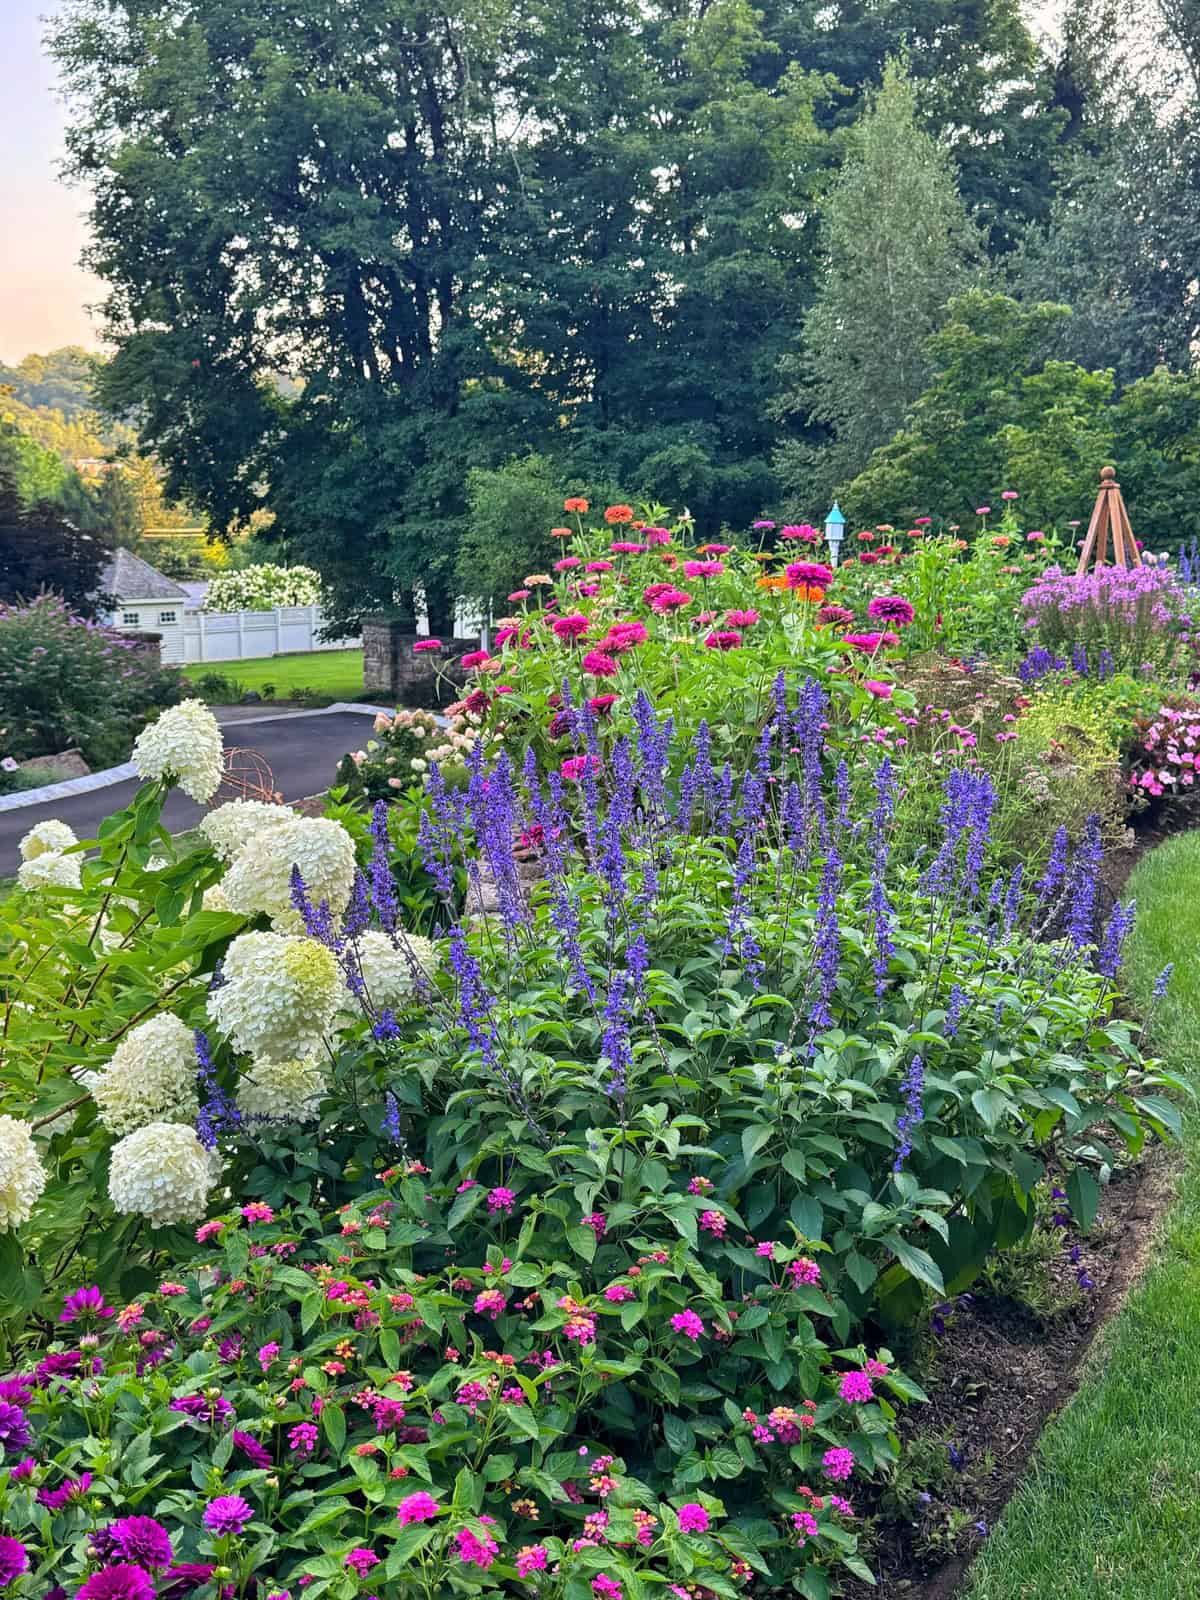
What I’m Doing to Manage Zinnia Leaf Spot Right Now
Once I realized this was not late-season powdery mildew and a bigger fungal problem, I needed to figure out what I could realistically do. I still have vigorous plants and plenty of flowers, so I’m not interested in ripping out an entire productive zinnia bed if I can keep it going.
So here’s what I’m doing based on what I’m seeing in my garden and the management recommendations I found through Extension research.
1. Removing the Worst Affected Leaves
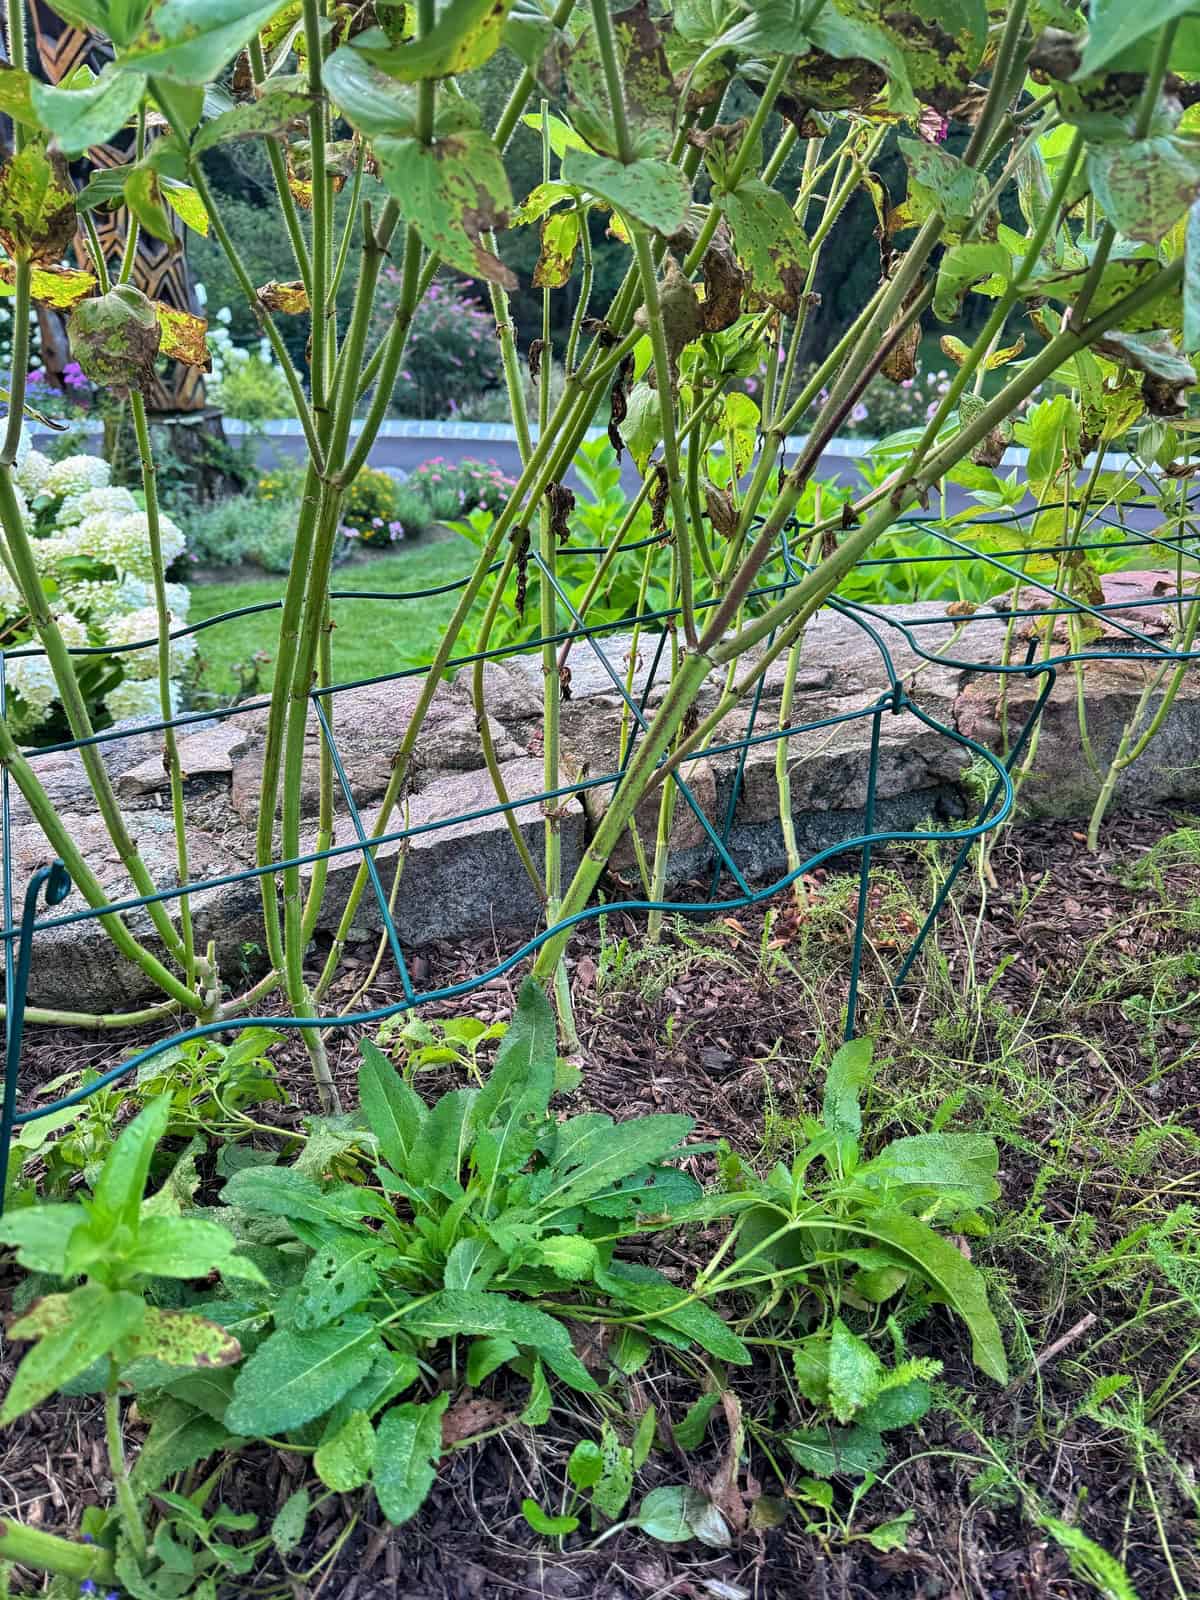
I’m starting with the foliage that’s clearly declining. Leaves that are heavily spotted, mostly brown, dying, or no longer contributing much to the plant are coming off with a good set of pruners.
I’m not stripping every leaf with a tiny spot. These plants still need foliage to photosynthesize, and completely defoliating an otherwise vigorous plant isn’t the goal.
Instead, I’m prioritizing the worst lower and interior leaves while watching how the plants respond. Removing some of that damaged foliage also opens the plant up a little more, which helps improve airflow through an increasingly dense planting.
As a side note, I clean my pruners off with a bleach wipe between plants. You can also use a solution of 1:10 bleach to water ratio if you don’t have the wipes handy.
2. Cleaning Up Under the Plants
I’m also paying much closer attention to what’s lying underneath the zinnias. When diseased leaves drop, leaving them sitting beneath the plants gives pathogens infected plant material to survive on and creates opportunities for rain and irrigation to splash material back toward healthy foliage.
So I’m cleaning up fallen zinnia leaves and removing badly diseased material now rather than waiting until fall. I use this collapsible bin to collect it all because it is lightweight, easy to use, holds a lot and folds flat for easy storage.
This isn’t the year I’m letting old foliage accumulate underneath the plants. And any deadheading I do, will get cleaned up in the moment as well.
3. Improving Airflow Where I Can
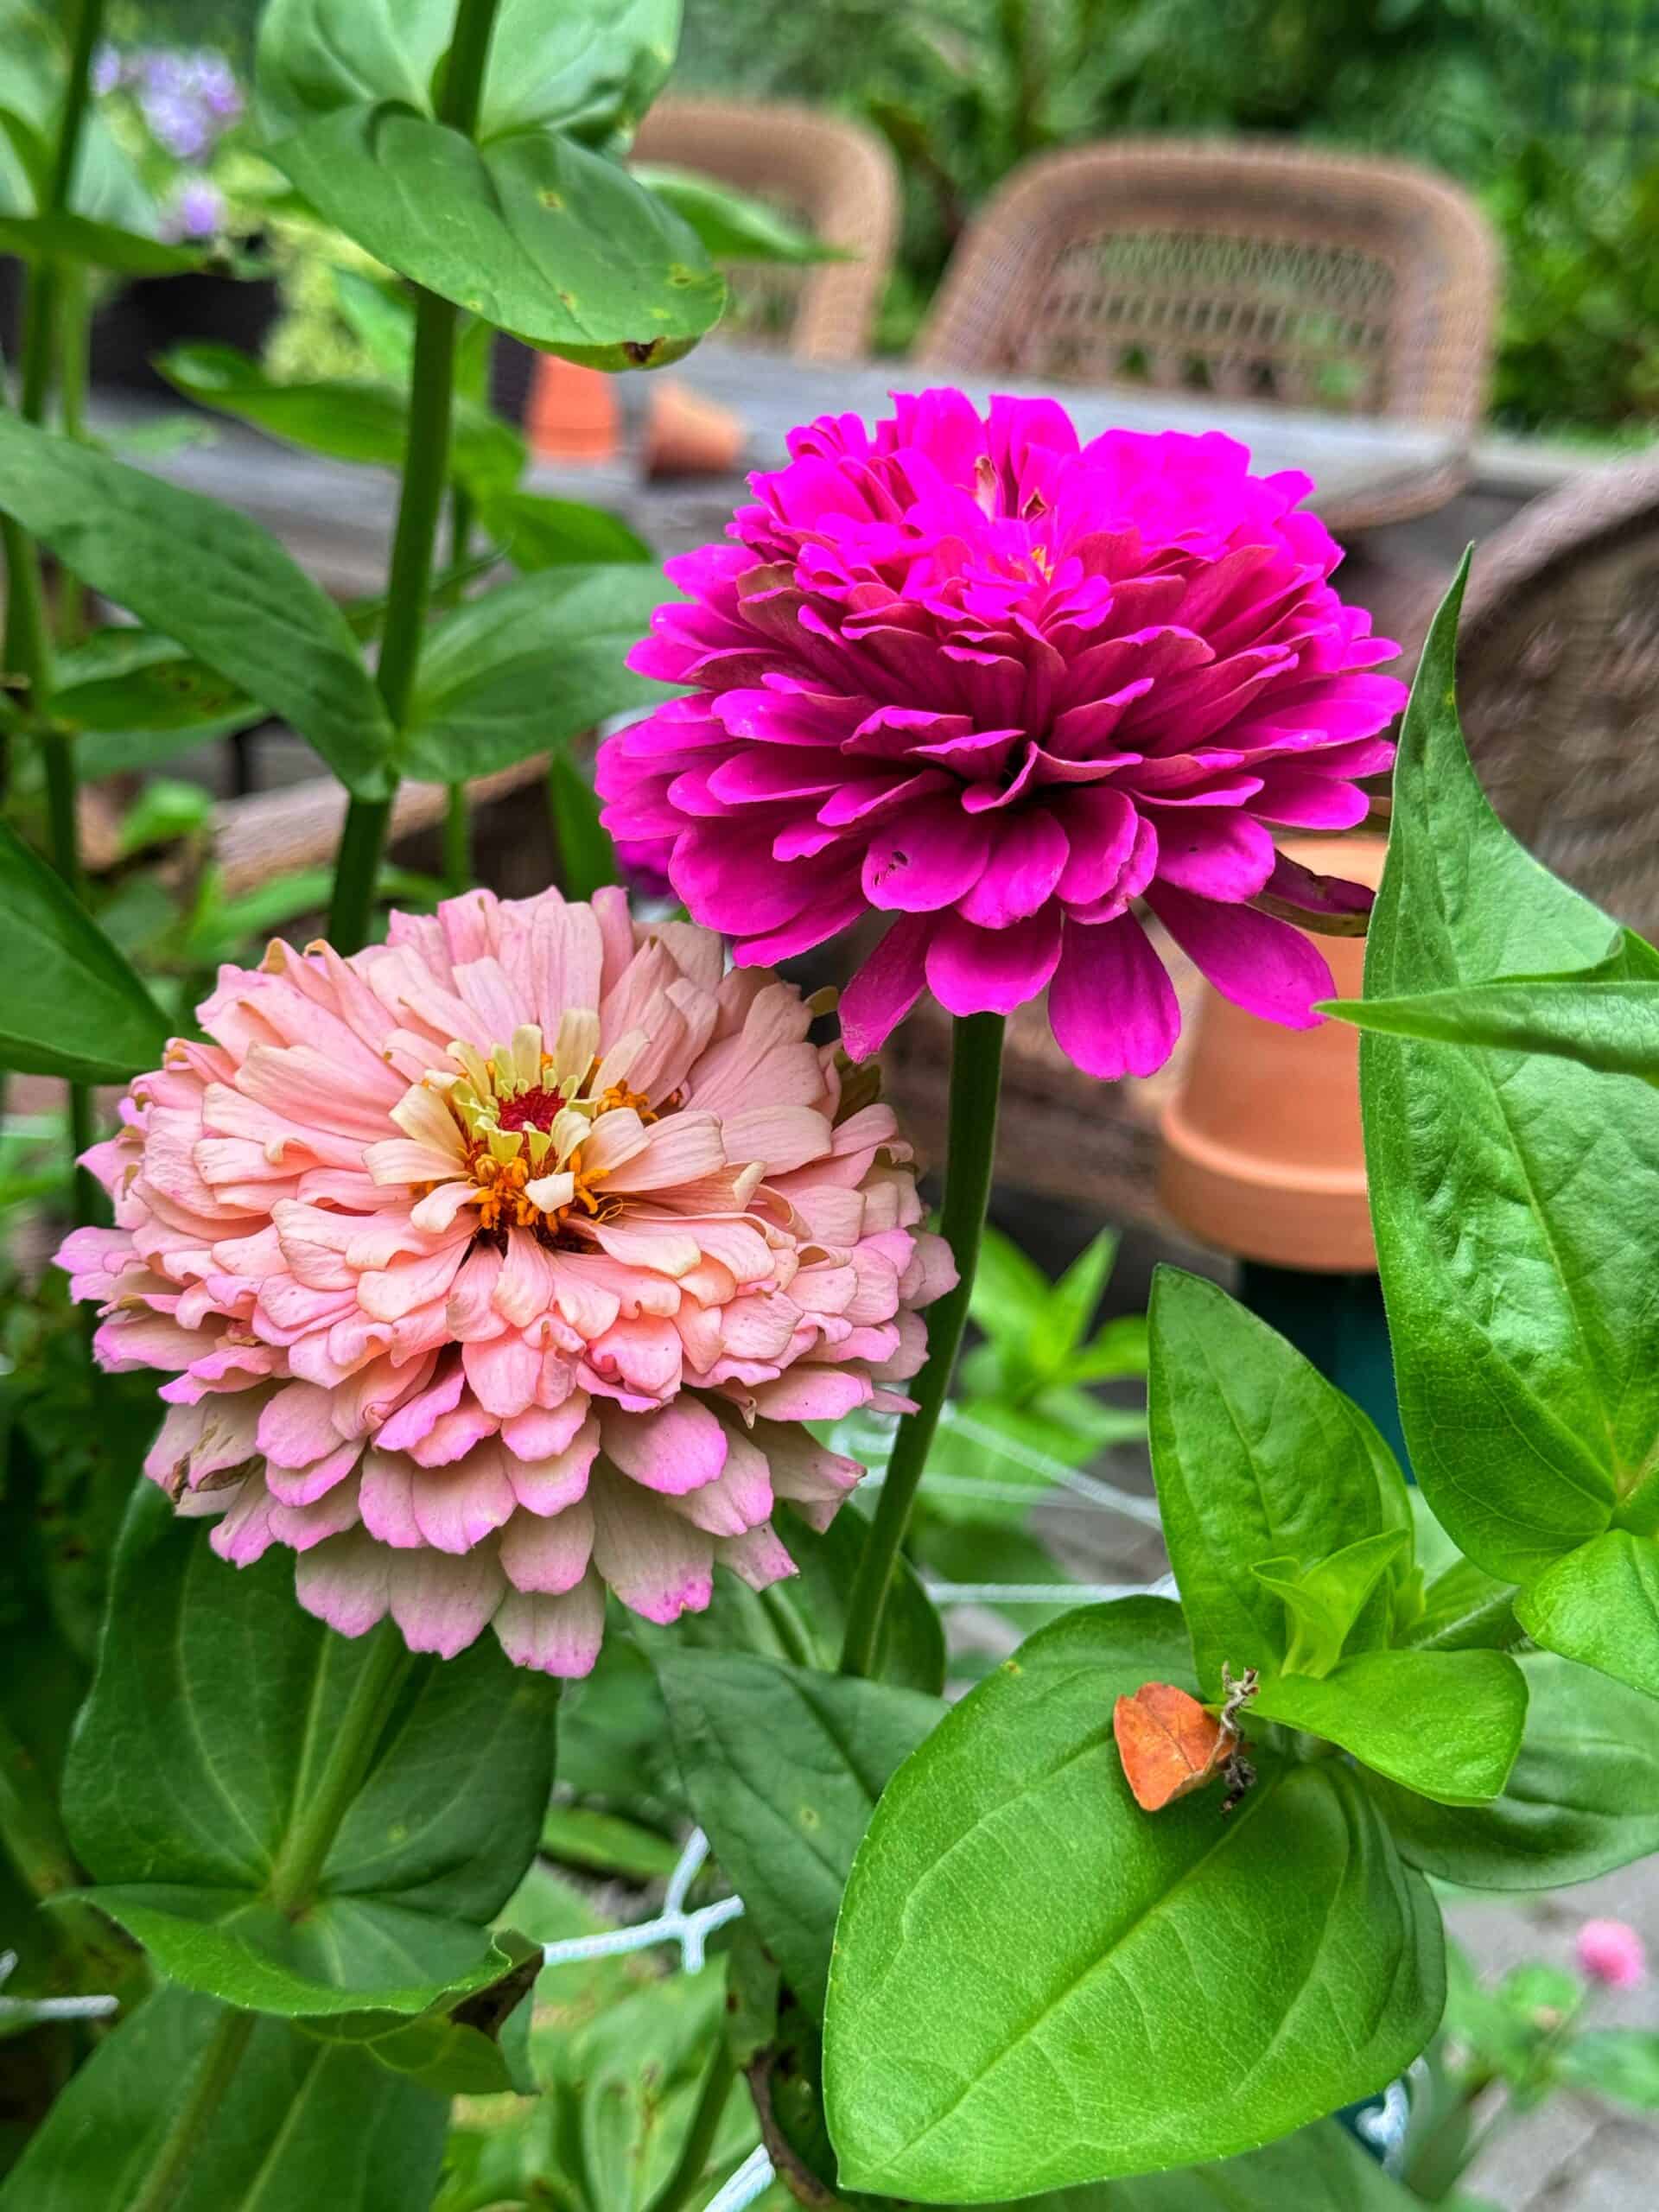
At this stage of the season, I obviously can’t go back in time and replant the bed. But I can selectively remove badly damaged foliage and thin excessively dense growth where it makes sense.
This is also one of those situations that reinforces why I pay so much attention to spacing when I plant zinnias. I generally give my taller varieties about 9 inches because I’ve seen how quickly these plants fill out. And I may space them to twelve inches next year to give them a little more breathing room after this.
For more on that, read how far apart to plant zinnias and why spacing matters more than you think.
If your zinnias seem to struggle every summer, my guide to 7 common zinnia growing mistakes that ruin your garden by August covers several early-season decisions that can affect how plants perform later.

4. Keeping the Foliage as Dry as Possible
I can’t do anything about the rain, but I’m not adding more water to the leaves.
My zinnias are watered with drip irrigation and soaker hoses so moisture goes directly to the root zone rather than all over the foliage.
I’m also being more mindful about working among these plants when they’re wet. If bacterial leaf spot is part of the problem, moving through and handling wet foliage can potentially help spread bacteria from plant to plant. So instead of cutting flowers from here in the early morning, I opt to do it later in the day when there is less dew on the plants.
For a closer look at my watering setup and how I water different areas of my property, visit my guide on how I water my flower gardens.
5. I’m Using Copper Fungicide, But With Realistic Expectations
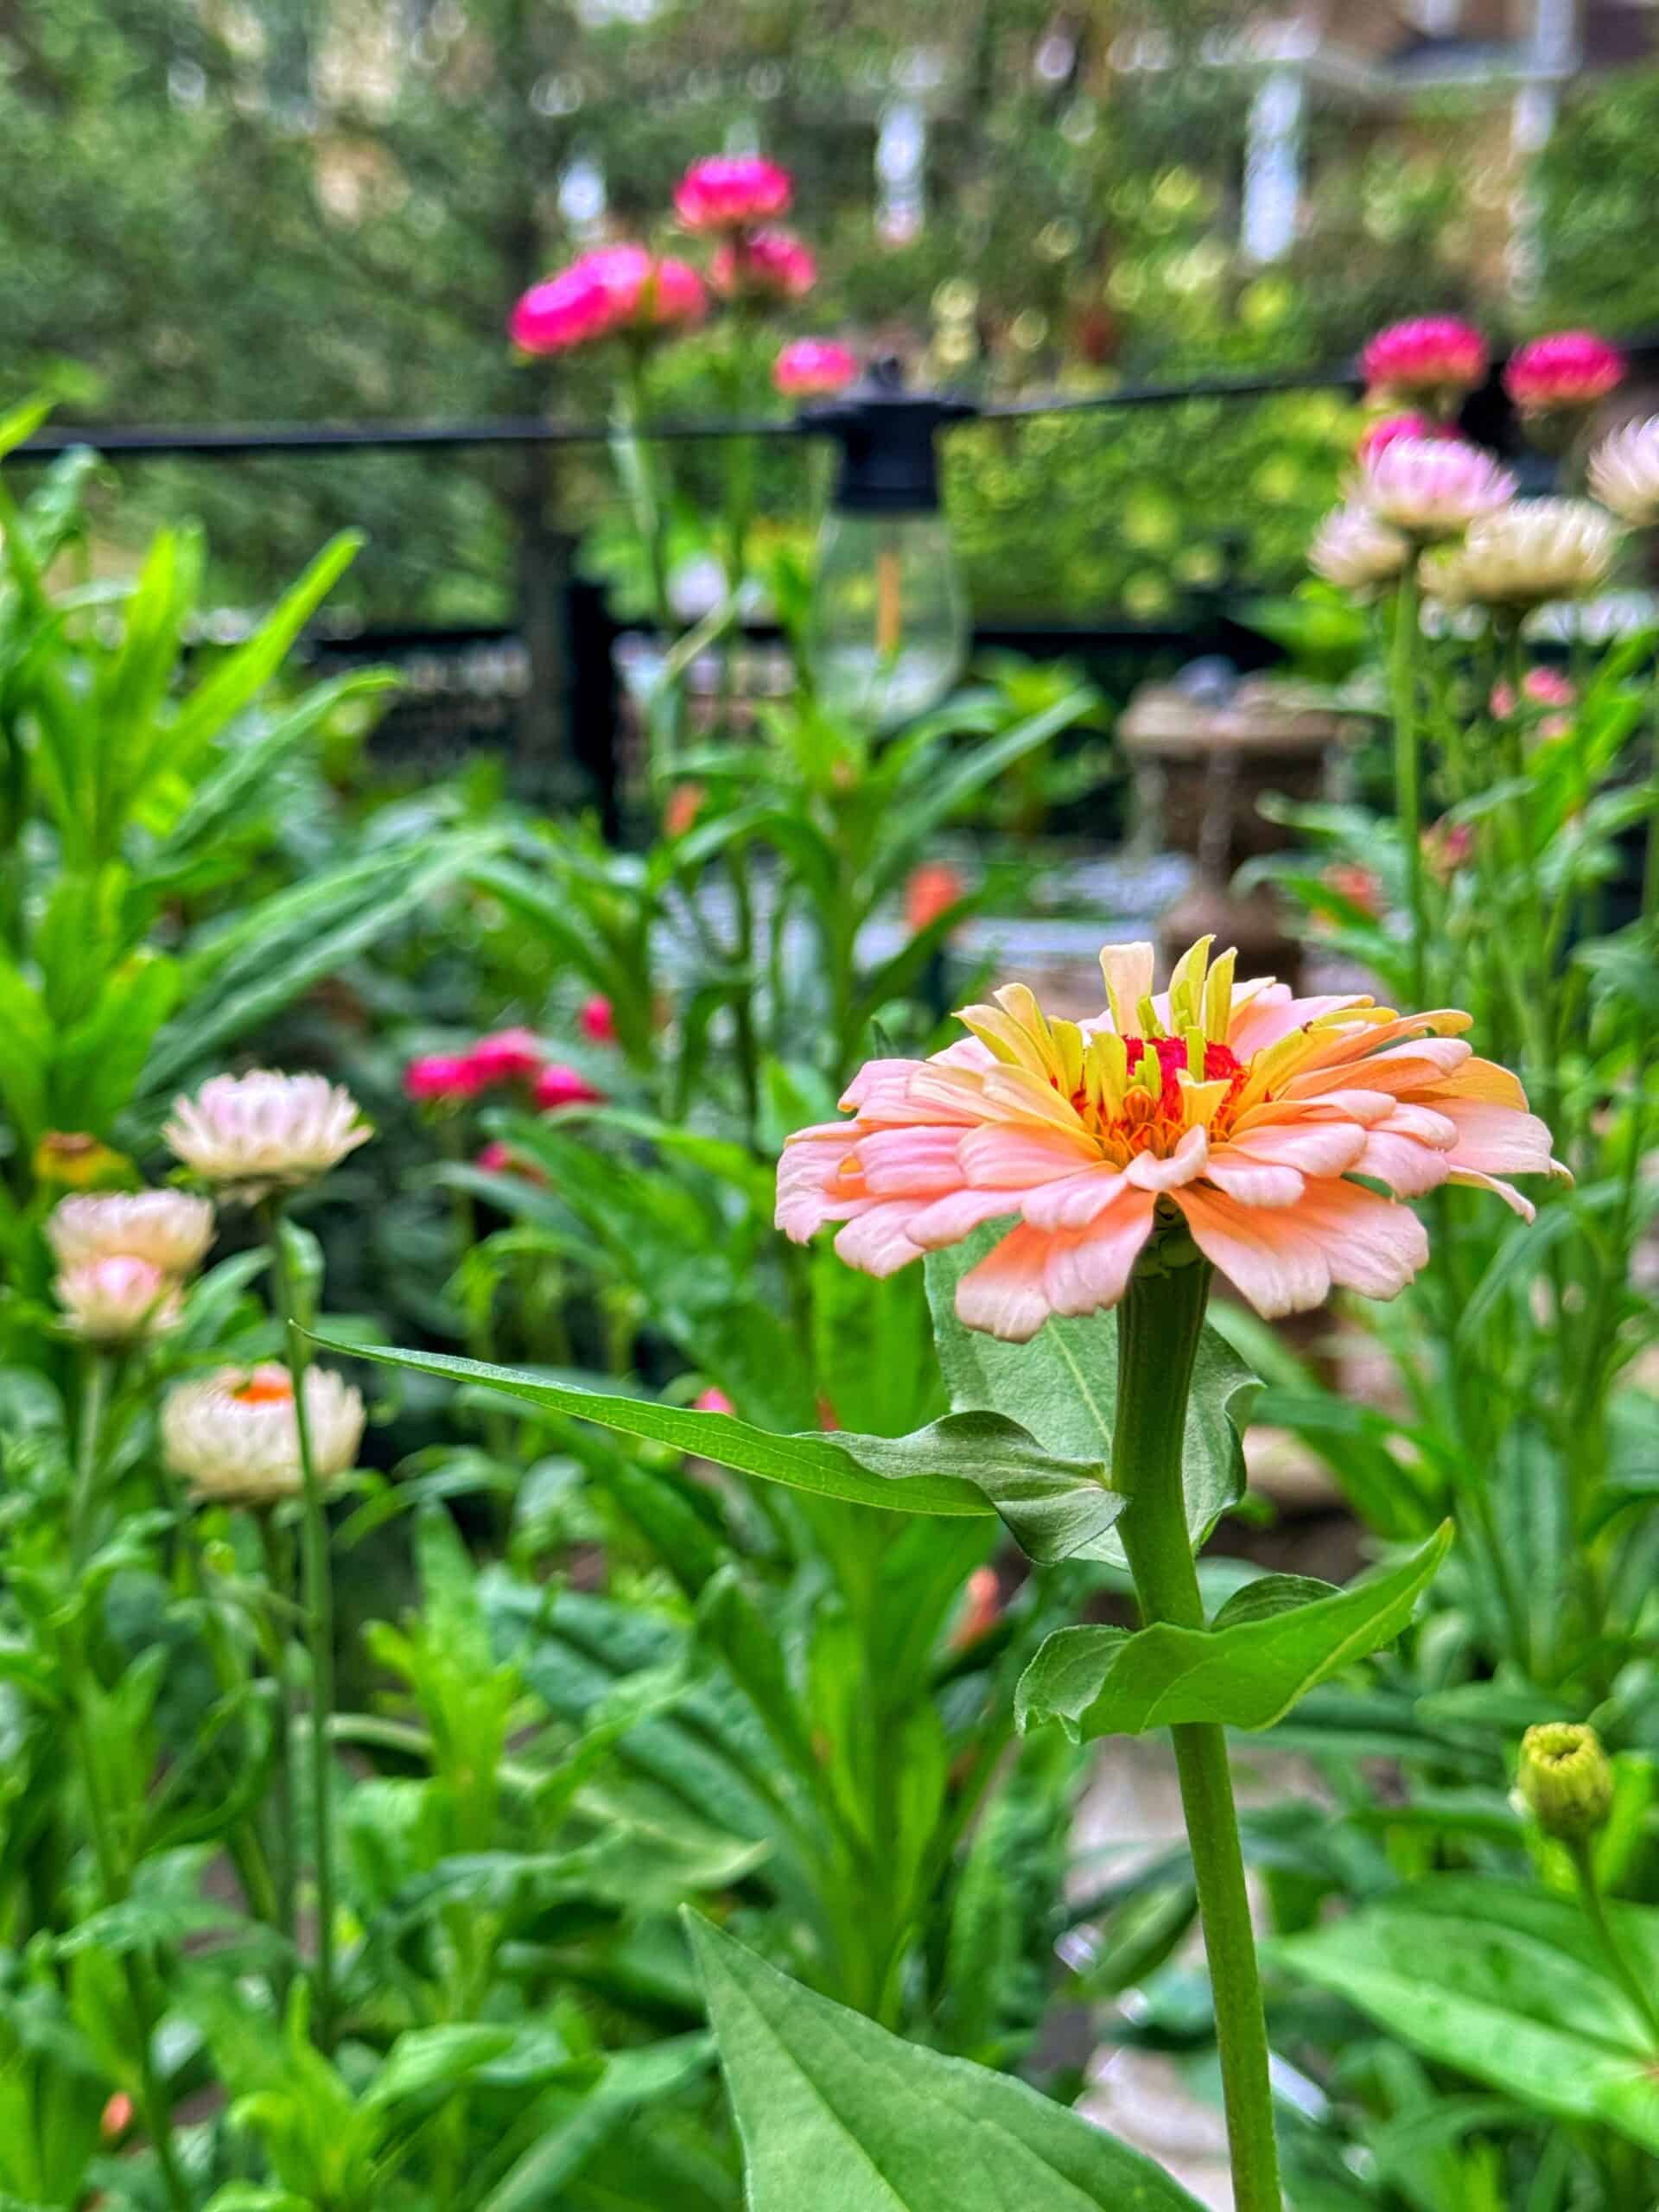
After researching the management options, I’m using a copper fungicide according to the product label. This is one area where I think it’s important to understand what a treatment can and can’t do.
Clemson Extension recommends copper products as an option for bacterial leaf spot, Alternaria, and Cercospora on zinnias. Penn State’s recent cut-flower guidance also discusses copper as a preventative treatment for bacterial leaf spot during wet periods and as one management option for Alternaria and Cercospora.
But copper isn’t going to make my damaged leaves green again.
I’m using it as a protective measure to help slow additional disease development on healthier foliage, not as a cure for tissue that’s already damaged.
If you’re using a copper product in your own garden, always follow the specific product label. More is not better, and copper products can injure plants under certain conditions. Follow the label for mixing, coverage, timing, repeat applications, weather restrictions, and use around flowering plants. And only apply it when pollinators are not present, which is early morning or later in the day.
I’m going to continue watching my zinnias and see whether this combination of cleanup, improved airflow, dry foliage, and treatment helps me keep them productive longer.
Should You Pull Zinnias With Leaf Spot?
Not necessarily. This is one of the biggest questions I had when I saw how bad some of these leaves looked.
If I looked only at the damaged foliage, I’d be tempted to say these plants were finished. But when I step back and look at the entire plant, that’s not what I’m seeing.
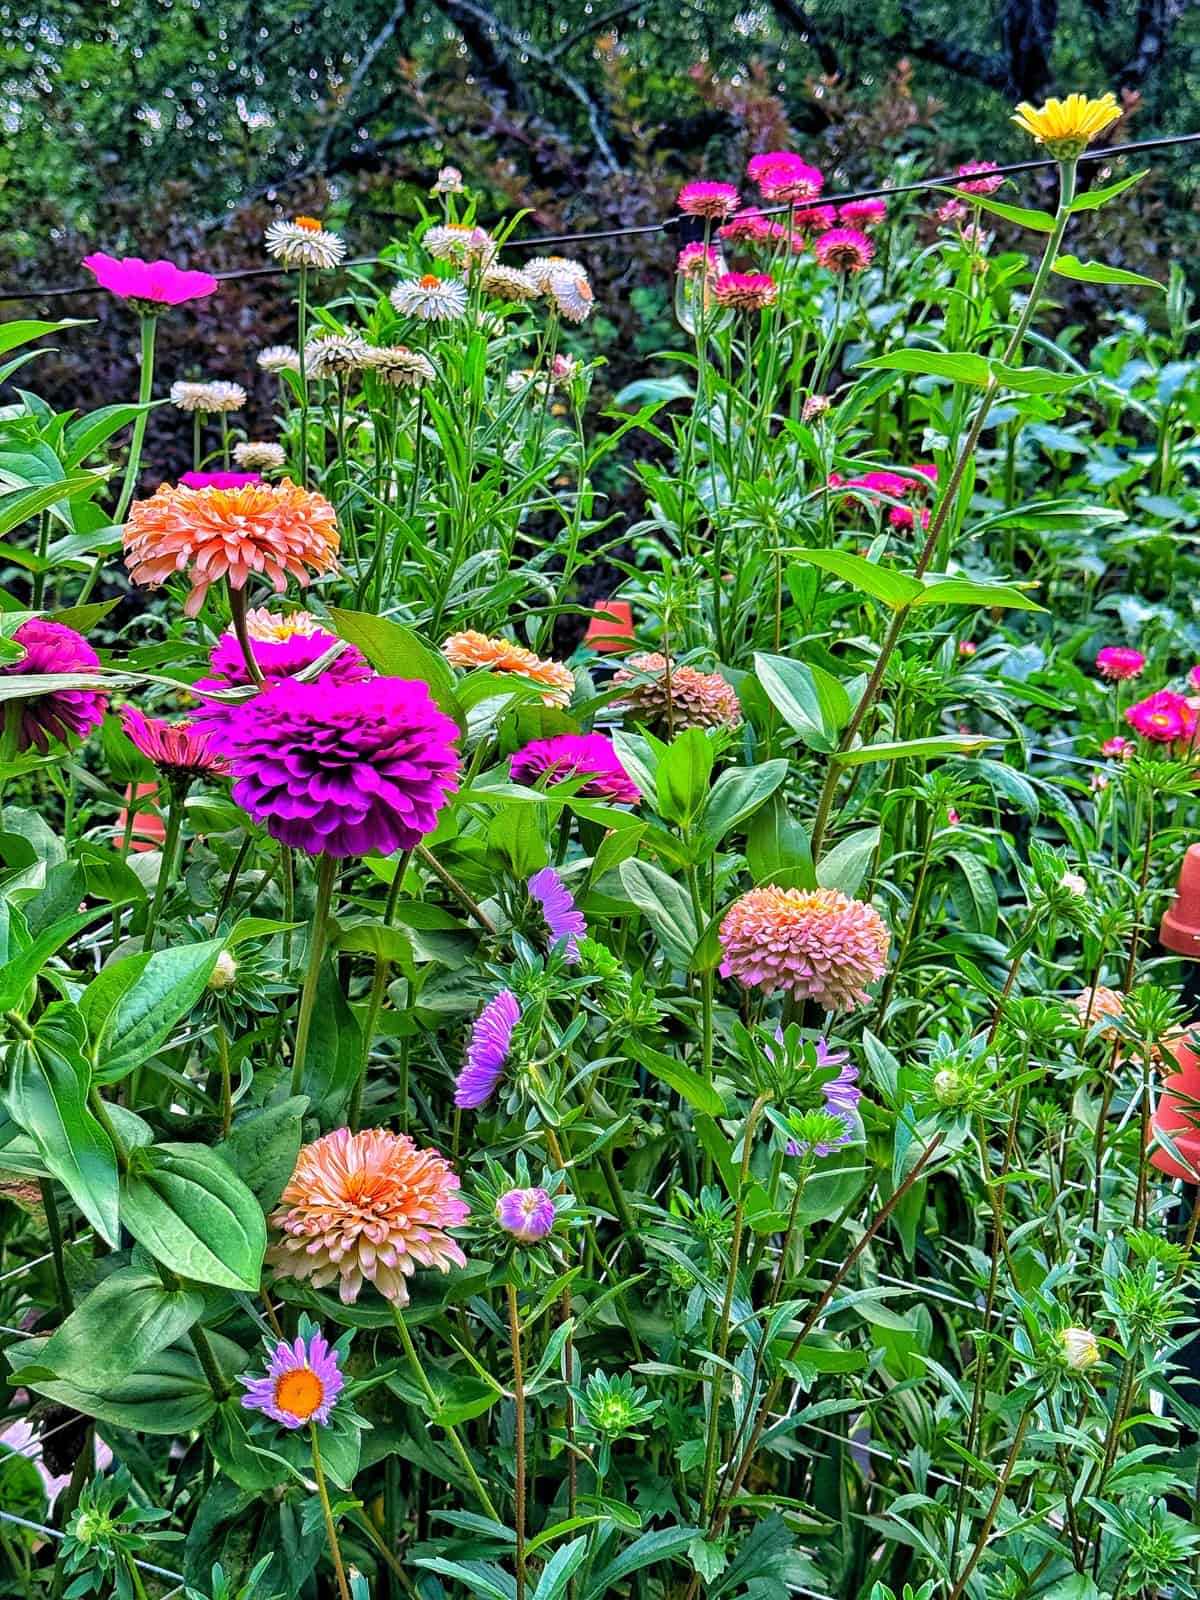
My stems are still green. The plants are vigorous. And most importantly for my cutting garden, they’re still producing flowers. So for now, I’m managing the disease instead of pulling the plants.
I’d look at the whole plant before making that decision. If a zinnia becomes severely defoliated, begins declining rapidly, develops significant stem damage, stops producing well, or becomes so diseased that keeping it no longer makes sense, removal may be the better choice.
A few ugly leaves don’t necessarily mean the whole plant needs to go.
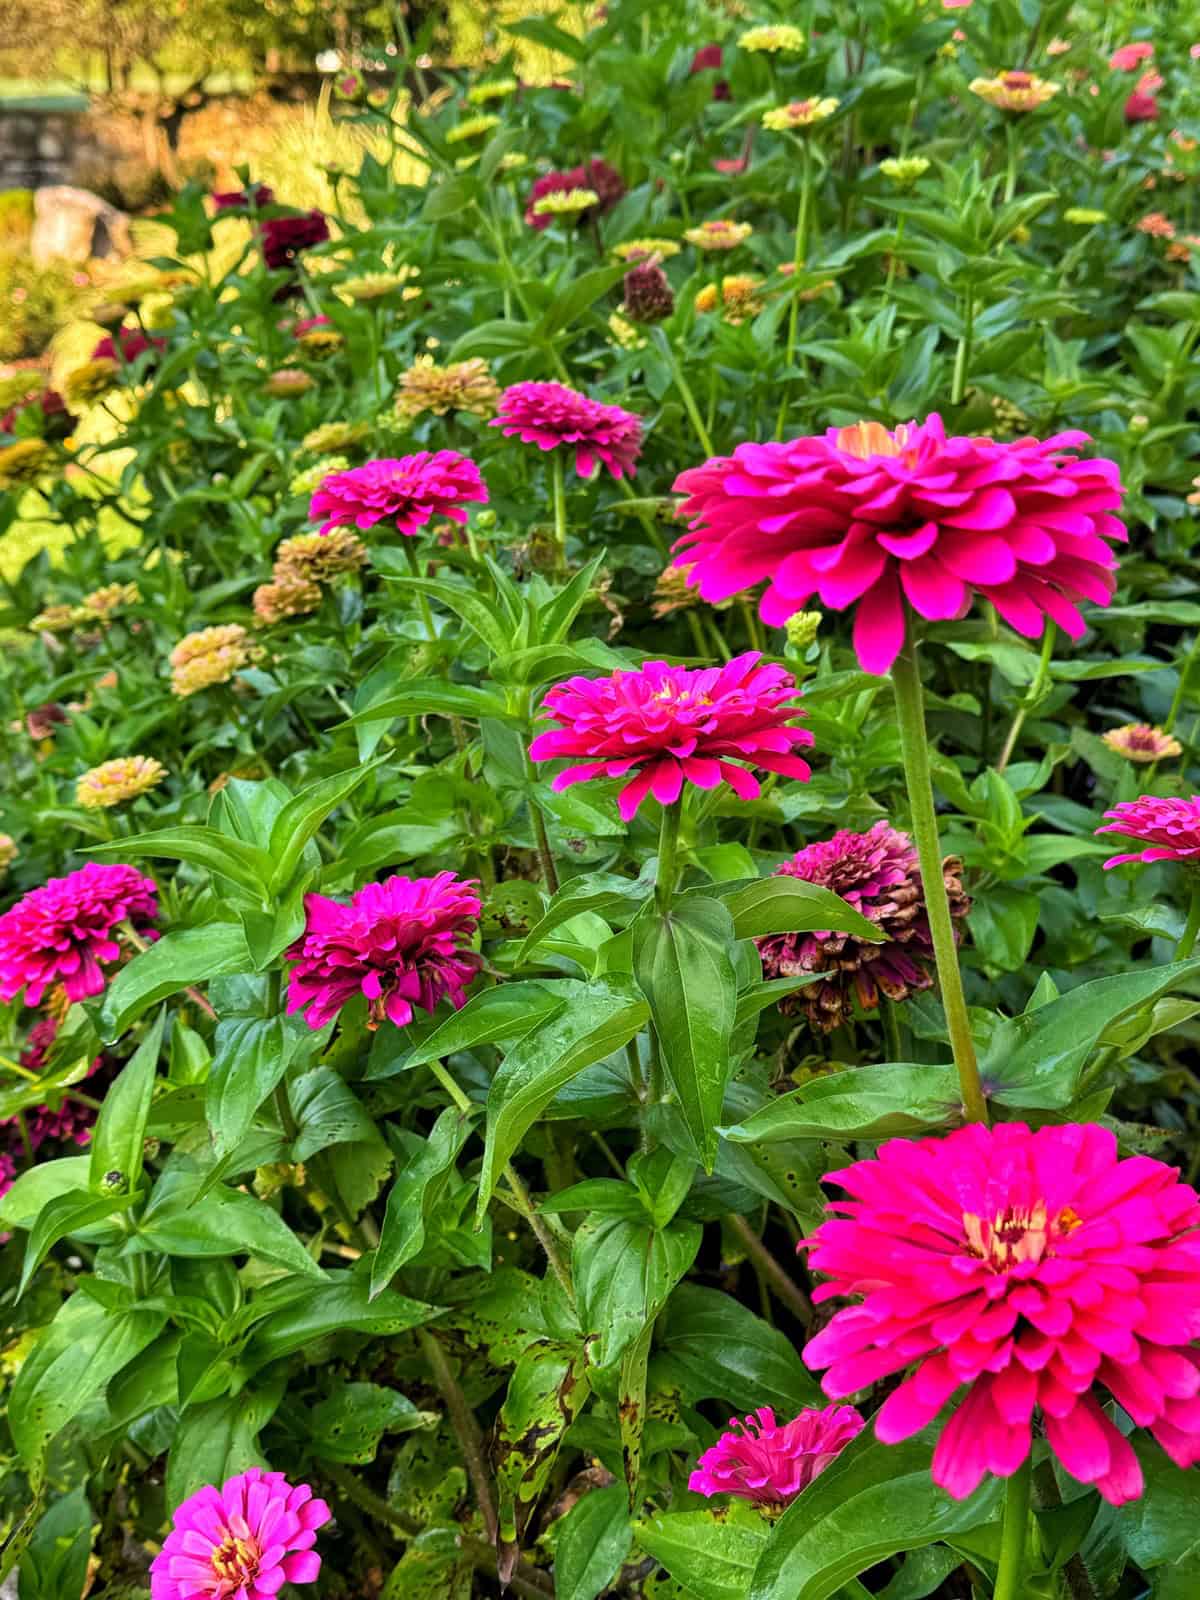
Does Zinnia Leaf Spot Stay in the Soil?
This was one of my first questions because I’ve been growing zinnias in this particular area repeatedly. The answer is a little more nuanced than saying the soil is “infected.”
Some zinnia leaf-spot pathogens can survive from one season to the next on infected plant debris, and Alternaria can also survive on seed and in soil. Bacterial leaf spot can also be introduced through infected seed.
That doesn’t mean you need to dig out your garden soil and replace it.
A much more practical approach is to focus on interrupting the disease cycle by removing infected debris, starting with clean seed or transplants, keeping foliage dry, improving airflow, and rotating what you grow in that area.
And that brings me to the decision I’ve made about this particular bed.
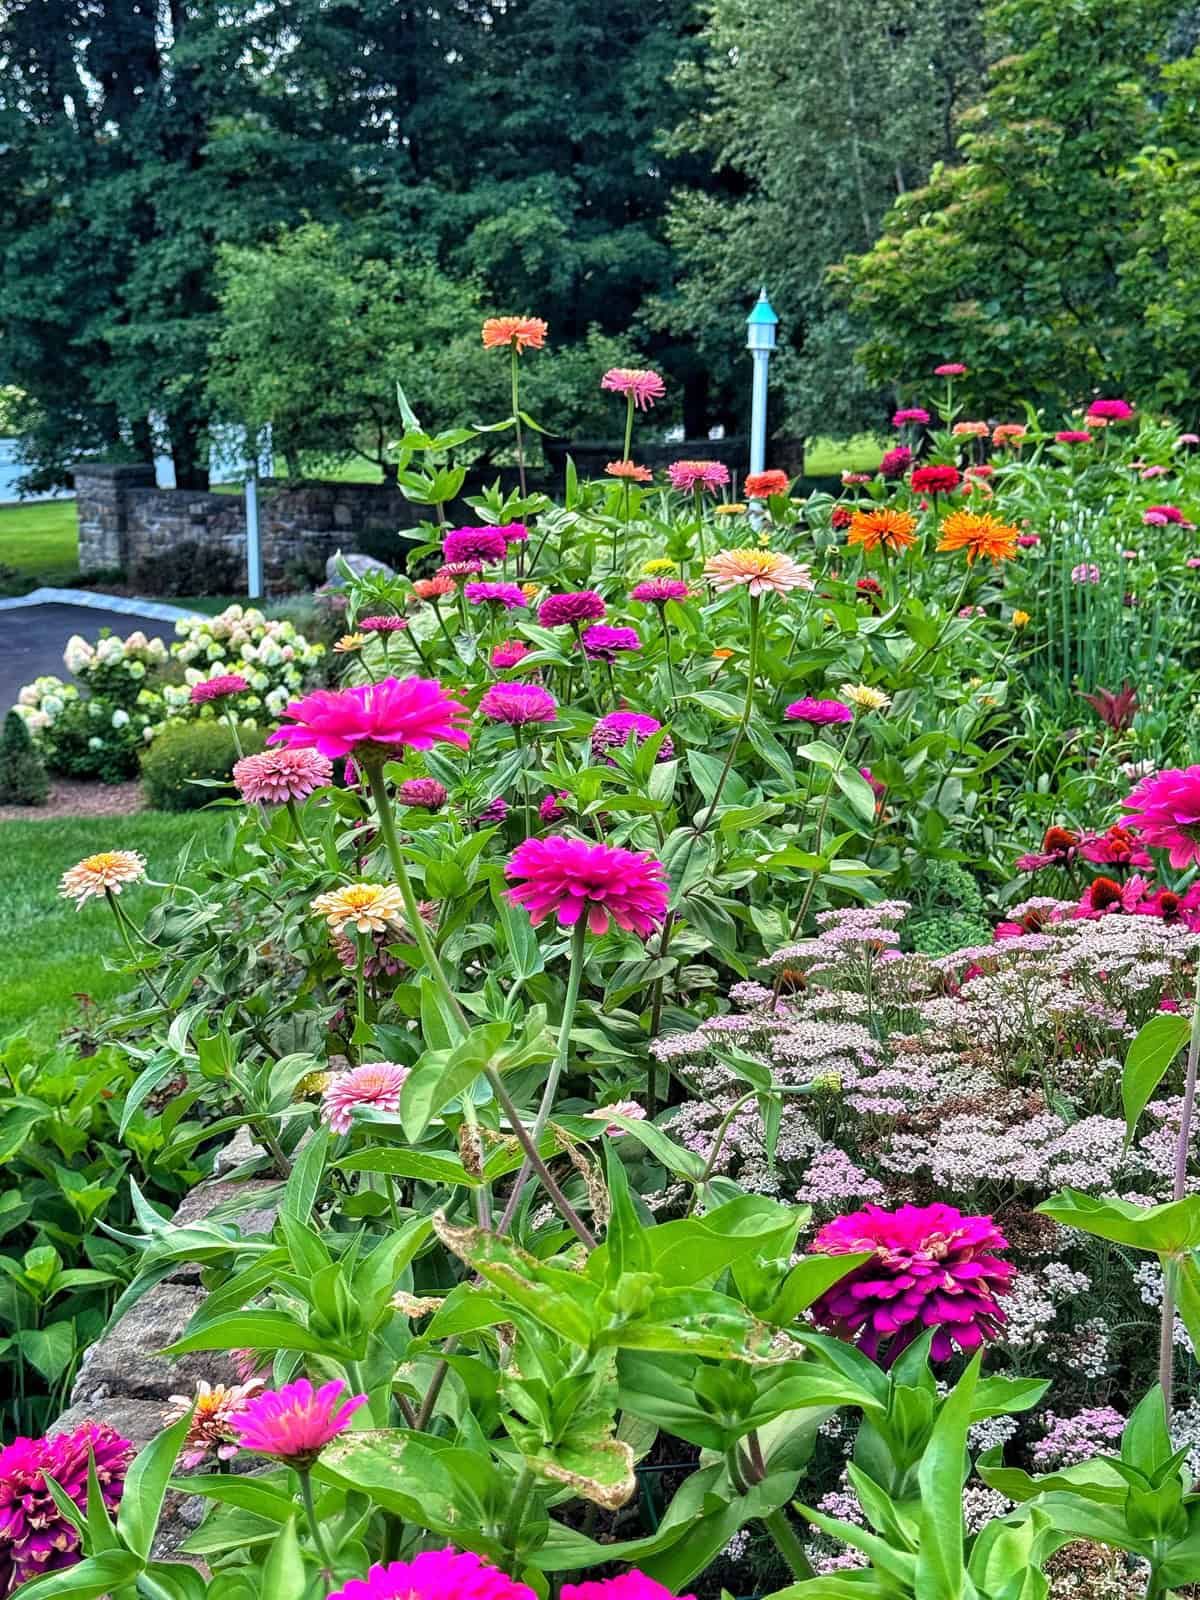
Why I’m Not Planting Zinnias Here Next Year
This one stinks because I really love my zinnias in this spot. They look beautiful here, and I’d happily keep planting them in the same location if I weren’t seeing this problem become progressively worse.
But I noticed the warning signs last year. I cleaned things up, and now I’m seeing considerably more disease this year. At some point, you have to listen to what the garden is telling you.
Clemson Extension recommends alternating zinnias with other bedding plants for a year or two to help reduce disease incidence. Given what I’ve watched happen here over two growing seasons, that’s exactly what I’m going to do.
I’m not giving up zinnias next year. Not even close. Instead, I’m going to grow them in a different bed in my cut flower garden and give this particular area a break.
This isn’t about zinnias “using up” the soil or the bed being permanently ruined. It’s about interrupting a potential disease cycle instead of planting another crop of susceptible plants into the same environment and hoping for a different result.
And I’m genuinely curious to see what happens.
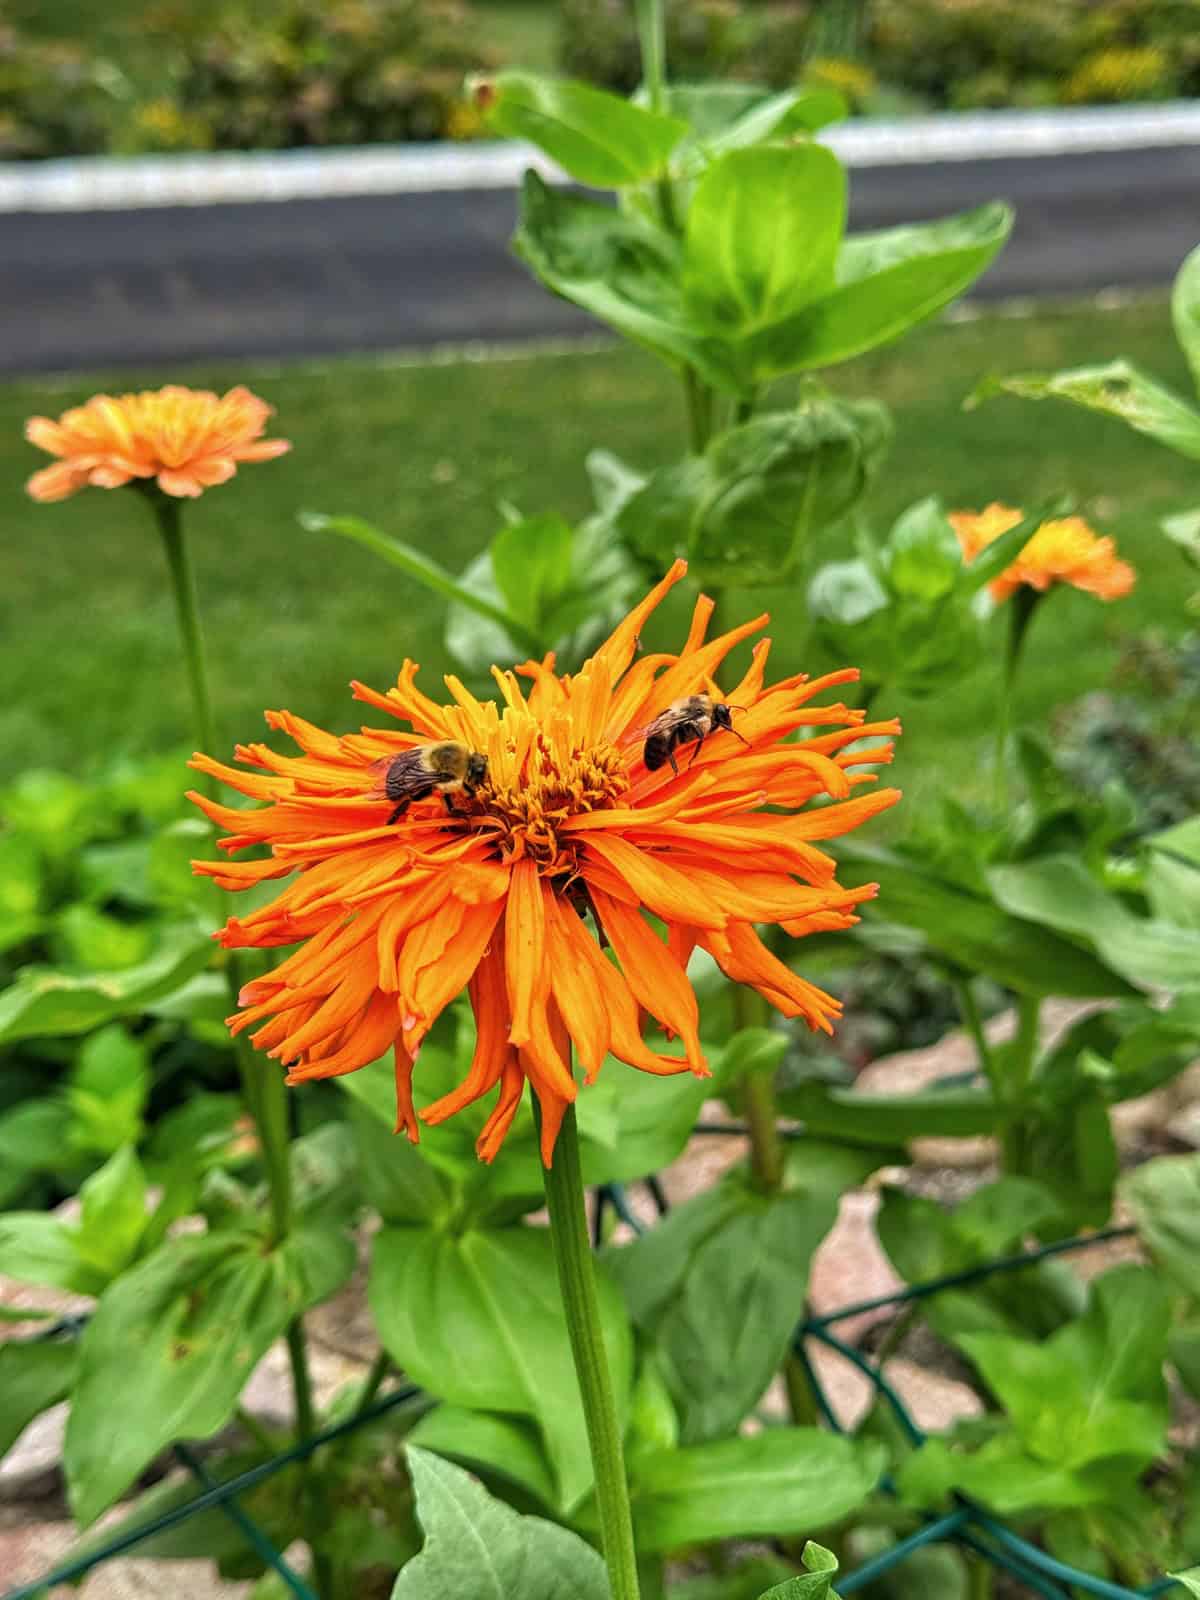
What I’ll Do Differently With My Zinnias Next Year
Moving the plants gives me a chance to start fresh and apply what I’ve learned from this experience.
Next year, I’ll grow my zinnias in a different part of my flower garden, start with good-quality seed, give plants plenty of room based on their mature size, continue watering at the base, and watch the lower foliage much more closely from the beginning of the season.
I also won’t save seed from these affected plants. Clemson Extension specifically advises against saving zinnia seed following an outbreak of leaf-spot disease because infected seed can be a source of future disease.
If you’re planning next year’s zinnia garden too, my guide to the best zinnia varieties for a cutting garden can help you choose what to grow, while my complete how to grow zinnias guide walks through planting and care from start to finish.
This experience is also a good example of why avoiding a few common zinnia growing mistakes early can make disease management easier later, even though weather and other factors will always be outside our control.
End-of-Season Cleanup Will Be Different This Year
When frost finally finishes these zinnias, I’m going to be much more thorough about cleanup than I normally would be with a healthy annual planting.
I’ll remove the entire plants along with fallen leaves and other zinnia debris from this bed rather than intentionally working diseased material back into the soil. And I definitely won’t save seed from the affected plants, either.
Clemson Extension specifically recommends removing zinnia plant debris at the end of the growing season to reduce the carryover of fungal disease inoculum into the following year.
That’s particularly important to me now because I saw some of this problem last season and then watched it become significantly worse this year. This time, I’m treating fall cleanup as part of next year’s disease prevention.
What This Experience Is Teaching Me About Garden Records
One of the reasons I’ve been able to connect what I’m seeing this year with what happened last summer is because I pay attention to how my gardens change from season to season.
That’s also something I talk about in The Bricks ‘n Blooms Guide to a Beautiful and Easy-Care Flower Garden. Understanding plant health isn’t just about reacting when something looks wrong. Good gardening is also about learning how your plants respond to weather, location, spacing, watering, and other conditions over time.
And this is exactly the kind of problem that’s worth recording in my Bricks ‘n Blooms Beautiful and Easy-Care Flower Garden Planner.
I can note where the leaf spotting first appeared, when it became severe, what the weather was like, what I tried, and how long the plants continued producing. Then next year, when I move the zinnias to another bed, I’ll have something concrete to compare against.
Sometimes the most useful garden lessons aren’t the ones you planned to learn.
What I’m Learning From Zinnia Leaf Spot in My Garden
After decades of growing zinnias, I know these plants pretty well. But this experience is a good reminder that gardening always gives you something new to figure out.
Treating this level of zinnia leaf spot is new for me. I didn’t immediately know exactly what disease I was looking at or what I should do about it, so I went to university Extension resources, researched the possibilities, and started making decisions based on both that guidance, gardening experience, and what I’m actually seeing in my garden.
For now, I’m focused on keeping these zinnias healthy enough to continue flowering for as long as they’ll give me blooms. Then I’ll clean this bed thoroughly and try something different next season.
I hate losing this particular spot for zinnias because I love them here. But sometimes being a better gardener means changing the plan when the garden shows you something isn’t working.
I’ll be watching closely when I grow them in their new location next year, because I’m really curious to see whether breaking that cycle makes the difference I hope it will.
How is your zinnia garden growing? Let’s chat more about it in the comments below.
Happy Gardening!
Thank you for visiting the blog today!
Enjoy your day! xo

Originally Published .

Oh Boy🙄, I’m having the same problem this year. First time I encountered this. I’m going to do what you did and recommend. I did space mine 12” this year mainly to avoid powdery mildew. So that worked. I’ll still grow them next year as I enjoy them outside my kitchen window, with their cheery colors and visitors. Thanks Stacey for your help♥️ in this post. I’m in SE PA.
We had so much rain in our area Cheryl! I’m actually seeing it now on all of zinnias. It was too wet and humid for them this year in our climate. Removing the lower leaves and applying the copper fungicide has slowed it down so that has helped!