Houseplant Care Tips: How to Keep Any Houseplant Alive

Successful houseplant care isn’t about perfect conditions. It’s about understanding light, water, and plant behavior.
Successful houseplant care isn’t about having perfect conditions or memorizing strict rules. It’s about understanding how plants respond to light, water, and their environment – and learning to adjust as those conditions change.
I’ve been gardening for nearly 30 years, but I’ll be the first to admit that houseplants didn’t come easily to me at first. Outdoor gardening felt intuitive, while indoor plants felt unpredictable and frustrating. It wasn’t until about 20 years ago when I stopped trying to do everything at once and focused on learning a few core principles, that houseplants finally started to thrive for me.
Today, I care for well over 100 houseplants inside my home, including several plant collections with very different growing needs. What made the difference wasn’t luck or a “green thumb,” but understanding how indoor environments work and learning how plants communicate what they need.
This guide breaks down the foundational principles of houseplant care so you can apply them to any plant you grow, whether you have one pothos or an entire room filled with greenery.
(Posts on stacyling.com may contain affiliate links. Click HERE for full disclosure.)

The One Thing Every Houseplant Needs: The Right Environment
Every houseplant care decision starts with the same foundation: the environment your plant is living in.
Houseplants do not fail because they are difficult or because you missed a step. Most struggles happen when a plant’s needs do not match the conditions in your home. Light levels, temperature, airflow, and how quickly soil dries all work together, and plants respond to that combination every single day.
This is why there is no universal care schedule that works for everyone. A plant sitting near a bright window in summer will use water very differently than the same plant placed farther from the light or growing during winter. Understanding this relationship between environment and growth is what turns plant care from guesswork into a skill.
Once you learn to evaluate your home’s conditions first, everything else becomes easier. Watering makes more sense. Growth patterns become easier to read. Problems are easier to prevent instead of fix after the fact.
Before talking about watering or soil, it is important to understand the most influential part of a plant’s environment: light.

Light: The Starting Point for All Houseplant Care
Light is the most important factor in successful houseplant care because it drives everything else, especially how often a plant uses water. Before thinking about watering routines or fertilizer, it is essential to understand the light your home provides.
Most houseplants fall into one of three broad light categories: high, medium, or low. These labels are not exact measurements. They are general guidelines that describe how much usable light reaches a plant during the day. Once you understand how these categories translate inside your home, it becomes much easier to choose appropriate plants and place them where they can grow well.
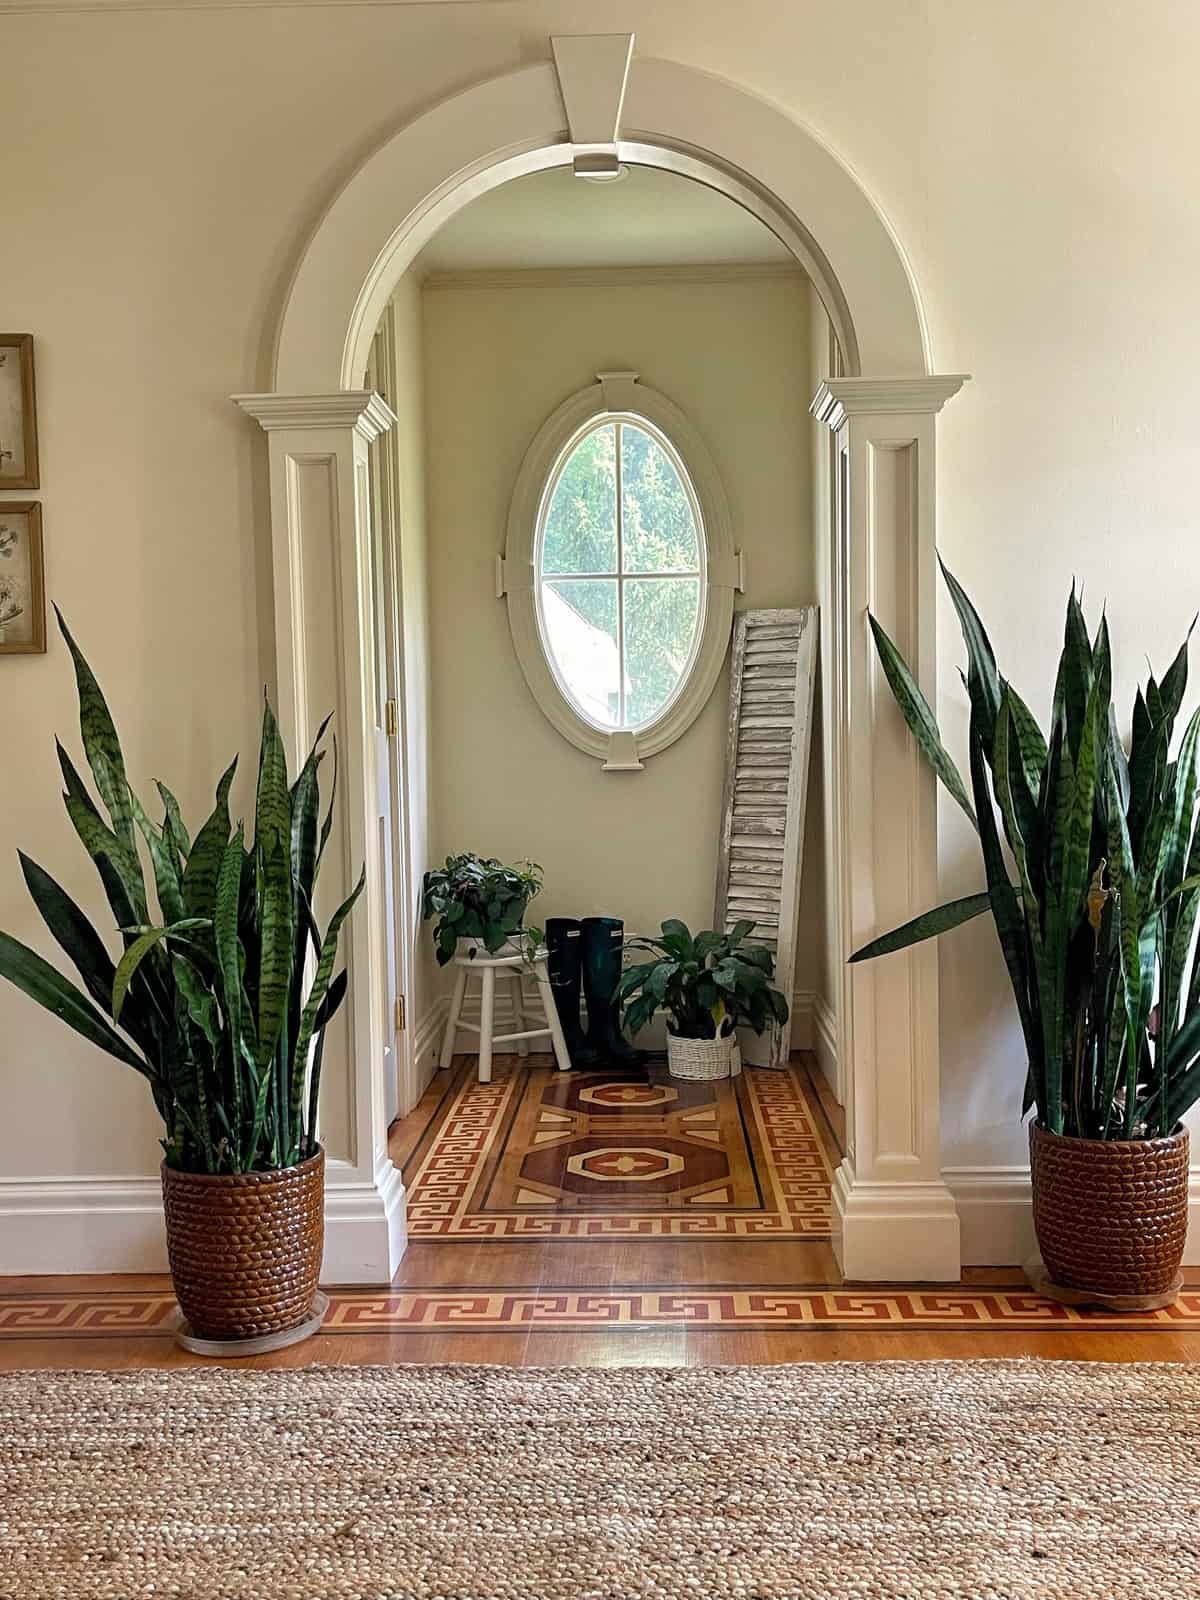
Light conditions vary throughout a house based on window direction, distance from windows, and seasonal changes. A plant placed near a bright window will behave very differently from the same plant set several feet back in the room. This difference affects growth speed, leaf size, and how quickly soil dries out.

Plant tags are a helpful starting point when choosing houseplants, but they work best when paired with an honest assessment of your home’s light. Placing plants where they look good instead of where the light matches their needs is one of the most common reasons houseplants struggle.
After bringing a plant home, watch how it responds to its location. Signs of light stress can include leaf drop, yellowing foliage, stretched growth, or pale leaves. Some adjustment after moving from a greenhouse to a home is normal, but ongoing decline usually means the light needs to change.

If natural light is limited in certain areas of your home, grow lights can be a useful tool. Modern grow lights allow you to supplement light where needed and expand the range of plants you can grow successfully indoors. They are best used to support natural light rather than replace it entirely.
If you want a deeper breakdown of window directions, light levels, and how to accurately assess light in your home, refer to my complete houseplant light conditions guide, where I walk through this step by step.

Soil and Drainage: Supporting Healthy Roots
Soil plays a critical role in houseplant care because it controls how long moisture stays around the roots and how much air they receive. While light drives growth and watering responds to that growth, soil determines whether roots stay healthy over time.
Most houseplant problems blamed on watering actually begin with soil. Soil that holds too much moisture for too long limits oxygen around the roots and creates conditions where rot can develop. This is why drainage and airflow matter more than the exact brand of potting mix.
For many houseplants, a well draining, chunky soil structure works best. Chunky soil allows excess water to move through quickly while leaving air pockets behind, which roots need just as much as moisture. This type of mix also dries more evenly, making it easier to adjust watering based on light and seasonal changes.

Chunky soil does not mean dry soil. It means soil that can hold moisture without becoming compacted or soggy. When roots have access to both water and oxygen, plants grow more predictably and recover more easily from minor care mistakes.
Different plants have different preferences, but nearly all indoor plants benefit from soil that drains efficiently and resists compaction. This is why garden soil is not suitable for containers indoors and why many indoor gardeners choose potting mixes designed specifically for houseplants.
Pot choice also affects how soil behaves. Containers with drainage holes allow excess water to escape, while materials like terracotta help soil dry more evenly between waterings. Fresh potting mix should always be used when repotting to maintain proper structure and drainage.
When soil structure, pot choice, and watering habits work together, roots stay healthy and houseplant care becomes much easier to manage.

Temperature and Humidity: Creating a Stable Indoor Environment
Temperature and humidity are part of the overall environment that influences how houseplants grow and use water. While most common houseplants are adaptable, large swings or prolonged extremes can slow growth and cause stress over time.
Temperature
Most indoor plants do well in typical household temperatures, generally between 65 and 80 degrees Fahrenheit. Problems tend to occur not from average room temperatures, but from sudden changes. Drafts from heating and cooling vents, cold windows in winter, and heat sources like radiators or fireplaces can all create conditions that plants struggle to adjust to.
Seasonal changes also matter. Growth naturally slows during winter when light levels drop, and plants often use less water as a result. Cooler temperatures combined with lower light mean soil stays wet longer, which is why winter care often requires adjustment even if nothing else has changed.

Humidity
Humidity affects leaf health more than overall plant survival, but it can influence how plants look and grow. Many houseplants are adapted to environments with more moisture in the air than most homes provide, especially during winter when heating systems dry the air.
Low humidity often shows up as brown leaf tips or edges rather than full plant decline. Grouping plants together, using a humidifier, or placing plants near naturally humid areas of the home can help create a more comfortable microclimate. While misting can provide short term relief, it does not significantly change overall humidity levels.
Rather than trying to create perfect conditions, focus on stability. Plants respond best when temperature and humidity remain relatively consistent. Paying attention to how your home changes with the seasons will help you anticipate adjustments before problems develop.

Observation: The Skill That Makes Houseplant Care Easier
Successful houseplant care is less about following rules and more about paying attention. Plants constantly respond to their environment, and those responses provide useful information if you know what to look for.
New growth is often the best indicator of overall health. Strong leaves, consistent growth, and good color usually mean light, water, and soil are working together. Slowed growth, stretched stems, or pale foliage often point to light issues. Wilting, yellowing, or dropping leaves can indicate watering or soil problems, especially when environmental conditions change.

Observation becomes especially important after bringing a plant home, moving it to a new location, or transitioning between seasons. Plants need time to adjust, and small changes in appearance are normal. Ongoing decline, however, is usually a sign that something in the environment needs to be adjusted.
This is why rigid care schedules rarely work long term. A plant growing quickly in bright light during summer will use water very differently than the same plant growing slowly in winter. Paying attention to how soil dries, how leaves respond, and how growth changes allows you to adjust care before small issues become larger problems.
Developing this habit of observation builds confidence over time. The more plants you grow, the easier it becomes to recognize patterns and respond appropriately. Houseplant care improves when you learn to trust what the plant is showing you rather than relying on generic instructions.

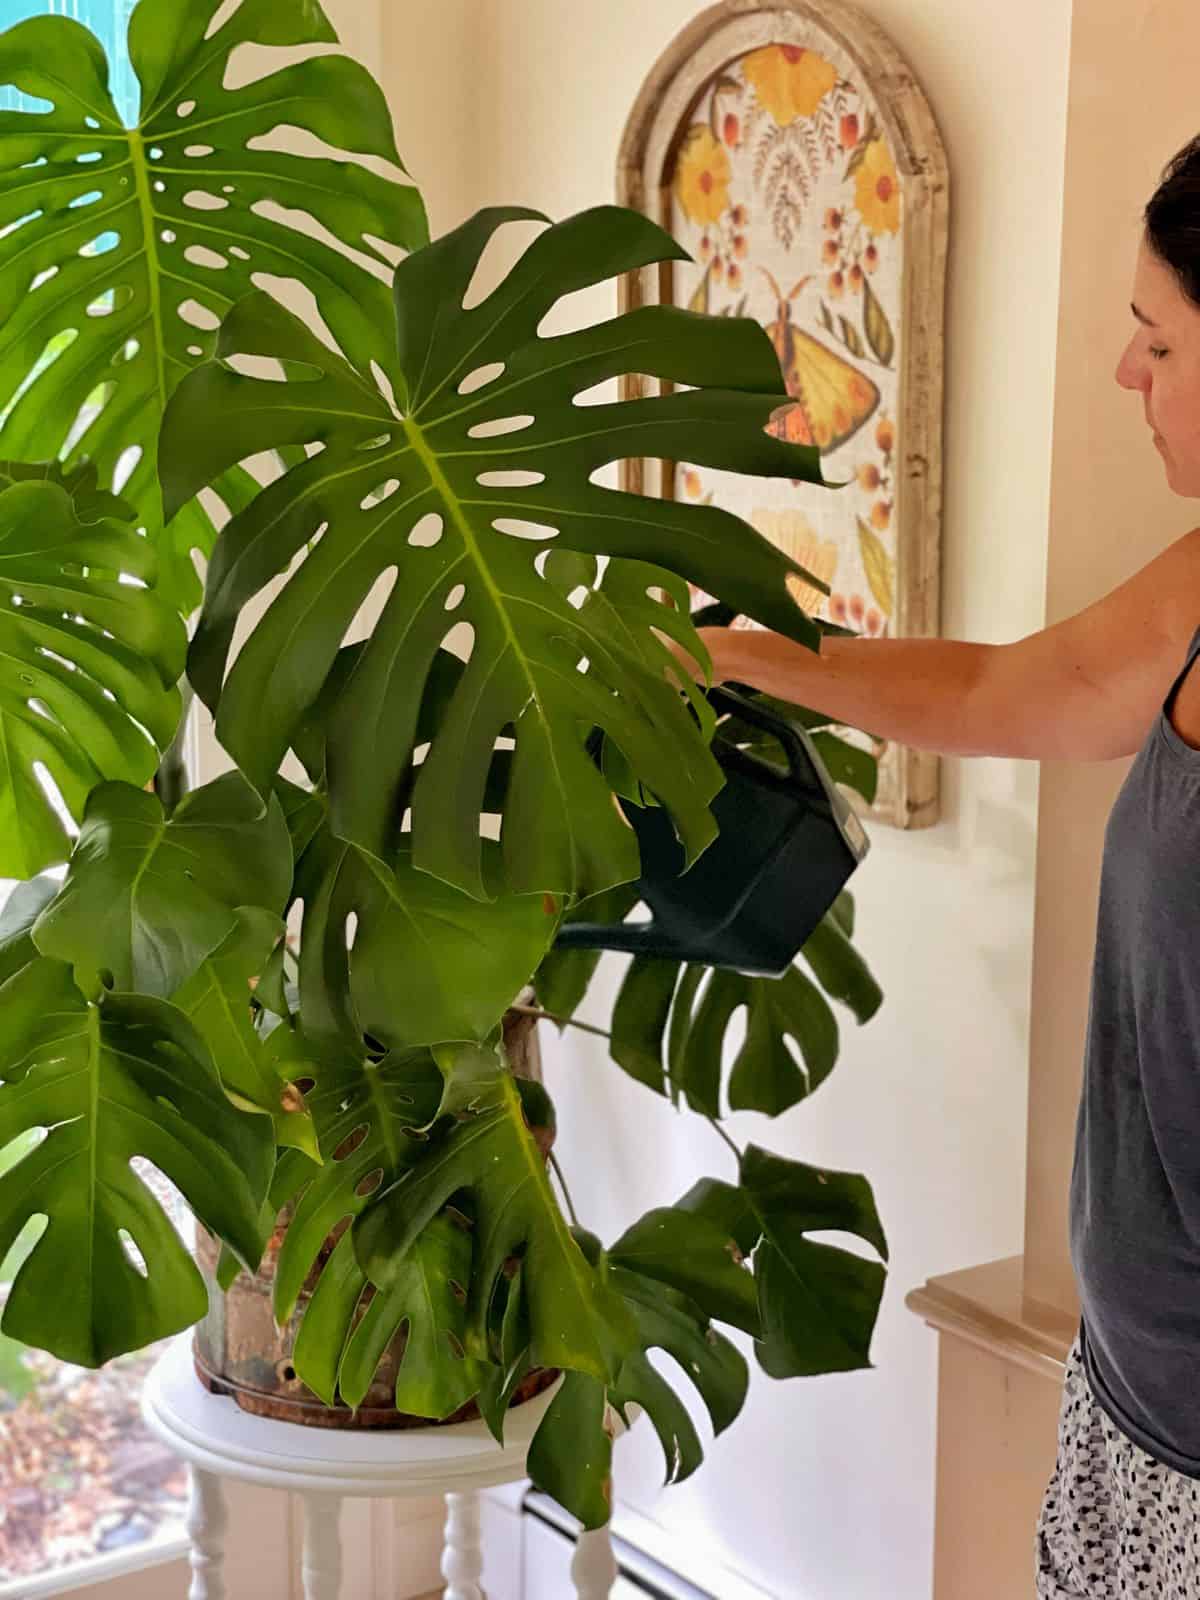
Watering: Responding to Growth, Not a Schedule
Watering is where many houseplant problems begin, not because people do not care, but because watering is often misunderstood. Overwatering is one of the most common reasons indoor plants struggle, especially when soil stays wet for long periods and roots are deprived of oxygen.
Plants do not need water on a schedule. They need water when they are actively using it. How quickly a plant uses water depends on light, temperature, soil structure, pot type, and time of year. A plant growing in bright light during summer will dry out much faster than the same plant growing slowly in winter.

This is why surface dryness alone is not a reliable indicator. Container soil holds moisture unevenly, and the top layer often dries before the root zone does. Watering based only on how the surface feels can leave roots sitting in excess moisture below.
The goal of watering is to rehydrate the root zone without keeping it constantly wet. Checking moisture deeper in the pot gives a much more accurate picture of when a plant actually needs water. This is why I stick my finger into the soil to determine how wet or dry it is rather than scheduling my watering days. If you’d rather not do that, there are soil moisture probes or moisture meters that work well.
Over time, you will also notice patterns. Healthy plants in appropriate light tend to dry out at a predictable pace, while plants in lower light or cooler conditions dry much more slowly.
Seasonal changes matter as well. Growth slows in winter as light levels drop, and most plants use less water during this time. Reducing watering during periods of slower growth helps prevent root problems and supports long term plant health.
When a plant begins to decline, watering is often the first thing people adjust. In many cases, however, the issue is not too little water but too much for the conditions the plant is growing in. Understanding how watering responds to environment makes it easier to prevent problems rather than correct them later.
For a deeper look at how to assess soil moisture and adjust watering in real homes, I share my practical approach in the secret to keeping houseplants alive.
If you are dealing with a plant that is already struggling, refer to my guide on reviving houseplants, where I walk through how to diagnose and correct watering related issues step by step.

Fertilizing: Supporting Steady, Healthy Growth
Fertilizing plays a supporting role in houseplant care. Light, water, and environment determine how a plant grows, while fertilizer helps replenish nutrients that are gradually used up in container soil.
Houseplants rely entirely on what is available in their pots. Unlike outdoor plants, they do not benefit from natural soil processes that continually replenish nutrients. Over time, even healthy potting mixes become depleted, which can slow growth and affect overall plant health.
Rather than thinking of fertilizer as something used occasionally or only during active growth, it helps to view it as part of long term plant maintenance. Consistent, gentle feeding supports steady growth and reduces the stress that can occur when nutrients fluctuate too widely.
In my own experience, using a light, diluted organic fertilizer regularly has helped maintain healthier plants throughout the year, including during winter when indoor conditions are stable but light levels are lower. This approach supports growth without forcing it and reduces the risk of overfeeding that can occur with stronger, infrequent applications.
The key with fertilizing is moderation. Too much fertilizer can damage roots and foliage, while too little can leave plants slowly declining even when other care factors are correct. Paying attention to how plants respond over time is more effective than following rigid feeding schedules.
Fertilizer works best when it supports an already healthy care routine. When light, watering, soil structure, and environment are appropriate, gentle fertilizing helps plants maintain consistent growth and overall resilience.

Pests and Diseases: Preventing Problems Before They Spread
Healthy houseplants are not just the result of proper watering and light. Ongoing observation and early intervention play an important role in preventing pest and disease issues from becoming serious problems.
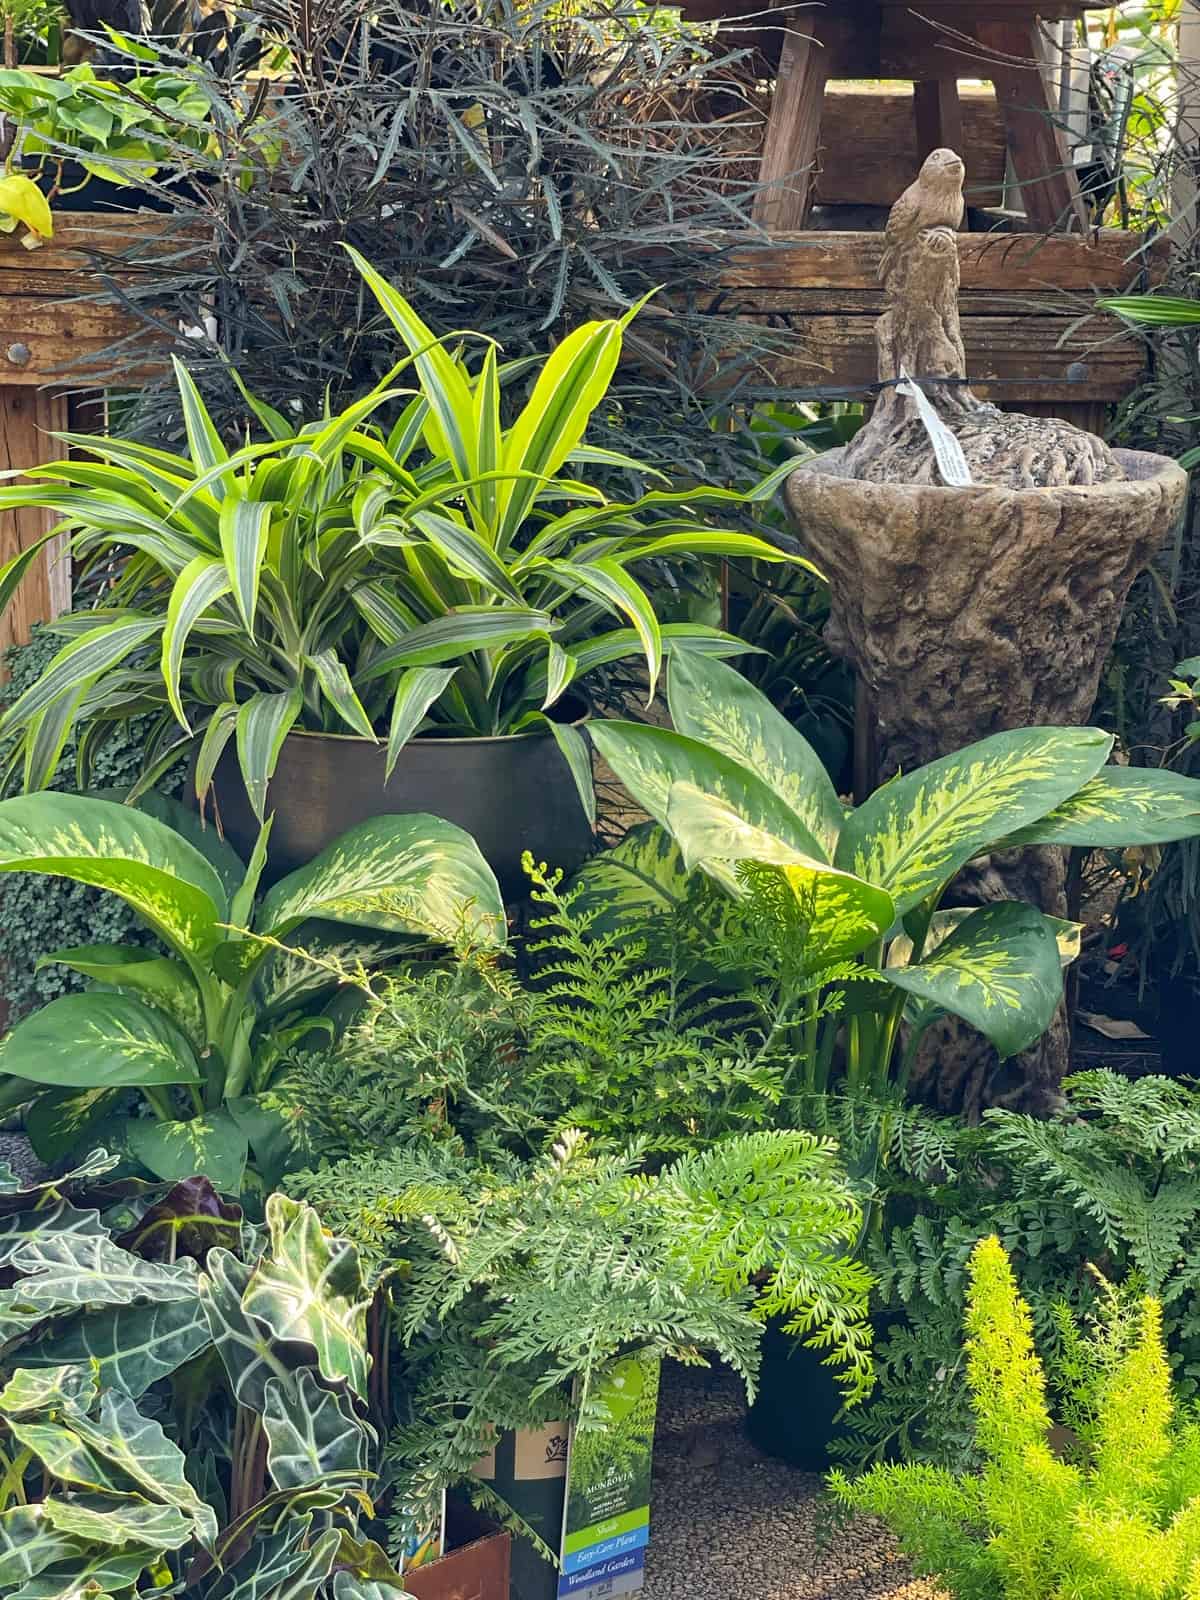
Most pest and disease outbreaks indoors do not happen suddenly. They develop gradually and are often linked to environmental stress, such as poor airflow, consistently wet soil, low light, or crowded growing conditions. Regularly checking leaves, stems, and soil helps catch issues early, when they are easier to manage.
New plants deserve extra attention. Bringing plants home from nurseries or other growers can introduce pests into an otherwise healthy collection. Isolating new additions for a short period and inspecting them closely helps reduce the risk of spreading problems to other plants.
Many common indoor pests feed on weakened plants. When light, watering, soil, and airflow are appropriate, plants are naturally more resistant. This is why prevention starts with good care rather than treatment products.
Diseases indoors are most often related to excess moisture and limited air circulation. Roots that remain wet for too long or foliage that stays damp create conditions where fungal issues can develop. Adjusting watering habits, improving airflow, and removing affected leaves early often prevents disease from spreading.
Rather than memorizing specific pests or symptoms, focus on noticing changes. Sticky residue, webbing, discolored leaves, slowed growth, or unusual spotting are all signs that something needs attention. Addressing the underlying cause usually resolves the issue more effectively than treating symptoms alone.

Treatment and Prevention: Acting Early and Correcting Conditions
When pests or disease are detected early, simple actions are often enough to stop the problem from spreading. Isolating affected plants and removing damaged growth can prevent issues from moving through your collection.
Rather than focusing immediately on treatments, it is more effective to address the underlying conditions that allowed the problem to develop. Improving airflow, adjusting watering habits, and ensuring soil drains well often resolve minor issues without additional intervention.
Preventive care plays the biggest role in long term plant health. Well draining soil, appropriate watering, adequate light, and regular inspection reduce stress and make plants less vulnerable to pests and disease.
When problems persist or worsen, targeted treatments may be necessary. In those cases, identifying the issue accurately and choosing the appropriate response becomes important. Addressing problems promptly and thoughtfully helps protect both the affected plant and the rest of your collection.

Repotting: When Roots Need More Space
Repotting is an important part of long term houseplant care because container plants eventually outgrow their pots. As roots fill the available space, they have less access to soil, moisture, and nutrients, which can slow growth and affect overall plant health.
A plant that has become root bound may show several signs. Roots may begin growing out of drainage holes, water may move quickly through the pot without being absorbed, or growth may slow even when light and watering are appropriate. In some cases, plants may wilt shortly after watering because tightly packed roots struggle to absorb moisture efficiently.

Repotting provides fresh soil and room for roots to expand, which supports healthier growth and better water management. It also gives you an opportunity to assess root health and refresh soil structure that may have become compacted over time.
Timing matters more than frequency. Many houseplants benefit from repotting during periods of active growth, when they can recover and reestablish more easily. Moving plants into containers that are only slightly larger than their current pots helps prevent excess moisture retention and supports balanced root development.
After repotting, it is normal for plants to take time to adjust. Maintaining stable light, watering appropriately, and allowing roots to settle before resuming fertilizing helps reduce stress and encourages successful recovery.


Summer Care: Should Houseplants Go Outside?
Many houseplants benefit from spending time outdoors during the warmer months, but it is not required for success. Outdoor conditions often provide brighter light, increased humidity, and better air circulation, all of which can support stronger growth when managed carefully.
Before moving plants outside, temperature stability matters most. Houseplants should only be placed outdoors once nighttime temperatures remain consistently warm. Sudden cold snaps or large temperature swings can stress plants and slow growth rather than improve it.
Light exposure also needs adjustment. Plants grown indoors are not accustomed to direct sun, even if they normally sit near bright windows. Gradual exposure to outdoor light and protection from intense midday sun helps prevent leaf burn and stress.
Outdoor conditions increase water use. Plants typically dry out much faster outside due to heat, airflow, and stronger light. Monitoring soil moisture closely and adjusting watering habits is essential during this time.
Bringing plants back indoors requires just as much attention. Outdoor exposure increases the risk of pests, so inspecting plants carefully before moving them inside helps protect the rest of your collection. A thorough check of leaves, stems, and soil during the transition period allows problems to be addressed early.
Not every plant or home environment is suited to outdoor summer placement, and that is perfectly fine. Houseplants can thrive indoors year round when light, watering, and environment are managed well. Outdoor summer care is best viewed as an optional boost rather than a requirement.

Common Houseplant Care Mistakes
Even experienced plant growers run into issues from time to time. Most houseplant problems are not caused by neglect, but by small missteps that add up over time.
- Overwatering, especially when light levels are low or growth has slowed
- Placing plants based on appearance, not on appropriate light conditions
- Ignoring seasonal changes that affect water use and growth
- Repotting too often or using containers that are too large, which can keep soil wet for too long
- Reacting too quickly to minor changes instead of allowing plants time to adjust
Paying attention to environment, observing plant responses, and making gradual adjustments helps prevent most issues before they become serious problems.

Where to Go Next
Understanding the basics of houseplant care gives you a strong foundation, but different situations call for more specific guidance. If you want to go deeper, these resources can help based on what you are experiencing.
- Houseplant light conditions guide for learning how to evaluate and improve the light in your home
- The secret to keeping houseplants alive for a deeper look at practical watering methods and moisture management
- Why your houseplants secretly hate you if something feels off and you are not sure which issue is causing problems
- How to acclimate tropical houseplants if you are bringing new plants home and want to reduce shock and stress
- How to revive houseplants if a plant is already struggling and needs targeted help
- How to care for houseplants in winter for adjusting care during seasonal changes
- Beginner indoor gardening ideas if you are building confidence and learning how to live with plants day to day
This page is designed to give you the confidence to understand how houseplants grow and what they need to stay healthy over time.
My New Houseplant Book
If this guide resonated with you and you want to go even deeper, I wrote Filling Your Home with Life for exactly this reader — the one who understands their outdoor garden but has struggled to make indoor plants work the same way.
After nearly 30 years of gardening and over 100 houseplants in my own home, I put everything I know about growing and styling houseplants with confidence into one book. From understanding light and care rhythms to designing rooms that feel genuinely alive with plants, this is the guide I wish I’d had when I was first figuring it all out.
Whether you’re just starting with one plant or ready to fill every corner of your home with greenery, Filling Your Home with Life will help you get there. [Grab your copy here.]
Final Thoughts on Houseplant Care
Houseplant care does not require perfection, special talent, or constant attention. It is a skill that develops over time through observation, adjustment, and experience.
I have been gardening for nearly 30 years, and while outdoor gardening came naturally to me, houseplants took longer to understand. It was only after slowing down and focusing on the fundamentals that I began to see consistent success. Over the years, caring for a large and varied collection of houseplants has reinforced the same lesson again and again: healthy plants come from understanding environment, not following rigid rules.
Every home is different, and every plant responds a little differently to light, water, and seasonal changes. Learning to read those responses is what builds confidence. Small mistakes are part of the process, and they often teach more than success alone.
If you focus on the core principles covered here and give your plants time to adjust, you will develop a deeper understanding of what they need to thrive. Houseplant care becomes far more enjoyable when it is viewed as an ongoing relationship rather than a checklist.
With patience and attention, indoor plants can become a long lasting and rewarding part of your home.
Happy gardening!

For more information about easy houseplants to grow, see the Oregon State University Extension.
Have you started growing houseplants yet? If so, what are you growing? Do you have any easy-care indoor plants you prefer? Let’s chat more about it in the comments below!
Thank you for visiting the blog today!
Enjoy your day! xo


Stacy,
You’re making me want more indoor plants. Thanks so much for your tips.
I’m so glad! These are so easy to care for! Houseplant alley is a happy place! xoxoxo
This is a great post Stacy, full of tricks and tips. I noticed the pic with the Aloe Vera which you had repotted. I have a large Aloe Vera which has grown too leggy on the bottom of the trunk and needs repotting but I’m not sure I will be able to find a pot deeo enough to submerge the leggy part into the soil as well as the roots. Can you crop some of the roots of those plants?
What is the cake batter test?
Hi Stacy I always appreciate your advice. I have many plants I want to bring inside but I’m concerned about critters, i.e. snakes, lizards, fire ants, etc. dwelling in them. I don’t use pesticides so I appreciate your advice on how I should handle this.
My thinking is to leave them outside near a wall so it creates a micro-climate. Those that survive, great. Those that don’t, so sorry.
I’m open to what you think may be best.
Hi Diane! I’ve not had a problem before and don’t have experience with fire ants but if you are concerned at all, you can try repotting them in fresh soil and a clean planter before bringing them in. If you want to skip that, then bring them to a sheltered indoor area like a garage and let them dry out a few days to a week and acclimate to the indoors then check them before bringing them inside your home. Where fire ants are concerned though, I don’t have experience so you may want to check with your local cooperative extension for other tips before repotting or bringing them in.
Stacy
I’m really wanting to get more indoor plants. Great tips.
I can’t wait to see what ones you get!
Oh wow! I really enjoyed and learned a lot about indoor plants. Thank you so much, now I’m more encouraged and motivated to pursue my happiness of growing beautiful long life plants.
I appreciate that Lynn. Thank you so much!
Stacy
So many great ideas. I plan to share a link on DRA Sunday. Happy New year!
Thank you so much Rachel! I appreciate you! xo
So many, and such gorgeous photos! Inspiring article, for beginners and plant pros alike. And, again, as I noticed the new paint in your living room, so fresh, it even makes the plants look better, greener, somehow. Kim
THANK YOU! They really do right? I got into collecting this year and it’s been so fun to grow more varieties of certain plants!