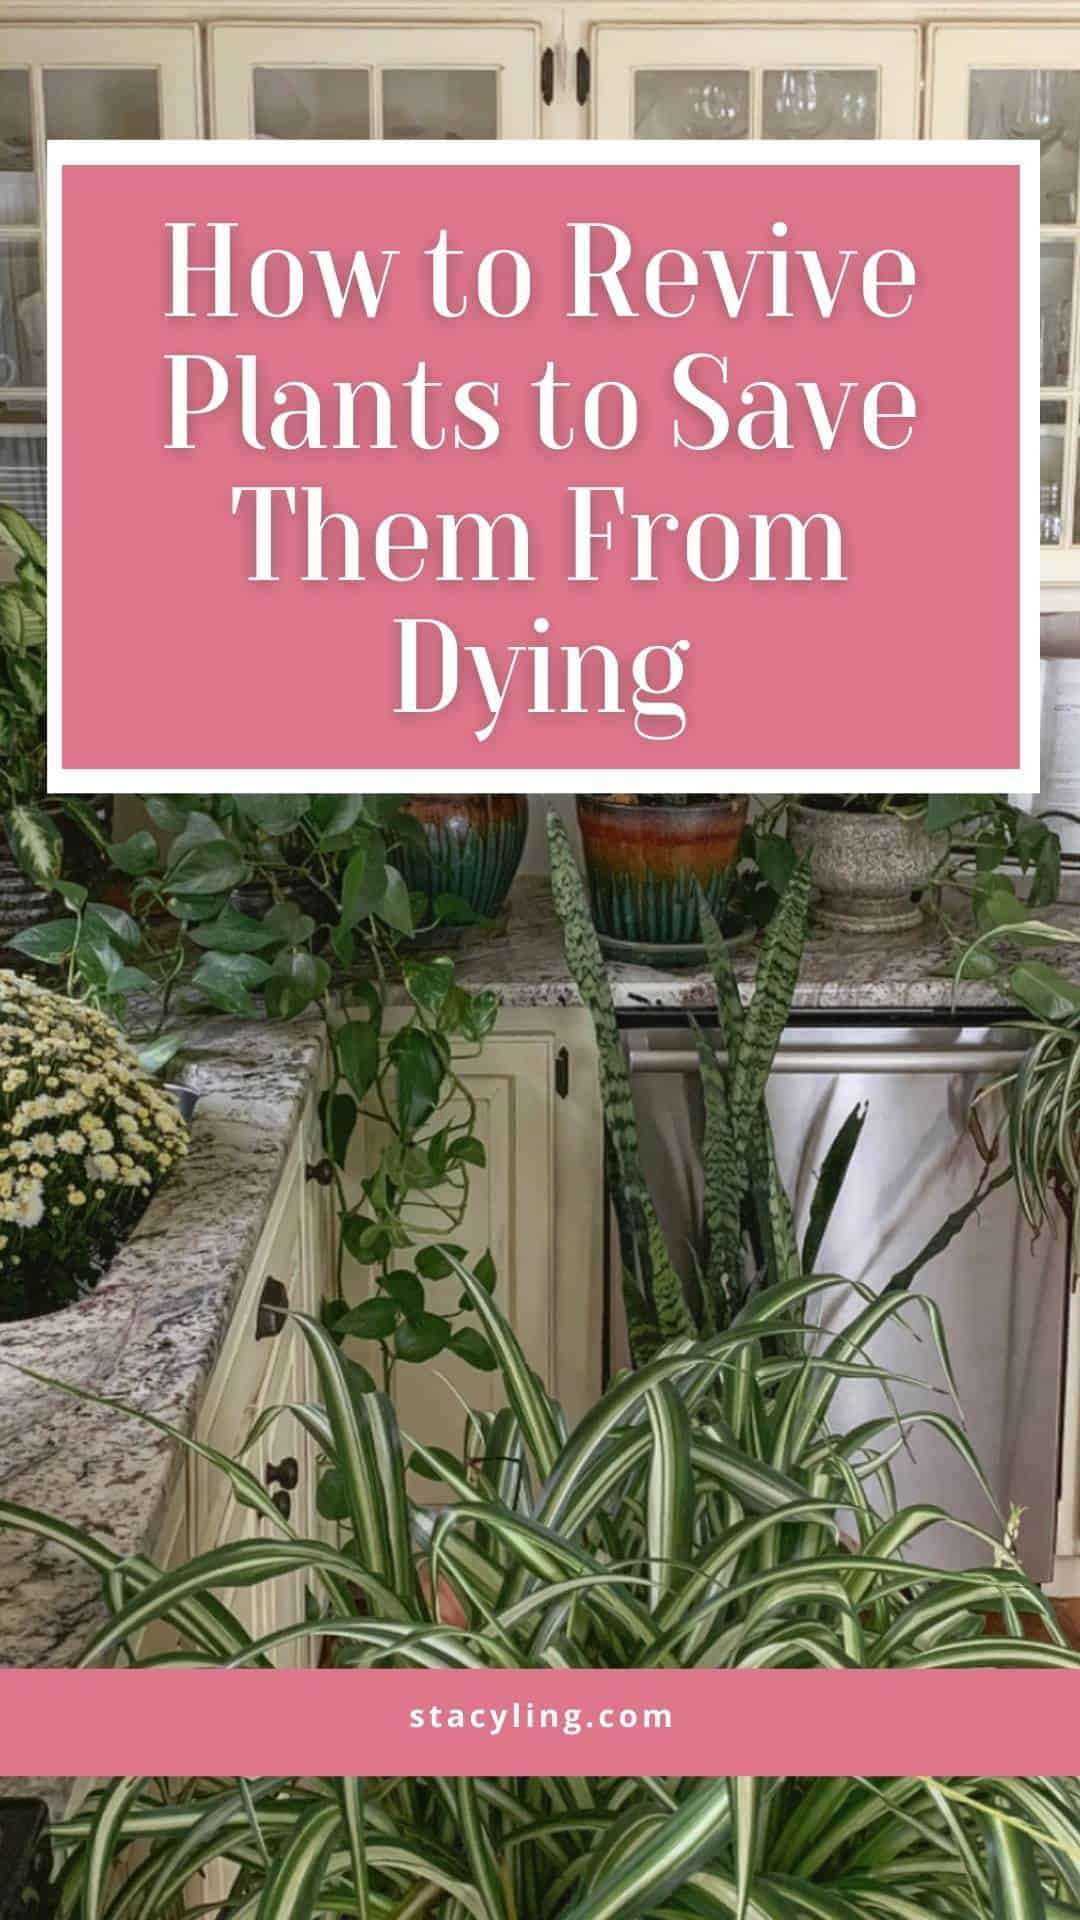
How to Revive a Houseplant That’s Struggling (Even If You Think It’s Too Late)

If your houseplant looks tired or unhealthy, learn how to diagnose the problem and revive it with simple, proven plant care steps.
Over the years, I have become the person friends, family, and coworkers call when a houseplant starts looking rough. Sometimes they bring plants over. Other times I get photos texted with the question, “Can this be saved?”
After decades of gardening and many years growing houseplants in real homes through every season, I can tell you this. Most houseplants decline for very simple reasons. Overwatering is the most common. Underwatering comes next. Occasionally it is compacted or hydrophobic soil. Sometimes it is pests like spider mites. Rarely is it something mysterious or irreversible.
If you are new to indoor gardening or want a refresher on the basics that apply to every plant, start with my houseplant care guide which covers light, soil, and general care in detail. This post focuses specifically on what to do after a plant starts struggling and how to bring it back.
(Posts on stacyling.com may contain affiliate links. Click HERE for full disclosure.)
Can You Bring a Houseplant Back to Life?
Before doing anything else, it is important to determine whether the plant is alive or simply stressed. A plant that looks terrible can still recover. A plant that is truly dead cannot.
Check the Stems
Start with the stems. Healthy stems are flexible and firm. If the plant has woody growth, lightly scratch the surface of a stem with your fingernail or a clean blade.
If you see green tissue underneath, the plant is alive. Even if all the leaves are gone, green tissue means there is still potential for recovery.
If the stem is brittle, dry, and brown all the way through, that portion is dead. Check closer to the base before giving up.
Examine the Roots
Gently remove the plant from its pot so you can inspect the root system. Healthy roots are typically white, cream, or light tan and feel firm.
Roots that are dark, mushy, or smell foul indicate rot, usually caused by soil staying wet for too long. Roots that are thin, dry, and shriveled indicate prolonged underwatering.
Even with some root damage, many plants can still recover once the environment is corrected.
Consider Seasonal Dormancy
Time of year matters. During winter, many houseplants slow down significantly. Growth pauses, leaves may yellow or drop, and plants often look tired.
This does not automatically mean something is wrong. Winter plant care is about maintenance, not growth. If you are unsure whether winter conditions are contributing, my guide to caring for plants in winter explains how dormancy affects indoor plants.

Important Note About Winter Dormancy for Houseplants
Before assuming a houseplant is dying, it is important to consider the time of year. During fall and winter, most houseplants naturally slow down. Light levels drop, indoor air becomes drier once the heat turns on, and plants use far less water and energy than they do during the growing season.
Because of this, indoor plants often look tired in winter. Growth slows or stops, leaves may yellow or drop, and foliage can appear less vibrant. This is not failure. It is dormancy.
I see this every year with my Boston ferns. From spring through fall, after spending time outdoors in warm, humid conditions, they look full and lush. When I bring them inside for winter, they lose some leaves and brown out a bit. That change is normal. Throughout the winter, I simply trim off dead growth and let the plant rest. Once it goes back outside in spring, it rebounds quickly as light and humidity increase.
The key during dormancy is restraint. Overwatering, overfertilizing, or constantly moving a resting plant often causes more harm than good. Unless there are clear signs of root rot, pests, or disease, a less-is-more approach is usually best in winter.
Pro tip: Avoid watering on the same day every week. Instead, check soil moisture before watering by inserting your finger about an inch into the soil or using a moisture meter. This simple habit prevents many winter plant problems before they start.
To learn more about how to watering indoor plants and houseplant care in winter, please visit these guides.
Why Houseplants Decline
Most struggling houseplants fall into one of these categories:
- Overwatering or soil staying wet too long
- Underwatering or soil becoming hydrophobic and repelling water
- Incorrect light exposure
- Roots outgrowing the container
- Old or compacted potting mix
- Fertilizer stress
- Dust limiting photosynthesis
- Pest issues, most commonly spider mites
In my experience, overwatering accounts for the majority of plant problems. People water on a schedule instead of based on soil moisture. The roots slowly suffocate, and the plant declines.
The goal of reviving a plant is not to fix every symptom. It is to correct the conditions that caused the problem in the first place.

How to Revive a Dying Houseplant Step by Step
This is the same process I use whether the plant comes from my own home, a friend’s office, or someone’s kitchen windowsill.
Step 1: Assess the Plant Honestly
Look closely before touching anything.
- Is the soil soaking wet or bone dry?
- Is there any healthy green growth?
- Are there signs of pests like webbing or stippling?
- Is the plant rootbound?
Understanding what went wrong prevents repeating the same mistake after repotting.


Step 2: Remove Dead or Damaged Growth
Using clean snips or pruners, remove all dead, crispy, or yellow foliage. This allows the plant to redirect energy toward recovery instead of trying to support damaged tissue.
Do not worry if this leaves the plant looking sparse. Healthy regrowth starts at the roots.

Step 3: Remove the Plant From Its Pot
Take the plant out of its container and examine both the soil and roots.
If the soil is soggy, compacted, or smells off, it needs to go. If the soil is dry and pulling away from the pot, it may be hydrophobic and unable to absorb water properly.

Step 4: Tease and Clean the Roots
Gently loosen the roots with your fingers. If the plant is severely rootbound, tease them outward or trim the bottom portion slightly to encourage new growth.
Remove any mushy or clearly dead roots using clean tools.

Step 5: Replace the Soil Completely
Old soil often causes more problems than people realize. I almost always replace it entirely when reviving a plant.
Use a fresh, well draining potting mix appropriate for houseplants. If needed, add perlite or orchid bark to improve drainage.
If you want more detail on soil structure, this ties closely into proper watering practices explained in my watering houseplants guide.
Step 6: Choose the Right Pot Size
Select a container one size larger than the previous pot. Going too large can cause excess moisture retention and slow recovery.
Make sure the pot has drainage holes.
Step 7: Repot Carefully
Place the plant at the same depth it was previously growing. Fill around the roots with fresh soil and gently firm it in place without compacting.

Step 8: Feed Gently
I avoid synthetic fertilizers when reviving plants. Instead, I use compost, worm castings, or a diluted organic liquid fertilizer.
For the past few years, I have used a gentle organic liquid fertilizer at low strength when watering, even during winter. My plants have never looked better using this approach.
Step 9: Water Based on the Original Problem
- If the plant was overwatered, wait a few days before watering to allow roots to recover.
- If the plant was severely dry, water thoroughly but allow excess to drain completely.
Always check soil moisture before watering. Never water on autopilot. My full approach is explained in the indoor plant watering guide.

Step 10: Place in Bright Indirect Light
Rehab plants need light, but not harsh direct sun. Place them near a bright window with indirect light while they recover.
Light conditions matter more than most people realize. If you are unsure where to place the plant, refer to my guide on understanding houseplant light conditions.
Step 11: Monitor Without Overreacting
Recovery takes time. New growth may take weeks. Avoid constant moving, fertilizing, or watering changes.
Let the plant stabilize.

Real Life Example: Office Plants Brought Back From the Brink
Over the years, I have revived countless office plants. In one case, a dracaena was severely underwatered and growing in compacted soil. Another parlor palm was sitting in saturated soil with stressed roots.
Different problems, same solution.
Fresh soil, corrected watering, proper light, and patience. Both plants recovered once the underlying conditions were addressed.


How Long Does It Take for a Houseplant to Recover?
How long recovery takes depends on how stressed the plant was before you intervened.
- Mild wilting or dehydration often improves within a few days once watering and light are corrected.
- Root stress or compacted soil can take several weeks before new growth appears.
- Severe decline, especially from prolonged overwatering or root damage, may take a month or longer to show signs of recovery.
The most important thing to remember is patience. Recovery is not instant, and new growth is a better indicator of success than how the plant looks right away. As long as the plant still has living roots or green tissue, improvement is possible.
Avoid the urge to keep adjusting care every few days. Stable conditions give plants the best chance to rebound.
Final Thoughts: Focus on the Process, Not Perfection
Reviving a struggling houseplant is rarely about doing something complicated. In most cases, it comes down to slowing down, observing the plant, and correcting one or two basic care issues. Over the years, I have seen far more plants decline from too much attention than from neglect.
After decades of gardening and many years growing houseplants indoors, I have learned that plants are resilient when given stable conditions. If the roots are alive and the environment is appropriate, most houseplants will recover with time. The hardest part is resisting the urge to keep changing things once you have corrected the underlying problem.
If your plant struggled due to watering issues, my watering indoor plants guide walks through how to adjust watering based on soil and seasonal conditions. For plants placed in the wrong spot, understanding houseplant light conditions can make an immediate difference. And if winter stress played a role, my winter plant care guide explains how to support plants through dormancy without overcorrecting.
If you are looking to prevent future problems altogether, start with my houseplant care guide, which covers the foundational principles that apply to nearly every indoor plant.
Plants do not need perfection. They need patience, consistency, and time. When you focus on the process instead of the outcome, healthy growth usually follows.
Thank you so much for following along.
Enjoy a beautiful day! xo


Stacy,
I have to admit that those would have been trashed at my house. Lol. I’ve saved this pin to remind not to give up on plants. Thanks for your shares.
Still don’t have a lot of house plants because I kill them.
We need to fix that – I have ones you can’t kill if you tried!
You’re such a good plant mama! These are great tips!
Thank you so much Anne! xoxo
These are such great tips. Thanks for sharing again.
Thank you Rachel! xo
That’s what I’m telling myself…it’s just in winter dormancy!!!
I always say – just keep them going until we can get them outside again every summer!
Did you snip the branches on that dracaena? How did you revive it? I have one that looks similar
Hey Nichole! I cut off all of the dried and dead branches and then repotted it to give it a fresh start. Do you see green on the plant still?