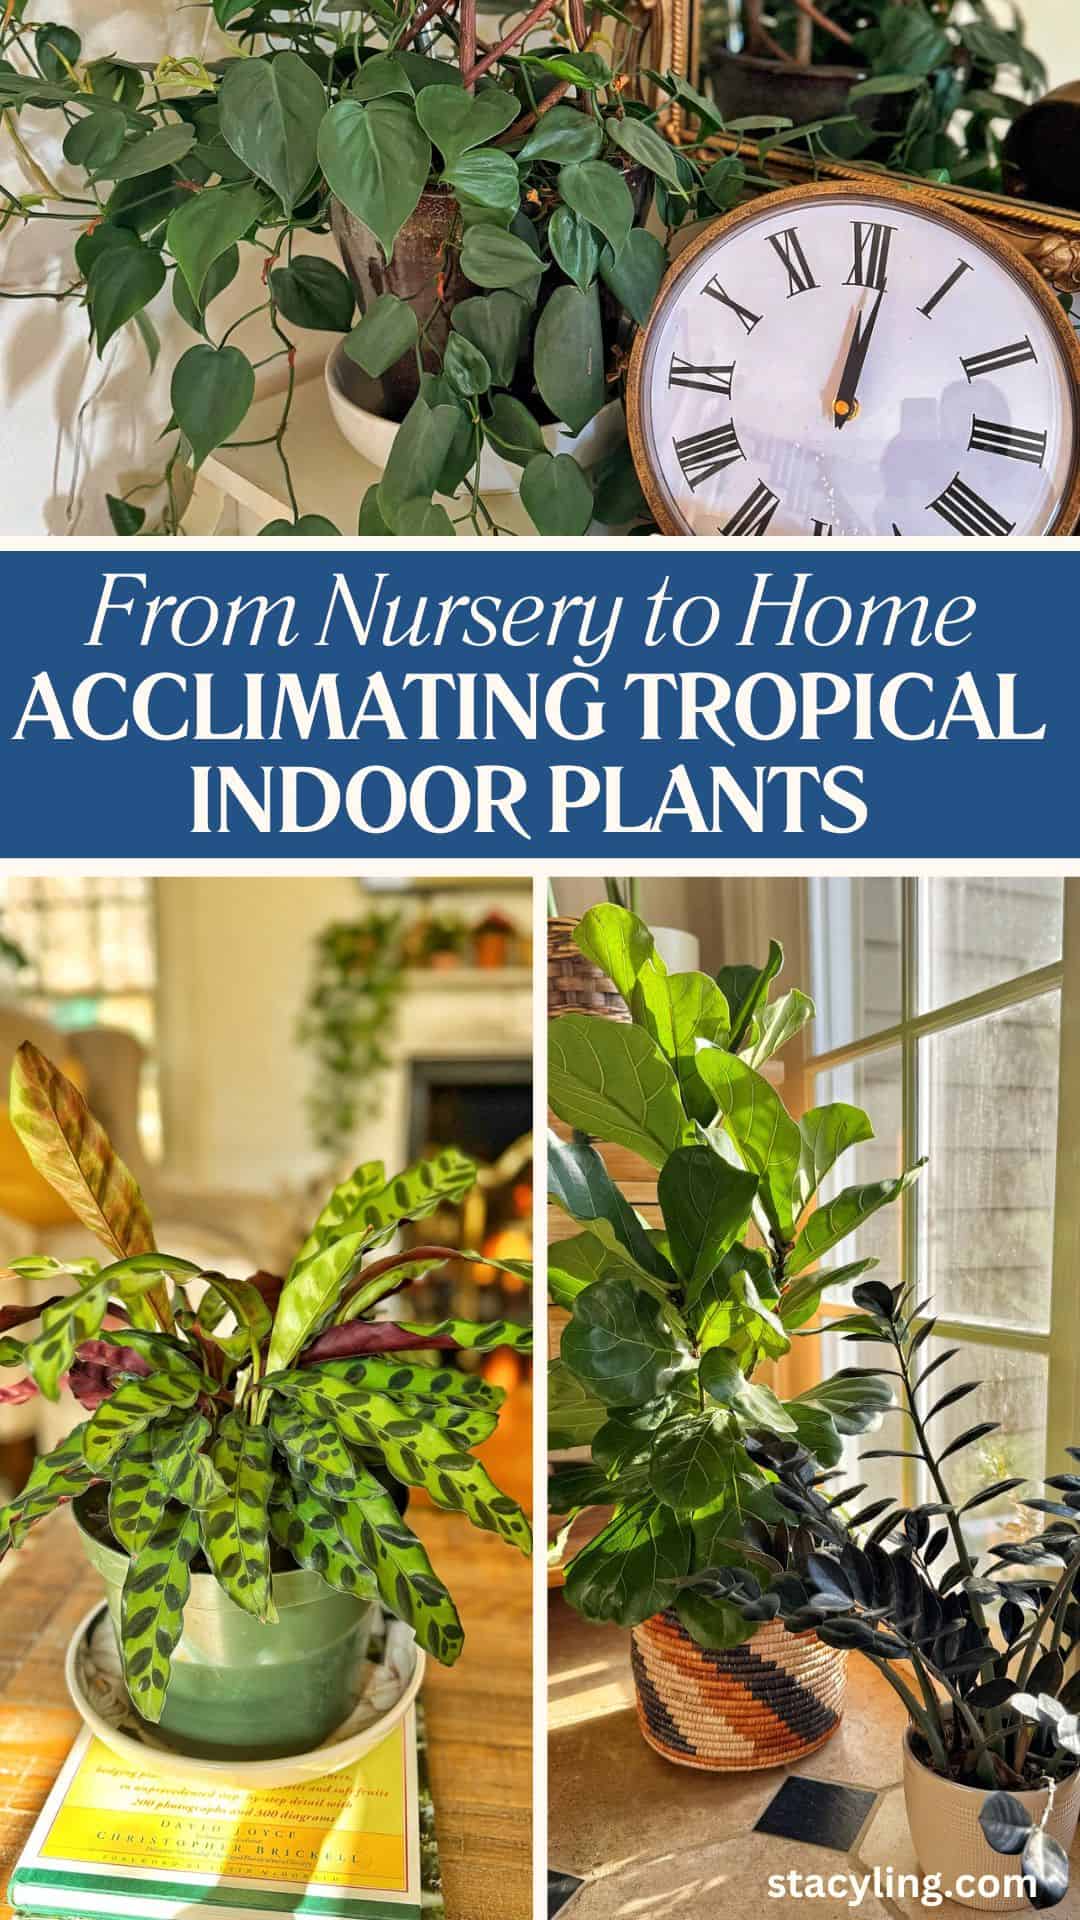
How to Acclimate Tropical Indoor Plants from the Nursery to Your Home

Don’t let your new tropical indoor plants die! Learn how to acclimate them from the nursery to your home with these easy tips.
Bringing a new tropical plant into your home is so exciting! But that excitement can quickly turn to anxiety when your new plant starts to look a little sad. As a trained master gardener, I’ve brought home more plants than I can count, and I’ve seen firsthand how the shock of a new environment can affect them.
Recently, I decided to refresh my own indoor collection and ordered a box of new tropical plant babies online. As I unpacked each one, I knew my first and most important job was to help them transition from the warmth and humidity of their greenhouse to my home.
This guide is for you if you’re feeling that same mix of excitement and worry. I’ll walk you through my proven process for acclimating any new plant to its new home, so you can skip the stress and go straight to watching it flourish. Let’s get your new plant settled and ready to thrive.
New tropical houseplants often struggle during their first few weeks indoors as they adjust to light, humidity, and watering changes. I walk through exactly how to help houseplants acclimate and thrive in my complete houseplant care guide here →
Easy Houseplant Care Tips
(Posts on stacyling.com may contain affiliate links. Click HERE for full disclosure.)

What Do Tropical Plants Need to Thrive Indoors?
To give your new plant the best chance, it helps to understand what makes them tick. Tropical plants are accustomed to environments that are warm, moist, and often shaded by larger trees. This means they crave diffused sunlight, high humidity, and steady temperatures.
Living in New Jersey, I know firsthand the challenges of keeping tropical plants happy, especially with our long, cold winters and dry indoor air. It’s a stark contrast to their natural habitat. That’s why mimicking their native conditions is the secret to success—and the reason I’ve had much better luck with certain plants since moving to a home with more natural light.
Key Requirements for Tropical Indoor Plants
Light: Most tropical plants thrive in bright, indirect light. Think of the dappled sunlight on a rainforest floor. Place your plant near a window with a sheer curtain, or in a spot where it won’t get direct, scorching sun.
Humidity: This is the most crucial factor. Your home’s dry air, especially in winter, is the biggest adjustment your new plant will face. Here’s how to boost the moisture:
- Use a humidifier: This is the most efficient way to provide constant moisture. I have this humidifier that integrates well with my decor.
- Place on pebble trays: Fill a tray with pebbles and water, then set your plant’s pot on top. The evaporating water increases moisture around the plant.
- Group your plants: Plants release moisture through their leaves, so clustering them creates a humid microclimate.
- Consider a bathroom: If you have a bright bathroom, the humidity from showers makes it a perfect home for your new tropical plant.
Temperature & Air: Tropical plants love temperatures between 65-85°F. Avoid placing them near cold drafts or heat sources, which can cause sudden temperature swings and stress. A gentle fan can also help by mimicking a natural breeze.

How to Introduce and Acclimate New Plants: The 5-Step Process
Welcoming a new plant is like welcoming a new friend—it requires a little patience to ensure they feel comfortable. Because I ordered my new plants online, I knew the transition from the nursery, through shipping, to my home would be a shock. This five-step process is how I help my new plant babies thrive.
Step 1: Inspection & Quarantine
The very first thing you must do is inspect your new plant thoroughly. Check the leaves (top and bottom), stems, and soil for any signs of pests or diseases. If you have other plants, a short quarantine period of about two weeks is a smart way to protect your existing collection.
Step 2: Gradual Introduction to Light
Your new plant is used to the perfectly controlled lighting of a greenhouse. A sudden change can cause shock. For the first week or two, place it in a spot with lower light than its ideal location. Then, slowly move it to its final destination. This gradual transition prevents stress and leaf burn.
Step 3: Humidity & Temperature Control
If your plant came from a humid greenhouse, the dry air in your home will be a shock. This is the time to employ your humidity-boosting techniques from above. Avoid placing the plant near any drafts or vents.
Step 4: Watering & Feeding
Don’t assume your new plant needs water the moment it arrives. Always check the soil first. While they love consistent moisture, they hate soggy soil. Wait to fertilize until the plant has fully acclimated—about a month after it’s been introduced. At that point, I fertilize my plants every time I water all year round with this gentle organic fertilizer.
Step 5: Observation & Repotting
Keep a close eye on your new plant for signs of stress, such as drooping, yellowing leaves, or discoloration. Some plants will take longer to acclimate than others. Once your plant seems to be thriving, you can consider repotting it. Just remember that it is perfectly okay to keep it in its nursery pot if it’s happy and not completely rootbound.
When I repot my tropical houseplants, I use these clear nursery pots so I can better see the health of the root system and soil moisture without disturbing the plant.

Troubleshooting Common Tropical Plant Problems
Even with the best care, new plants can show signs of stress. This is completely normal and often just a part of the acclimation process. Here are some of the most common issues you might encounter and how to fix them.
Why Are My Plant’s Leaves Drooping or Wilting?
Drooping leaves are the most frequent sign of a stressed plant. While it looks alarming, it’s often an easy fix. The most common causes are:
- Underwatering: The soil is bone dry. Give the plant a thorough watering, allowing excess water to drain out of the bottom of the pot.
- Overwatering: The roots are suffocating from too much water. Check the soil—if it’s soggy, hold off on watering until the top inch is dry.
- Transplant Shock: The plant is simply reacting to its new environment. Give it time to adjust and avoid over-handling it.
Why Are the Leaves Turning Yellow?
A few yellowing lower leaves can be normal as a plant sheds old growth. However, widespread yellowing, especially on the top leaves, can indicate a problem.
- Overwatering: This is the most likely culprit. Saturated soil leads to root rot, which prevents the plant from absorbing nutrients. Always check the soil moisture before you water.
- Lack of Light: If the plant isn’t getting enough light to photosynthesize, its leaves may turn yellow and drop. Try moving it to a brighter location with indirect light.

What Causes Brown or Crispy Leaf Tips?
This is a tell-tale sign of a common issue for tropical plants in a home environment.
- Low Humidity: Tropical plants thrive in high humidity, and the dry air in most homes can cause the tips of their leaves to dry out and turn brown. Increase the humidity around your plant using a pebble tray or humidifier.
- Over-fertilizing: If you fertilized your plant too soon, the excess salts in the soil can burn the roots and lead to brown tips. Wait to fertilize until the plant is fully acclimated.
How Do I Check for Pests?
Pests can be a big problem, and a new plant is the most likely source. Here’s how to check and what to do:
- Take action: If you find pests, immediately quarantine the plant. You can treat most pests by wiping down the leaves with a cotton ball soaked in a solution of diluted rubbing alcohol, or with a gentle insecticidal soap.
- Look for them: Carefully inspect the leaves, stems, and soil for tiny insects, sticky residue, or webbing. Common pests include spider mites, mealybugs, and fungus gnats.

10 New Tropical Indoor Plants For Me to Love
My new home has been a game-changer for my indoor garden. The abundance of natural light streaming through the big windows has given me the confidence to revisit some of the plants I’ve struggled with in the past, like the famously moody Fiddle Leaf Fig and the dramatic Alocasia.
With this renewed optimism and the perfect growing environment, I’m excited to give these tropical beauties a second chance. Here are the ten new plants I’m growing and how I’m helping them acclimate!
1. Pink Princess Philodendron
This stunning plant is known for its beautiful pink variegation on dark green leaves. Pink princess philodendron prefers bright, indirect sunlight. Too much direct sun can fade its vibrant colors, while too little light can reduce the variegation. Keep the soil consistently moist but not waterlogged. And allow the top inch of soil to dry out before watering again.
I’ve never grown this one before but have been eyeing it for quite some time. So far, she’s acclimating well and enjoying a prime location in my sunroom. I ordered this plant online and was thrilled to see the condition it arrived in. No bugs, roots, and foliage looked healthy, and I would order from the same online retailer again.
Read my full guide on caring for your Pink Princess Philodendron here. And if you want to try growing one, this is where I purchased mine – buy it here.

2. Alocasia
Alocasia plants, with their large, arrow-shaped leaves, are a bold statement. They thrive in bright, indirect light but can tolerate lower light conditions. However, their dramatic foliage is best maintained with ample light. These plants like humidity and evenly moist soil. Water them once the top inch of soil feels dry, avoiding soggy conditions to prevent root rot.
I have not had the best luck with alocasia plants in the past but I am up for the challenge! The last time I tried to grow this was way back when Chris and I lived in our condo, which was well over 25 years ago. It didn’t do well because I’m pretty sure I overwatered it. This too will reside in the sunroom and will hopefully do well! Fingers crossed I find more success with this one.
Read my full guide on caring for your Alocasia Plant here. And if you want to buy one, shop here.

3. Variegated Alocasia ‘Dawn’
A rare and beautiful variant, Alocasia Dawn requires a bit more care to maintain its variegation. Bright, indirect light is ideal to enhance its variegation without causing leaf burn. Similar to other alocasias, it prefers evenly moist soil and high humidity. Ensure good drainage to prevent waterlogged roots.
So far, I have not found this one to be as fussy as the paperwork that it arrived with. The plant is adjusting well and thriving in the sunroom. I have been keeping the soil more on the moist side but not overdoing it. The variegation in the foliage is stunning and I would order from this online grower again.
Read my full guide on caring for Alocasia Dawn plant here. And if you want to try growing it, shop here.

4. Monstera Thai Constellation
This variegated Monstera is coveted for its unique leaf patterns. It enjoys bright, indirect light. Direct sunlight can damage the leaves, while too little light can slow their growth and reduce variegation. Allow the top few inches of soil to dry out before watering. Overwatering can lead to root rot, so ensure good drainage.
Monstera Thai Constellation plants can get very expensive and I have not found smaller ones local to me so I purchased this one online. It was a little smaller than I was expecting but the grower took great care shipping it. I’m hoping it will take off and thrive once I get it outside in May for the summer. I’ll keep you posted on this one.
Read my full guide on caring for your Monstera Thai Constellation Plant here. And if you want to purchase one, buy it here.

5. Chinese Evergreen with Pink Tips
An easy-care plant that adds a pop of color, the Chinese evergreen is adaptable but prefers low to medium, indirect sunlight. Harsh direct sunlight can scorch its leaves. Keep the soil lightly moist, and allow the top inch to dry out between waterings. Overwatering can cause root issues.
This plant was in amazing condition when it arrived and I would 100% order it again. Super easy to grow, adapts to different light conditions, the roots and foliage are very healthy and the plant is gorgeous!
Read my full guide on caring for Aglaonema Plants here. And if you want to try growing this one, buy it here.

6. Fiddle Leaf Fig
Famous for its large, glossy leaves, the fiddle leaf fig prefers bright, indirect light. It can tolerate some morning sun but avoid harsh afternoon rays. Water when the top inch of soil is dry. They don’t like overly wet or dry conditions. Use well-draining soil to help manage moisture.
Much like the alocasia, I have not had the best luck with the fiddle leaf fig. They can be a little temperamental as they need the right amount of light and moisture. I don’t think my former home had the best conditions for this plant so I decided to give it a whirl again here. So far so good, she is thriving in my family room by a huge south-facing window that gets a lot of light.
Read my full guide on caring for your fiddle leaf fig here. And if you want to try growing one, this is where I bought mine! Shop here.

7. ZZ Plant ‘Raven’
Known for its striking, dark foliage, the zz plant thrives in low to bright indirect light, showcasing its versatility. It’s drought tolerant, requiring water only when the soil has dried out completely. Less is more with this resilient plant.
I am already growing a ZZ plant but really wanted this variety with the darker foliage. It is so easy to care for and is loving the spot near my fiddle leaf fig in the family room.
Read my full guide for caring for ZZ plant here. And if you want to try growing ‘Raven’, buy it here.

8. Umbrella Plant (Ficus)
With its glossy leaves and dense growth, it’s a lively addition. Bright, indirect light is best, though it can adapt to lower light levels. Keep the soil consistently moist, but not soggy. Allow the top inch to dry out before watering again.
I’ve never tried growing this plant before. When Chris and I were shopping at Home Depot not too long ago, they got a shipment in from Proven Winners and I decided to snag one. Home Depot plants were in pretty good condition and looked like they just arrived so I figured if I was buying one, I should do it then.

9. Rubber Plant
The rubber plant is as sturdy as it is attractive. Prefers bright, indirect light but can tolerate lower light conditions. Let the top few inches of soil dry out between waterings. Overwatering can lead to leaf drop and root rot.
The rubber plant is the first plant I ever grew and killed. Way back in the condo, I overwatered it and wasn’t giving it the proper light conditions. She is blissfully residing in my sunroom among all the other tropical indoor plants.
Read my full guide for caring for ficus elastica here. And if you want to try growing this ‘Burgundy’ rubber plant, shop here.

10. Bird of Paradise
The bird of paradise plant brings a tropical vibe with its large, lush leaves. Bright, indirect sunlight is ideal. It can tolerate direct sunlight, especially if acclimated gradually. Water when the top inch of soil is dry. They prefer a bit more water during the growing season and less in the winter.
I had a bird of paradise for several years when we lived in my former home. Every year, my husband would help me lug it outdoors so it could summer on our deck. It grew so large and so heavy that we couldn’t bring it in again so that was that. I have a little more room here, so I’m adding it back among my new favorite indoor tropical plants.
If you’d like to try growing one, you can buy my bird of paradise here.

Frequently Asked Questions About Acclimating Tropical Indoor Plants
How long does it take for a plant to acclimate?
The acclimation process usually takes about 2 to 4 weeks. However, some plants may adjust in as little as a week, while others might take a couple of months. Be patient and watch for signs of new growth, which indicates your plant is happy in its new environment.
Should I repot my new plant right away?
No, it’s best to wait at least a few weeks before repotting a new plant. Repotting adds to the stress of moving to a new environment. Give your plant time to acclimate and show signs of new growth before you attempt to repot it.
How often should I water my new tropical plant?
There is no set schedule for watering. Instead of watering on a specific day, check the soil moisture regularly. For most tropical plants, water thoroughly once the top one or two inches of soil feel dry to the touch.
Why did my plant lose leaves after I brought it home?
Losing a few leaves is a very common reaction to the stress of a new environment. This is often just acclimation shock, as the plant adjusts to different light, humidity, and temperature levels. As long as the new growth looks healthy, your plant should be just fine.
What are the best places to buy tropical plants online?
There are many excellent online nurseries that specialize in tropical plants. When buying online, always check reviews and look for companies that use secure packaging to ensure your plant arrives safely.

More About Acclimating Tropical Indoor Plants to Your Home
Since writing this post, I’ve used these very same tips to confidently add over 30 more rare houseplants to my collection. I know…right???? But I love them all!
The process of acclimating each plant has proven to me that success isn’t about a green thumb—it’s about paying attention and understanding their basic needs. Your gardening journey, like mine, is a continuous process of learning and growth. Use these tips as your foundation, and you’ll be able to confidently expand your own collection and truly bring the tropics home.
What is your favorite tropical indoor plant? I would love to know more in the comments below.
For additional tips about bringing your plants indoors, read this post from the Iowa State Cooperative Extension.
To drill down on houseplant care basics and grow an indoor garden that thrives, please read my articles:
- Houseplant Care 101
- From Shop to Home: How to Acclimate Your Tropical Plants
- How to Water Indoor Plants Like a Pro
- How to Revive Houseplants You Thought Were Goners
- Is Your Houseplant Getting Enough Light? Here’s How to Tell.
Happy Gardening!
Thank you for visiting the blog today!
Enjoy your day! xo
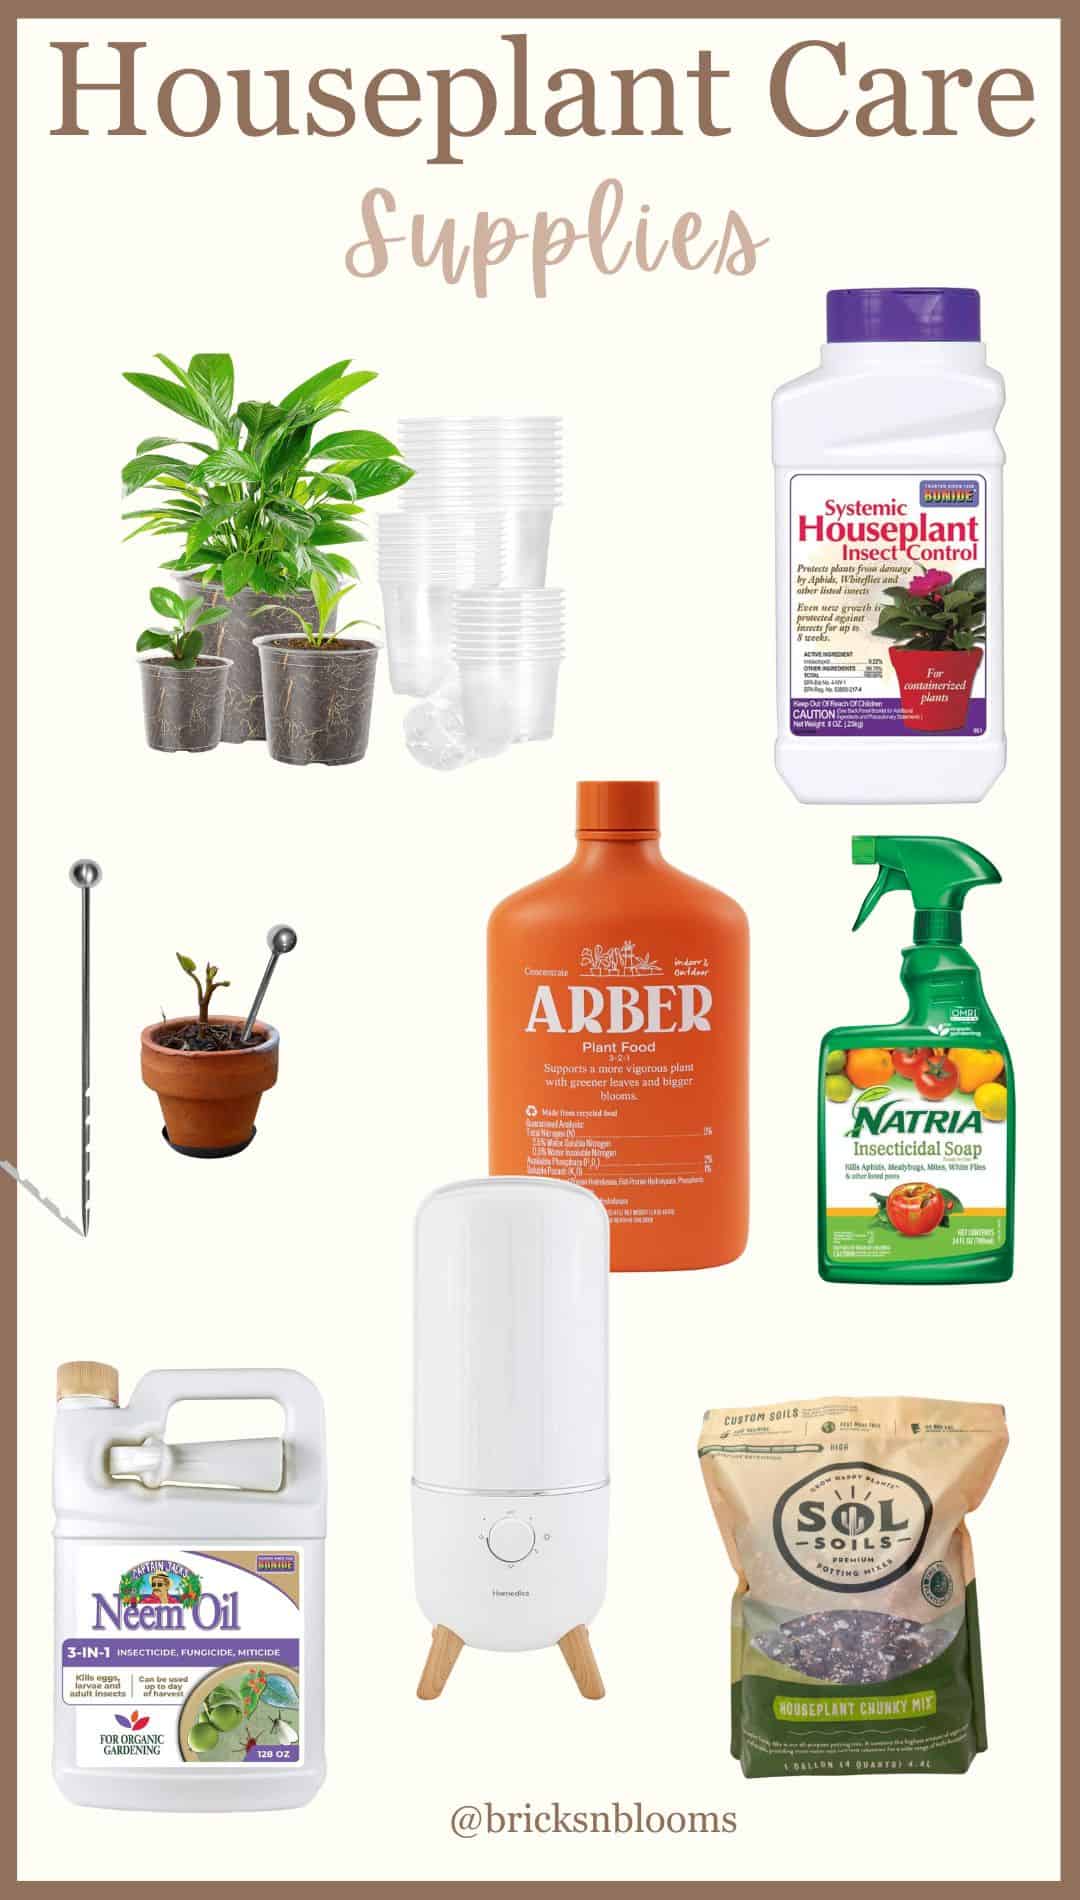
Shop the Post
Snag the supplies I regularly use on all my houseplants here.


Such useable and helpful information, I enjoy your indoor plant series of posts. Having been retired for a year and a half, my indoor plants have expanded, and these posts are highly anticipated. What has also grown, is my collection of plant stands and small tables, one more always finds a home, although my hubby has noticed and isn’t sure how I fit more in, haha. Kim
I love that! You can never have too many of those either! Right now, I am definitely in my houseplant era – over the last year I’ve really gotten into collecting more plants. There are so may out there that bloom. And thank you so much Kim!