DIY Pumpkin Vase: The Easiest Thanksgiving Centerpiece You’ll Ever Make!

Easy DIY Thanksgiving centerpiece! Turn real pumpkins into charming vases for a rustic, elegant table with this simple tutorial.
Thanksgiving is all about gathering with friends and family where we share a delicious meal and enjoy a warm, cozy vibe in our home. A beautifully decorated table sets the tone for a memorable celebration and the right centerpiece can truly bring it all together.
But who says centerpieces have to be super complicated or expensive? This year, let’s skip the traditional floral arrangements and embrace the rustic charm of a pumpkin vase! It’s such a simple, creative idea that brings the outdoors in and adds a natural touch of fall to your table.
Hi, I’m Stacy Ling, a trained master gardener in USDA Zone 6b, sharing beginner-friendly tips to help your garden (and your home décor!) thrive. With a few easy steps, you can turn an ordinary pumpkin into a stunning, seasonal centerpiece that’s as effortless as it is eye-catching.
(Posts on stacyling.com may contain affiliate links. Click HERE for full disclosure.)

Gathering Your Supplies
Ready to give it a try? Based on years of (sometimes painful) trial and error, here is the complete list of supplies you’ll need to create a beautiful and long-lasting centerpiece:
- Pumpkins: (I used three mid-sized sugar pumpkins, but any variety works!)
- Flowers: Chrysanthemums, fall blooms, or even dried florals.
- Essential Protection: Two Plant Saucers like these (one for the inside, one for the table).
- Tools: Sharp Kitchen Knife, Spoon or scoop to remove the innards.
- Longevity Secret (Choose One):
- Household Bleach (1 tablespoon)
- Clear-coat spray varnish or Mod Podge
As an aside, you can TOTALLY make this using faux pumpkins too. Simply find one that is a decent size for a “vase” and cut out the top!

Creating Your Pumpkin Vase
Prepping the Pumpkins
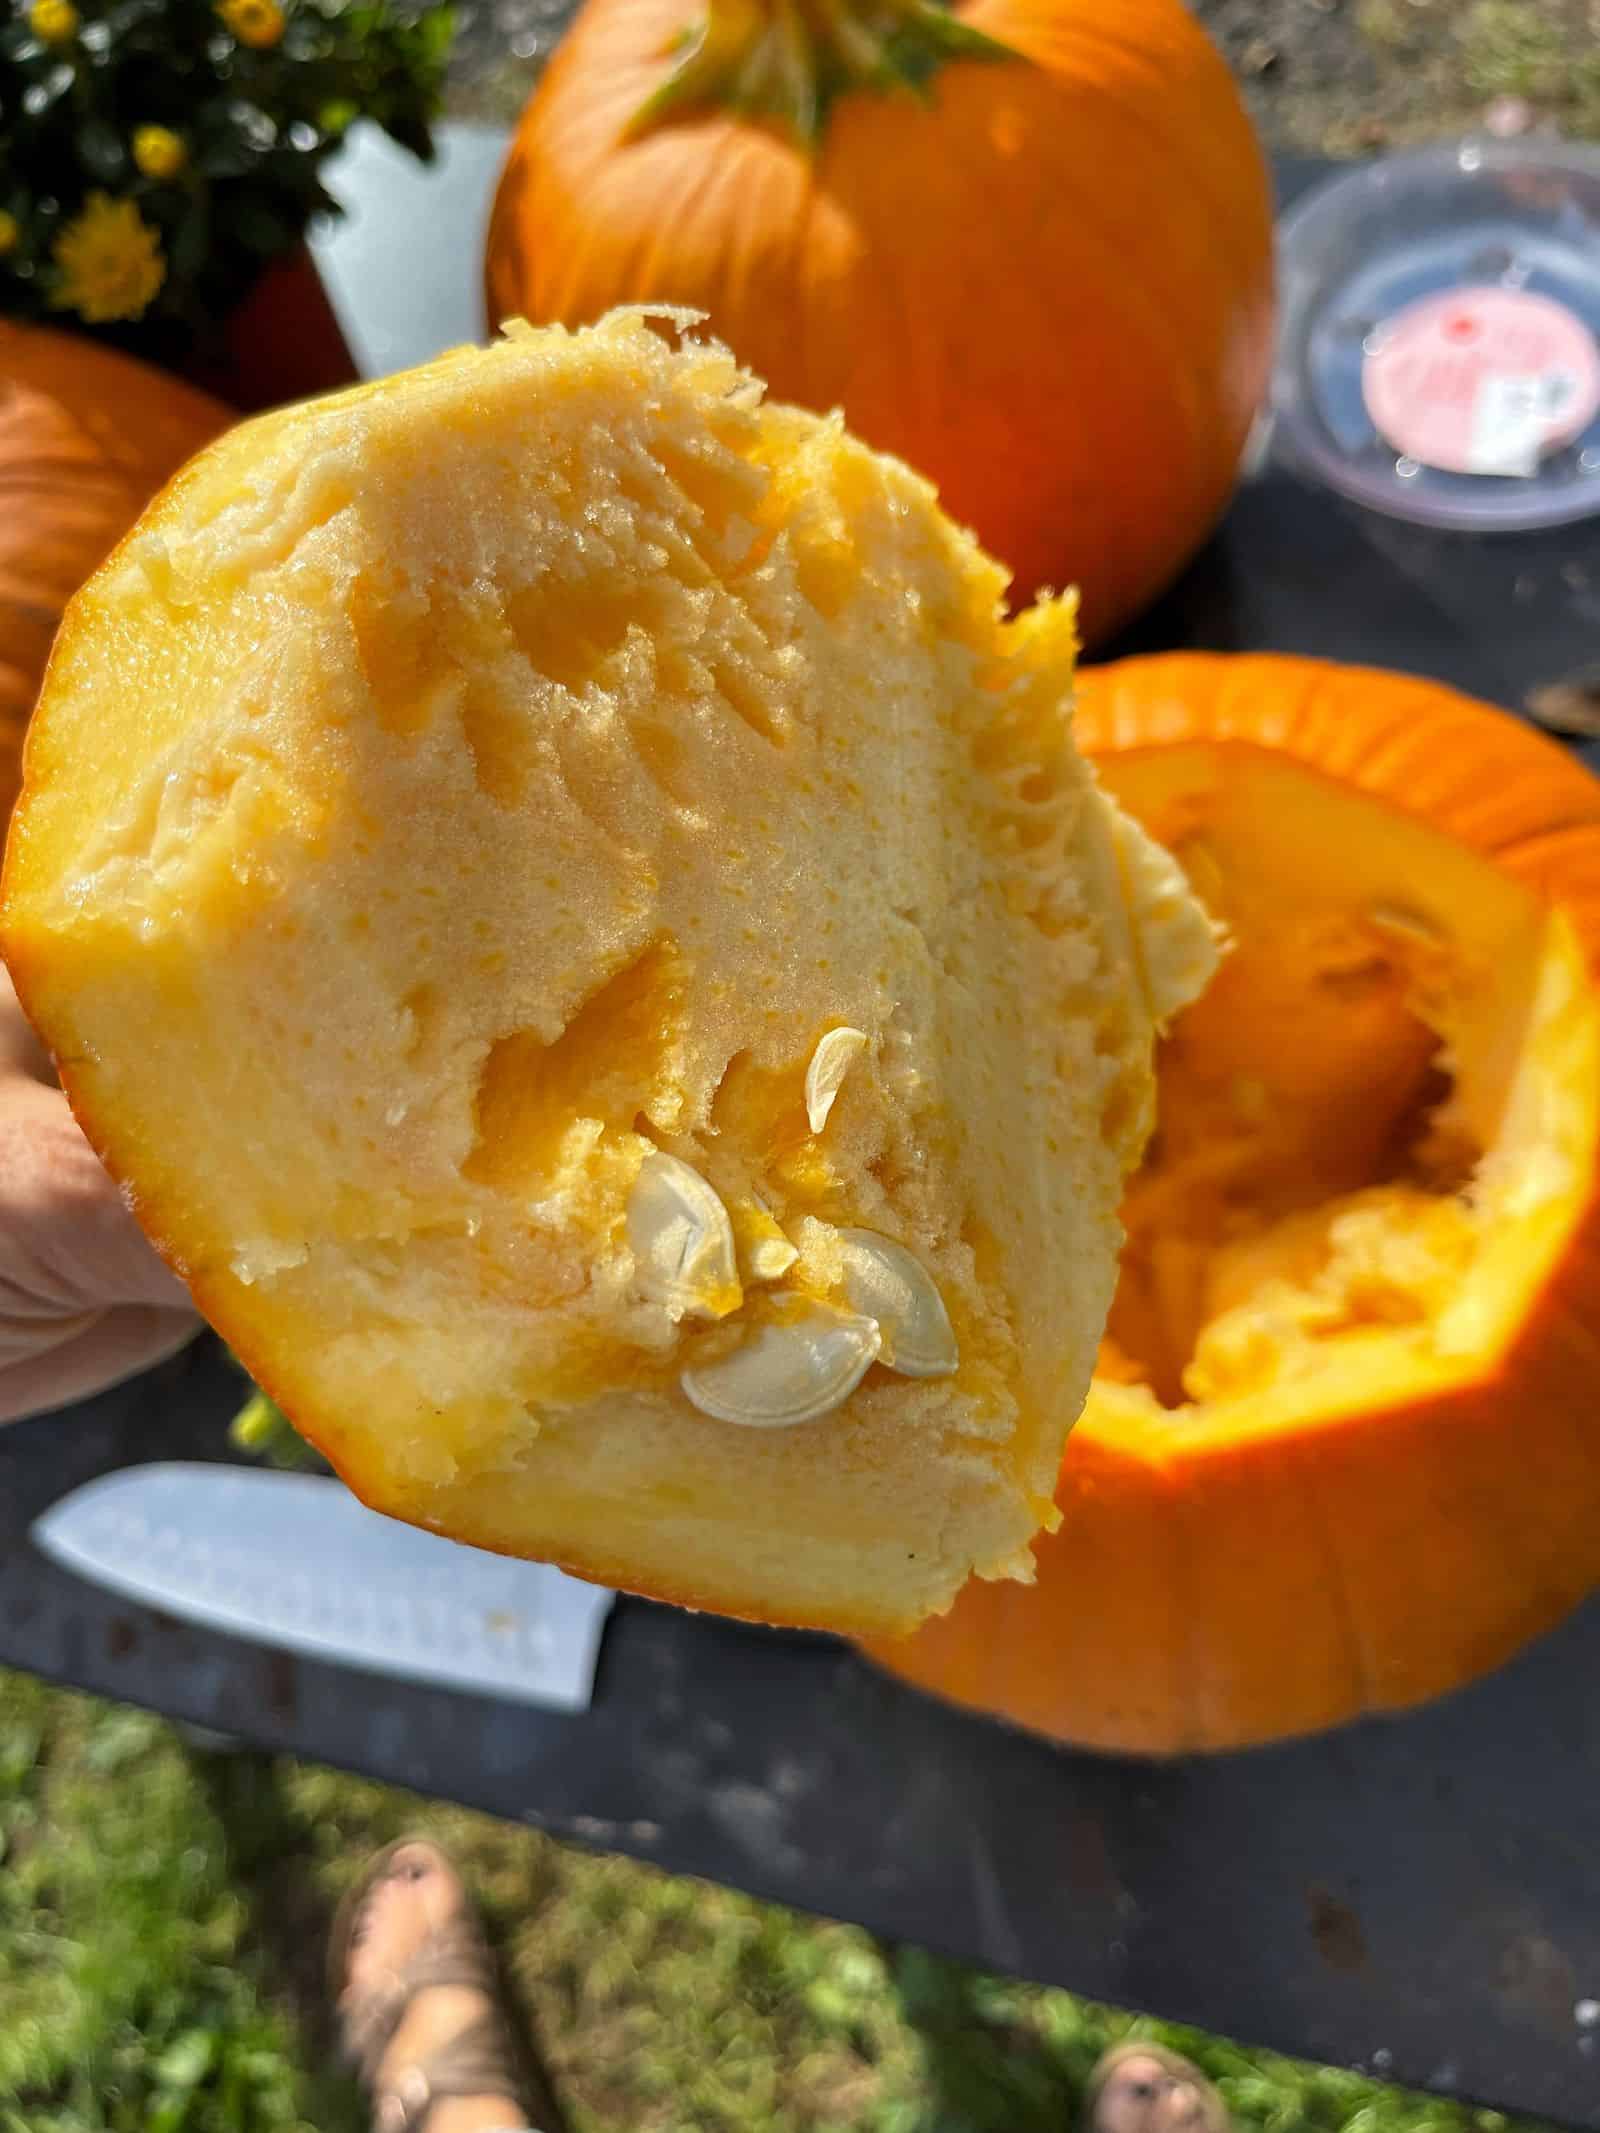
Give your pumpkins a quick clean. Then, carefully cut a circle around the stem to remove it, just like you’re carving a jack-o’-lantern (but maybe with a little less mischief in mind!).
Now, I’ve learned a thing or two about pumpkins over the years. My first attempt at a pumpkin vase was a gorgeous masterpiece… until it wasn’t. To ensure you don’t repeat my mistakes and get maximum lifespan out of your décor, you need to seal the inside.

Step 1: Scrape and Seal for Longevity
Scoop out the insides of your pumpkins. You can compost the seeds and pulp or save them for roasting later. Now that the flesh is clean, here’s the expert step to dramatically slow down rot:
The Anti-Mold Treatment: Wipe the entire inner wall of the pumpkin with a cloth dampened with a bleach solution (1 tablespoon of bleach mixed with 4 cups of water). This acts as a fungicide and prevents mold from setting in quickly.
Pro Tip: Once dried, you can apply a layer of Mod Podge or clear spray varnish to the inner walls for an additional barrier, though the bleach wipe is usually enough for a week-long display.

Step 2: The Double-Saucer Protection Plan
Now, here’s where the plant saucer comes in. Actually, we need two saucers for ultimate protection. This is our secret weapon, which I learned the hard way!
- Internal Saucer (The Inner Vase): This small saucer is filled with water and placed inside the hollowed pumpkin. It is your true vase. This prevents the flower stems from touching the damp pumpkin flesh, which significantly slows down internal rot (the “Pumpkin-pocalypse” culprit!).
- External Saucer (The Surface Shield): This one goes underneath the actual pumpkin on your table. This happened to me once and it was AWFUL…

The Mistake I’ll Never Make Again
As an aside (and this was several years ago), I made a gorgeous centerpiece for my Thanksgiving aesthetic and it was a huge hit. I spent almost ALL DAY making it the day before Thanksgiving that year. Because I picked up the pumpkins so late in the season, the nursery gave them to me for free.
And I purchased fresh flowers from the market. Now I realize this picture does my arrangement no justice because it is so old, but trust me…it looked so amazing at the time! I even tucked in a few gorgeous leaves from my oakleaf hydrangea.
So I hosted Thanksgiving the next day and my guests loved it. Anyway, we were leaving the next day for Vermont to get an early ski weekend with some friends and their kids.
Chris and I packed the family up and we left first thing Friday morning. When we returned on Monday, the house SMELLED SO BAD!!!!
Like…really bad.
And when I say it was bad, you couldn’t even breathe it in bad because you’d get physically ill. I immediately ran to the dining room and discovered the pumpkins rotted over the weekend, leaked, and totally ruined my wood farmhouse table.
UGH!!!! It was such a mess! I learned a BIG lesson from this first one. Always, always, ALWAYS protect the surface underneath if using fresh pumpkins. Because trust me when I tell you, rotting pumpkins are NOT worth the risk. So if you make this pumpkin and flowers centerpiece, be sure to protect the table beneath and keep and eye on it after the event.
The photo below is what my centerpiece looked like on Thanksgiving.

Adding the Flowers: Essential Prep
Before arranging your flowers, professional florists know one critical step to keep water clean and flowers fresh:
Remove Low-Lying Foliage: Snip off any leaves that will sit below the water line in your saucer. Leaves in the water will rapidly decay and breed bacteria, which shortens your flowers’ lifespan.
Determine the right height for your mums. You can adjust the height by adding or removing some of the stems. Give those mums a good drink of water before tucking them inside the pumpkin. Place the water-filled internal saucer inside the pumpkin, and then arrange your mums on top. Remember to place your external protective saucer or mat underneath the entire pumpkin for peace of mind!
Caring for Your Pumpkin Vase: Maintenance for Maximum Life
Because we took the preventative step of scraping and sealing the inner shell, your pumpkin vase is set up for success! To ensure it lasts through your Thanksgiving gathering and beyond, follow these maintenance tips:
- Monitor Water Daily: Keep an eye on the water level in the internal saucer and top it off as needed. If the water becomes cloudy, carefully lift the arrangement and change the water entirely. Clean, fresh water is the single best thing for cut flowers.
- The Scent Check: Even with preventative measures, the pumpkin is a natural item. Check daily for any signs of softening or mold, particularly around the cut edge. If the pumpkin is intended for use over multiple days, store it in the refrigerator or a cool garage overnight if possible.
- Keep It Cool: Heat accelerates decay. Keep your centerpiece away from direct sunlight, heating vents, or the fireplace.

Variations and Ideas: Designing Your Unique Thanksgiving Aesthetic
Ready to take this simple idea and tailor it to your specific style? Here are several ways to vary the size, color, and contents of your pumpkin centerpiece:
1. Go Big or Go Home (Size & Scale)
- Traditional Trio: Stick to three mid-sized pumpkins, like mine, for a traditional, staggered look.
- Single Statement: Use one large heirloom pumpkin (like a ‘Jarrahdale’ or ‘Cinderella’) for a dramatic focal point.
- Individual Place Settings: Hollow out mini pumpkins or gourds for individual place settings, filling them with a single bloom or sprig of herbs.
2. Modern Aesthetics: Embracing the Neutral and Moody
Move beyond the classic orange and yellow combination for a chic look:
- The Dusty Neutral Look: Use white, light green, or blue/gray pumpkins (like ‘Moonshine’ or ‘Jarrahdale’). Instead of traditional mums, fill them with non-perishable materials like dried lunaria, pampas grass, cotton stems, or seeded eucalyptus for a look that lasts all season long.
- Rich Moody Tones: Use deep brown or burnt orange pumpkins and fill them with dark, jewel-toned flowers like burgundy dahlias, black-eyed Susans, or chocolate cosmos.
3. Beyond Fresh Blooms (Alternative Fillers)
Who says it has to be flowers? Use the carved pumpkin as a unique container for other decorative elements:
- Candleholder: Set a secure, empty plant saucer inside and place a pillar candleholder (ensure the candle is stable and never left unattended or use battery-operated candles like these). This creates beautiful vertical interest and ambient lighting.
- Succulent Planter: Line the inside with plastic wrap and soil to create a temporary succulent planter. These arrangements are forgiving and can be easily transplanted to a pot after Thanksgiving.
- The Textured Look: Instead of filling with flowers, group several small pumpkins together and tuck in elements like moss, acorns, small pinecones, or cranberries around the bases for added autumnal texture. Then you don’t have to carve a thing!
- Floral Foam for the Win: If you’re feeling adventurous and want to create a more elaborate arrangement, floral foam is your friend. It’ll help you achieve a professional-looking design. Just ensure the foam is completely soaked and is isolated from the pumpkin shell, using the internal saucer as a base, to prevent the pumpkin from sitting in saturated pulp. I like to use this biodegradable floral foam for projects like this.

Final Thoughts About Making This Thanksgiving Centerpiece Idea With a Pumpkin Vase
And that’s it! Super easy, right? With its simple elegance and rustic charm, this pumpkin vase centerpiece is the perfect way to bring the outdoors in. This was one of my favorite centerpieces in all my years hosting Thanksgiving because it’s super easy to do and looks so beautiful. Will you give this one a try? Happy crafting!
Have you ever made a pumpkin centerpiece before? Do you make your own centerpiece for Thanksgiving or Friendsgiving? Do you have any tips you’d like to share? Let’s chat more in the comments below.
Thank you for visiting the blog today!
Enjoy your day! xo


Get My FREE Thanksgiving Essentials Ebook
Getting ready for Thanksgiving or Friendsgiving? CLICK HERE to get my free 25-page downloadable Thanksgiving Essentials Ebook that shares decorating ideas, hosting tips, recipes, and ways guests can support hosts.

More Ideas For Your Thanksgiving Aesthetic
If you are looking for more Thanksgiving Day ideas and inspiration, check out these posts. From hosting gifts to table decor, food, and menu ideas, I’ve got you covered.
- Rustic Elegance: A Vintage Farmhouse Fall Home Tour
- Friendsgiving Decor and Dining Table Centerpiece Ideas
- Flowers and Pumpkins Centerpiece Idea for the Dining Table
- The Best Thanksgiving Food and Fall Table Decor Ideas
- How to Set a Cozy Harvest Table
- The Best Creamy Pumpkin Soup Recipe
- Quick Fall Centerpiece Ideas for the Dining Table
- Mouthwatering Pumpkin Dump Cake You Can’t Resist
- The Best Recipe for Easy Apple Crisp
- The Best Fall Pumpkin Spice Cocktail
- How to Set a Thanksgiving Table
Wait Until You See These Friendsgiving Table Decor Tour!
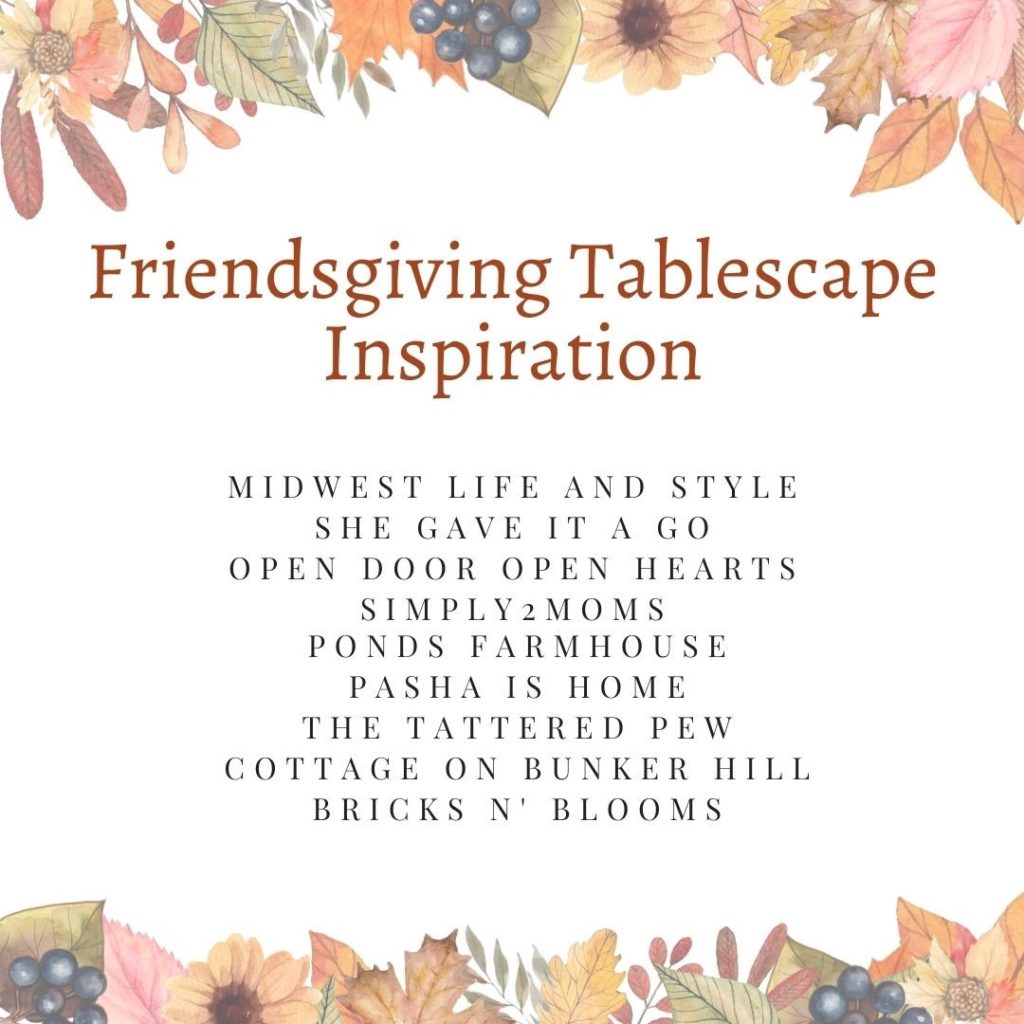
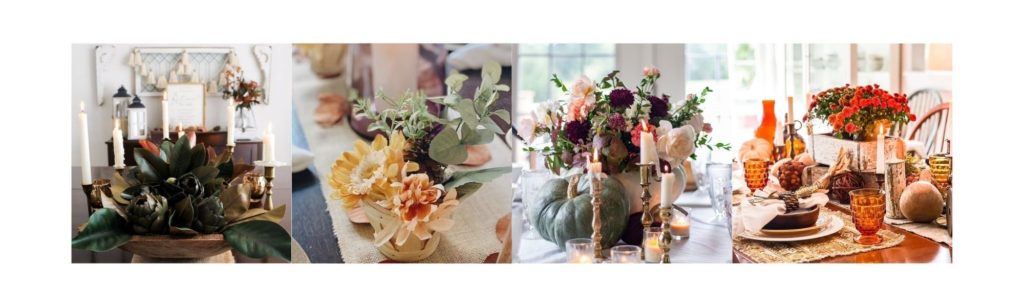
Midwest Life and Style | She Gave It A Go | Open Doors Open Hearts | Simply 2 Moms
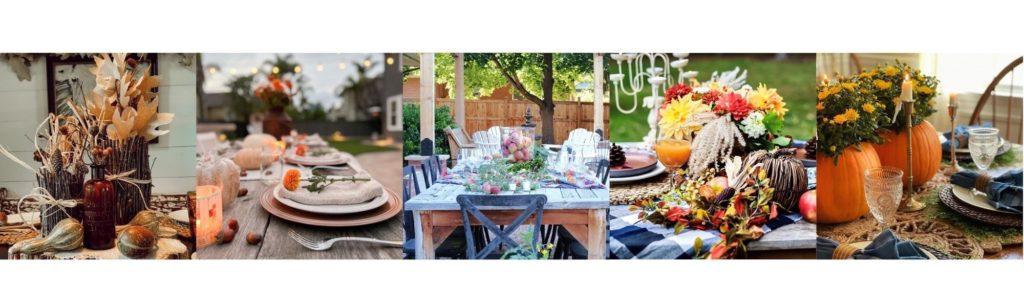
Ponds Farmhouse | Pasha Is Home | The Tattered Pew | Cottage On Bunker Hill | Bricks n’ Blooms

Stacey!!! I love your mums and pumpkins!! I can’t believe that pumpkin from years past rotted so fast!! It did look gorgeous though!! So glad you shared that experience, so I can keep an eye on my pumpkin flower arrangement haha!!! So glad you were able to join us for this hop!!
Thank you so much! Oh yes – I think because we were away it was worse than if I was home, but def keep an eye on it. It wrecked my wood table top! Thanks so much for hosting such a great blog hop! xoxo
Stacy,
I love your centerpiece. Such a great idea. So fun doing these together.
Thank you Rachel! I love doing them with you too. You are the best! xo
I LOVE this idea, Stacy. I’ve always wanted to try it but never gotten around to it. Thank you for sharing. It looks beautiful and I’m definitely going to give it a try now. Pinned!
thank you so much Jen! xoxo
What a pretty centerpiece idea, Stacy! Love how the fresh pumpkins look with the mums. And ugh, ruining a table with rotten pumpkins is awful! I’m sorry that happened but thank you for sharing your lesson because that’s TOTALLY something I would do…
Thank you – yes it was a total lesson learned! Will not make that mistake ever again. hahaha
Can you believe I am this many years old and have never hollowed out a pumpkin!! This looks so pretty!!
Really??? I haven’t done too many either but for the love of flowers, I’ll do it! xo
What a beautiful and unique pumpkin centerpiece Stacy!! I love this idea! And seriously never would have known about protecting your table underneath them! But now that you say it – I was like ohhhh yea… ;)! Your table looks gorgeous my friend!!
Thank you Pasha! Yes it was quite and experience and one that I learned the hard way. hahaha
Stacy I have always wanted to try one of these! Yours are beautiful and your tutorial was just wonderful. Thank you for the inspiration!
Thank you so much Kelly! I really appreciate that! xoxo
This is such a great centerpiece idea, Stacy! Thanks for sharing your pumpkin “lessons learned” tip. I would have never even thought about that.
OMG Kim I truly learned the hard way on that one. hahaha
I love this! Super
Cute!
Thank you Renae!