How to Renew an Aging Perennial Border: My Step-by-Step Method for Reviving Tired Garden Beds

Learn how to refresh an aging perennial border with my step-by-step method. Simple tips for dividing, redesigning, and reviving tired garden beds.
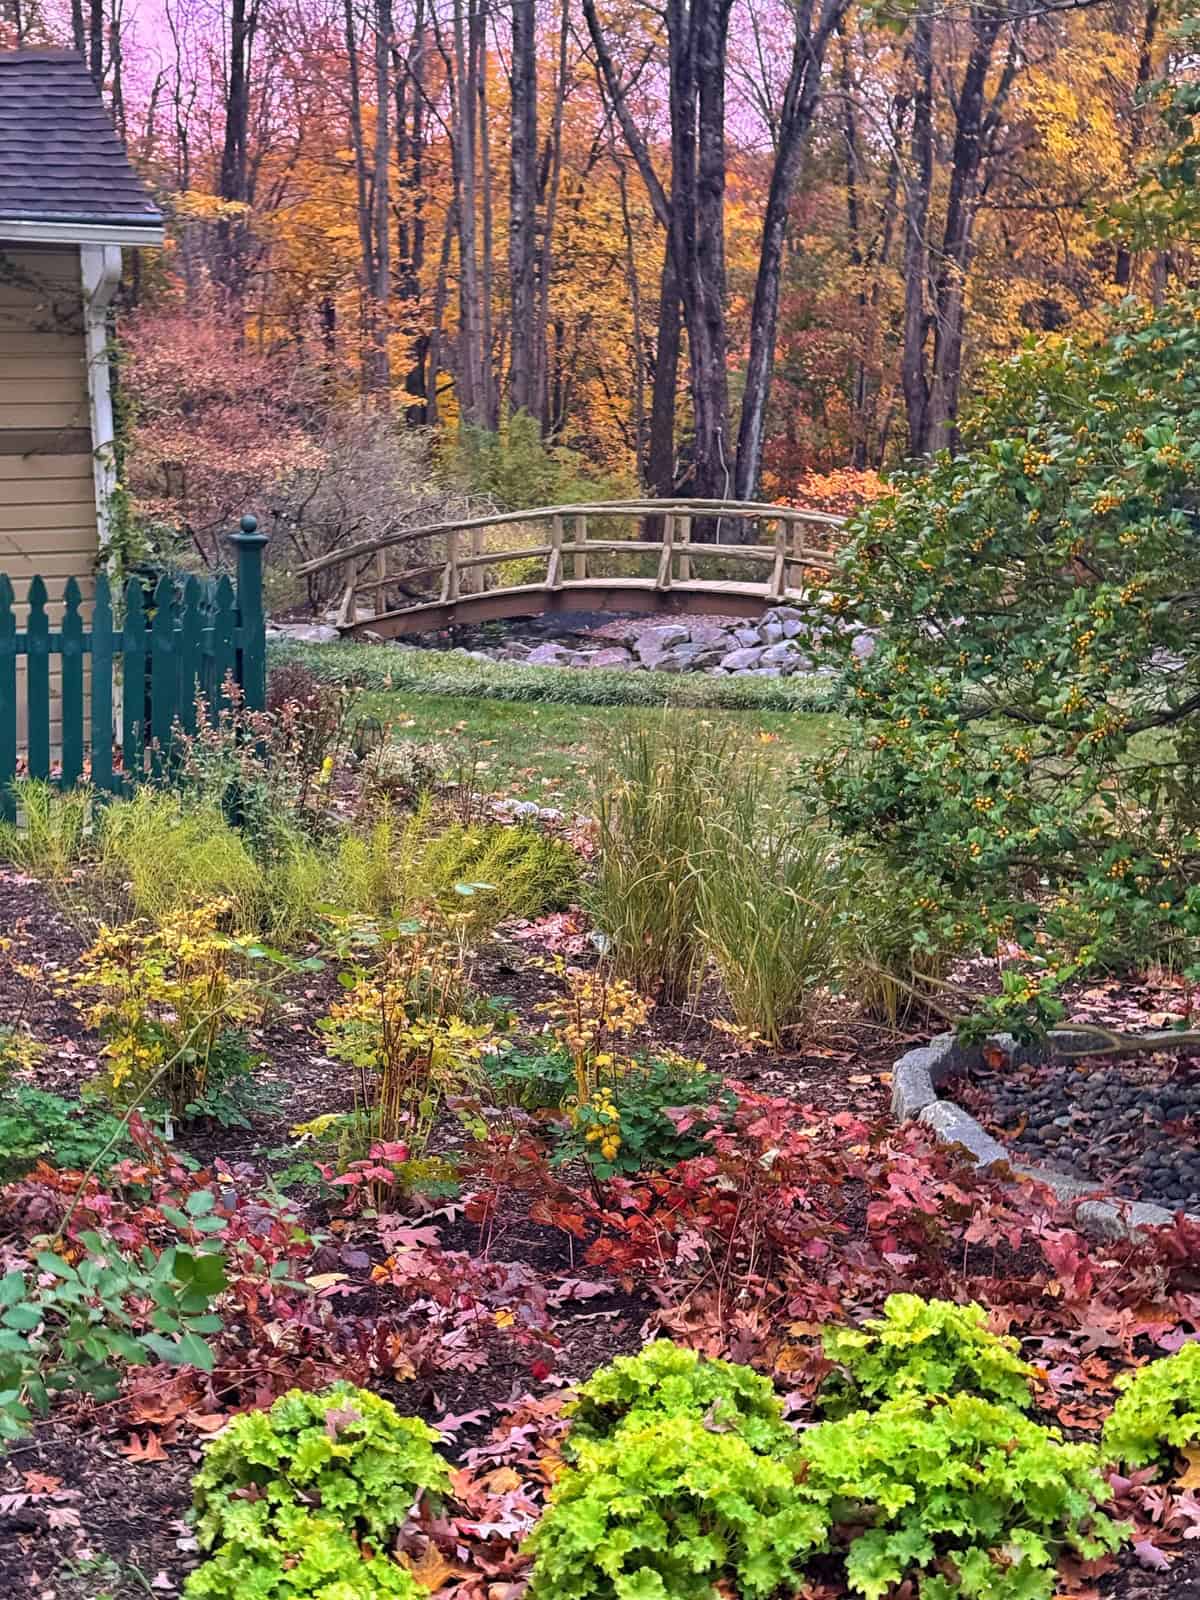
Even the best perennial borders eventually start to look tired. Plants spread, clumps age, bloom times shift, shrubs take over, and before long a once beautiful bed starts feeling messy or overgrown. The good news is that reviving an aging perennial border is absolutely doable, and the results can be dramatic.
I’ve spent nearly thirty years gardening in Zone 6B and refreshing perennial beds in two very different gardens, and I’ve learned that most tired borders don’t need to be torn out. They just need thoughtful editing and a clear plan. If you’re new to perennial gardening or still learning the basics, you may find my pillar guide helpful: Perennials vs Annuals: What Should You Plant?
If you’re ready to bring new life to an old border, this is the exact process I’ve used to renovate everything from small beds to large, overgrown garden areas.
(Posts on stacyling.com may contain affiliate links. Click HERE for full disclosure.)
Watch: How I Refresh an Overgrown Garden Bed
Refreshing an aging perennial border doesn’t mean starting over—it’s about working with what you already have and making thoughtful changes as your garden evolves.
In this video, I walk you through exactly how I refresh my garden beds step by step, including how I divide and relocate plants, remove what’s no longer working, and rework the layout so the space feels more balanced again.
You’ll also see real examples from my own garden, where I’ve been refreshing several beds that started to feel overgrown, crowded, or just a little off.

My Experience Reviving Tired Perennial Borders
When we moved here in 2021, I gave the gardens a full growing season before making any big changes. I wanted to see what was planted, what bloomed when, how the borders behaved through the seasons, and what my new growing conditions were for light and soil. Observing a garden before diving in makes all the difference.
After one full year, and more hours of digging than I care to admit, I learned a lot. The soil was rocky clay that needed serious amending. Groundcovers had taken over beds where they offered zero interest. Some perennials had swallowed entire borders. And a few areas looked impressive at first glance, but the planting lacked structure or sequence once you studied it closely.
One of the biggest examples was my now-infamous Flora Lane, a ten-by-seventy-foot garden bed that was about ninety-five percent liriope. While it kept weeds down, it offered nothing for seasonal interest, height, or texture. Boring is an understatement. So I ripped it all out in favor of a mixed border filled with small trees, shrubs, perennials and annuals.
Then there were the rudbeckia. Beautiful, yes, but they had taken over to the point where they crowded out everything else. I had to make decisions about what stayed, what moved, and what had to go.
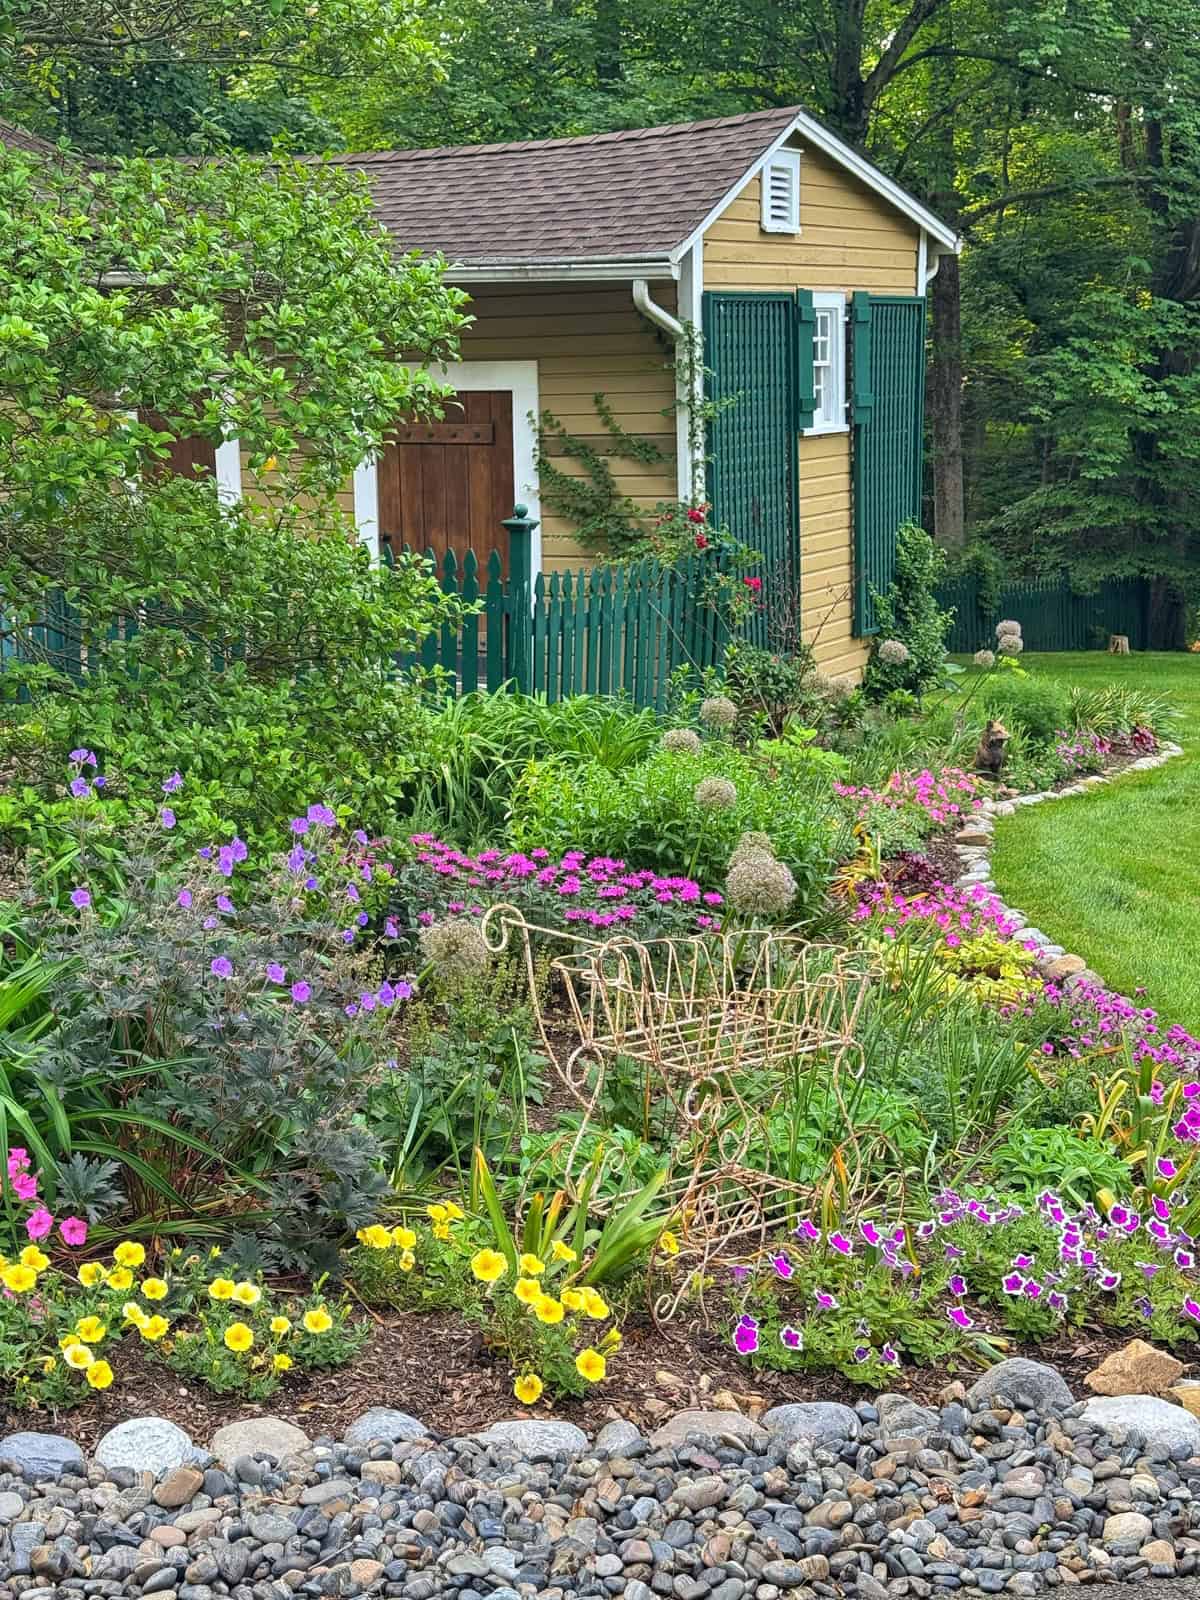
And most recently, I completely rehabbed the pool and welcome gardens. I added flowering shrubs, rewired the perennial layers, and created a design that will significantly cut down on annual planting next year while offering more seasonal interest.
Each of these projects taught me how perennial borders age, how they lose balance, and how rewarding it is to bring them back to life. The method I’m sharing below is the exact process I use to revive tired perennial gardens and restore structure, bloom sequence, and balance.
Signs Your Perennial Border Needs a Refresh
Before you begin digging, it helps to understand what is off. Here are common signs a perennial border is ready for renewal:
- Plants flopping or leaning
- Bare spots or donut holes from old clumps
- Aggressive spreaders taking over
- Weak or reduced blooming
- Soil that feels compacted or depleted
- Shrubs crowding out perennials
- Everything blooming at the same time with long dull gaps
- A border that looks flat, messy, or lacks structure
- Wide swaths of one groundcover dominating the entire bed
If you notice any of these issues, a refresh will make a dramatic difference. And if you need help understanding layering, structure, or bloom sequence as you assess your border, you may find my Perennial Garden Design guide helpful.
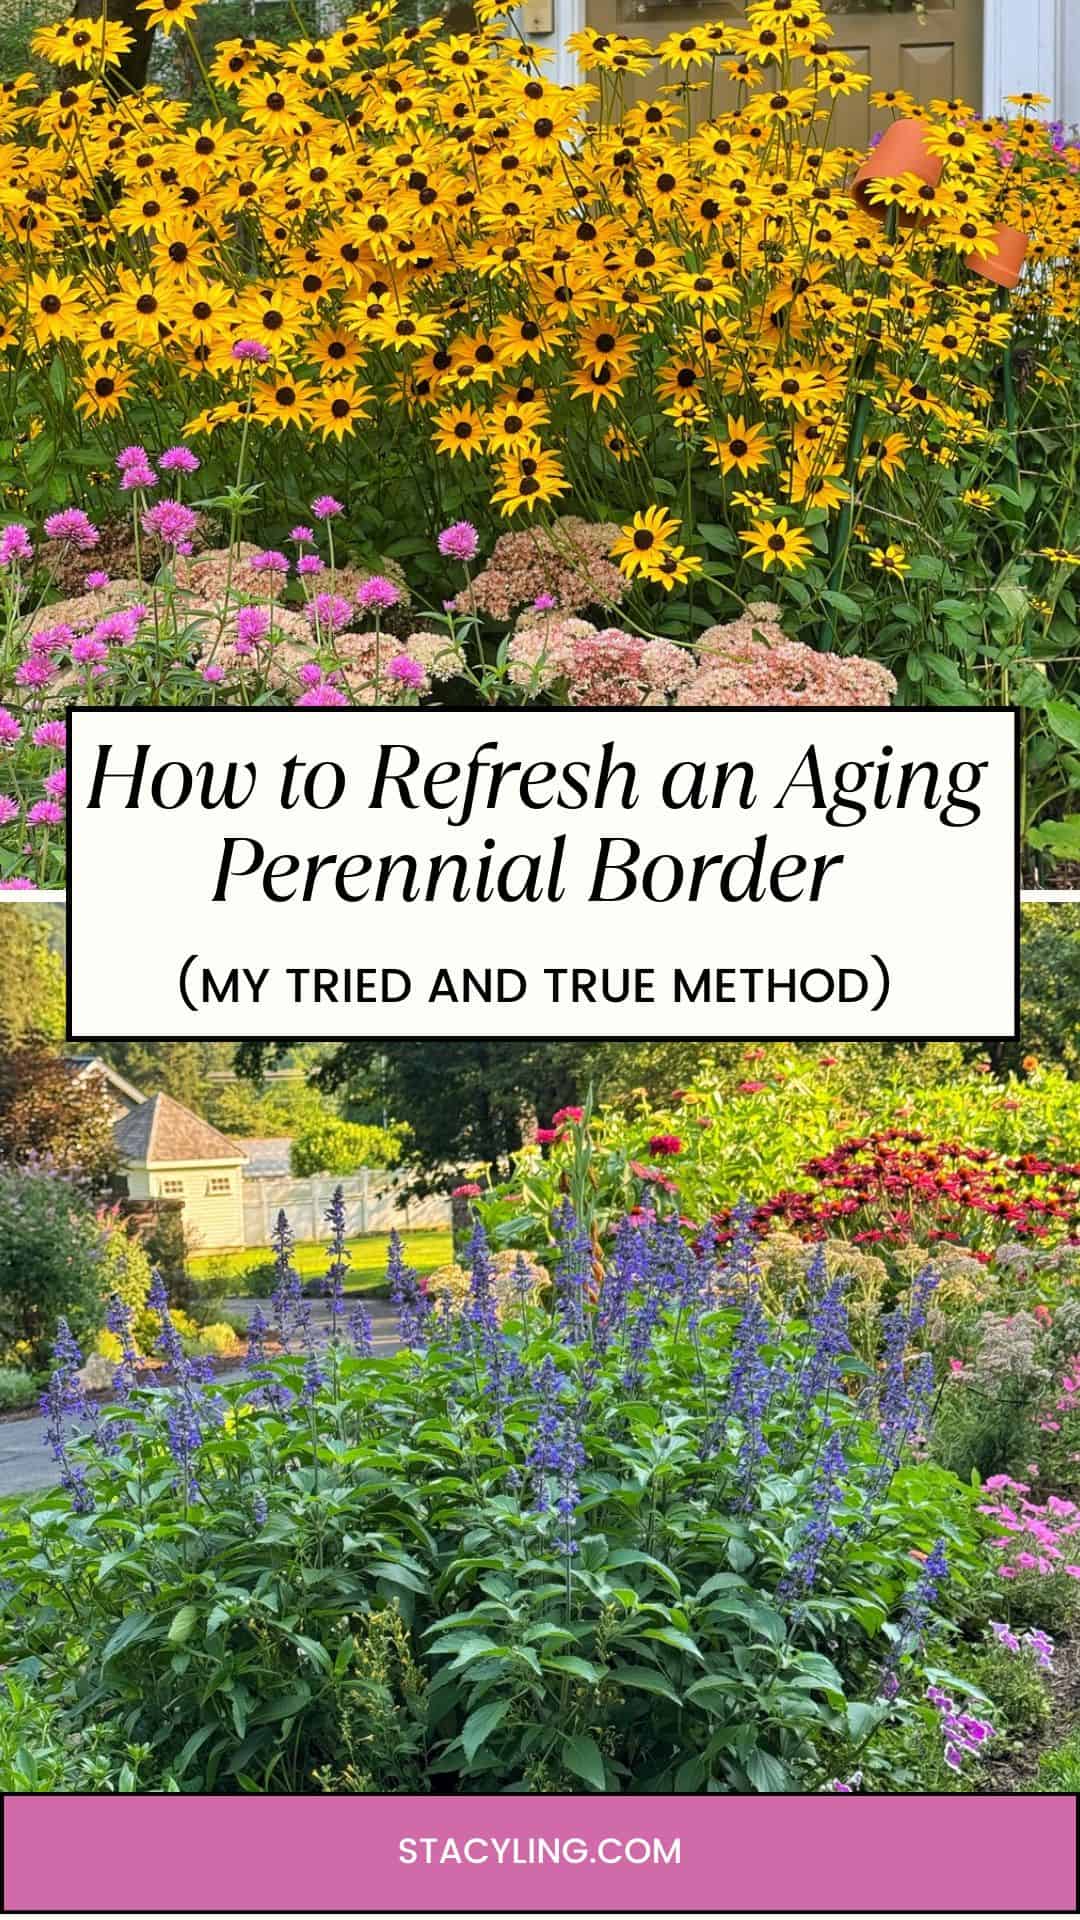
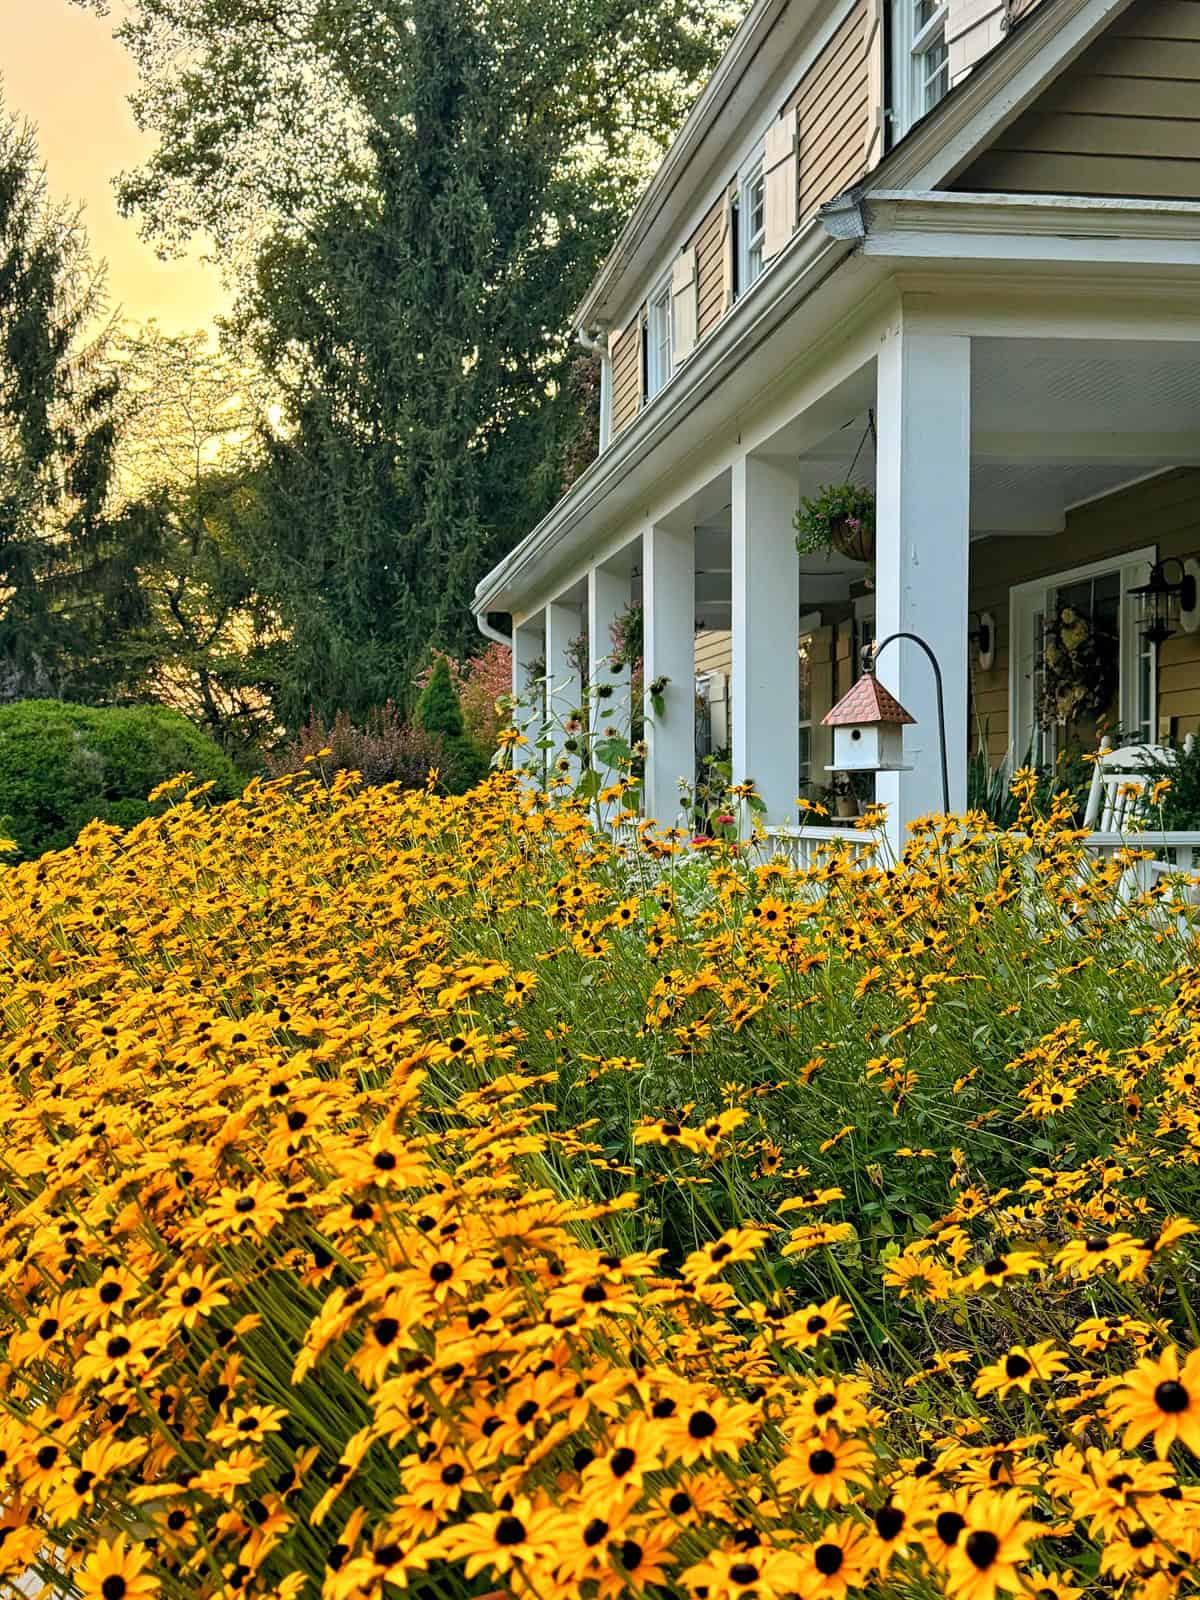
The photo below is a great example of an overgrown perennial border. Look at how much those black-eyed susans took over the space! It was actually overwhelming to walk by this every day. Beautiful…but a little too much.

Step 1: Clear and Assess
Start by clearing away anything that prevents you from seeing the true structure of the border.
- Cut back or remove old foliage
- Trim back stems and tidy up debris
- Lift low shrub branches that are shading perennials
- Pull obvious weeds and unwanted seedlings
- Remove dead or declining plants
At this stage, I do not move anything yet. I simply clean the canvas so I can see what I’m working with.
You would be amazed how different a bed looks once everything is tidied.

Step 2: Dig, Divide, and Relocate
This is where the real transformation begins. Most aging perennial borders have clumps that are too large, too old, or simply in the wrong place.
- Lift and divide overgrown clumps
- Relocate plants that have drifted forward
- Reuse divisions to fill empty spaces
- Remove sections of perennials that spread too aggressively
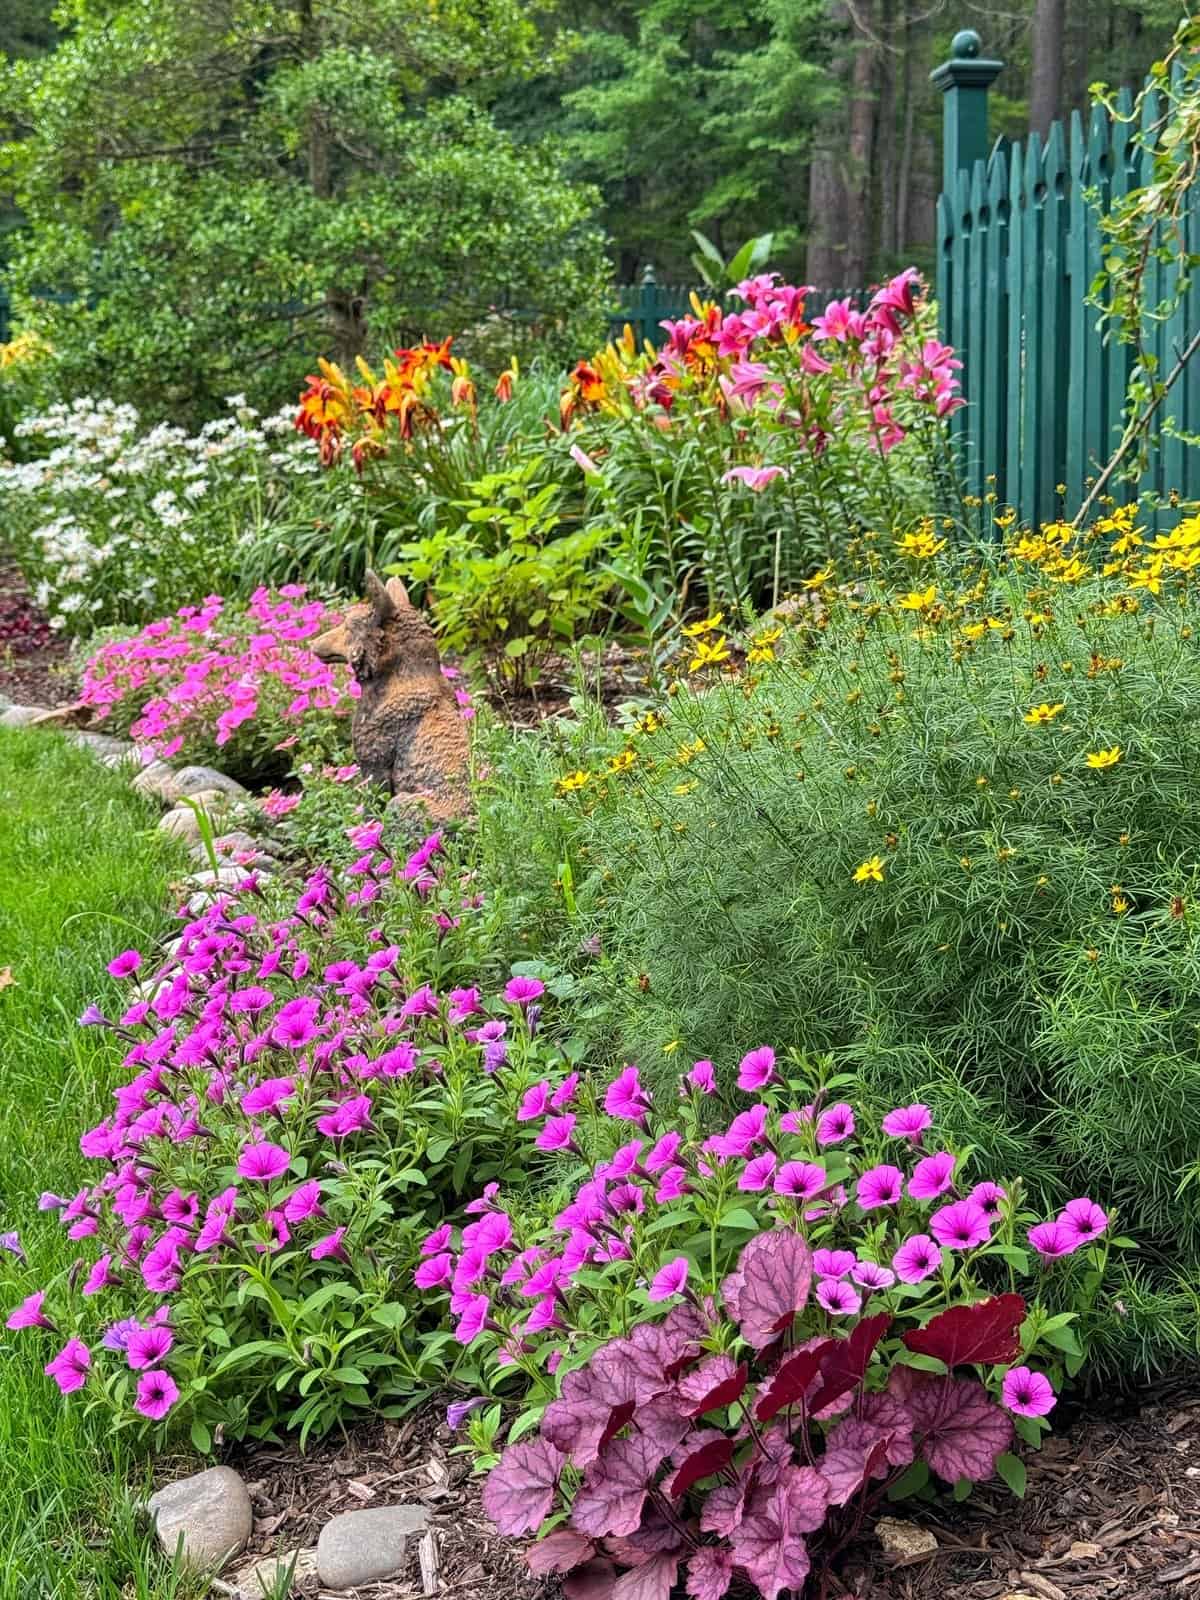
Some perennials divide incredibly easily. In my gardens, plants like nepeta, sedum, salvia, hostas, daylilies, and coreopsis divide beautifully and help me fill large spaces without buying more plants.
Others are tougher or prefer not to be divided, so I work carefully to avoid harming them.
If you have never divided perennials before, you can follow my full guide here: Dividing Perennials 101.
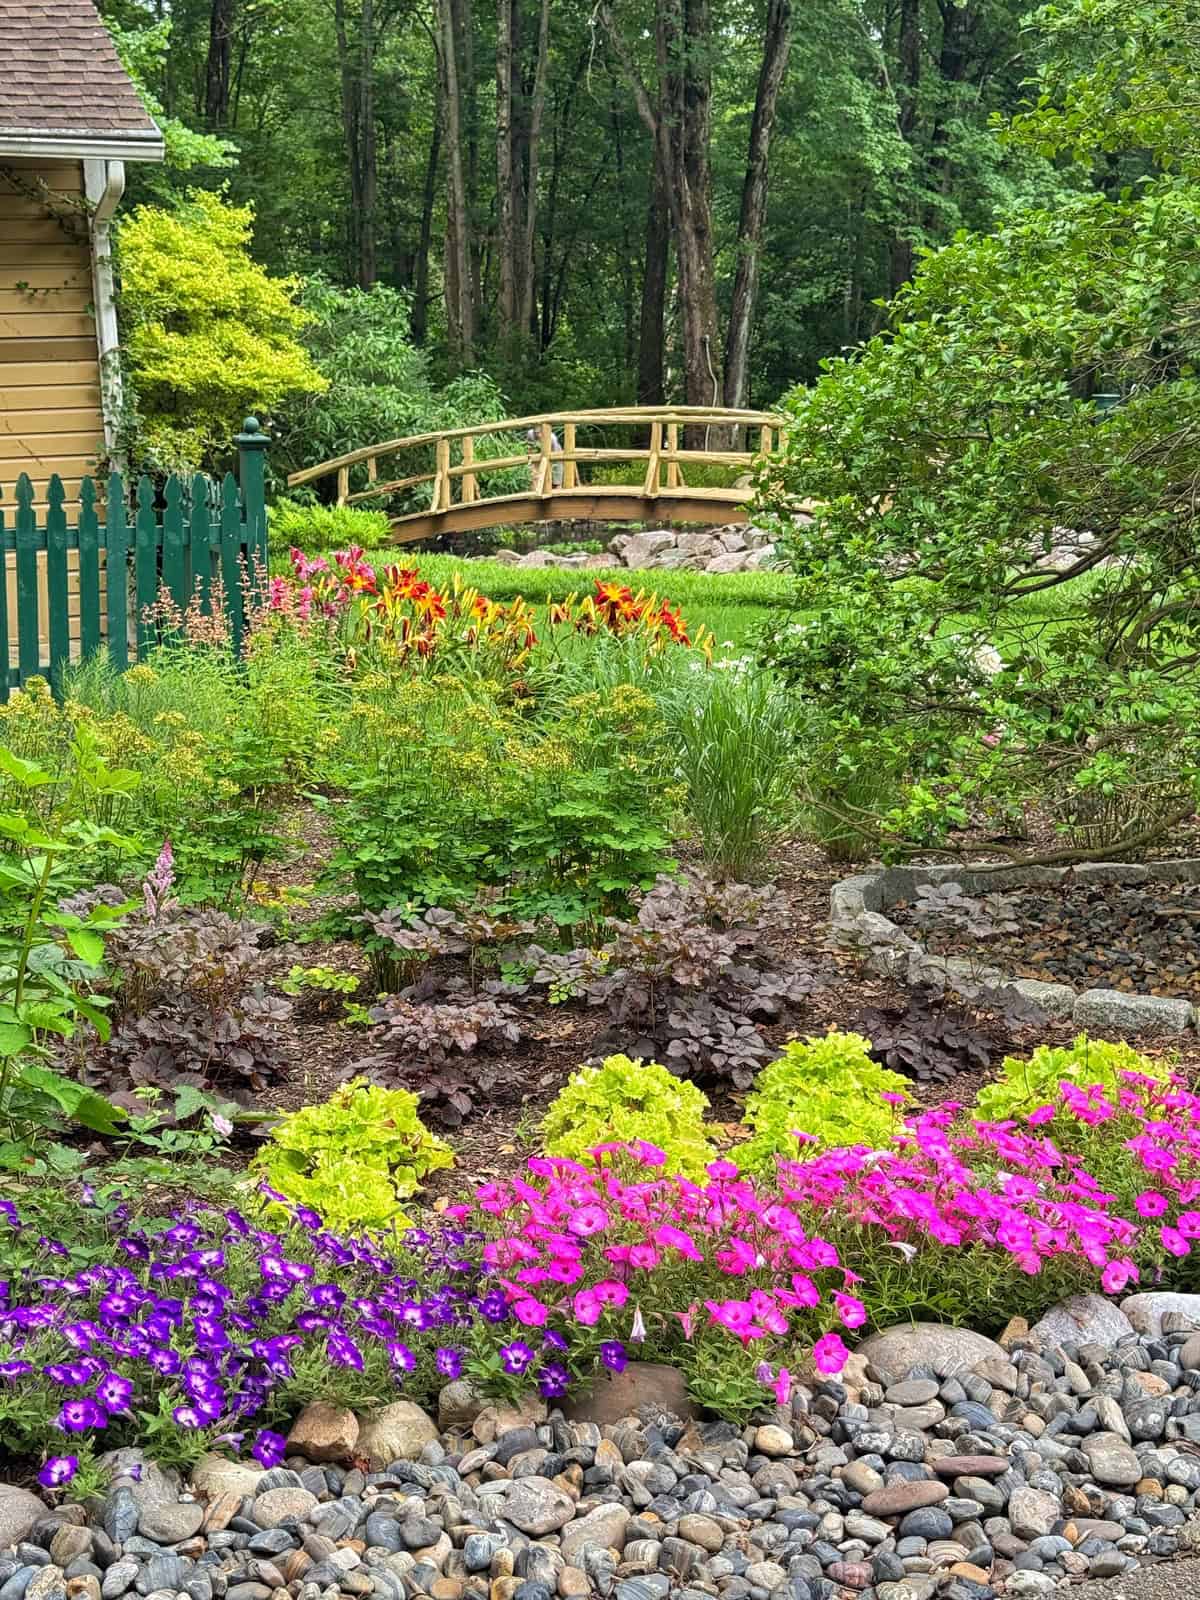
The below photo is from my pool garden, where I dug and divided hostas to line a path.

Step 3: Remove or Reduce Aggressive Spreaders
Aging borders often lose balance because one or two enthusiastic plants have taken over. This is where you decide what stays and what goes based on your design goals.
- Identify the plants that are crowding out others
- Dig out chunks or entire mats of groundcover where necessary
- Reduce oversized clumps to regain breathing room
- Relocate favorites to places where they can be better managed
In my current gardens, I have had to thin out bee balm, rudbeckia, and various spreading groundcovers. Removing or reducing them instantly restored structure and harmony.
I mean look at the rudbeckia in the picture below. These black-eyed susans flopped over onto the walkway so we had to keep supporting it upright with twine and green garden stakes. Love the flowers and it looks great in the right place, but this was not it.
Step 4: Refresh the Soil
Once the digging is done, the soil needs attention. Over time, perennial beds become compacted and nutrient-depleted.
- Add a thick layer of compost
- Loosen compacted areas with a fork
- Improve drainage in problem spots
- Work in organic matter where soil feels heavy or sticky
- Add worm castings to boost microbial activity
Healthy soil will reward you with stronger, more resilient plants and better bloom performance. While you can purchase compost (this is the brand that I use) at the garden nursery, you can also make your own pile. Learn how to make a compost pile here.
Step 5: Rework the Design Without Starting Over
A perennial border refresh is NOT a full redesign. It is simply a thoughtful refinement using the plants you already have.
- Move tall plants back where they belong
- Group plants in drifts instead of singles
- Repeat colors or textures to create flow
- Fill empty spots with divisions
- Add one or two shrubs for structure if needed
- Correct bloom gaps by adjusting plant placement
If you want to understand full design principles, layering techniques, and color planning, you may enjoy my full guide here: Perennial Garden Design.
Step 6: Replant and Reestablish the Border
Once you are happy with the layout:
- Replant your divisions
- Settle in shrubs or new additions
- Water deeply
- Mulch lightly
- Monitor for settling or shifting
- Cut back anything that needs shaping
Newly refreshed borders often look sparse for a few months, but by the next growing season you will start to see the transformation. By year two, the border will look completely renewed, and by year three it will be thriving.
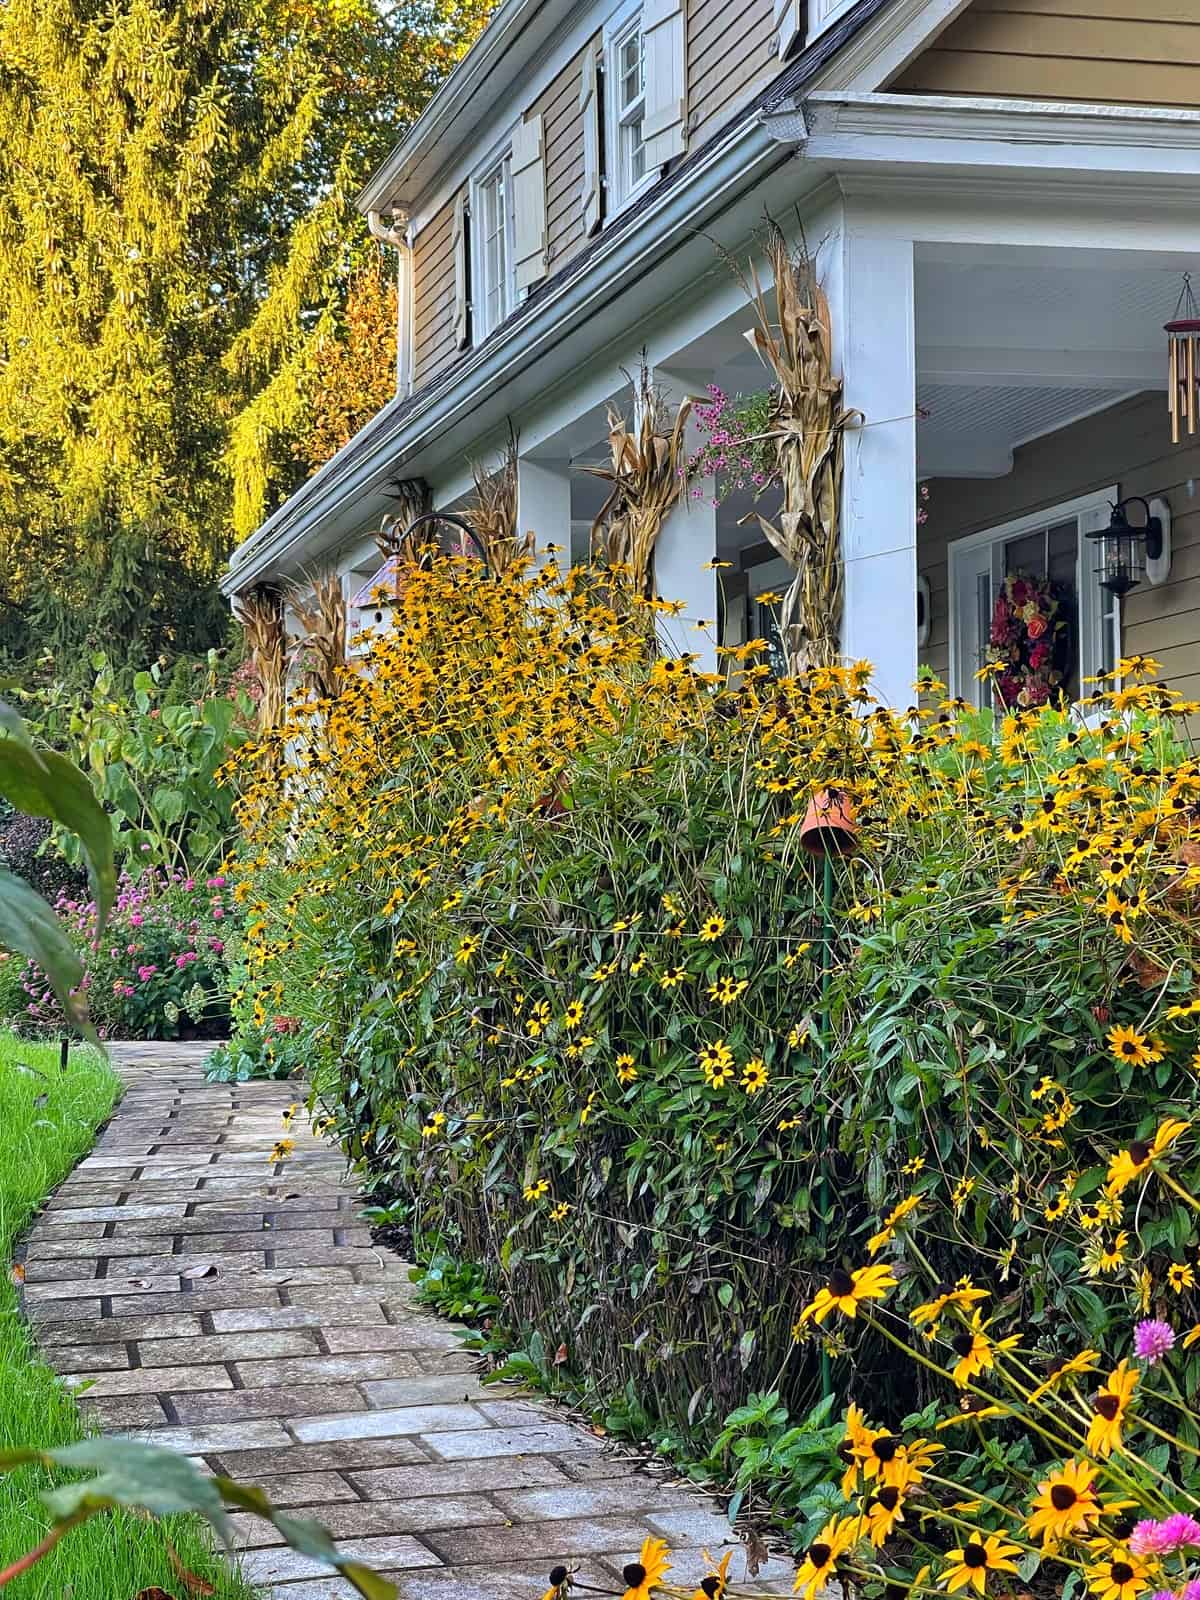
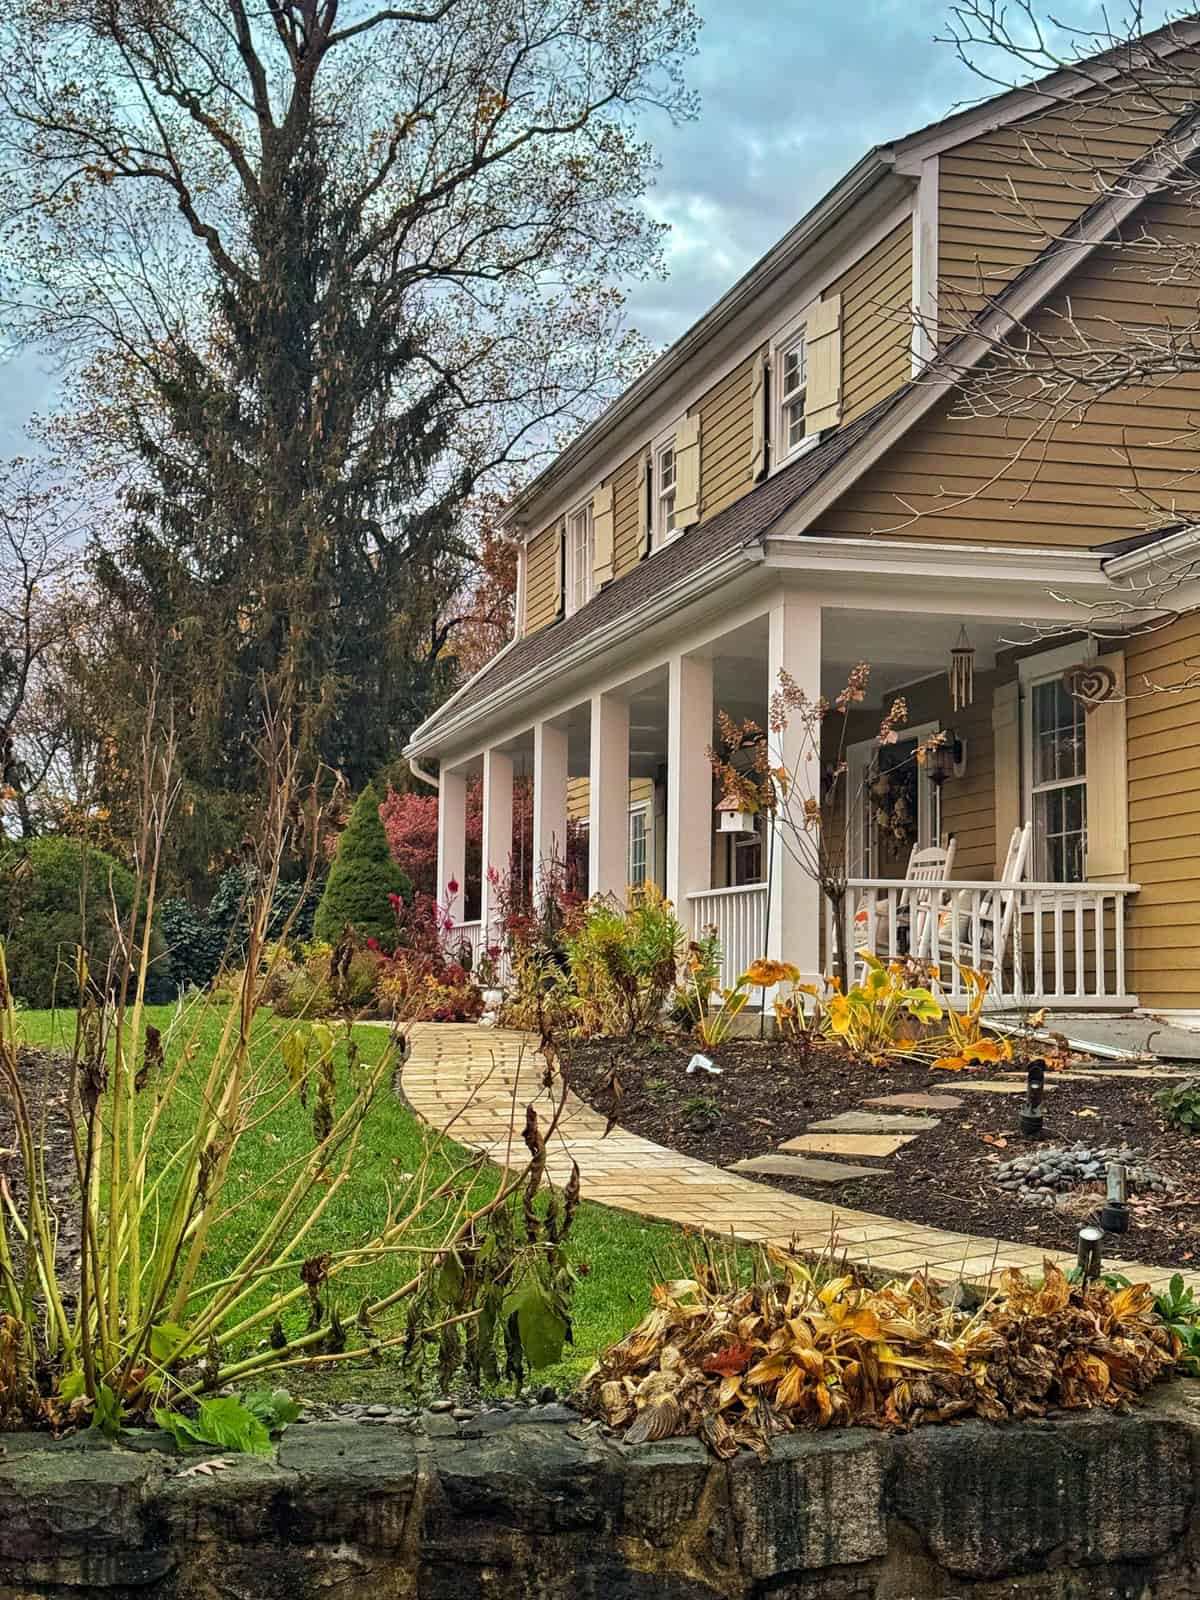
I know my front porch garden doesn’t look like much right now, but I completely rehabbed this bed and pulled every single rudbeckia plant in favor of more manageable perennials and hydrangeas.
It was painful to pull them because I love black-eyed susans, but this garden was too overgrown to leave them for another season. We relocated my black-eyed susans to another area of my property. The photos below show how overgrown they were in fall 2024 to present day in fall 2025.
A Real Example From My Garden
When I renovated Flora Lane, the long border that was almost entirely liriope, I began by removing ninety-five percent of the groundcover. Then I added structural shrubs, rewired the layers with divisions from other beds, and introduced plants for bloom sequence and texture.
Over one season, a bed that had been flat, green, and lifeless came back as a mixed perennial border with height, movement, and color from early spring through fall. The transformation was dramatic, but it came from simple editing and replanting, not a complete overhaul.
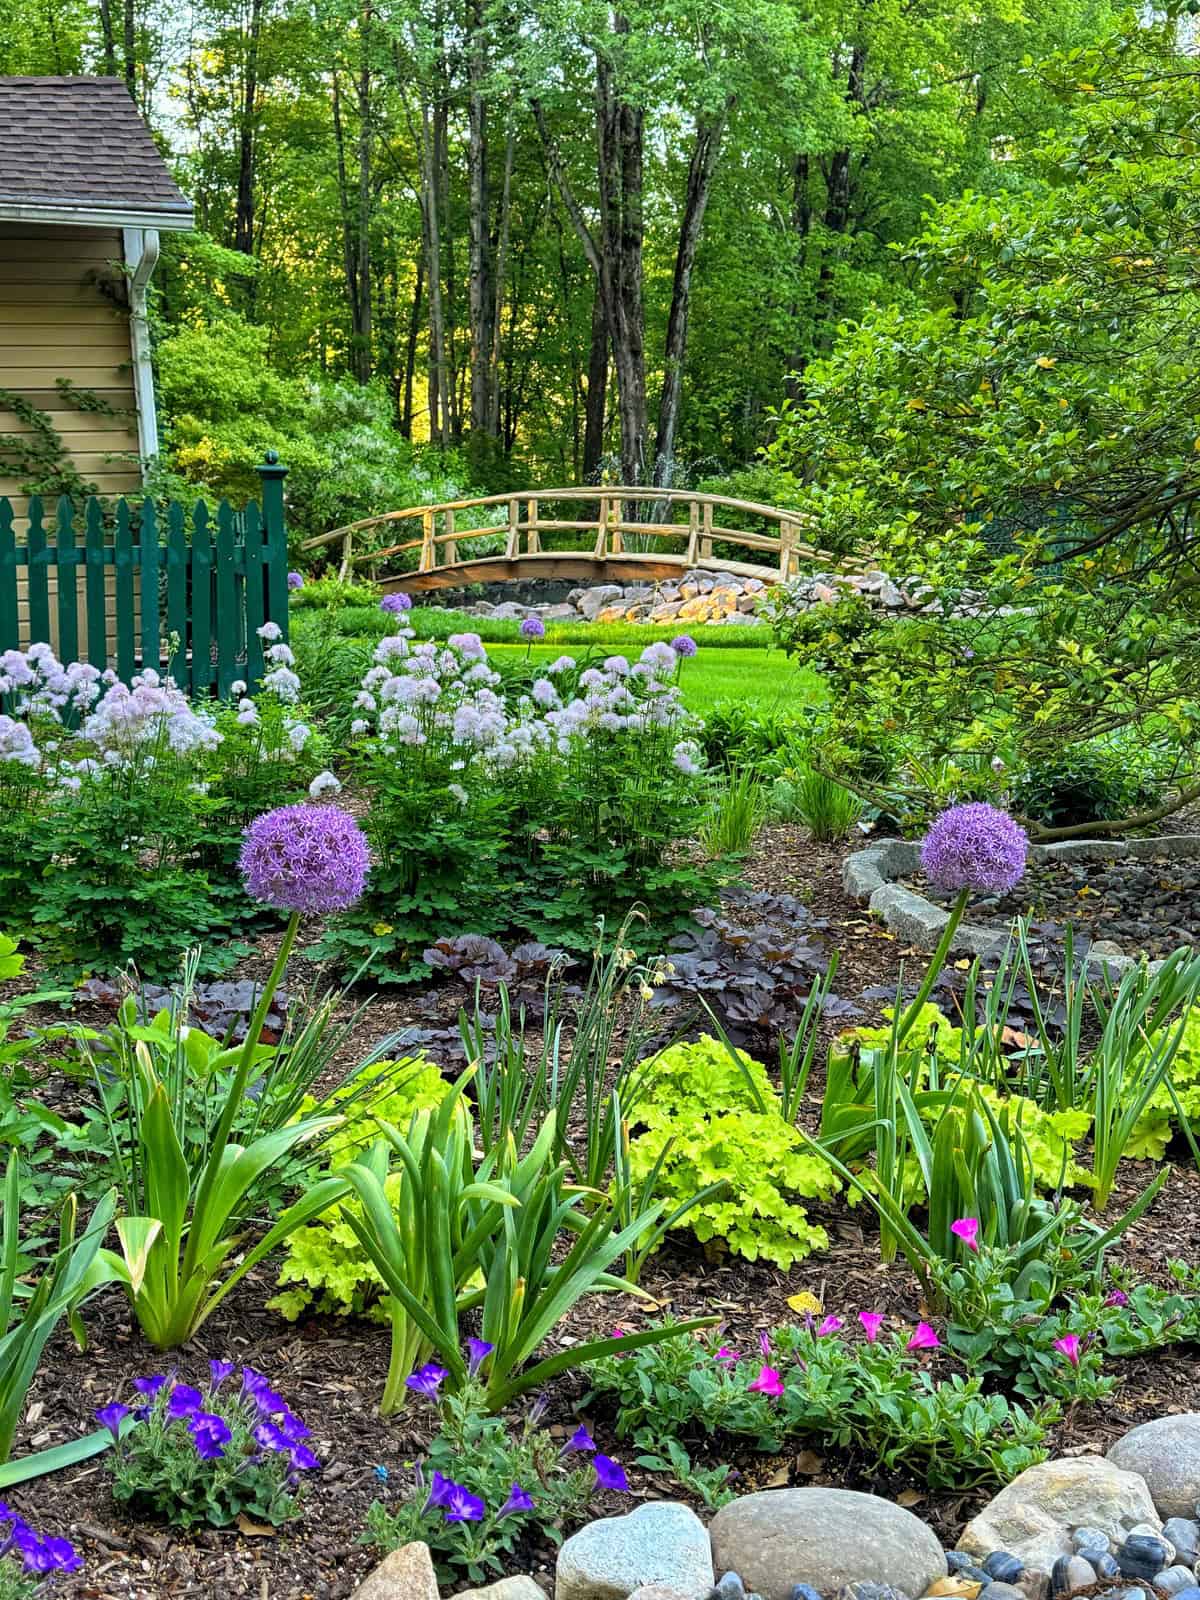
I used the same method when I redesigned the pool and welcome gardens. Once I corrected the structure and brought in new shrubs, moving and dividing the perennials brought everything back into balance.
Final Thoughts
Reviving an aging perennial border is one of the most satisfying garden projects you can take on. With a little editing, some thoughtful dividing, fresh soil, and a renewed layout, you can bring tired garden beds back to life without starting from scratch. After refreshing borders in both of my Zone 6B gardens, I can say with confidence that a well-renovated bed performs beautifully for years to come.
If you would like to explore more perennial gardening ideas, here are some related posts:
- Perennials vs Annuals
- Dividing Perennials 101
- Perennial Garden Design
- Perennial Flowers for Shade
- Best Full Sun Perennials
- Top Perennials for a Cut Flower Garden
- Midsummer Perennial Flowers
- Low-Maintenance Cottage Garden Ideas
- Cut Flower Gardening for Beginners
Thank you for visiting the blog today!
Enjoy your day! xo