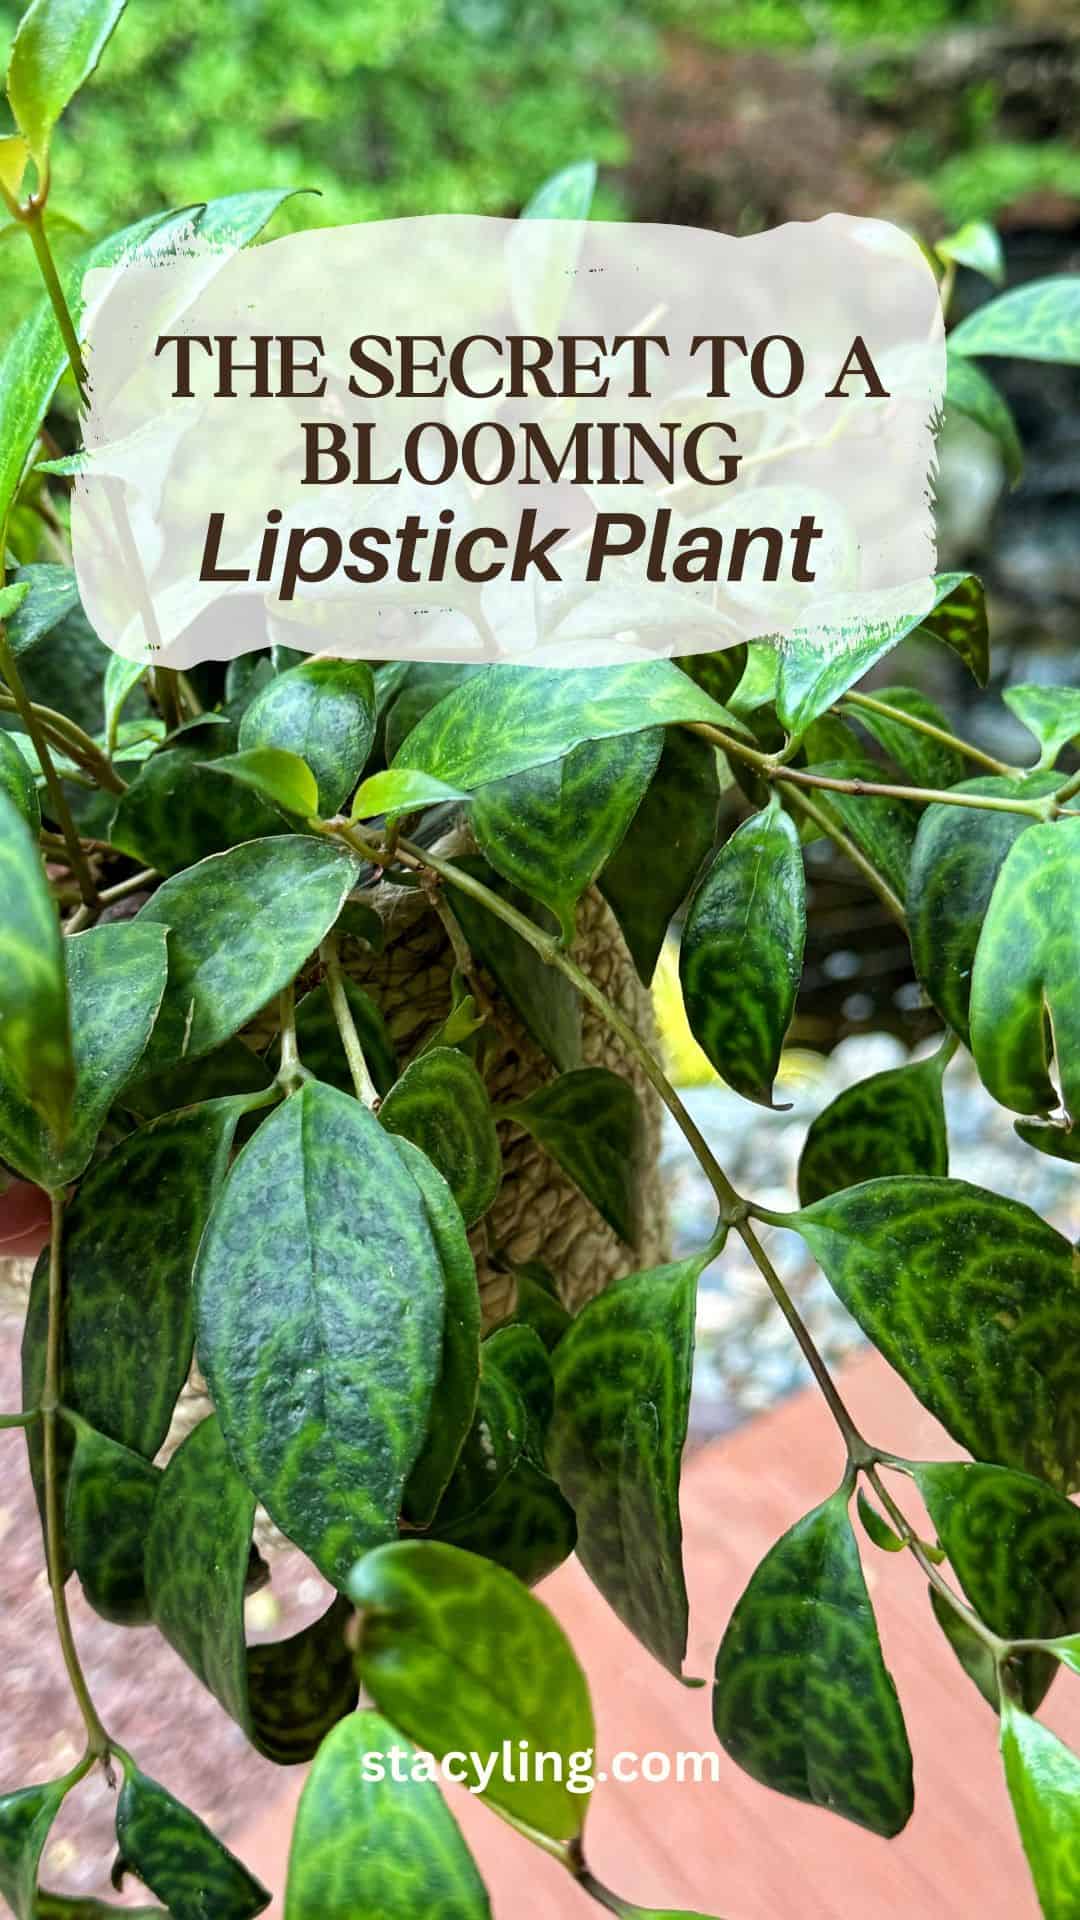
The Secret to a Blooming Lipstick Plant

Discover the simple secrets to make your Lipstick Plant burst into stunning blooms! Learn essential tips for light, water, soil, and more.
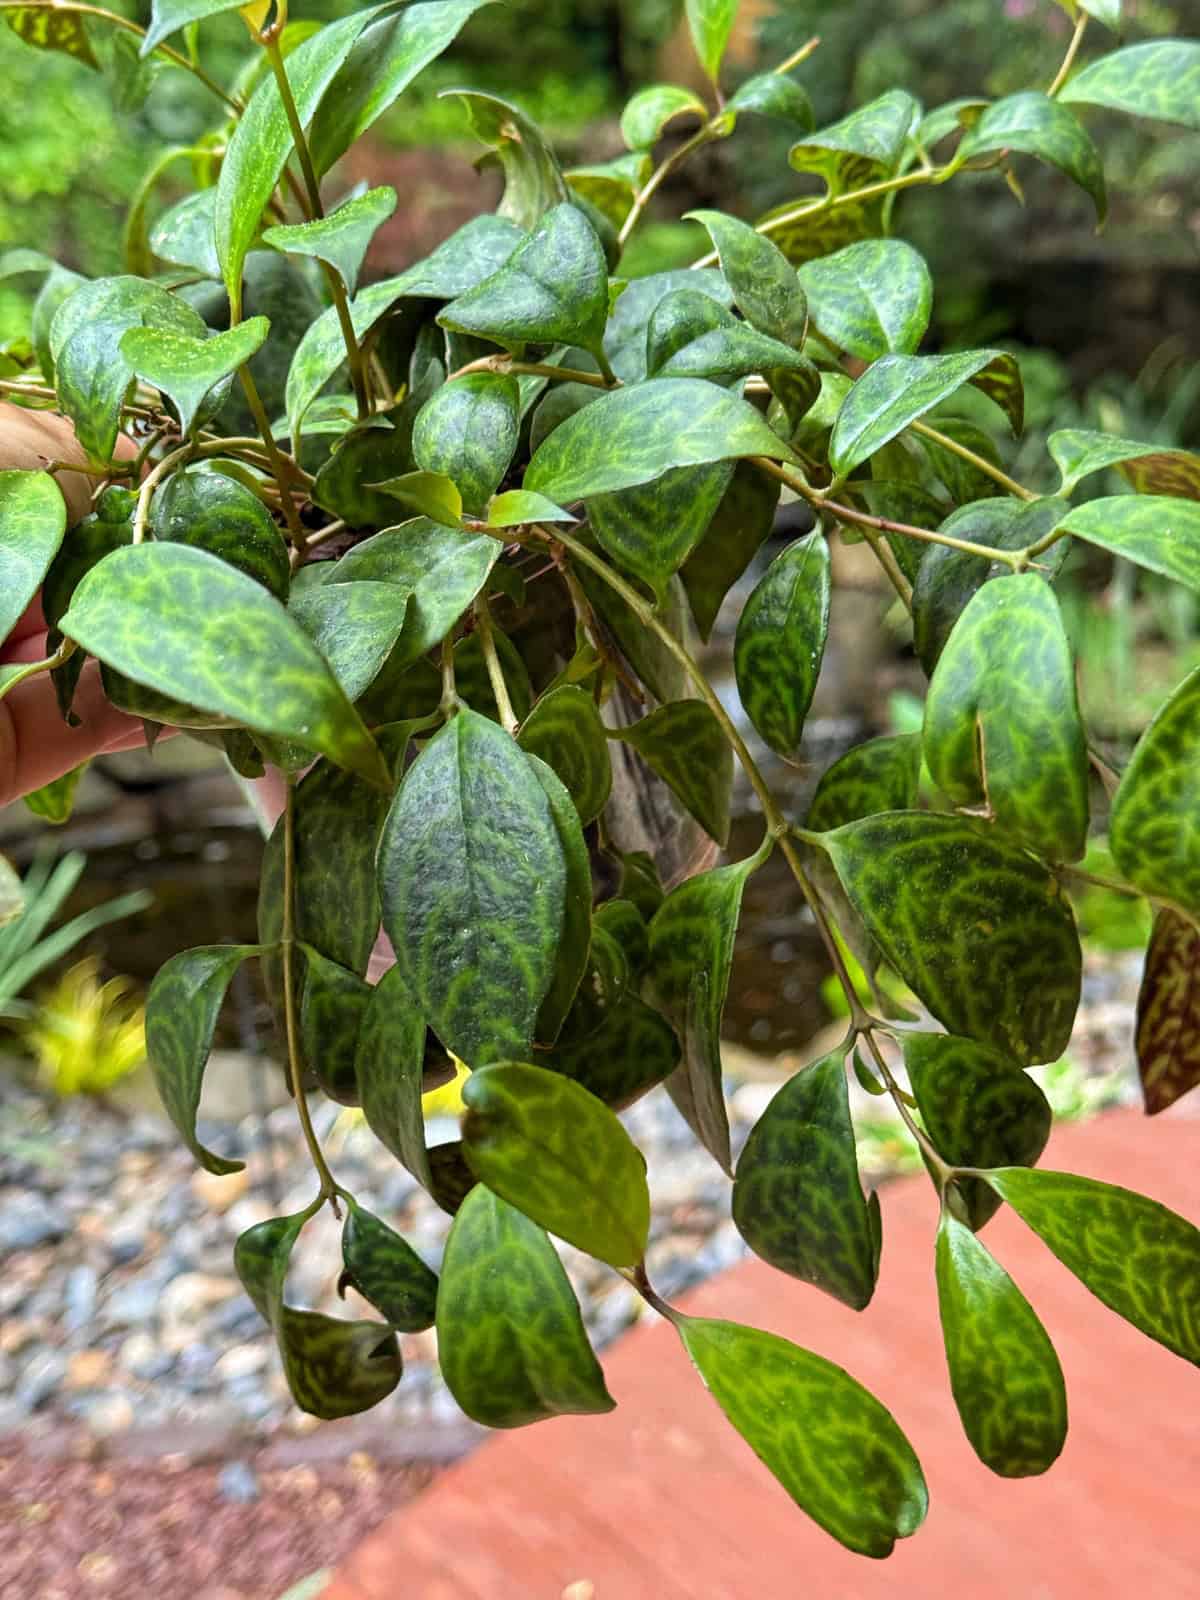
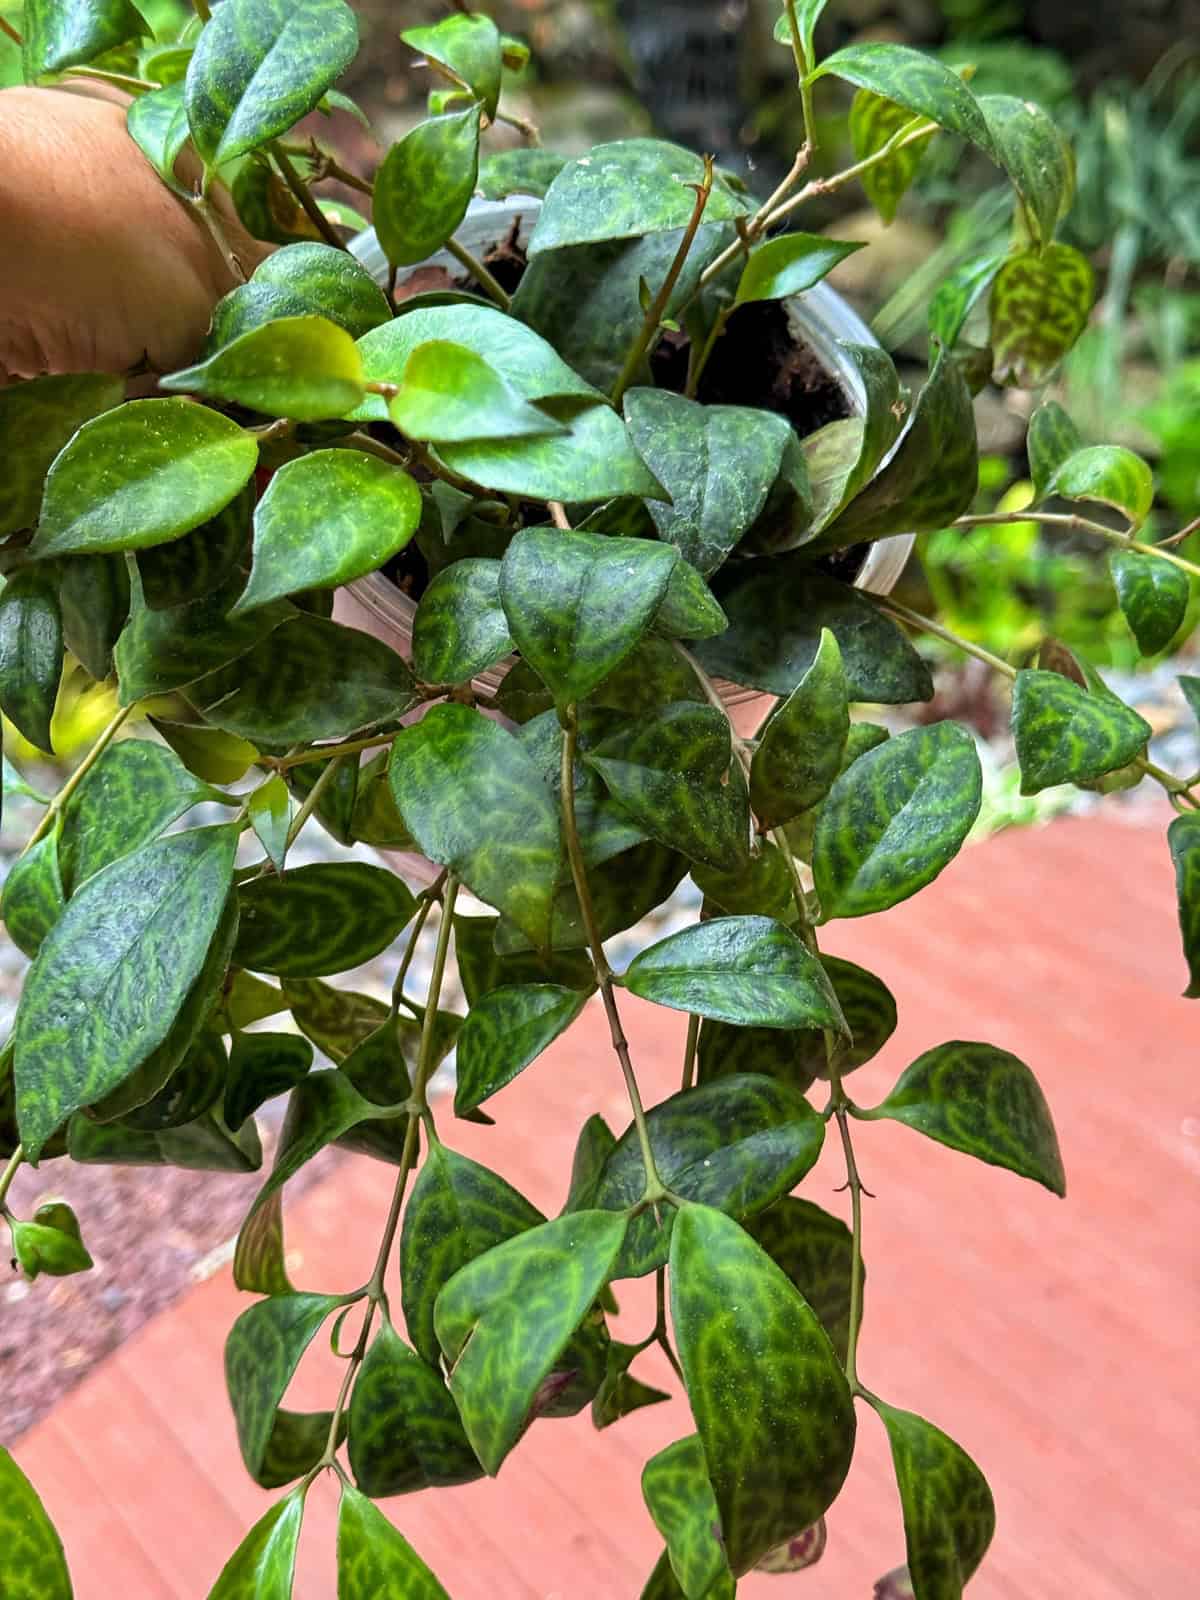
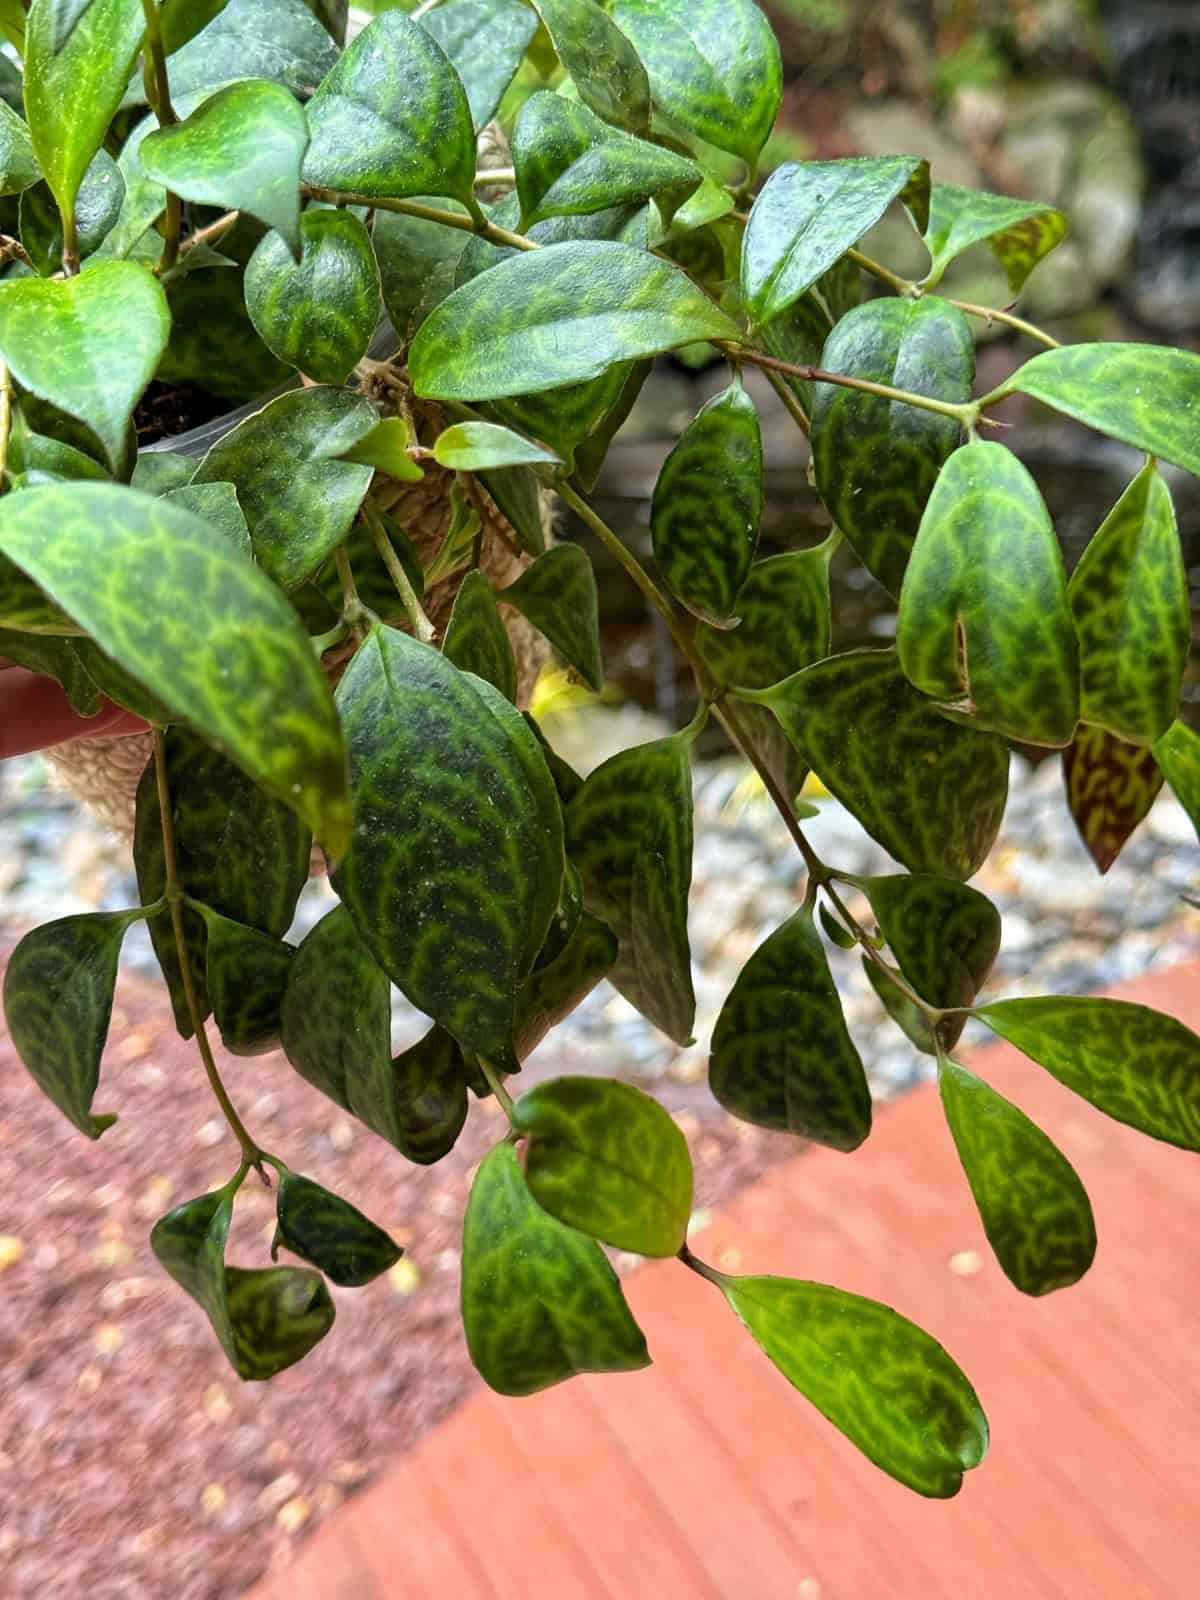
You’ve got a Lipstick Plant, maybe even the gorgeous ‘Black Pagoda’ like me with its striking, patterned foliage like mine. You love its cascading vines and unique leaves, but if you’re like me, you’re probably waiting for that moment when the vibrant, “lipstick-like” flowers finally appear.
Good news! Getting your Aeschynanthus to bloom isn’t some ancient mystery. It simply comes down to understanding and providing the right conditions. Let’s chat more about how to get the prettiest blooming Lipstick Plant!
(Posts on stacyling.com may contain affiliate links. Click HERE for full disclosure.)

💡 Quick Guide: Growing a Lipstick Plant Indoors
Discover the simple secrets to make your Lipstick Plant burst into stunning blooms! Learn essential tips for light, water, soil, and more.
Understanding Your Lipstick Plant
First, a little background. Lipstick plants are epiphytes, meaning in their native Southeast Asian jungles, they grow on other plants (like trees) for support, not as parasites. This tells us they love good air circulation around their roots and don’t appreciate soggy soil.
My ‘Black Pagoda’ is a variety of Aeschynanthus longicaulis, prized for its incredible dark green leaves intricately patterned with purple and black. While the foliage is stunning on its own, those flowers are truly the cherry on top!
Light Requirements for Lipstick Plant
Think about where lipstick plants grow in their native Southeast Asian jungles – under the canopy, getting plenty of light but filtered by taller trees. That’s the environment we want to mimic indoors. An east-facing window provides gentle morning sun, while a west-facing window offers brighter afternoon light that needs a sheer curtain to diffuse it. If you notice your plant getting leggy or not blooming, it’s likely screaming for more light.
- Ideal Spot: An east-facing window is often perfect, offering gentle morning sun. A north-facing window can also work, but if it’s too dim, you might struggle to see blooms.
- Avoid: Harsh, direct midday or afternoon sun can easily scorch their leaves, leaving ugly brown patches. If a south or west-facing window is your only option, place the plant a few feet back or use a sheer curtain to diffuse the light.
- Sign of Trouble: Leggy growth (long stems with sparse leaves) and a complete lack of flowers usually point to insufficient light. Don’t be afraid to move your plant to a brighter spot!
Soil Requirements for a Healthy Lipstick Plant (Aeschynanthus )
Remember, they’re epiphytes. Their roots need to breathe! Forget dense, heavy potting mixes. Your lipstick plant wants something light and airy. I typically use a mix designed for orchids or African violets, then add extra perlite or bark to ensure super-fast drainage and aeration.
Use a well-draining, airy potting mix. A standard indoor potting mix is often too dense on its own. Amend it with ingredients like perlite, orchid bark, or coco coir to improve drainage and aeration. You can also buy a premade chunky soil mix so you don’t have to DIY it yourself.
Avoid heavy, compact soil that holds too much water. This is a fast track to root rot, a common killer of Lipstick Plants.
Aeschynanthus Temperature: Keeping it Cozy (But Not Too Hot!)
Lipstick plants are tropical, so they like warmth. Most average indoor temperatures are perfect, but be mindful of sudden drops or drafts from open windows, AC vents, or cold doors. They are sensitive!
- Daytime: Aim for temperatures between 65°F and 80°F (18°C to 27°C) during their active growing season (spring and summer).
- Nighttime/Winter: They can tolerate slightly cooler temperatures, down to 55°F to 65°F (13°C to 18°C), especially in winter. A slight temperature drop can actually help encourage flower bud formation.
- Watch Out For: Cold drafts from windows or doors, and hot blasts from heating vents. Sudden temperature fluctuations stress the plant and can cause leaves to drop. Never let temperatures fall below 50°F (10°C).
Humidity for Your Lipstick Plant
Your Lipstick Plant will thank you for high humidity, mirroring its jungle home. The ideal range is to target humidity levels between 60% and 80%.
How to Boost Humidity in Your Home
If your home’s air is dry (especially in winter), consider using a humidifier near your plant. Placing the pot on a pebble tray filled with water (making sure the pot isn’t sitting directly in the water) also works wonders. Grouping plants together can also create a microclimate with higher humidity.
Important Note: While they love humidity, avoid misting the leaves directly. This can encourage fungal problems, especially if air circulation isn’t good.
Watering Your Lipstick Plant (Aeschynanthus )
Getting watering right is crucial to prevent root rot. Water your plant thoroughly when the top inch or two of the soil feels dry to the touch. Stick your finger in to check or you can use a moisture probe like this!
How to Water
Water until you see water draining from the bottom of the pot. Always ensure your pot has drainage holes! Your Aeschynanthus will not love it if the water is pooling the roots because there is no drainage.
Allow the soil to dry out slightly before watering again. It’s better to slightly underwater than to overwater these plants.
In the fall and winter, reduce watering as the plant’s growth naturally slows down.
Fertilizing: Fueling Those Blooms
Regular feeding provides the nutrients your plant needs to produce those gorgeous flowers. A balanced liquid houseplant fertilizer, diluted to half strength, is usually perfect during their active growing season. Think of it as giving them a little boost after all that hard work producing those gorgeous flowers.
- When to Feed: Use a balanced, water-soluble houseplant fertilizer diluted to half strength every 2-4 weeks during spring and summer (their active growing season). Recently, I started using this organic liquid fertilizer all year round instead and found my plant was much happier during the winter months.
- When to Stop: If you are using a synthetic fertilizer, hold off on fertilizing during the fall and winter months when the plant is resting. If you opt for a gentle organic fertilizer, it’s a good idea to feed them all year round.
- Always Water First: Never fertilize a dry plant, as this can lead to root burn. It’s also a good idea to flush the soil with plain water every few months to prevent fertilizer salt buildup.
Repotting: Less is More
Lipstick plants actually prefer to be a little root-bound, which can encourage more blooms!
- Frequency: You won’t need to repot often – typically only every 2-3 years, or when the plant is clearly overflowing its pot.
- Timing: The best time to repot is in the spring.
- Pot Size: Choose a pot that’s only slightly larger than the current one. Don’t go too big, as too much soil can retain excess moisture. And I highly recommend repotting in clear nursery pots, then dropping them into decorative pots. I started doing this with all of my houseplants so I can see how the root system is doing as well as moisture in the soil.
Pruning After Flowering
Don’t be afraid to snip! Pruning after flowering encourages new growth and helps your plant become bushier, not leggy. Plus, those cuttings are perfect for propagating new plants!
Common Pest & Disease Patrol
Even with the best care, sometimes unwelcome visitors show up. Regular inspection helps catch problems early!
Pests:
- Aphids, Mealybugs, Spider Mites, and Scale: These common houseplant pests can all bother Lipstick Plants.
- What to Do: For minor infestations, you can often rinse them off with water or wipe them away with a cotton swab dipped in rubbing alcohol. For more persistent issues, insecticidal soap or neem oil are effective and safe options. Increasing humidity often helps deter spider mites. As a preventative measure, I’ve been using this organic houseplant insect control granule to keep these kinds of problems at bay and it works like a charm!
Diseases:
- Root Rot: This is the most common issue, caused by overwatering and poor drainage. Symptoms include wilting, yellowing leaves, and a mushy stem base. Prevention is key: well-draining soil and letting the soil dry out between waterings. If you catch it early, you can try to remove affected roots and repot into fresh, dry soil.
- Botrytis Blight (Gray Mold) & Leaf Spot: These are typically fungal and appear as gray mold or spots on leaves. They’re often a sign of too much humidity combined with poor air circulation. Improve air circulation, avoid getting water on the leaves, and remove affected plant parts.
Yellowing leaves? 9 times out of 10, it’s overwatering. Dropping leaves? Could be cold drafts or sudden changes. No blooms? Revisit your lighting situation!

Final Thoughts About Growing Lipstick Plant
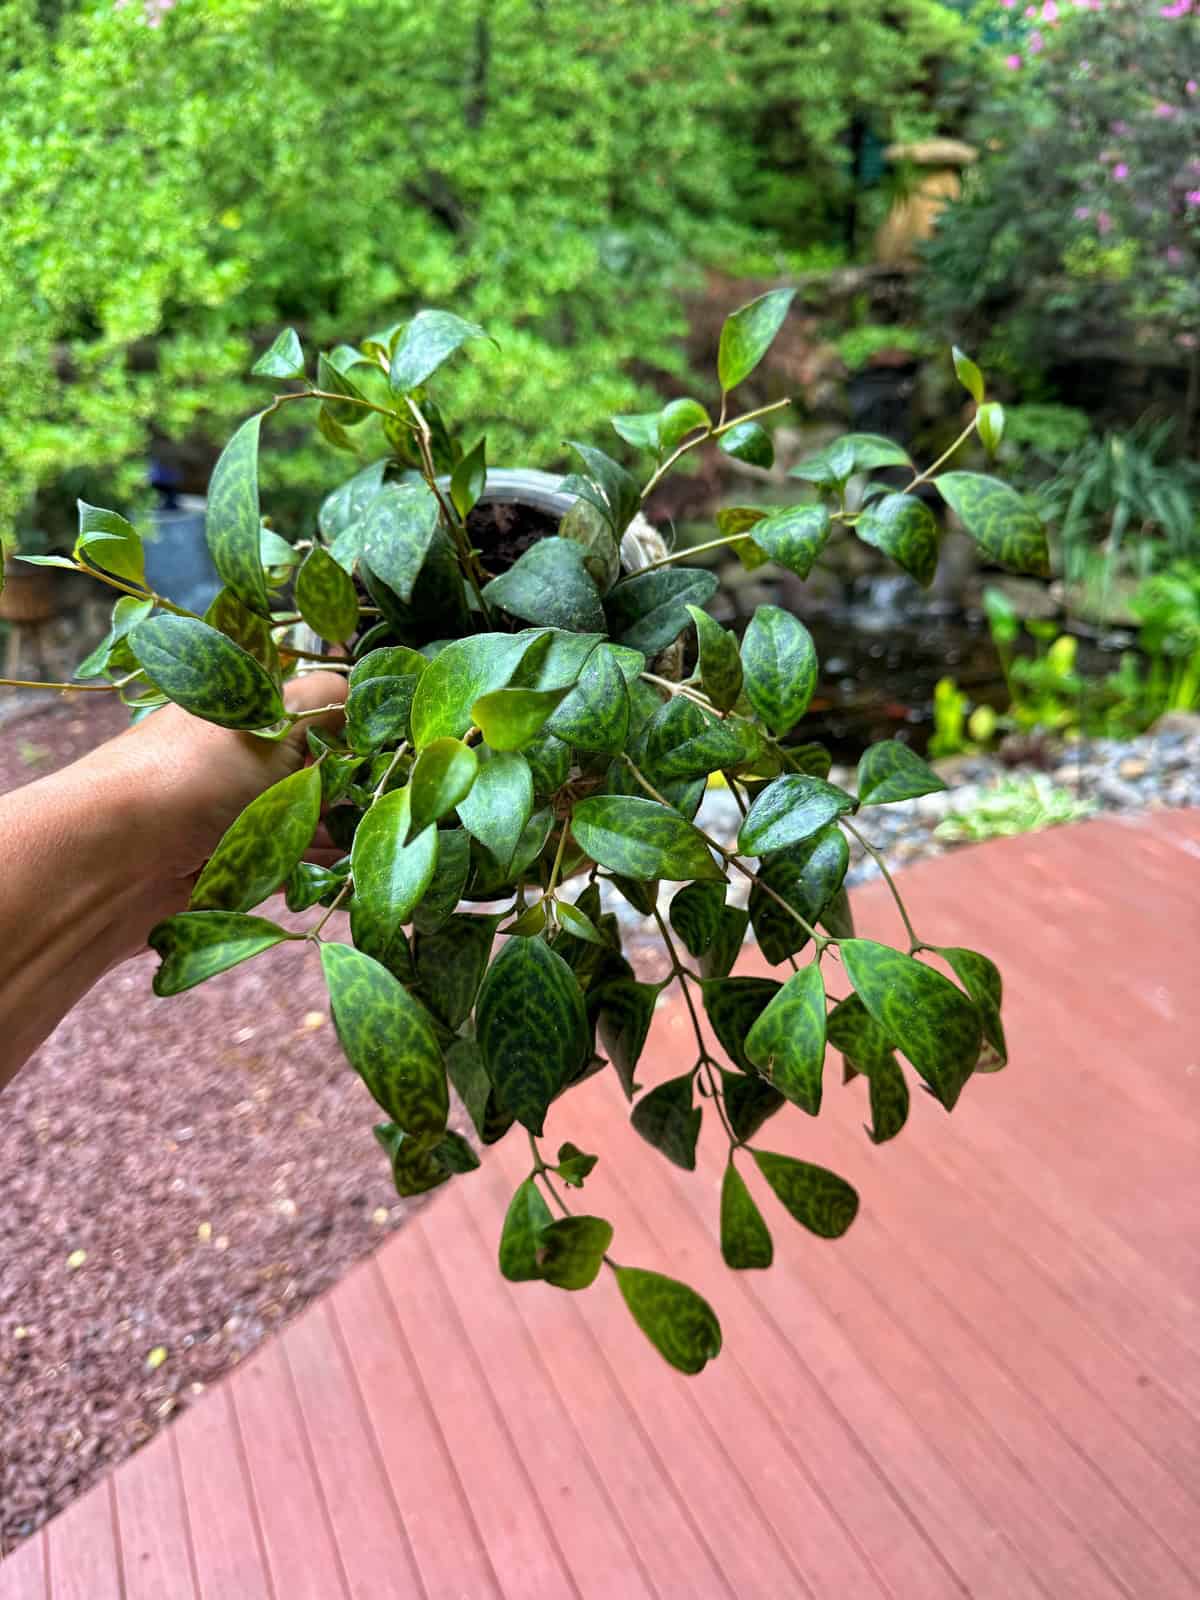
As someone who’s relatively new to the Lipstick Plant world – I only brought my ‘Black Pagoda’ home about a year ago – I completely understand the excitement (and a little bit of impatience!) that comes with growing these beauties. Like you, I was initially drawn in by the incredible foliage of the ‘Black Pagoda’ and the promise of those pretty, “lipstick” blooms. But I’m also a sucker for anything that vines – I just think they look so cool in a hanging basket.
It’s been so rewarding to see my plant grow and trail since I first got it. I’ve been diligently trying to give it all the right care, and now that the warmer weather is here and I can finally summer it outdoors, my hopes are really high for some flowers this year! There’s just something so fun about a houseplant blooming, isn’t there?
I’m definitely going to keep you posted on my progress and hopefully share some photos of those first blooms.
Have you grown lipstick plant before? Got any tips you’d like to share? Let’s chat more about it in the comments below!
For more information about growing lipstick plant, please see this article from North Carolina State Cooperative Extension.
To drill down on houseplant care basics and grow an indoor garden that thrives, please read my articles:
- Houseplant Care 101
- From Shop to Home: How to Acclimate Your Tropical Plants
- How to Water Indoor Plants Like a Pro
- How to Revive Houseplants You Thought Were Goners
- Is Your Houseplant Getting Enough Light? Here’s How to Tell.
Thank you for visiting the blog today!
Enjoy your day! xo
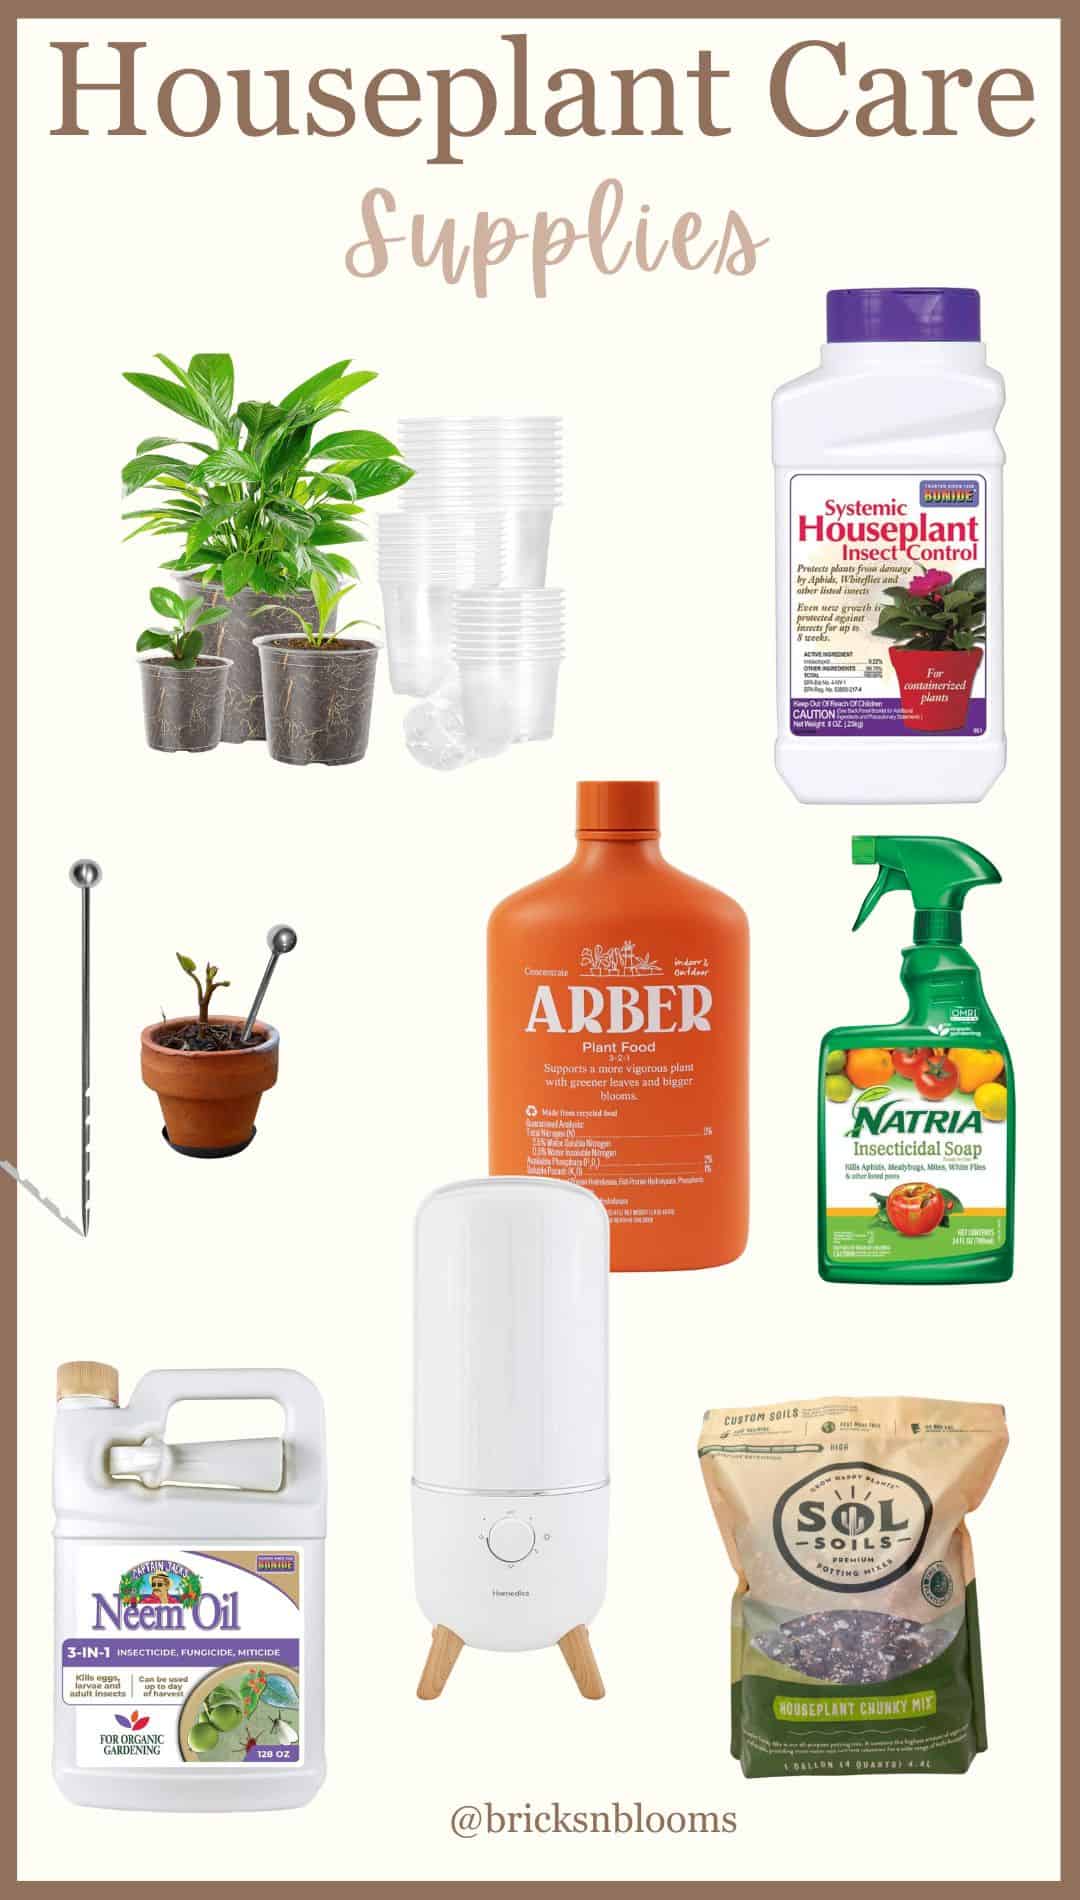
Shop the Post
Snag the supplies I regularly use on all my houseplants here.