Make Your Fresh Cut Flowers Last: The Ultimate Guide to Harvesting & Care

Achieve longer-lasting fresh cut flowers! Discover essential harvesting & post-harvest care tips for gorgeous blooms that truly last.
There’s nothing quite like the joy of harvesting a beautiful bouquet of homegrown cut flowers. Yet, that joy can quickly turn to disappointment if your stunning blooms wilt just a day or two after gracing your table. If you’ve ever wondered how florists make their arrangements last, know this: it’s not magic, but a science and an art that begins even before the stem leaves the plant.
Extending the vase life of your cut flowers is a skill that can be learned. This guide will walk you through every critical step, from preparing your garden for harvest to essential post-cutting conditioning and ongoing vase care. By mastering these techniques, you’ll empower your homegrown blooms to bring vibrancy and beauty to your home for days, even weeks, longer.
While this guide provides an in-depth look at extending vase life, if you’re looking for a quick reference on fundamental fresh flower care, you can also check out my article, How to Keep Fresh Flowers Longer.
(Posts on stacyling.com may contain affiliate links. Click HERE for full disclosure.)
Pre-Harvest Preparation for Fresh Cut Flowers: Setting the Stage for Success
The longevity of your cut flowers starts long before you ever pick up your snips. Proper preparation ensures your plants are in their prime condition for cutting.
Hydration is Key
The day before or the morning you plan to harvest, give your flower beds a deep, thorough watering. Well-hydrated plants have fully turgid (water-filled) cells and stems, making them less susceptible to wilting immediately after cutting. A well-hydrated plant will absorb water much more readily in the vase.
This said…do I go out and water my flowers before harvesting my flowers? Not usually. It’s just not practical as a home gardener looking to cut a few blooms for my home. However, if I were selling bouquets or wanted to use them for an event, I’d want to get the longest vase life out them. So watering prior to cutting them will help!
Timing is Everything
The time of day you harvest plays a significant role in a flower’s vase life.
- Best Time: Early morning, after the dew has dried but before the sun’s heat begins to climb. Alternatively, late evening, after the sun has set, and plants have had a chance to rehydrate after a warm day.
- Why: During these cooler periods, plants are at their most hydrated and have the highest concentration of carbohydrates (sugars), which provide the necessary energy for sustained life in the vase.

Stage of Bloom (The “Sweet Spot” for Cutting)
This is perhaps the most crucial pre-harvest decision. Cutting at the optimal stage ensures the flower will continue to develop and unfurl beautifully in the vase, maximizing its display time.
- General Rule: Most flowers are best cut when their buds are just beginning to show color or are about 1/3 to 1/2 open.
- Flower-Specific Examples:
- Dahlias, Zinnias, Cosmos: Cut when blooms are almost fully open, but still firm and fresh, not soft or floppy.
- Snapdragons, Delphiniums, Gladiolus: Harvest when the bottom 2-3 florets on the spike are open, with plenty of unopened buds above.
- Sunflowers: Cut when the ray petals are just beginning to open from the central disk.
- Peonies: Harvest at the “marshmallow” stage—when the bud feels soft and pliable like a marshmallow, not rock-hard.
- Lisianthus: Cut when the first 1-2 flowers on the stem are open.
- The “Wiggle Test”: For certain varieties like Zinnias and Salvias, you can perform a simple “wiggle test.” Gently grasp the stem about 6-8 inches below the bloom and give it a slight shake. If the stem is rigid and holds firm, it’s ready. If it’s floppy or bends easily, the flower is not yet mature enough and will likely wilt quickly.
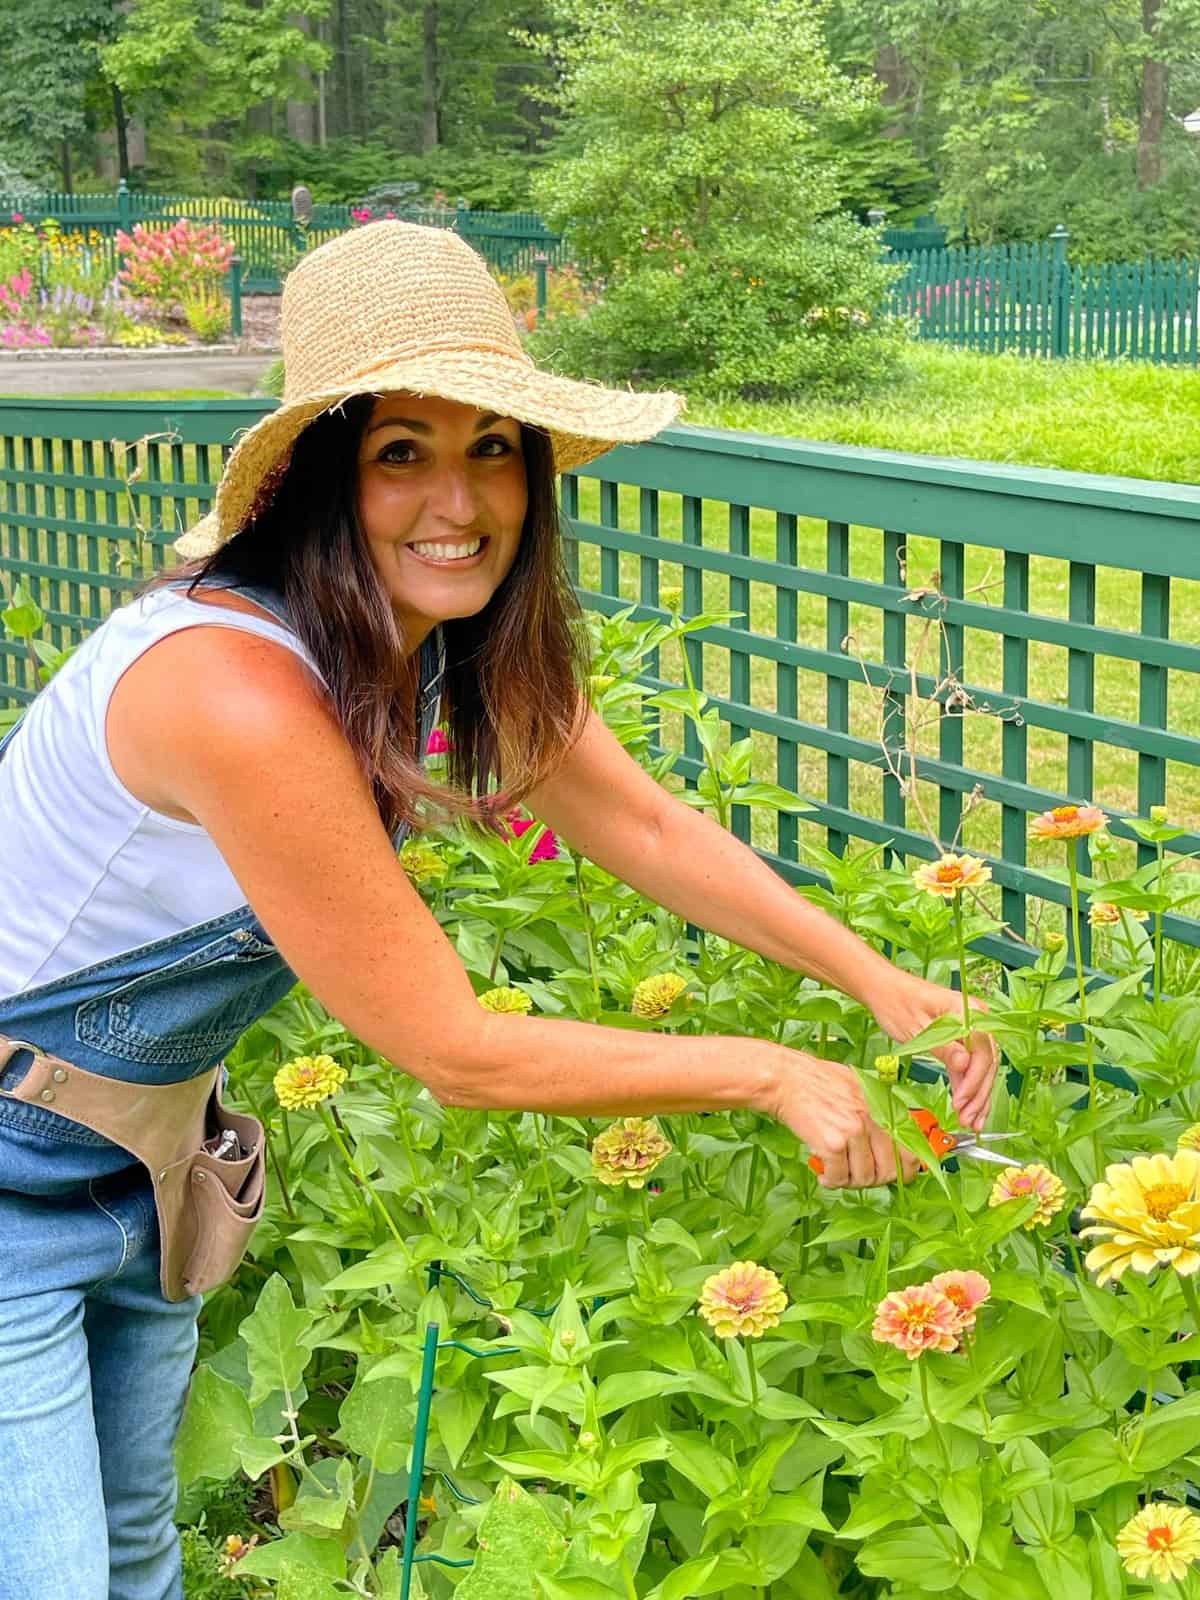
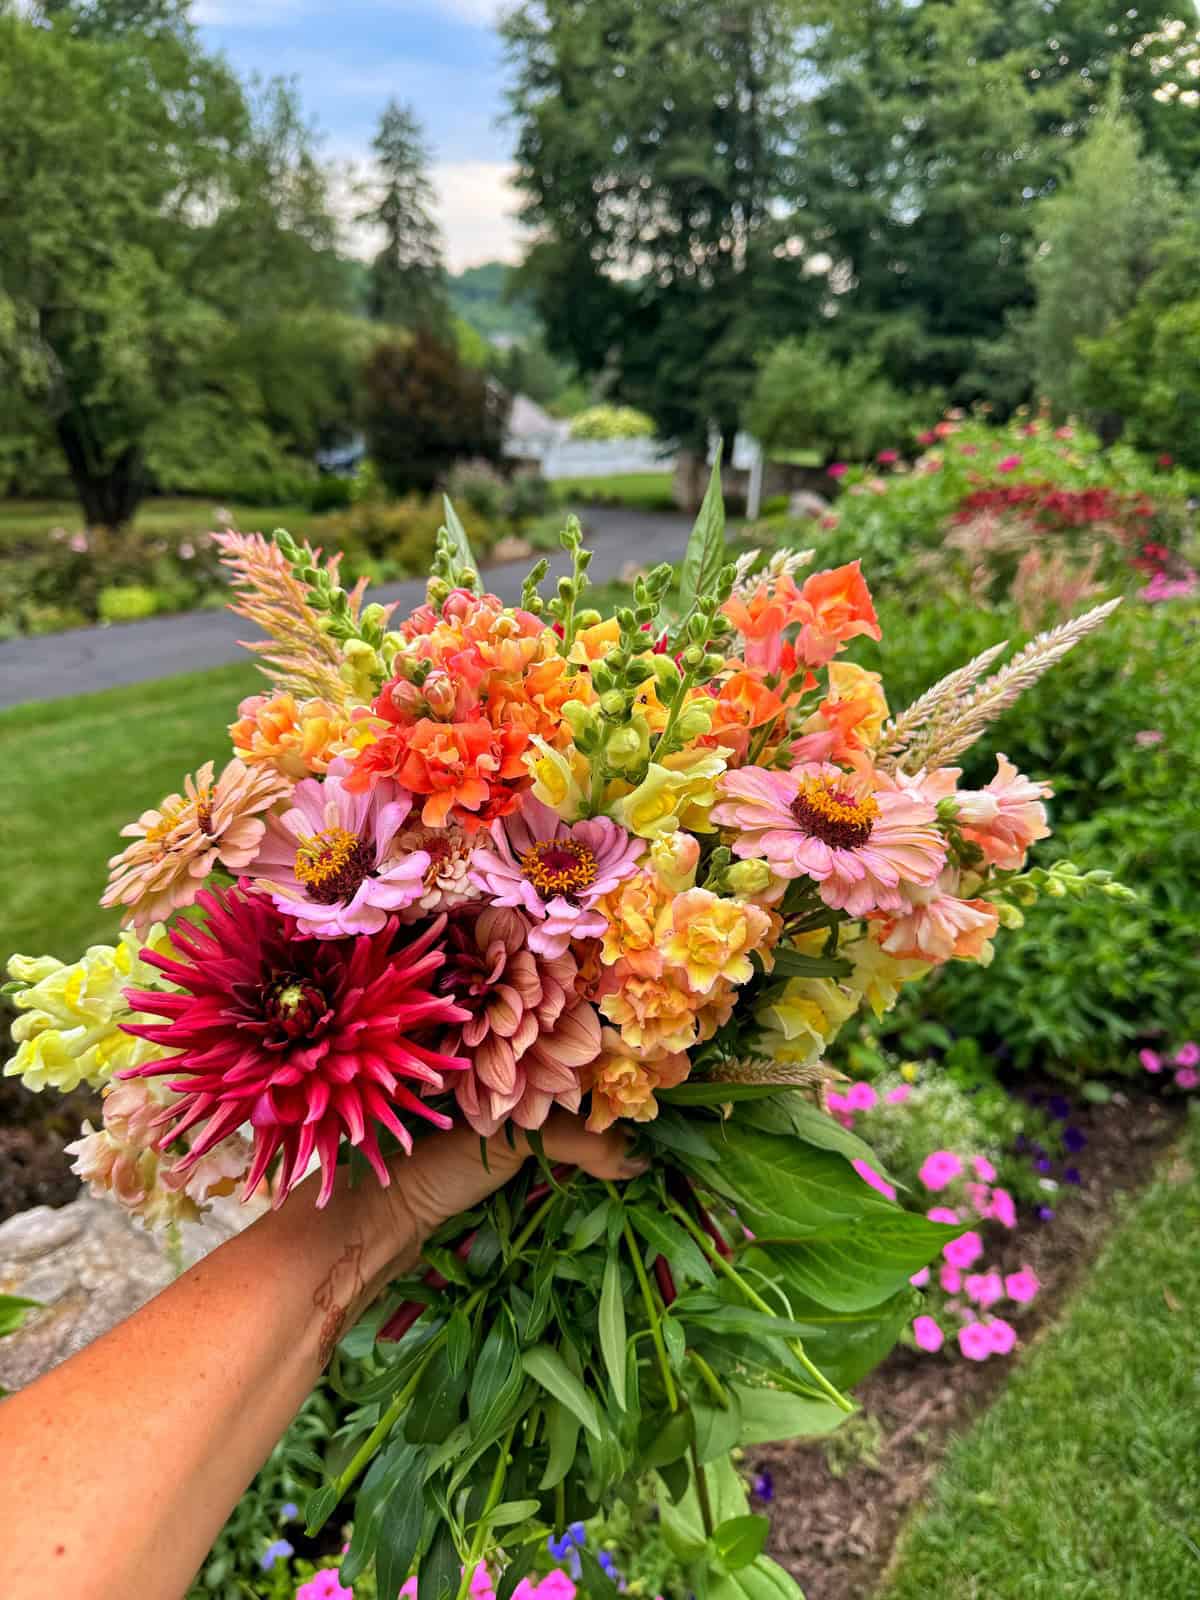
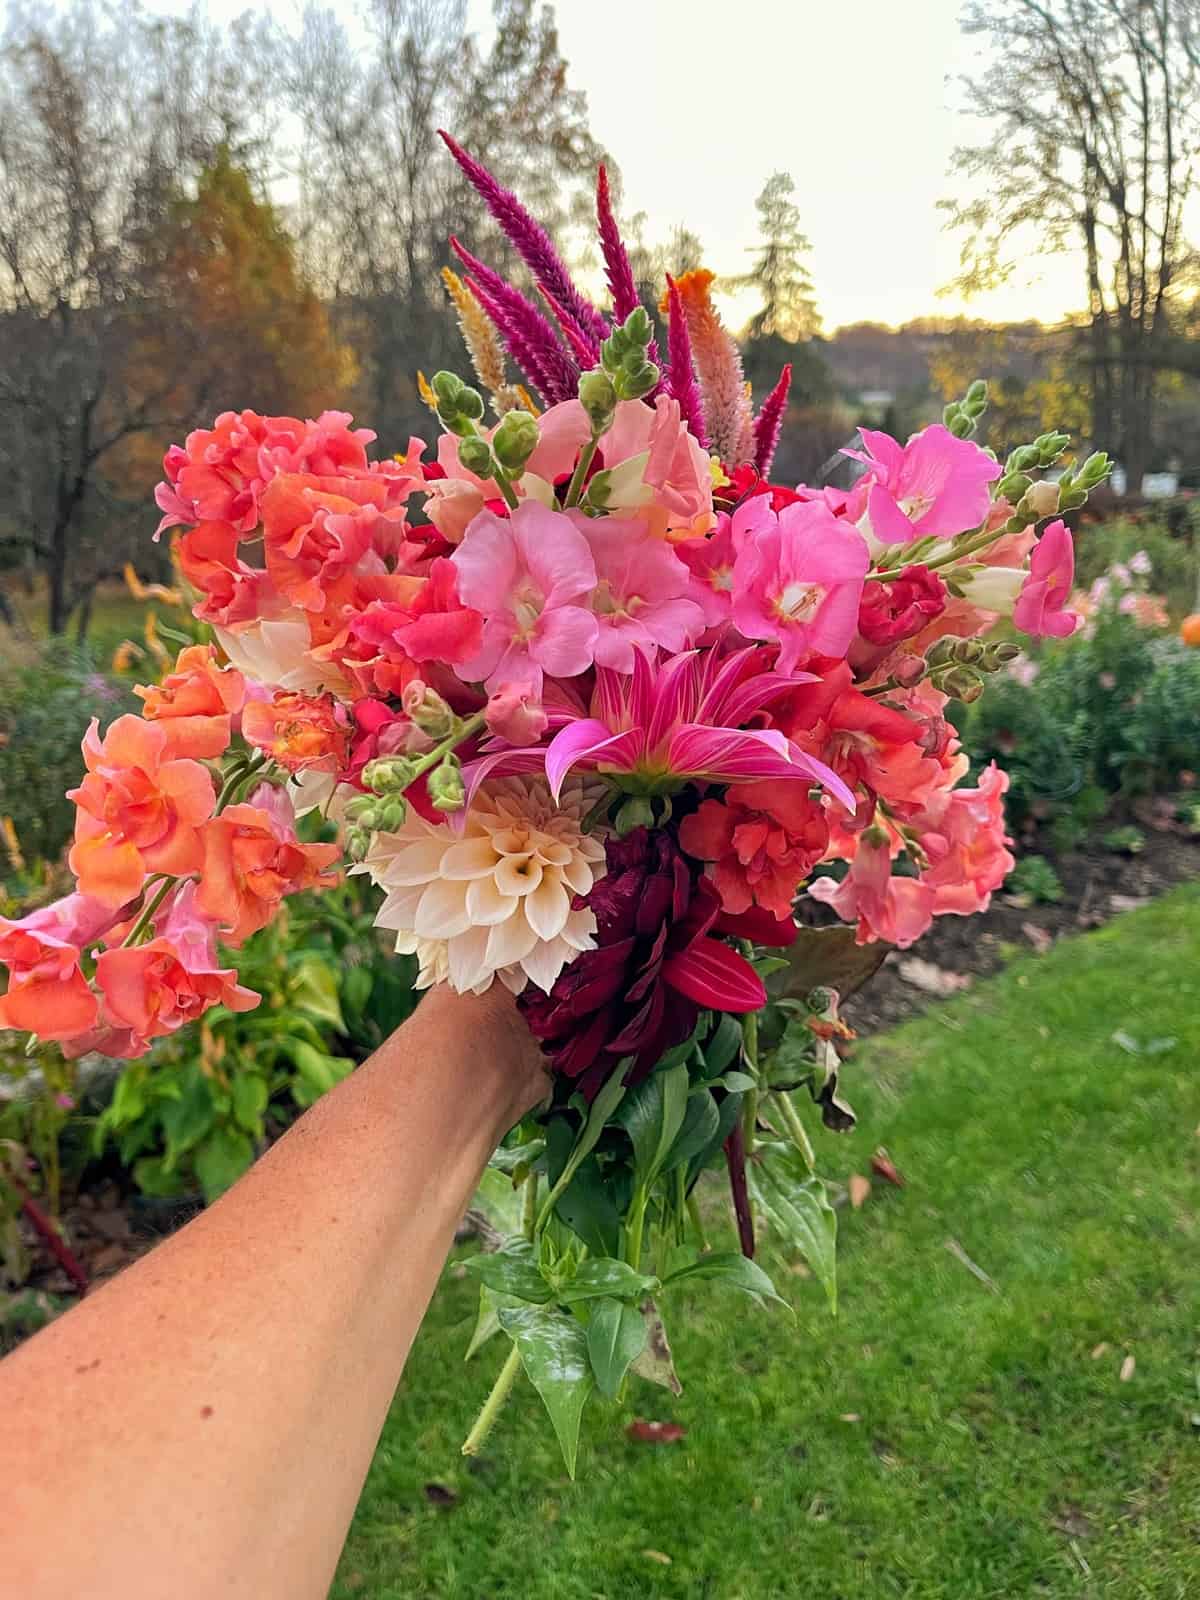
The Harvest Itself: Clean Cuts for Optimal Absorption
Once you’ve chosen the perfect time and bloom stage, the way you make the cut directly impacts water uptake. For best vase life:
Sharp, Clean Tools Are Non-Negotiable When Cutting Fresh Flowers
- Tools: Always use very sharp garden snips, pruners, or a sharp knife.
- Why: A clean, swift cut prevents crushing the delicate vascular tissues in the stem. Crushed tissues can effectively block water uptake, leading to premature wilting. Dull tools cause ragged cuts that damage the very pathways your flower needs for hydration.
- Sanitation: Briefly clean your tools between different plant types or beds using rubbing alcohol or a 1:10 bleach-to-water solution (then rinse) to prevent the unintentional spread of plant diseases.
Where to Cut
- Cut the stems long. Aim to cut above a leaf node or a side shoot to encourage continued growth and future blooms on the plant. I like to recut just before arranging at the appropriate length for the arrangement.
- Make a clean, 45-degree angle cut. This particular angle maximizes the surface area for water absorption and helps prevent the stem from sitting flush against the bottom of the vase, which could block water uptake.
Immediate Water Immersion (The Most Crucial Step for Fresh Cut Flowers!)
- Have a clean bucket of water (or pre-prepared flower food solution) ready with you in the garden.
- As soon as a stem is cut, plunge it directly and immediately into the water.
- Why: This action is paramount. It prevents air from entering the vascular system of the stem. If air bubbles get in (an “air embolism”), they can block water uptake, causing immediate and irreversible wilting.
NOTE: If an “influencer” is selling you harvest baskets for your cut flowers, they lack basic understanding of how to handle fresh flowers for vase life. They are basically selling you on a product that you don’t really need for cutting flowers to make a buck. Harvest baskets are better for your veggies than flowers.

Immediate Post-Harvest Care: The Conditioning Phase
Once your flowers are in water, the real work of extending their vase life begins. This critical conditioning phase allows them to fully rehydrate and harden off.
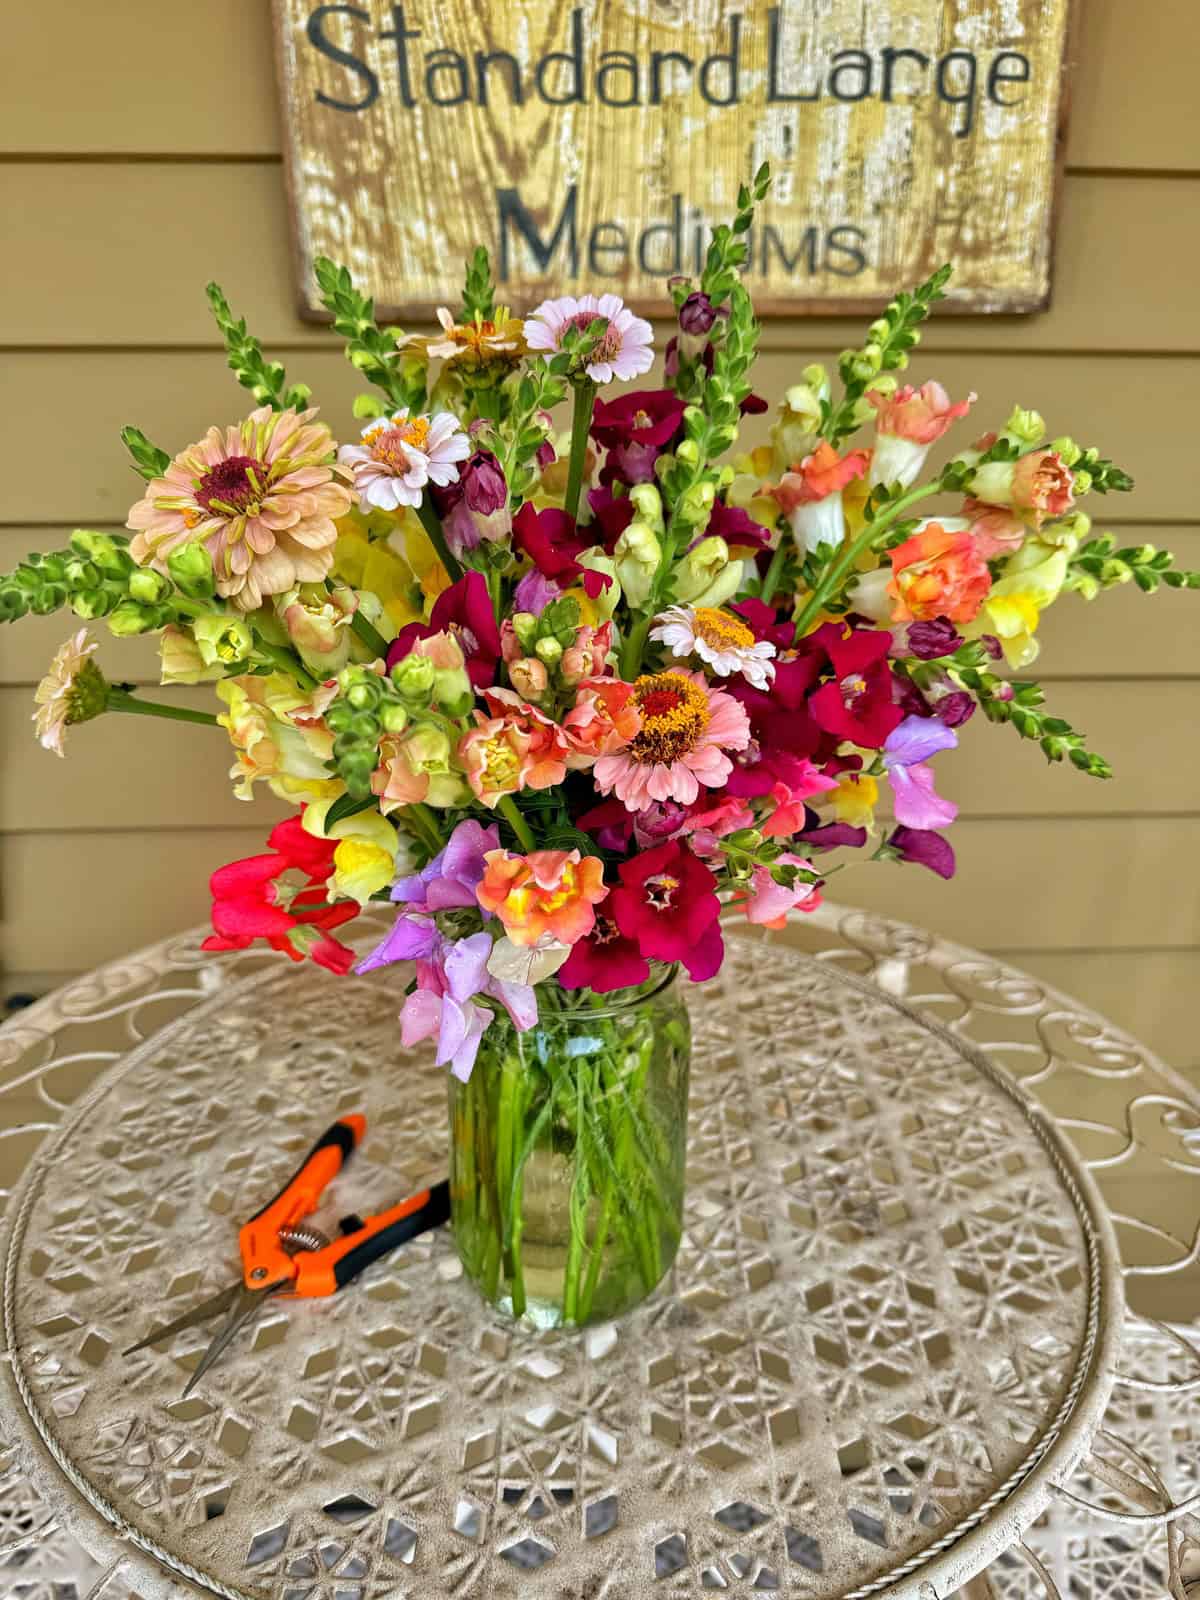
Start with a Spotlessly Clean Vase for Fresh Cut Flowers
Before adding any water or flowers, thoroughly wash your vase or bucket with hot, soapy water. For an extra layer of sanitation, you can use a diluted bleach solution (e.g., 1 part bleach to 10 parts water), followed by a thorough rinse. This eliminates any lingering bacteria from previous arrangements that could contaminate your fresh solution and shorten vase life.
Re-Cutting Stems (Ideally Under Water)
- Why: Despite immediate immersion, air bubbles can sometimes still form. A fresh cut removes these, creating a new, open pathway for water absorption.
- How: Submerge the stem end in water and make a fresh cut (at an angle or straight, both work) about 1/2 to 1 inch from the original cut. You don’t need to do this for every water change, but it’s essential after the initial harvest.
Removing Lower Foliage & Anthers (for certain flowers):
- Remove Lower Foliage: Strip off all leaves, side shoots, or any plant material that would fall below the waterline in your chosen vase.
- Why: Submerged foliage will decompose rapidly, creating a breeding ground for bacteria in the water. These bacteria then clog the stems, dramatically shortening vase life.
- Remove Anthers (for specific flowers like Lilies): For flowers like lilies, carefully remove the anthers (the pollen-bearing parts) as soon as the flower opens.
- Why: This prevents pollen from staining the petals (and your furniture!) and, more importantly, conserves the flower’s energy, as producing and dispersing pollen is an energy-intensive process that can shorten its lifespan.

Prepare Your Hydration Solution (Flower Food)
Tap water alone isn’t enough for optimal vase life. Commercial flower food packets provide a scientifically balanced blend:
- Sugar (Carbohydrates): Provides essential energy to the cut flower.
- Acidifier: Lowers the water’s pH, making it easier for stems to absorb water efficiently.
- Biocide/Inhibitor: Prevents the rapid growth of bacteria and fungi in the water that can clog stems.
- Homemade Flower Food: Simple home recipes often include a small amount of sugar (for food) and a few drops of bleach (as a biocide). While these can help, commercial solutions are formulated for optimal balance and effectiveness. I share a great homemade flower food recipe that I like to use here.

The “Conditioning” Soak for Fresh Cut Flowers
- Place your prepared stems into the hydration solution in your clean bucket.
- Move the bucket to a cool, dark, and quiet place (e.g., a basement, cool garage, or shaded spot away from drafts) for at least 2-4 hours, or ideally overnight.
- Why: This crucial step allows the flowers to fully rehydrate and “harden off” before being arranged or exposed to warmer room temperatures. This process significantly improves their rigidity, durability, and ultimately, their vase life. Avoid direct sunlight or drafts during this period, as these will stress the flowers.
Ongoing Vase Care: Keeping Blooms Fresh for Days
Once your flowers are conditioned and arranged, a few simple daily habits will ensure they remain vibrant.
Change Water Daily (or Every Other Day)
- Why: Fresh water minimizes bacterial buildup and replenishes the flower food solution. Old, cloudy water is a sign of bacterial contamination that’s clogging your stems.
- How: Completely empty the old water, rinse the vase thoroughly, and refill with fresh flower food solution each time.
Re-Cut Stems Regularly (Every 1-2 Days)
- Why: Even with clean water, the ends of the stems can become clogged over time with bacteria or cellular debris. A fresh cut opens up the vascular pathways again.
- How: A quick snip of about half an inch from the bottom is sufficient. You don’t need to do this underwater once the flowers are fully conditioned.
Placement Matters
Where you display your flowers can drastically impact their longevity.
- Avoid: Direct sunlight, heat sources (like radiators, fireplaces, or even the top of electronic devices), and ripening fruit.
- Why: Heat accelerates the flower’s metabolism and natural aging process. Ripening fruit releases ethylene gas, a natural plant hormone that triggers accelerated ripening and senescence (aging) in flowers, causing them to fade much faster.
- Ideal: A cool spot away from direct drafts.
Remove Spent Blooms and Foliage
As individual flowers or leaves begin to fade or yellow, remove them promptly. Dead or dying plant material also releases ethylene gas and can encourage mold growth, negatively impacting the health of the entire arrangement.

Troubleshooting Common Vase Life Issues With Fresh Cut Flowers
Even with the best care, sometimes things go awry. Here are common problems and how to address them:
Wilting Blooms (Despite Fresh Water)
- Action: Immediately re-cut the stems underwater (if possible, in a sink or basin), then re-condition the entire bouquet in fresh flower food solution in a cool, dark place for several hours.
- Common Cause: An air bubble in the stem, severe dehydration upon cutting, or stems becoming clogged.
Cloudy, Smelly Water
- Action: Change the water immediately. Scrub the vase thoroughly with a brush and soap to remove bacterial film. Re-cut the stems and refill with fresh flower food solution.
- Common Cause: Rapid bacterial growth, often from submerged decaying foliage or insufficient cleaning.
Short Vase Life Despite Consistent Care
Consider the following: Was the flower harvested at its optimal stage of bloom? Was the initial conditioning phase thorough enough? Is the display environment too warm or sunny, or too close to ripening fruit? Are you consistently using a fresh, effective flower food solution? The quality of the water (e.g., very hard water) can sometimes play a role too.

Final Thoughts About Harvesting & Optimizing Your Fresh Cut Flowers For Maximum Vase Life
The dedication you put into your cut flower garden doesn’t have to end at harvest. By embracing these optimal harvesting and post-harvest care techniques, you transform your efforts into lasting moments of beauty. Each vibrant bloom that graces your home for days, even weeks, longer is a testament to your understanding of its needs – from the moment it’s cut, through its journey to your vase.
Embrace these practices, and delight in the extended beauty and vibrancy of your homegrown cut flowers, turning every harvest into a truly long-lasting gift.
For more information about extending the vase life of your fresh-cut flowers, check out this article from the Iowa State University Cooperative Extension.
To drill down on more beginner gardening techniques and tips, please read these posts:
- Flower Gardening for Beginners
- Growing a Cut Flower Garden for Beginners
- Container Garden Ideas for Beginners
- How to Start a Vegetable Garden
- Herb Gardening for Beginners
Thank you for visiting the blog today!
Enjoy your day! xo
