How I Plant Dahlia Tubers: My Proven Method for Bigger, Better Blooms

Plant dahlia tubers the right way. My proven method prevents rot, boosts sprouting, and sets you up for gorgeous summer blooms.
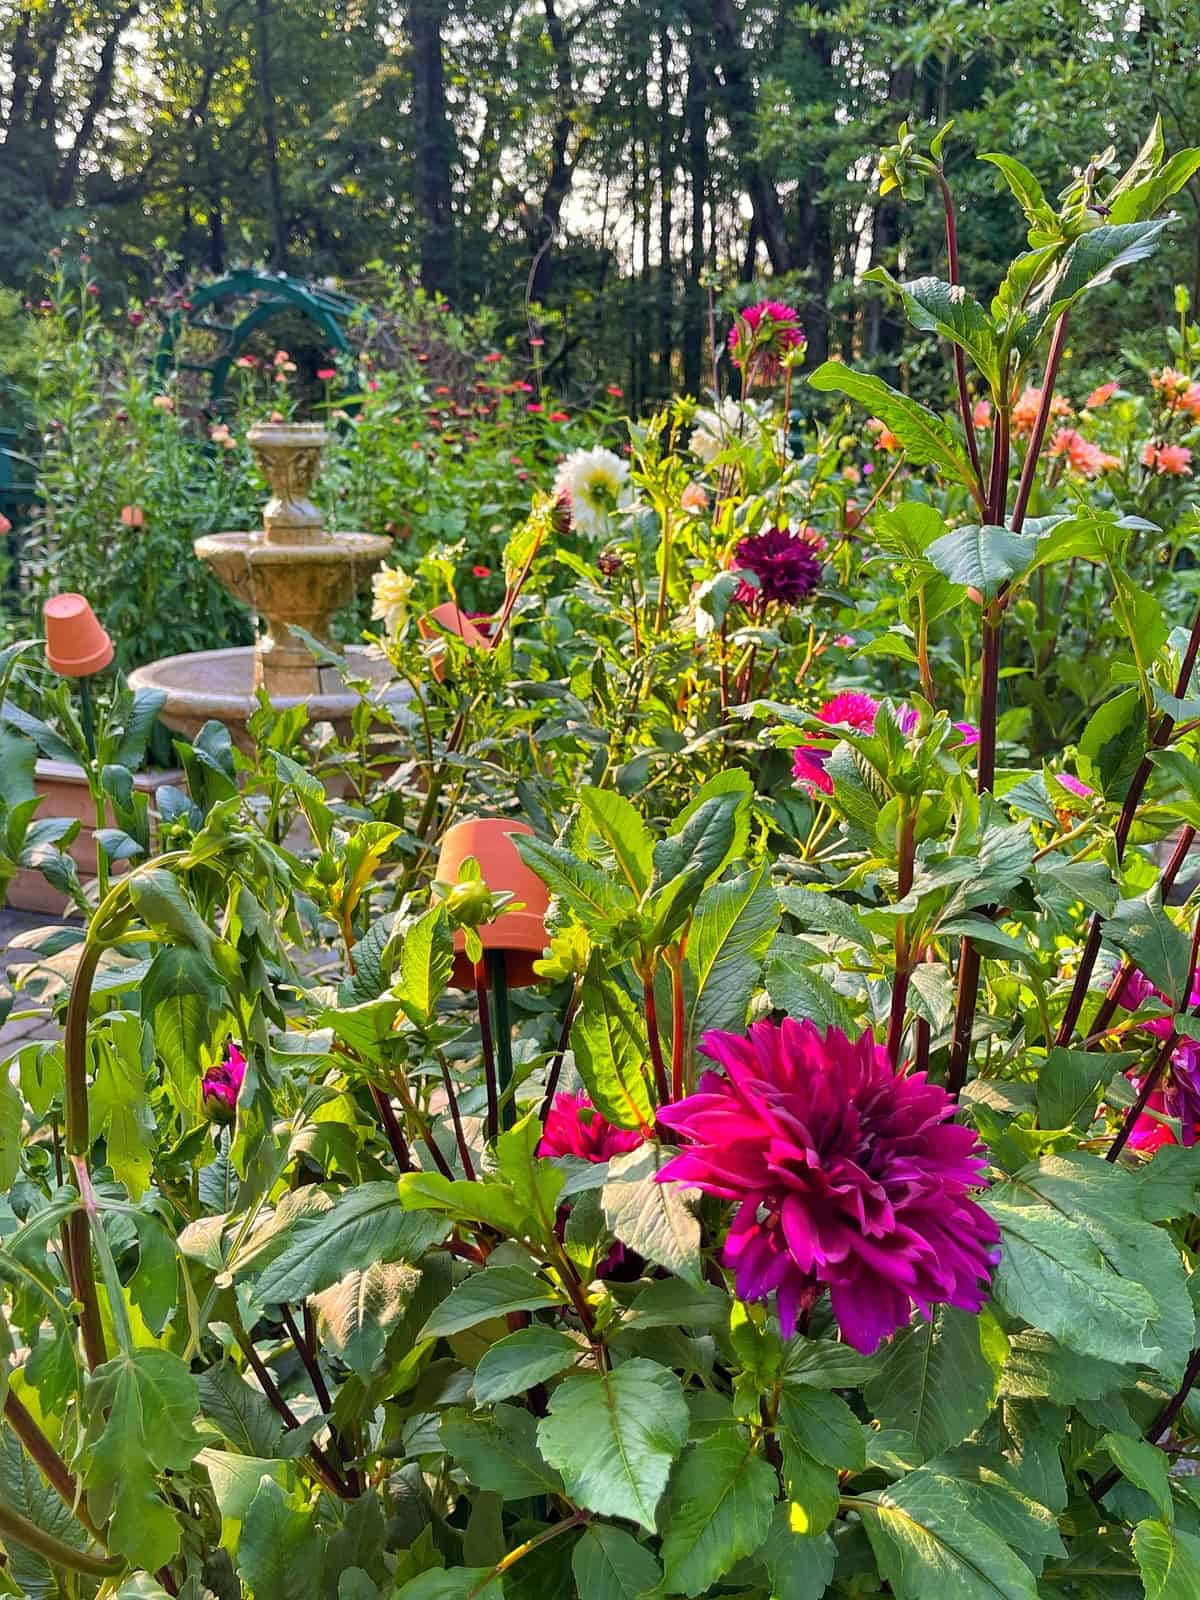
I’ve been growing dahlias in my New Jersey Zone 6b garden for years, and one thing I’ve learned is that how you plant the tubers makes all the difference. I’ve had seasons where the plants took off beautifully—and others where tubers rotted before they even sprouted. After plenty of trial and error, I’ve settled on a simple, reliable method that consistently gives me strong starts and big, healthy plants.
This guide is a deep dive into the exact planting process I use every spring.
If you’re looking for full-season care, troubleshooting, or harvesting tips, you’ll find all of that in my Complete Dahlia Growing Guide.
But if you want to know exactly how to plant your tubers the right way, avoid common mistakes, and set your dahlias up for success, this is the post for you.
(Posts on stacyling.com may contain affiliate links. Click HERE for full disclosure.)

About Planting Dahlia Tubers
Since dahlias are tender perennials, you’ll need to wait until all danger of frost has passed before planting the tubers. My last frost date here in Zone 6b is usually around late April, this year it’s April 27, so that’s when I plan my Dahlia planting.
With the recent update to the USDA Hardiness Zone Map, your frost date may have shifted too, so it’s worth double-checking before you plant. You can check your hardiness zone here.
Where to Buy Dahlia Tubers (And How to Choose the Good Ones)
Most gardeners purchase dahlia tubers, not full-grown plants, and the best selection is always online. I typically order from Longfield Gardens and White Flower Farm, because their tubers are consistently healthy and they offer varieties you’ll never find locally.
Local nurseries can have great finds, but inventory is often limited. No matter where you buy, look for tubers that are:
- firm and plump
- not shriveled
- free of mold or rot
- showing at least one visible eye (the growth point)
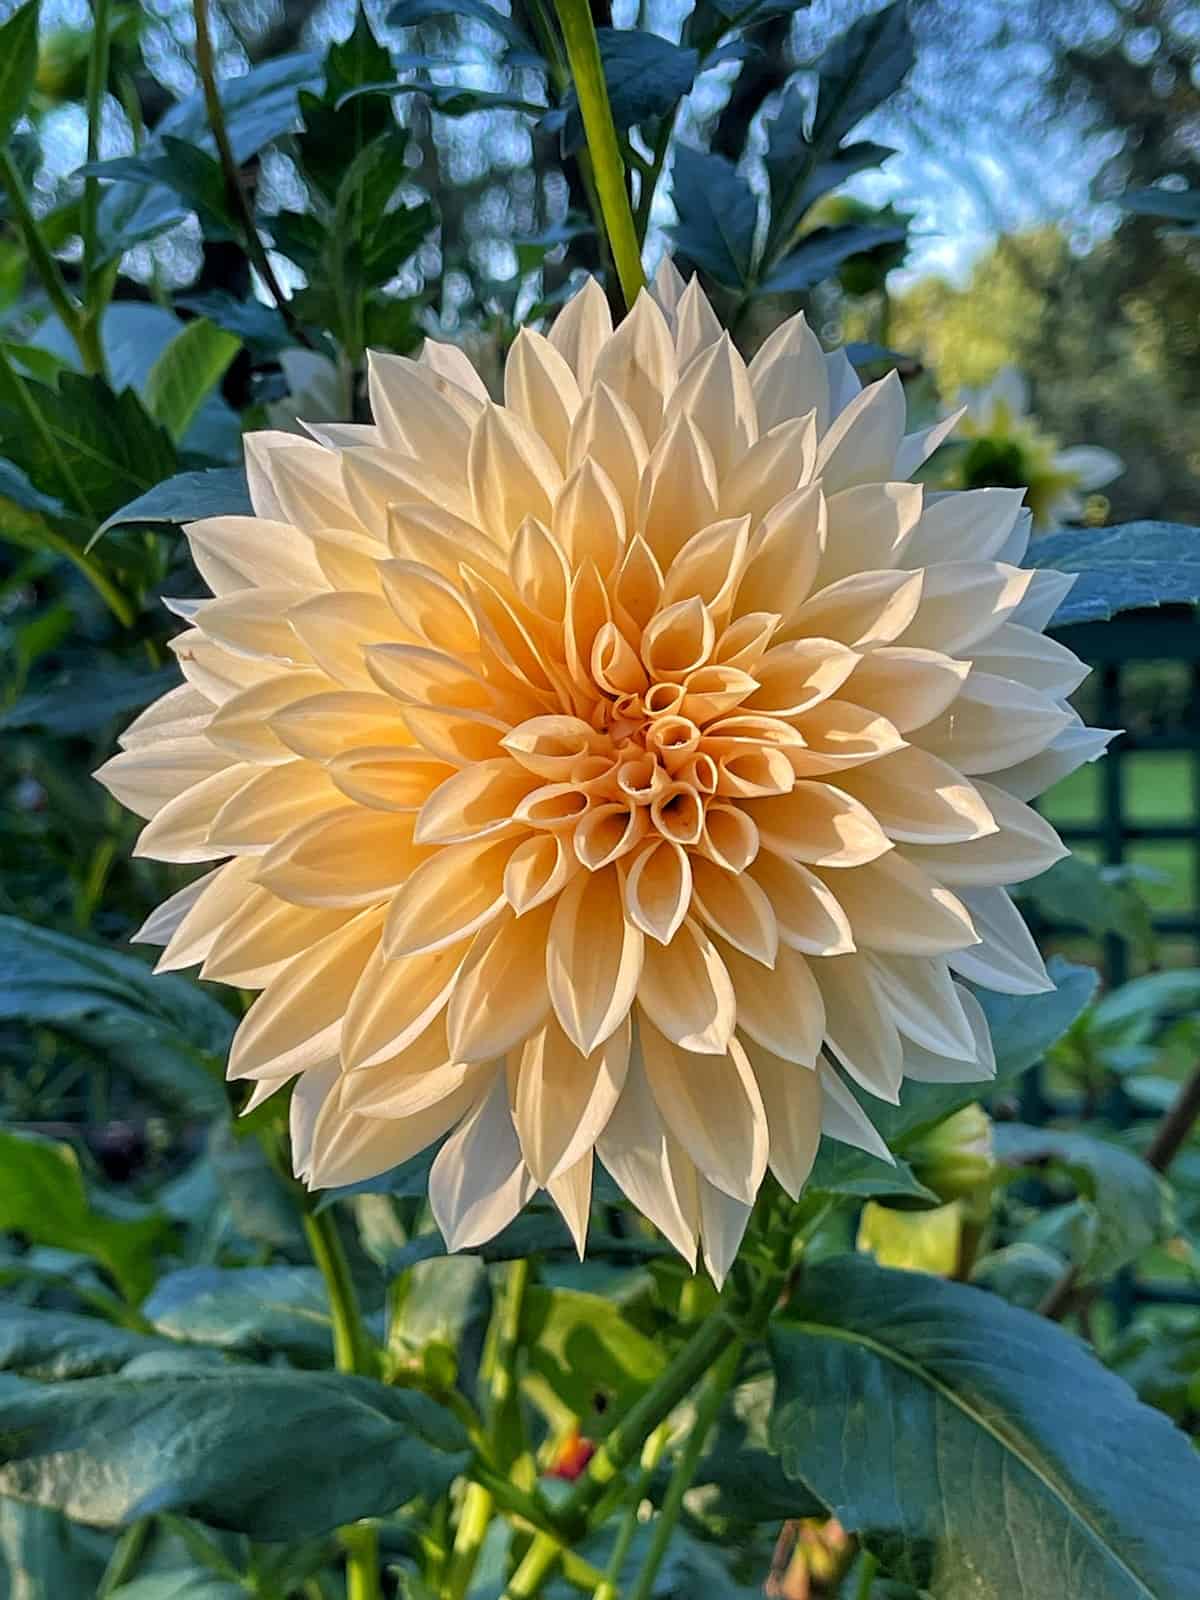
Healthy tubers are the foundation of healthy plants.
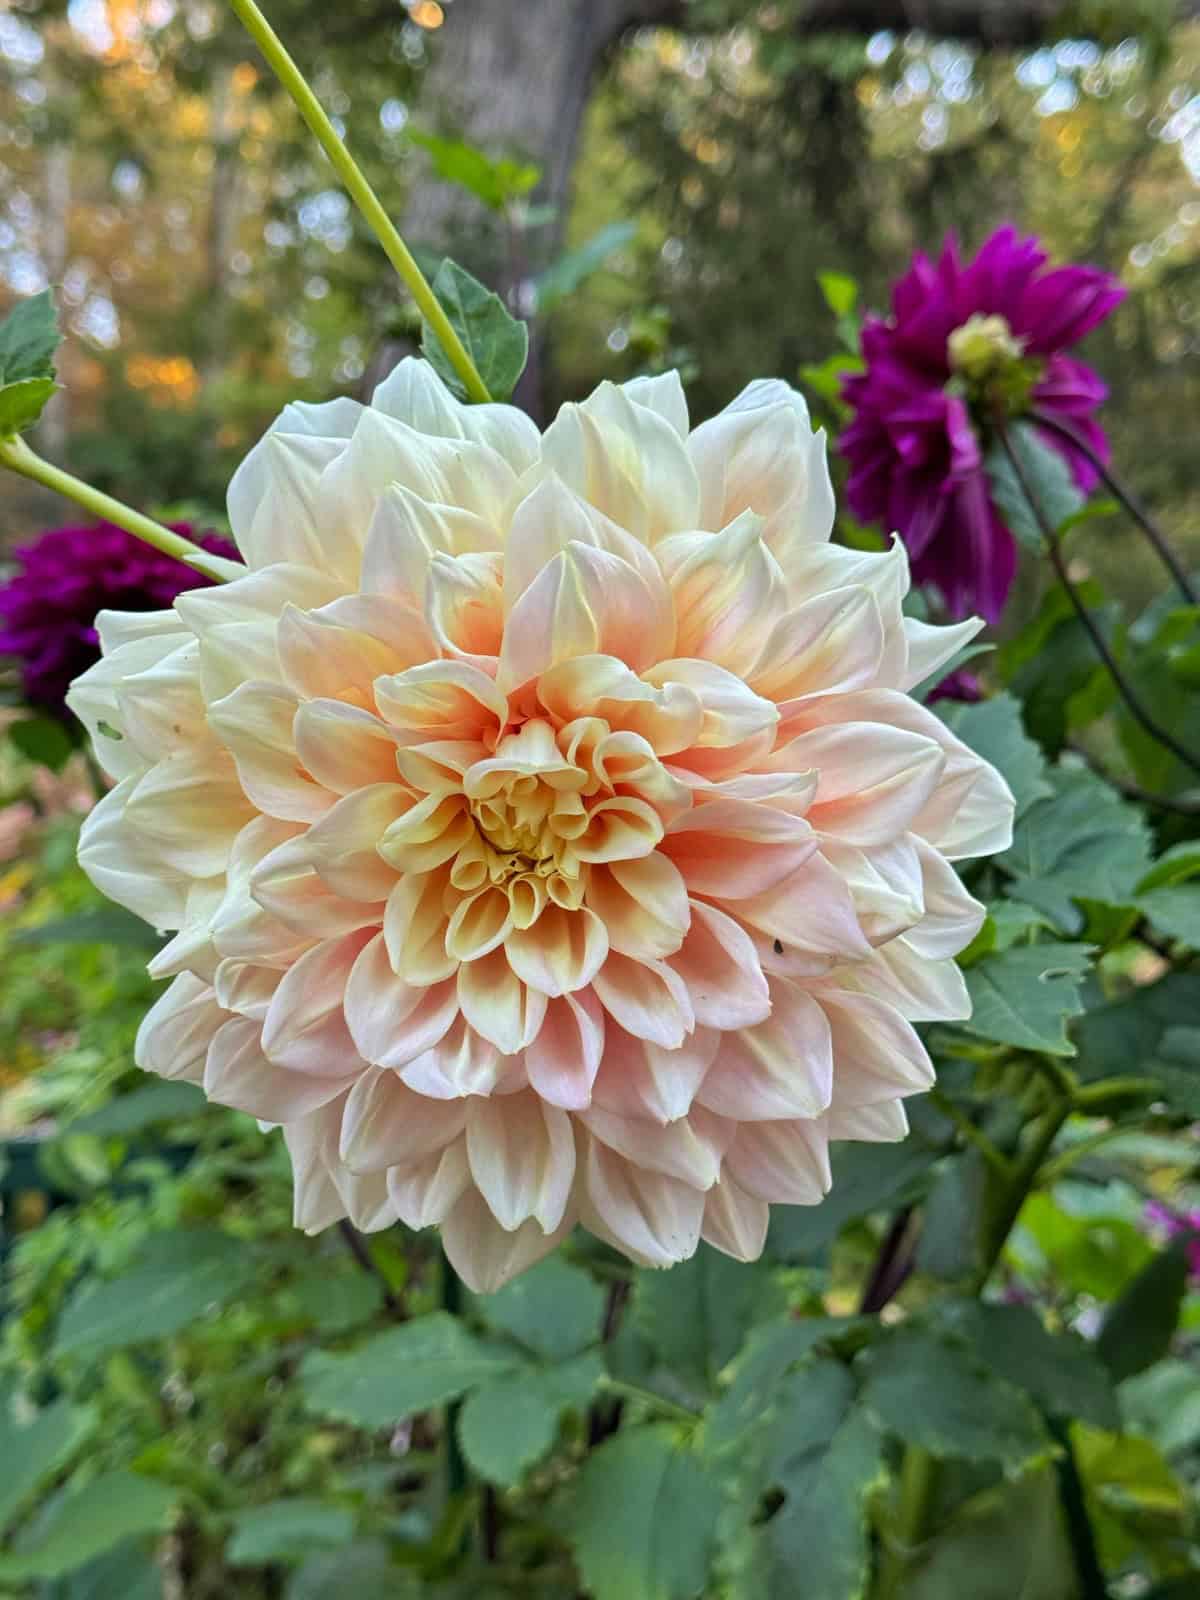
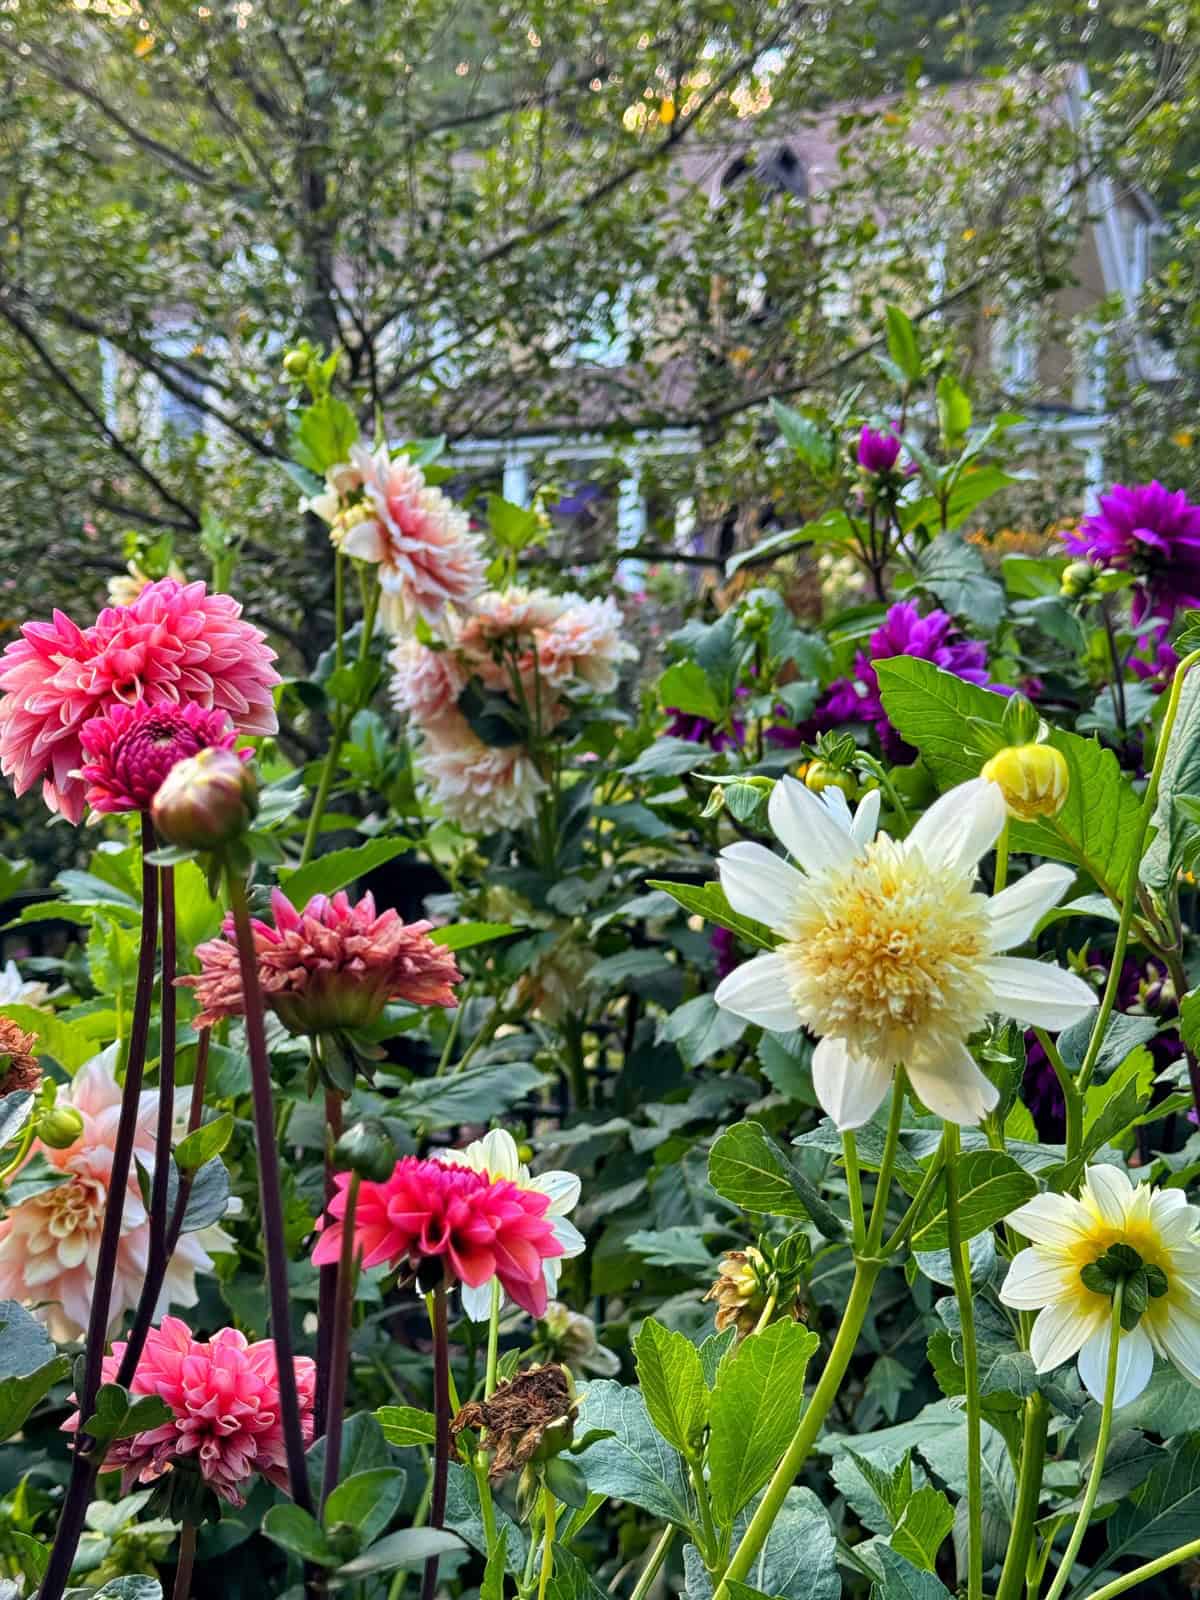
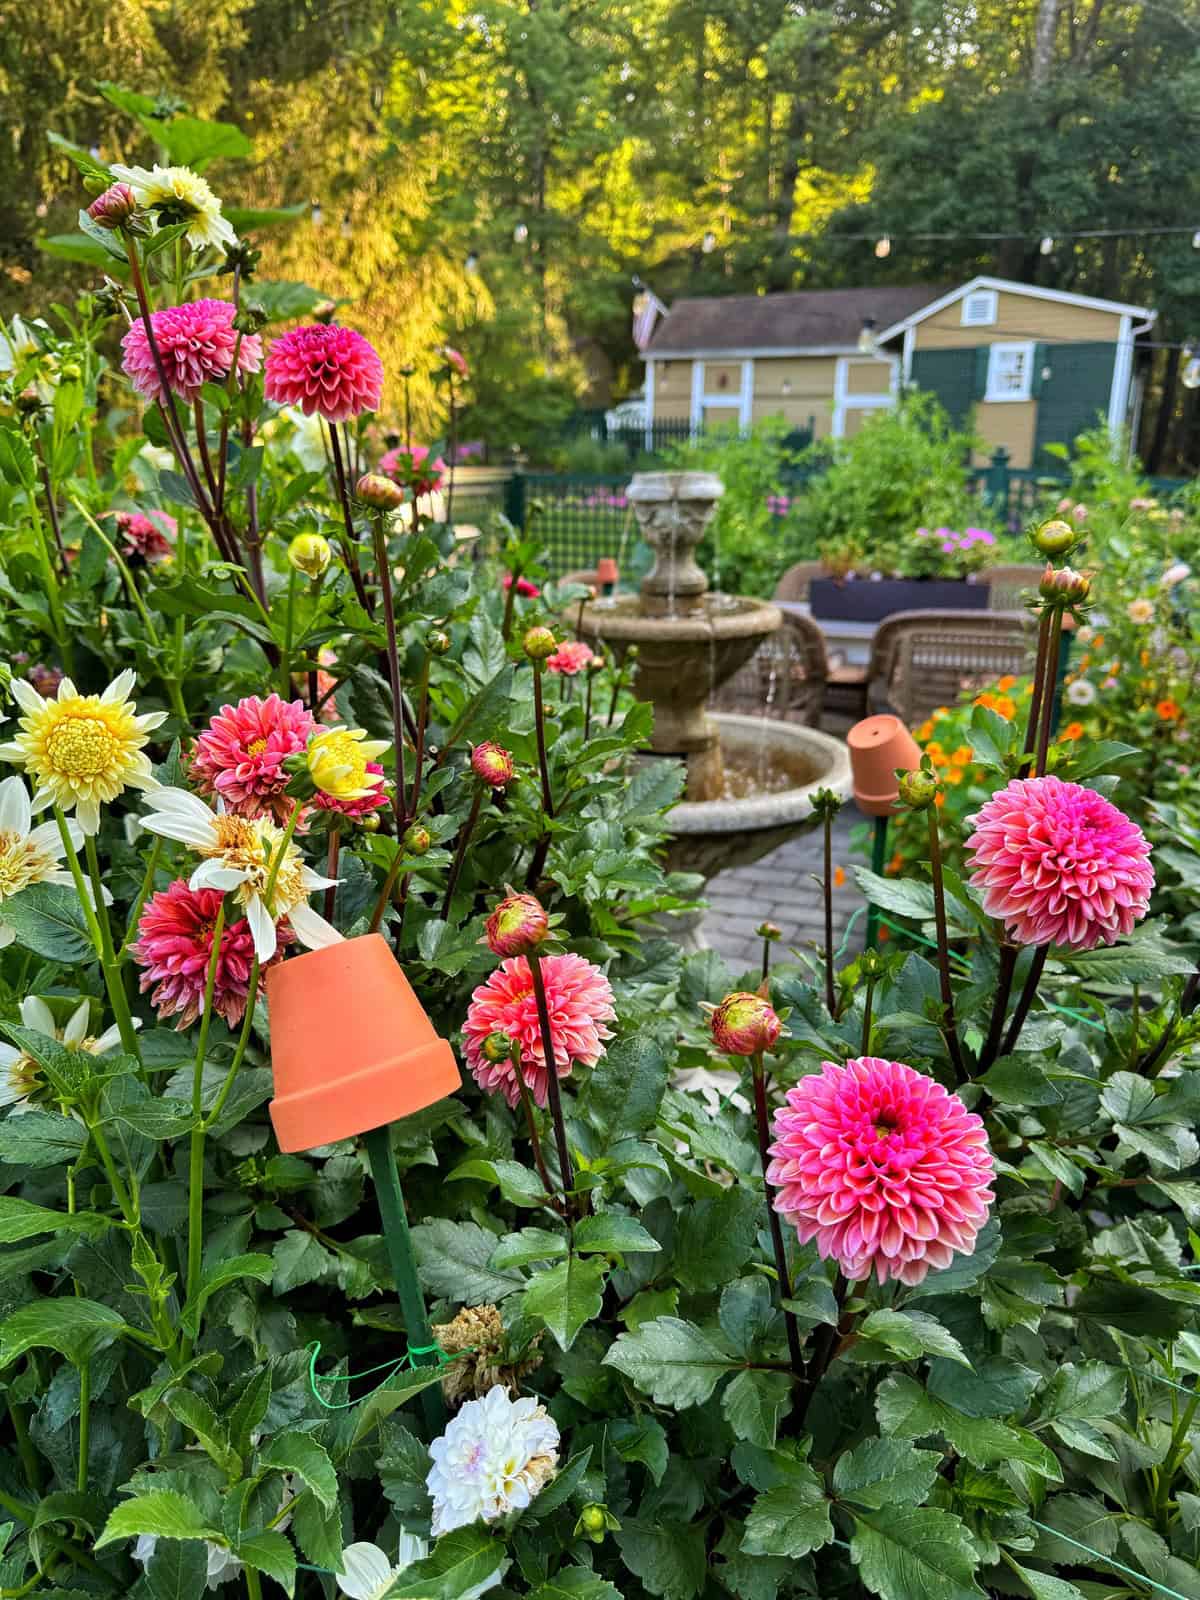
I usually plant at least three tubers per variety so I have enough blooms for cutting and for visual impact in the garden.
And if you prefer planting in containers, you can absolutely grow dahlias in pots—see my guide on Growing Dahlias in Pots.

How to Prepare the Planting Site
Dahlias grow best when they’re planted in full sun and well-drained soil, so choosing the right spot is one of the most important steps in getting strong plants. Here in my Zone 6b garden, I’ve learned that dahlias simply won’t perform well in heavy, wet soil—proper drainage is essential to prevent rot, especially early in the season.
Before planting, here’s how I prepare the garden bed:
Check Your Sunlight
Dahlias need at least 6–8 hours of direct sun each day. Morning sun with a bit of afternoon shade is ideal in hot climates, but if you’re in a northern zone like I am, aim for full sun to maximize bloom production.
Improve Soil Drainage
Dahlia tubers rot easily if they stay too wet. If your soil tends to be heavy or compacted, amend it with:
- compost
- leaf mold
- pine bark fines
- or coarse sand (in small amounts)
These amendments help loosen the soil and allow excess water to move away from the tuber. In my own garden, adding organic matter each spring has made a huge difference in how reliably my dahlias sprout.

Avoid Overly Rich Soil at Planting
This is a common mistake: Don’t add fertilizer directly into the planting hole.
Dahlia tubers don’t need a boost at planting time, and too much nitrogen early on can cause rot or produce weak, floppy plants later.
You’ll fertilize after the plant begins growing. See the full schedule in my Complete Dahlia Growing Guide.
Space the Planting Holes Properly
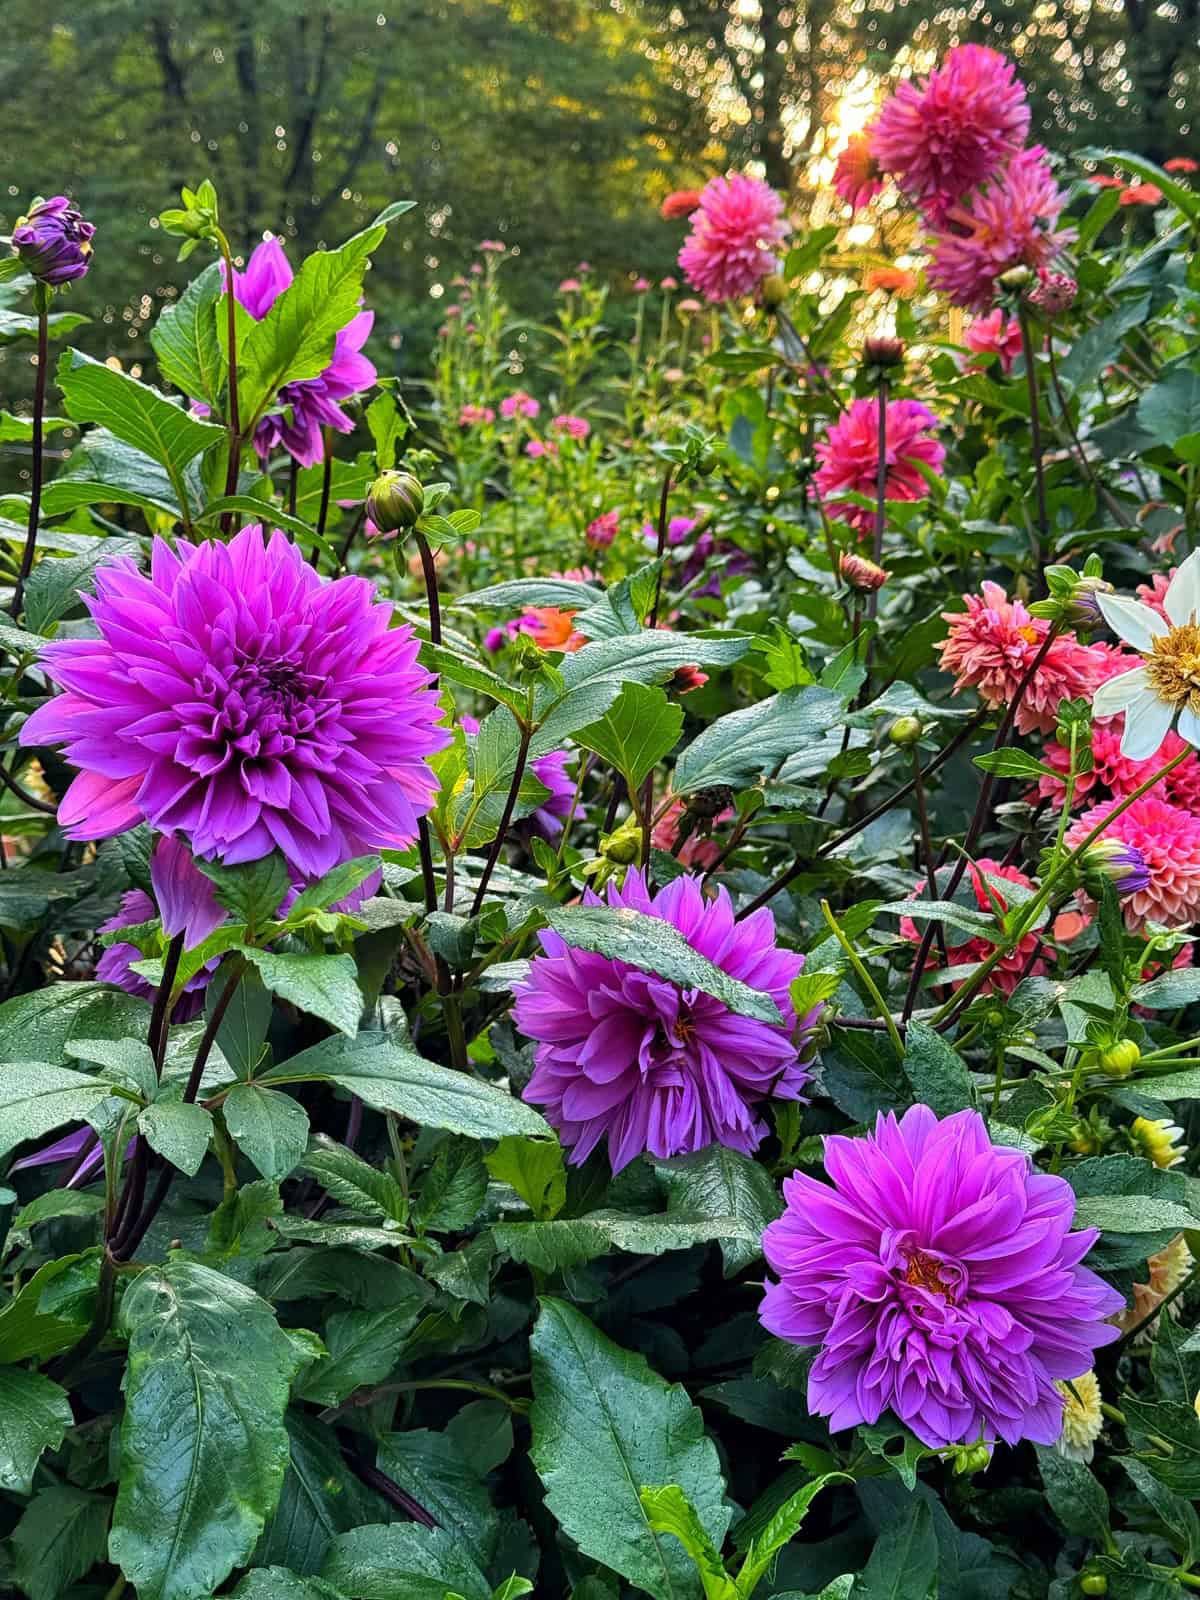
Dahlias appreciate airflow, especially in humid climates where mildew can be an issue. When planning your layout:
- Space plants 18–24 inches apart
- Give dinnerplate dahlias even more room
- Plant in rows or clusters (3+ per variety looks best)
Proper spacing improves airflow and makes staking and harvesting easier later in the season.

Install Support Before You Plant
This step is easy to skip, but trust me, it makes the entire season go more smoothly. I always install my support system before planting the tubers so I don’t accidentally damage them later.
My favorite method is trellis netting, especially when growing several dahlias together. You can also use:
- tomato cages
- T-posts with jute twine
- grow-through hoops
Whatever you choose, getting it in early prevents root disturbance later and keeps your plants growing upright. For more detailed information about how to support dahlias after planting, please visit: How to Support Tall Flowers and Prevent Flopping
How to Plant Dahlia Tubers Step-by-Step
Planting dahlia tubers is simple once you understand the correct technique—and getting this step right makes all the difference in preventing rot and encouraging strong sprouting. Over the years, I’ve made my share of planting mistakes, but this is the method that consistently gives me the best results in my Zone 6b garden.
Make Sure the Soil Is Warm Enough
Before planting, confirm that your soil has warmed to about 60°F. Planting into cold, wet soil is one of the most common causes of tuber rot. I always use a simple soil thermometer to check the bed before I begin.
Step 1: Dig a Proper Planting Hole
Dig a hole 4–6 inches deep and wide enough to comfortably fit the tuber. The exact depth depends on your soil:
- Looser, well-drained soil: plant slightly deeper
- Heavier soil: plant on the shallower side to improve drainage
If your soil tends to hold moisture, mound it slightly so excess water moves away from the tuber.
Step 2: Place the Tuber Correctly
Position the tuber so that the eyes (growth points) are facing up. The eyes are usually located where the neck meets the body of the tuber.
Lay the tuber horizontally in the hole (never upright) and backfill with soil. Don’t compact the soil too tightly; the sprouts need room to emerge.
Step 3: Space Your Tubers Properly
Give each plant 18–24 inches of space. Dinnerplate varieties may need even more room.
Proper spacing:
- improves air circulation
- reduces risk of powdery mildew
- makes harvesting easier
- helps each plant reach its full size
If you’re planting a grouping, place 3 tubers per variety for the best visual impact.
Step 4: Don’t Water Immediately
This is one of the biggest planting mistakes I see new growers make.
Do NOT water tubers right after planting.
Watering before they sprout increases the chance of rot, especially in cool or wet soil. Dahlias don’t need moisture until they start growing roots.
Instead:
- Plant the tubers
- Cover with dry soil
- Walk away
You’ll begin watering only after shoots appear above the soil—details for that are in my Complete Dahlia Growing Guide.
Step 5: Install Support Now (Not Later)
If you haven’t yet installed support, now is the time. Putting stakes or trellis netting into the ground after the tubers sprout can easily damage them.
I prefer trellis netting, especially when growing multiple plants together, but tomato cages or T-posts with twine also work well.
To learn more about supporing dahlias, read this post: How to Support Tall Flowers and Prevent Flopping
Step 6: Let the Tubers Sprout Naturally
Dahlia tubers will sprout once the soil warms sufficiently. In my garden, this usually takes 2–3 weeks, but cooler springs can slow things down.
If you’d like to get a jump on the season, you can pre-sprout tubers indoors in shallow trays—just don’t water them until growth begins. Once outdoor soil hits the right temperature, the pre-sprouted tubers can be transplanted into the garden or into containers.
For more detailed information about growing dahlias in containers, please visit: How to Grow Dahlias in Pots

Common Dahlia Planting Mistakes (and How to Avoid Them)
Even experienced gardeners run into problems with dahlias, but most issues trace back to how the tubers were planted. I’ve learned many of these lessons the hard way in my Zone 6b garden, and avoiding them makes a huge difference in sprouting success. Here are the most common planting mistakes—and how to prevent them.
Mistake 1: Planting Tubers Too Early
Cold, wet soil is a fast track to tuber rot. Dahlias should only be planted when the soil has warmed to about 60°F.
Fix:
- Wait for warm soil
- Plant after your last frost date
Mistake 2: Watering Immediately After Planting
This is the number one reason tubers rot.
Fix:
- Plant into dry soil
- Wait to water until shoots appear
- For watering instructions after sprouting, see my Complete Dahlia Growing Guide

Mistake 3: Planting Too Deep
If dahlias are buried under too much soil, sprouts may never break the surface.
Fix:
- Plant tubers 4–6 inches deep
- Plant slightly shallower in heavy or clay soil
Mistake 4: Planting in Poorly Drained Soil
Dahlias hate wet feet. Heavy, compacted soil leads to rot and weak growth.
Fix:
- Improve soil with compost, leaf mold, or pine bark fines
- Use a raised bed if drainage is poor
Mistake 5: Adding Fertilizer to the Planting Hole
Too much nitrogen too early leads to soft growth, weak stems, and poor sprouting.
Fix:
- Do not fertilize the planting hole
- Use compost instead
- Feed later once dahlias are actively growing
Mistake 6: Forgetting to Install Support First
Trying to stake dahlias after they sprout often damages the tubers.
Fix:
- Install trellis netting, stakes, or cages before planting
- See my guide on supporting tall flowers for more tips

Mistake 7: Planting Tubers Without Eyes
A tuber without a visible eye will not grow.
Fix:
- Ensure each tuber has at least one viable eye before planting
Mistake 8: Crowding Plants Too Close Together
Poor airflow leads to mildew and weak growth later in the season.
Fix:
- Space plants 18–24 inches apart
- Give large varieties even more room
Mistake 9: Breaking the Neck of the Tuber
If the connection between the body and the crown breaks, that tuber won’t sprout.
Fix:
- Avoid compacting soil over the tuber
- Handle tubers gently
Planting Dahlia Tubers FAQs
Do you soak dahlia tubers before planting?
I usually don’t soak tubers because the ones I buy or overwinter are already plump and hydrated. But if your tubers look shriveled or dry, a 1–2 hour soak in cool water can help rehydrate them. Just don’t soak too long because over-soaking can cause rot.
What month should you plant dahlia tubers?
Plant dahlias after your last frost and when the soil reaches about 60°F.
For most gardeners, this means:
- Zones 7+: mid-April–early May
- Zones 6 and below: May–early June
Last year in my Zone 6b garden, we had an unusually warm spring, so I planted earlier than normal, but I was prepared with frost cloth in case temperatures dropped. Beginners should stick to planting after frost danger has passed.
How deep do you plant dahlia tubers?
Plant tubers 4–6 inches deep with the eyes facing upward. Shallower in heavy soil, slightly deeper in loose soil.

Do you fertilize dahlias at planting time?
No—I never add fertilizer directly into the planting hole. Dahlias prefer rich soil, not a surge of nutrients right away. If your soil needs improvement, amend with compost or leaf mold instead.
Once your dahlias sprout and start growing, you can follow the fertilizing schedule in my Complete Dahlia Growing Guide.
Do you water dahlia tubers after planting?
No. Watering too early is a common cause of tuber rot.
Plant into dry soil and wait until you see growth above the surface before watering.
Once they sprout, here’s what I do in my Zone 6b garden:
- Water deeply 3–4 times per week in normal weather
- Use drip irrigation for about 30 minutes per session
- Increase watering during heat waves while avoiding soggy soil
Finding the balance between moisture and drainage is key to healthy dahlias.


More About Planting Dahlia Tubers
Planting dahlias is one of those gardening tasks that gets easier—and more enjoyable—each year. After growing them for so long here in my Zone 6b garden, I’ve learned that the biggest successes come from getting the planting right: waiting for warm soil, choosing healthy tubers, and resisting the urge to overwater early on. Once they sprout, dahlias are incredibly rewarding plants that will carry your garden from midsummer through fall with the most spectacular blooms.
If you’d like help caring for your plants throughout the season, troubleshooting issues, or improving bloom quality, you can continue with my Complete Dahlia Growing Guide.
If your plants are leafy but not producing buds yet, see my guide on why dahlias may not be blooming for simple fixes you can try. And if you want ideas for beautiful varieties to grow, don’t miss my Favorite Dahlias for Cutting Gardens.
Have questions about planting or need help diagnosing a tuber issue? Ask me in the comments. I’m always happy to share what’s worked in my own garden.
Have you planted dahlia tubers before? Do you have any tips you’d like to share? Let’s chat more in the comments below.
For more information about growing dahlias, please see Penn State Cooperative Extension.
To drill down on more beginner gardening techniques and tips, please read these posts:
- Flower Gardening for Beginners
- Growing a Cut Flower Garden for Beginners
- Container Garden Ideas for Beginners
- How to Start a Vegetable Garden
- Herb Gardening for Beginners
Happy Gardening!

I’m getting ready to split my dahlia tubers next month. I can’t wait for dahlia season! You have so many great varieties growing in your garden, Stacy. Beautiful!
It’s almost planting season! Yay!