Indoor Seed Starting Supplies: 11 Essentials for a Successful Setup

Learn how to start seeds indoors using a simple, proven setup. These 11 essential supplies help grow strong, healthy seedlings at home.
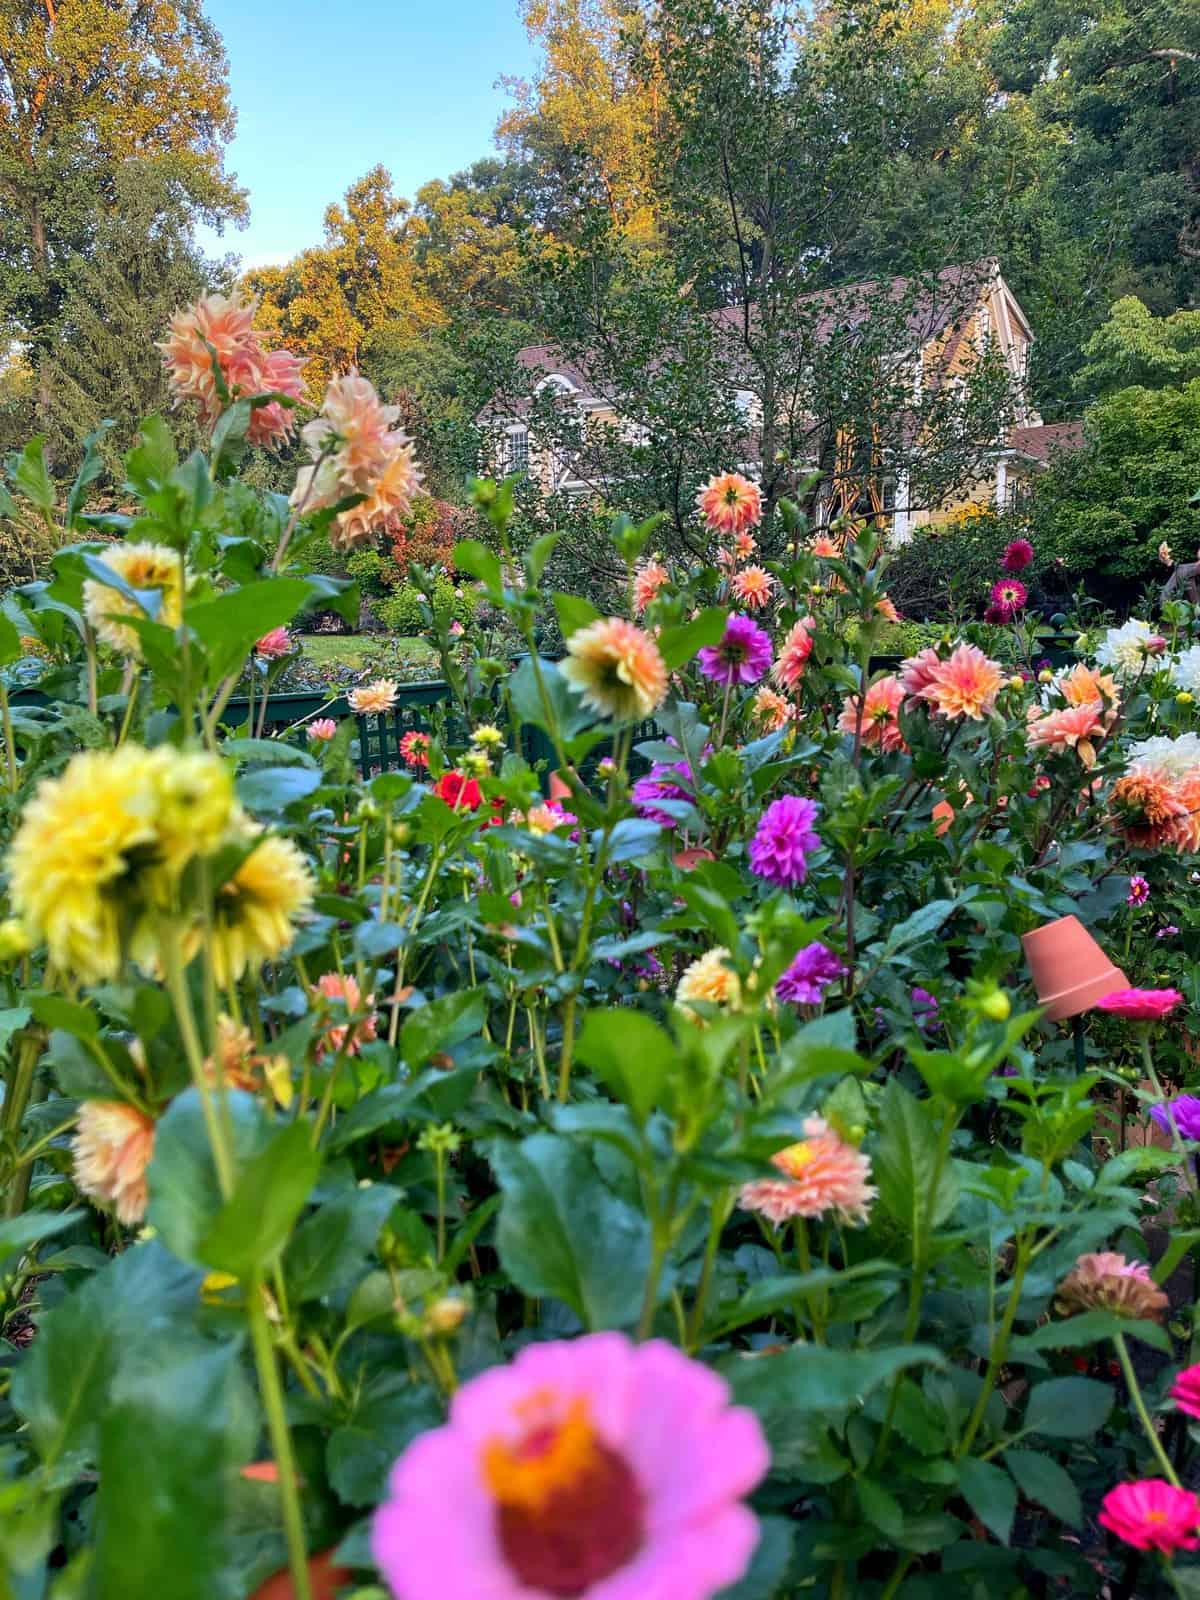
Starting seeds indoors is incredibly rewarding, but I didn’t always get great results. When I first began, I relied on a sunny, south-facing window and basic supplies, and while some seeds sprouted, many seedlings were weak and leggy. It quickly became clear that light and setup mattered more than I realized.
Once I switched to a dedicated indoor seed-starting setup with grow lights, everything changed. Seedlings grew sturdier, timing became more reliable, and I finally had consistent success starting seeds indoors year after year. The system I use today is one my husband and I developed together and have refined over time. It started in the basement of our former home, moved to our sunroom after we relocated, and continues to evolve as we plan a permanent seed-starting space.
In this post, I’m sharing the 11 essential supplies I use in my own DIY seed-starting setup to grow strong, healthy seedlings without relying on expensive pre-made kits. If you’re looking for a complete, step-by-step guide to the entire process — from planning and timing to caring for seedlings — you can also see how I start seeds indoors without a greenhouse here.
These are the tools and supplies that help me start hundreds of seeds each season and build a thriving cut flower garden filled with blooms.
(Posts on stacyling.com may contain affiliate links. Click HERE for full disclosure.)
My Indoor Seed Starting Equipment and Setup
If you prefer to see how everything works together, here’s a look at the indoor seed starting equipment and setup I use in my own garden.
After nearly 30 years of gardening here in Zone 6b in New Jersey, I’ve learned that you don’t need a greenhouse or complicated gear to grow strong seedlings. What matters most is creating the right conditions for germination and healthy growth.
In this video, I walk through the tools and supplies I actually use — including grow lights, shelving, trays, soil, and a few simple pieces of equipment that make indoor seed starting much easier.
Watch the video below to see the full setup in action.

11 Must-Have Indoor Seed Starting Supplies (From My DIY Setup)
Over the years, I’ve tried different ways of starting seeds indoors, and this list reflects what I actually use — not what looks good in a catalog. Some of these supplies are essentials, while others make the process easier and more reliable once you’ve struggled through a season or two.
Below are the 11 indoor seed-starting supplies that form the foundation of my DIY setup. I’ll share how they fit into my own system and why each one matters, based on real use over multiple growing seasons.
- Seeds: This might seem obvious, but high-quality seeds are the foundation of your success! Choose varieties suited to your climate and gardening goals. (Link to reputable seed sources like the ones you mentioned)
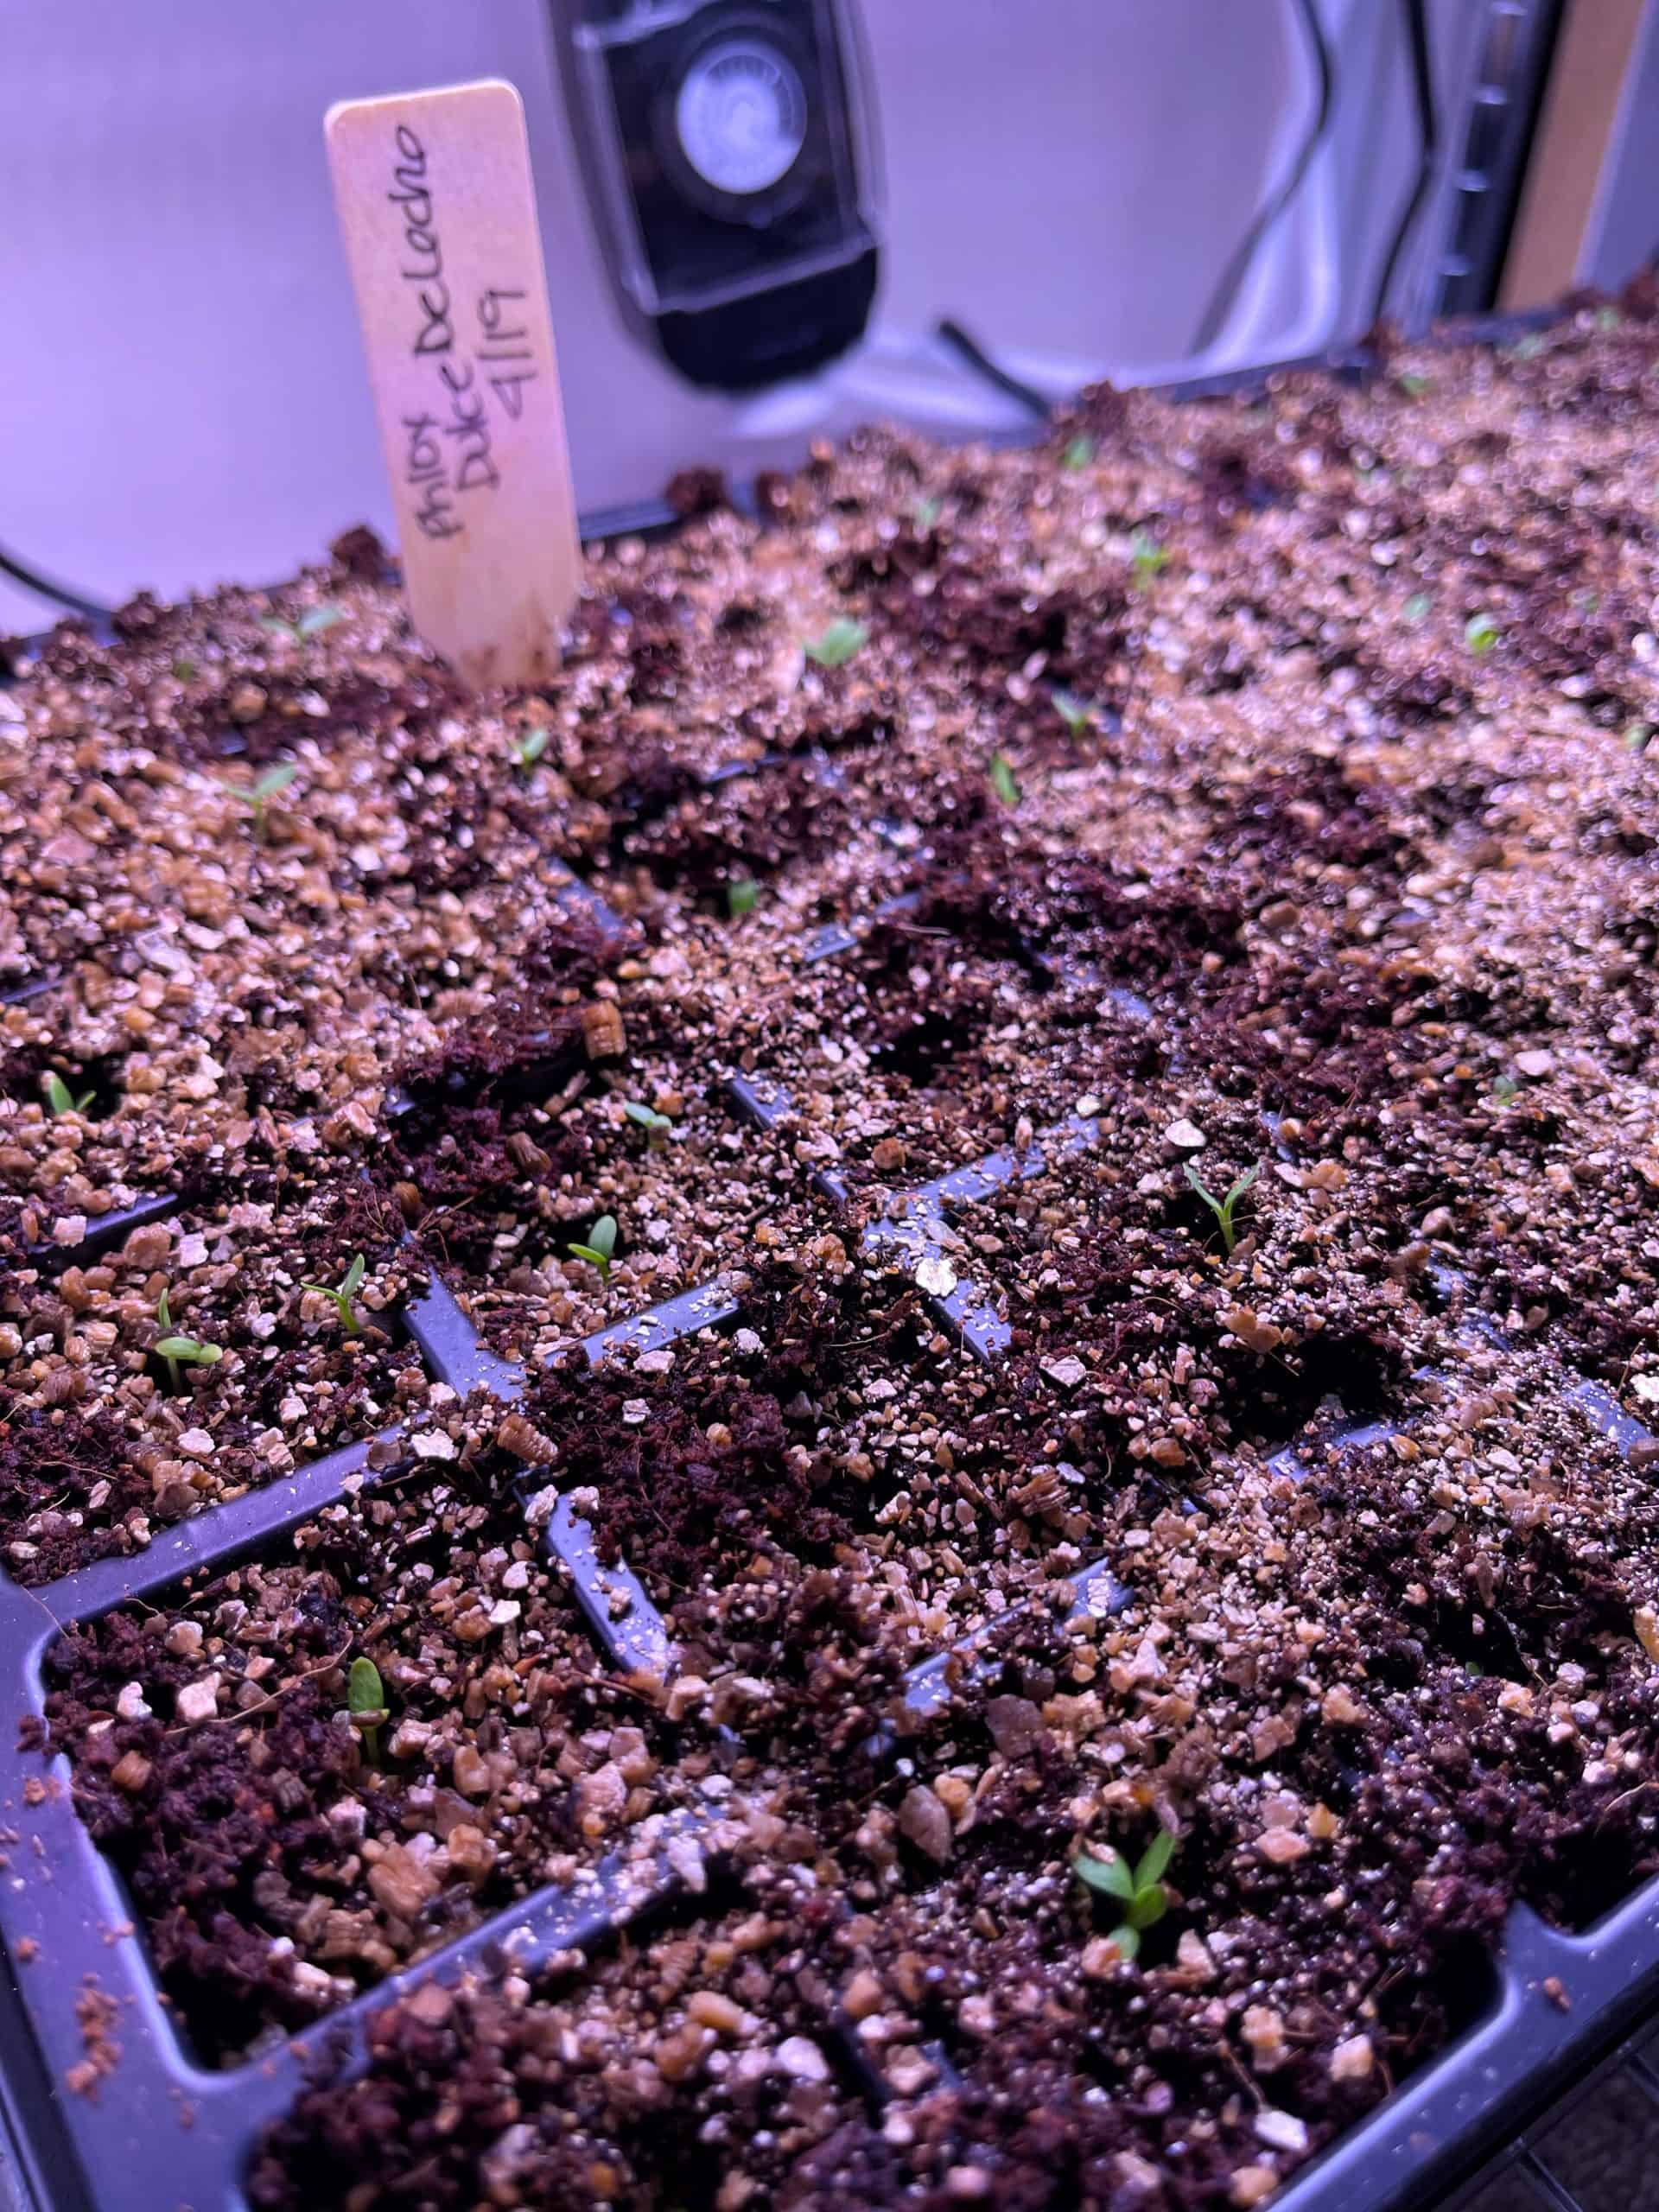
- Vermiculite: While not strictly necessary, vermiculite is a fantastic seed-covering medium. It’s lightweight, helps retain moisture, and allows seedlings to emerge easily.
- Seed Starting Mix: Unlike regular potting mix, seed starting mix is finer and lighter, providing the ideal texture for delicate seedlings.
- Seed Trays: These come in various sizes and configurations. Choose seed trays that fit your space and the number of seedlings you plan to start. I usually go with the 72 or (2) 36 cells.
- Bottom or Drainage Trays: Essential for catching excess water and preventing soggy roots. Look for drainage trays that fit snugly beneath your seed trays.
- Clear Dome Lids: Clear dome lids create a mini-greenhouse effect, maintaining humidity and warmth for optimal germination.
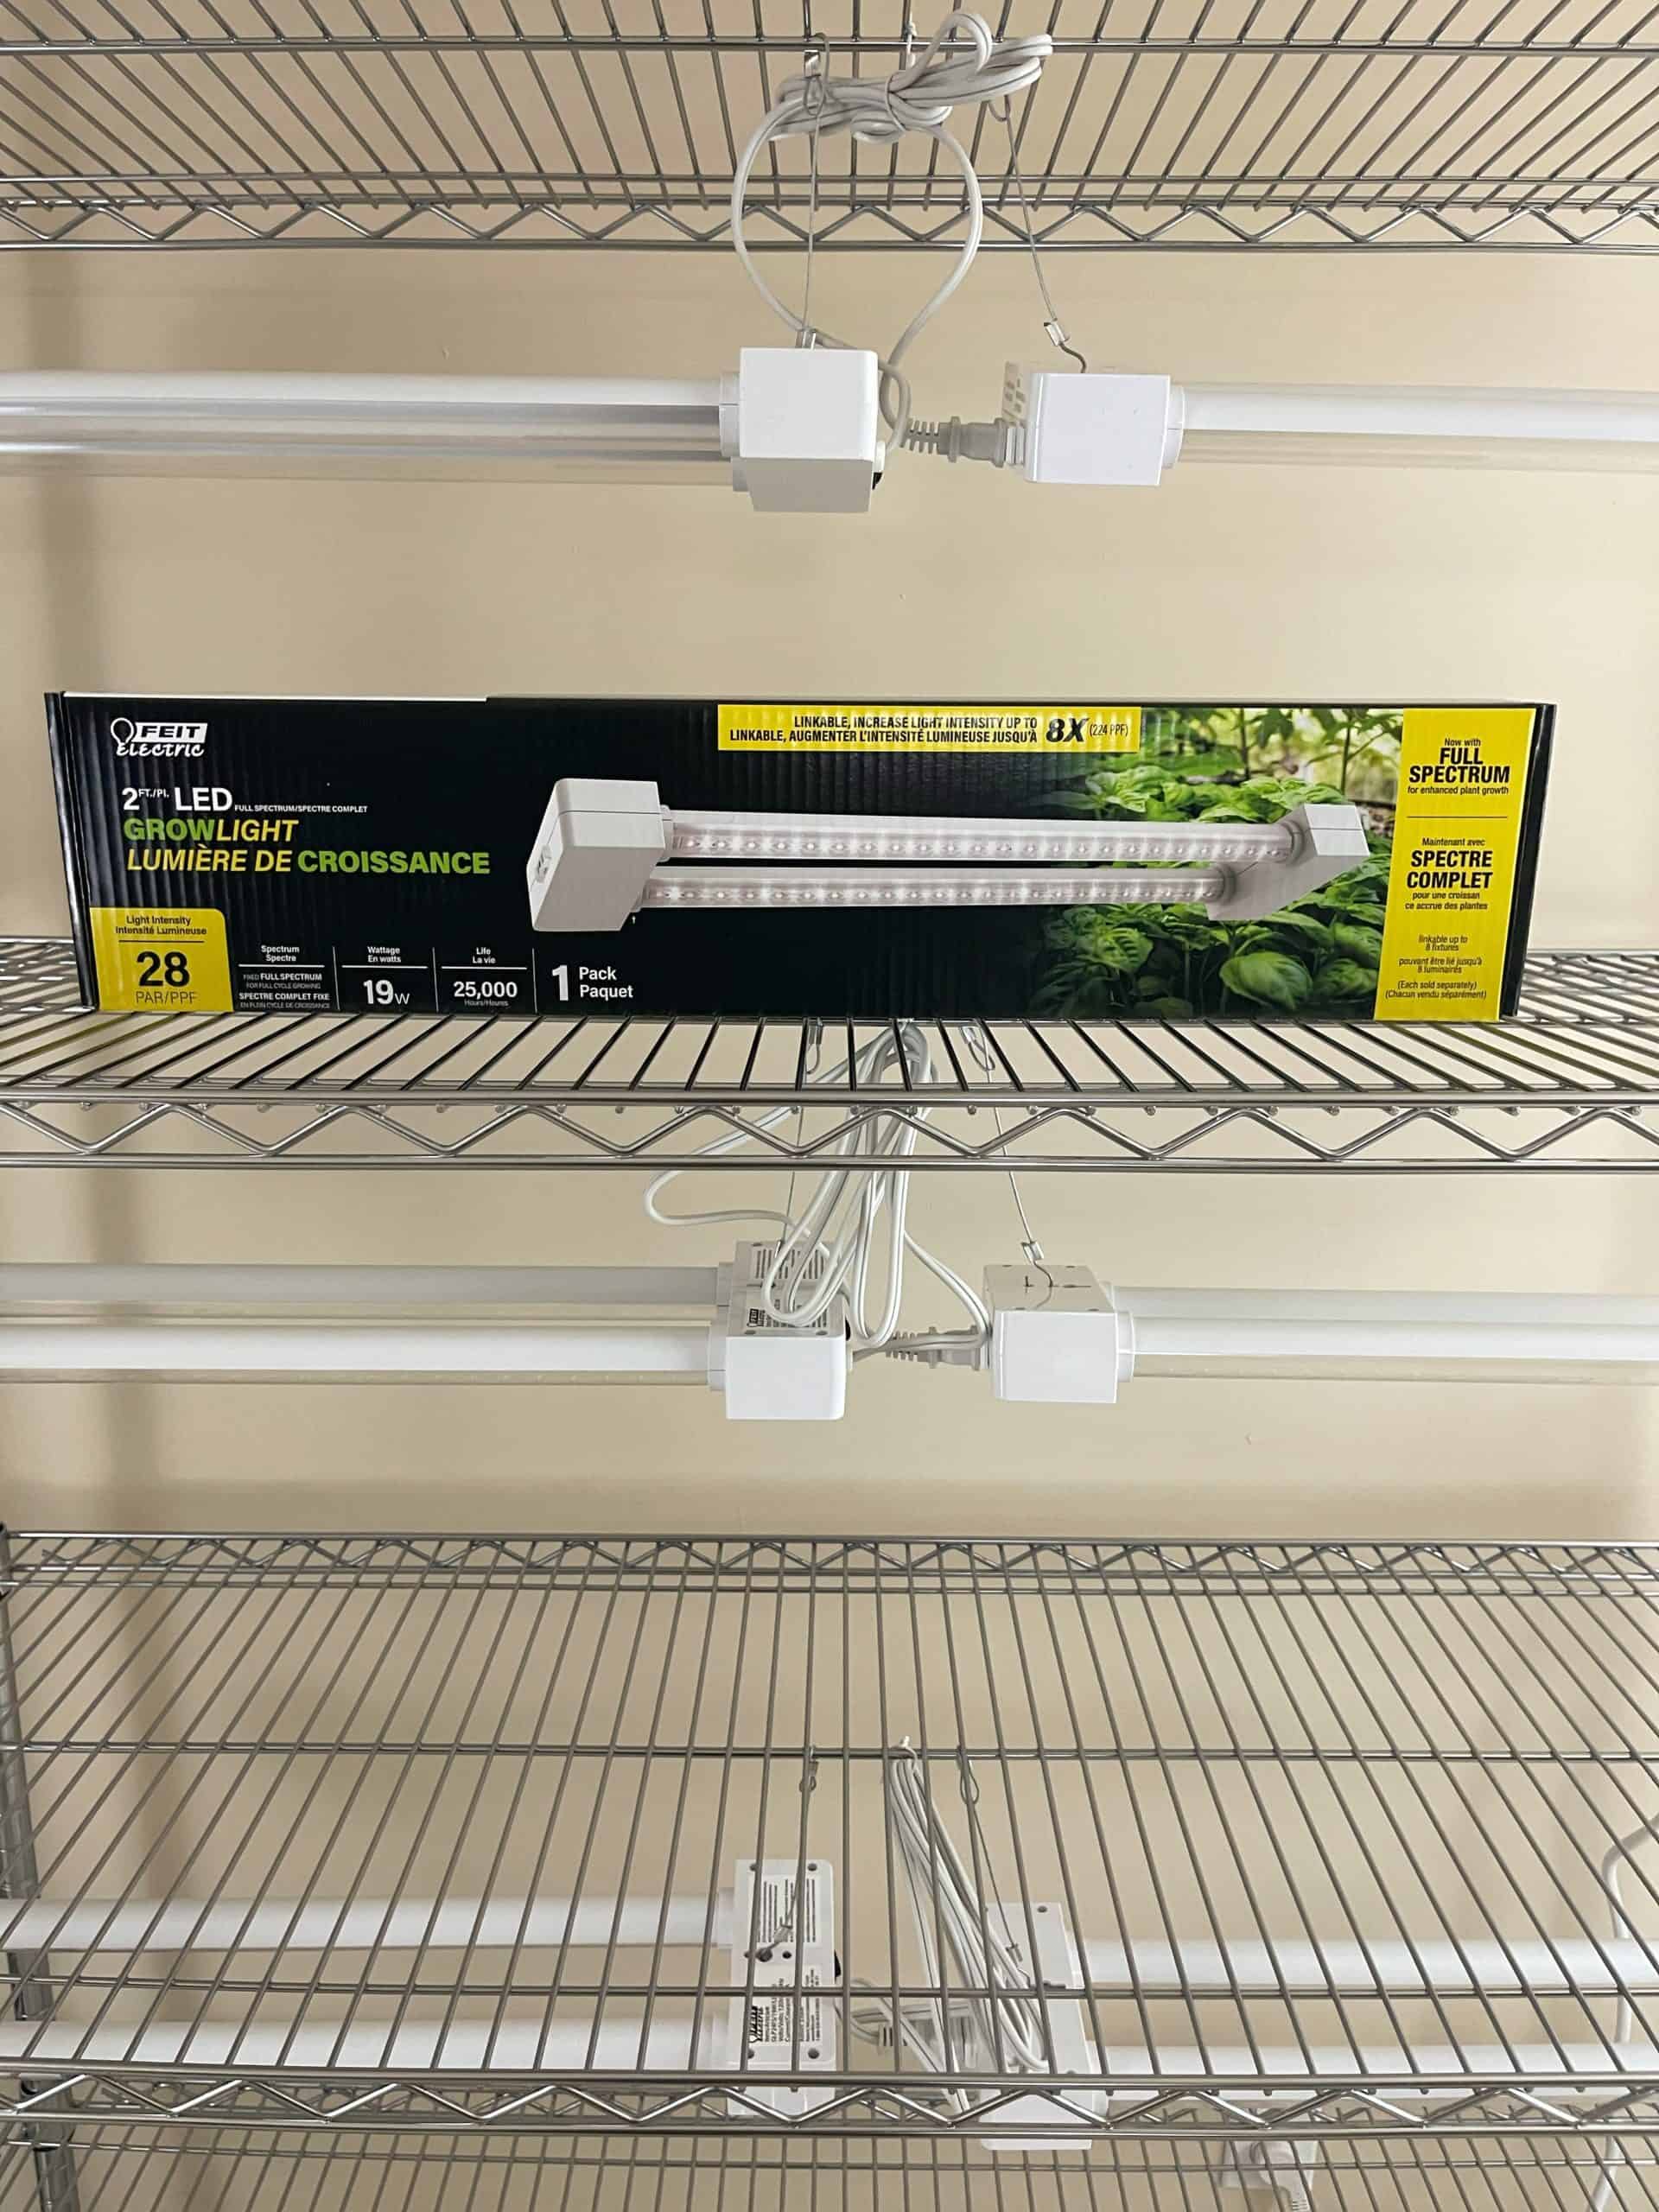
- Grow Lights: Crucial for providing adequate light, especially in areas with limited sunlight. LED grow lights are energy-efficient and provide the right spectrum for seedlings.
- Programmable Timer: Timers help your lighting go on and off daily with a low-maintenance, set-and-forget approach.
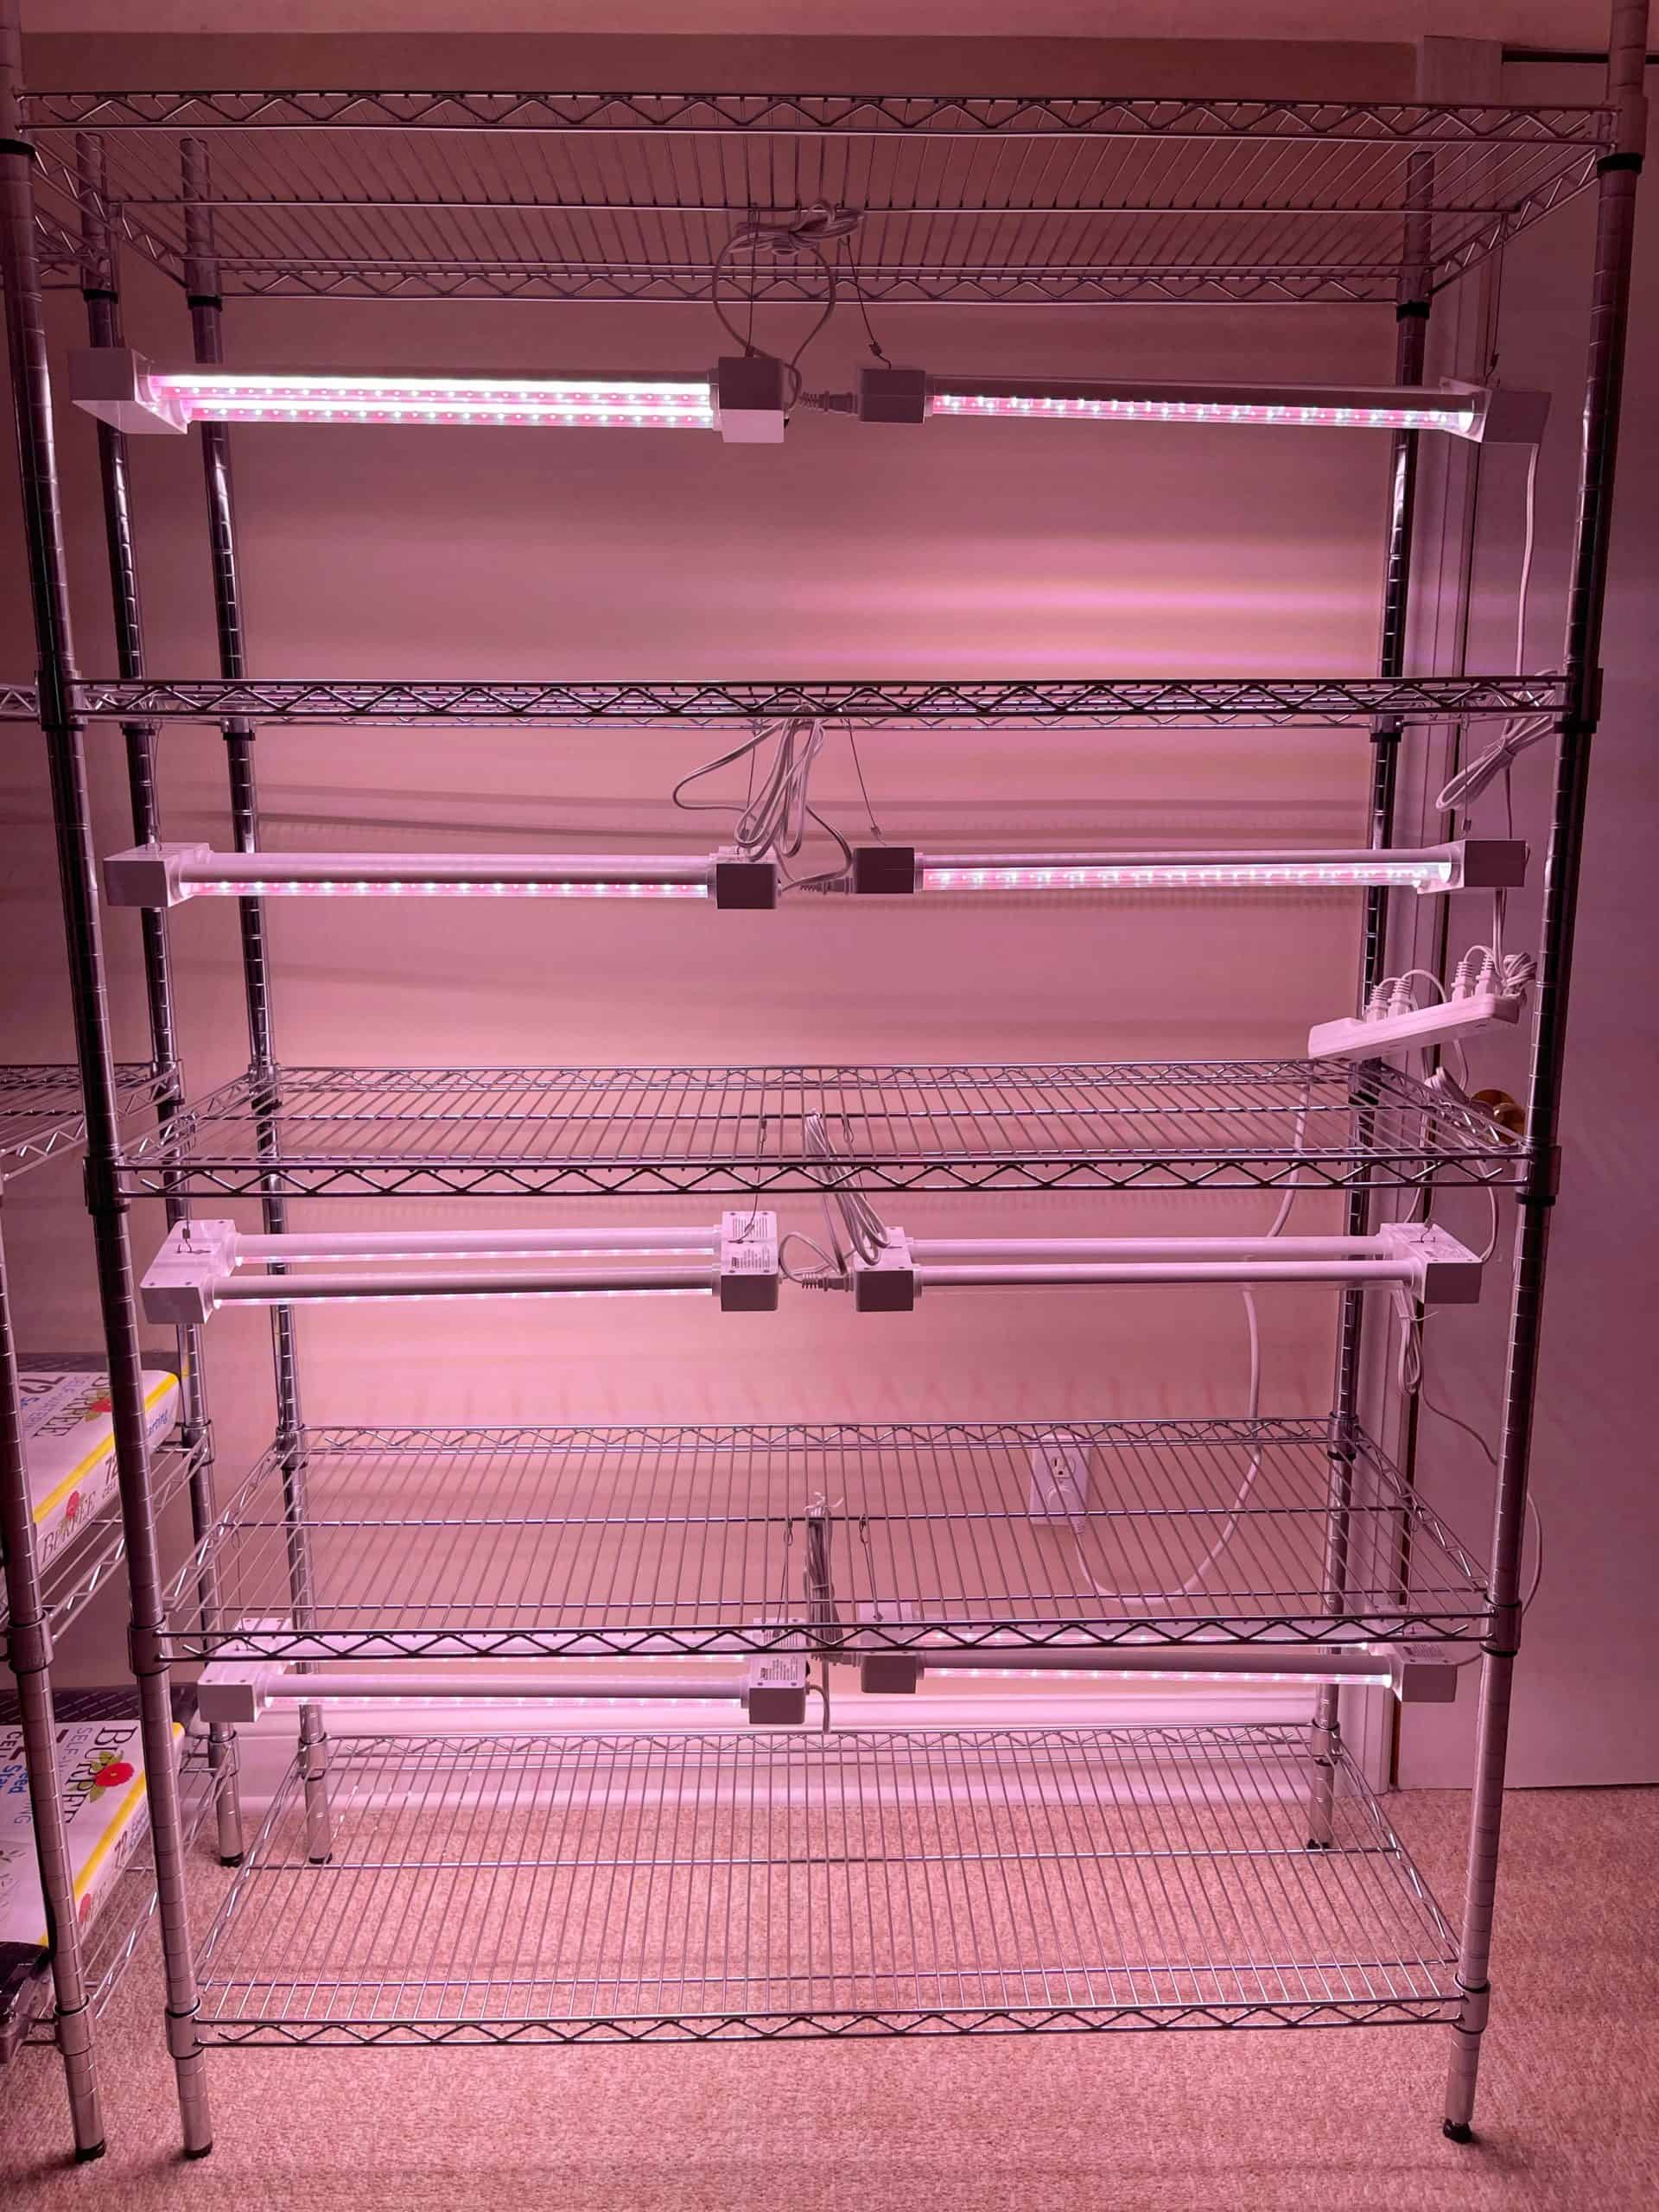
- Table or Shelf System for Seedlings: A sturdy surface to hold your trays and lights. You can DIY a system using wire shelves, as I did, or repurpose existing furniture.
- Heat Mat: Heat mats provide gentle bottom heat, which can significantly speed up germination. Not all seeds need additional heat, so read the seed packets for information.
- Plant Labels: Don’t forget to label your trays! You’ll be surprised how quickly you forget what you planted where.
- Oscillating Fan: Oscillating fan improves air circulation, which helps prevent damping-off (a fungal disease that can kill seedlings).

Where to Buy Seeds
By the time seed-starting season rolls around, I usually already have my seeds on hand. Over the years, I’ve learned that seed quality matters just as much as the setup itself.
If you’re still shopping, start with your local nursery or garden center, especially if you want varieties well-suited to your growing region. Big box stores can work for common transplants, but for seeds, I often pick up from my local nursery or order from reputable seed companies like Floret Flowers, Johnny’s Selected Seeds, and Renee’s Garden, all of which I’ve used with good results.

My Indoor DIY Seed Starting System
I’ve started seeds indoors in more than one home, and while the space has changed, the setup itself has stayed largely the same. In my previous home, I started seeds in the basement. Now I use our sunroom, which has better natural light but still requires grow lights to produce strong, consistent seedlings.
The key to any indoor seed-starting setup is flexibility. Adjustable grow lights that can be raised as seedlings grow make a noticeable difference in preventing leggy plants and uneven growth.
Here’s how we put together our DIY seed-starting shelf system:
Grow Lights: We use a combination of 2-foot and 4-foot LED grow lights, piecing them together based on the size of the shelves and the number of trays we’re starting at one time.
Why DIY: Pre-made seed-starting systems were expensive and didn’t offer enough space for the number of trays I start each season. Building our own setup gave us room for about 21 standard 10″ × 20″ trays and the ability to adjust the system as needed.
Choosing the Shelves: We chose tiered wire chef shelves because they’re sturdy, affordable, and easy to adjust. When seed-starting season is over, the shelves can be repurposed for storage, which makes them a practical long-term investment.

How to Create a Seed-Starting Shelf System
After weighing a few different options, we ultimately chose tiered wire chef shelves for our seed-starting setup. They’ve proven to be an excellent choice for starting multiple trays at once while keeping everything organized and easy to access.
The open wire design makes it simple to hang grow lights directly from the shelves, and the adjustable height allows us to raise the lights as seedlings grow. Just as importantly, the shelves are sturdy enough to support multiple trays and versatile enough to be reused for storage outside of seed-starting season.
To accommodate roughly 21 standard 10″ × 20″ seed trays, we use two sets of shelves. This gives us enough room to start a large number of seeds at once without overcrowding, while still keeping the setup manageable in a home environment.
Tips for Choosing DIY Seed Starting Supplies
Do You Need to Use Grow Lights With Your DIY Seed Starting System?
In my experience, grow lights are one of the most important investments you can make when starting seeds indoors. Before I used them, I relied on window light and consistently ended up with leggy, uneven seedlings.
Seedlings need roughly 14–16 hours of consistent light each day, something that’s difficult to achieve during winter and early spring, even in a bright, south-facing window. Once I added grow lights to my setup, the difference in plant strength and uniformity was immediate.
It’s also important to choose lights that can be adjusted as seedlings grow. Keeping lights within about 4 inches of the plants helps prevent stretching and encourages sturdy stem development. Adjustable lighting is what makes a DIY system flexible enough to use year after year.
Using Complete Seed-Starting Trays
I’ve used complete seed-starting tray systems alongside my DIY setup, and they can be a great option, especially if you want something simple and ready to go. Some systems include self-watering reservoirs and peat pot cells, which make bottom watering much easier and help keep moisture levels consistent.
I’ve also used 4-inch deep biodegradable cells, clear plastic dome lids, and irrigation trays when starting seeds that benefit from deeper root space. A few varieties simply perform better when they aren’t confined to shallow cells, and having the option to mix and match tray types gives you more flexibility.

Re-Using What You Have With Your DIY Seed Starting System
Reusing containers is a smart way to save money, but it’s important to clean everything thoroughly before planting. Leftover soil, moisture, or debris can harbor pests and disease from previous seasons.
I clean reused trays and containers with a solution of 1 part bleach to 10 parts water, then rinse well and let everything dry completely before use. This extra step helps reduce the risk of problems like damping-off and gives new seedlings a clean start.

Seed Starting Soil vs. Regular Potting Mix: Why It Matters
It can be tempting to use regular potting soil when starting seeds indoors, especially if you already have it on hand. I’ve tried that early on, and it’s one of those shortcuts that usually creates more problems than it solves.
Seed-starting mix is formulated specifically for germination and early root development. The difference becomes obvious once you’ve struggled with poor drainage or seedlings that stall out shortly after sprouting.
Texture: Seed-starting mix is much finer and lighter than regular potting soil, which allows delicate roots to grow without resistance and helps seedlings establish more quickly.
Drainage: Good drainage is essential to prevent soggy soil and damping-off, a fungal disease that can wipe out young seedlings. Seed-starting mix drains well while still holding enough moisture for consistent germination.
Sterility: Most seed-starting mixes are sterile, which reduces the risk of weed seeds, pests, and disease — a big advantage when growing seedlings indoors.
Nutrient Content: Seedlings don’t need heavy feeding right away. Seed-starting mix provides just enough nutrition to support early growth without overwhelming young roots.
After starting seeds indoors for several seasons, I’ve found that soil quality is one of the biggest factors in success. Using a good seed-starting mix from the beginning saves time, prevents problems, and leads to stronger seedlings overall.

Vermiculite: A Seed-Starting Rockstar
Vermiculite isn’t strictly required for starting seeds indoors, but after using it season after season, it’s become a staple in my seed-starting setup. I didn’t always use it, and once I started, I noticed more consistent moisture levels and easier seedling emergence.
Vermiculite is a mineral that expands when heated, creating lightweight, porous particles that work especially well during germination.
- Moisture Retention: Vermiculite holds moisture evenly, helping keep seeds consistently hydrated without waterlogging the soil.
- Aeration: Its porous structure improves airflow around seeds, which supports healthy root development.
- Easy Emergence: Seedlings tend to push through vermiculite more easily than through denser soil, especially smaller or more delicate seeds.
- Disease Prevention: By improving drainage and reducing compaction, vermiculite can help lower the risk of damping-off.
How I use vermiculite:
- As a seed covering: I sprinkle a thin layer of vermiculite over seeds after sowing instead of soil.
- Mixed in: I sometimes add it to seed-starting mix to improve texture and drainage.
Some growers skip vermiculite entirely, and that’s fine — it isn’t required for success. But after using it repeatedly, I’ve found that seeds emerge more easily when covered with vermiculite, which is why I continue to use it in my own setup.
Heat Mats for Starting Seeds Indoors
Heat mats can be helpful for starting certain seeds indoors, but they’re often over-purchased. I learned that the hard way.
You don’t need a heat mat under every seed tray. Instead, base the number of heat mats you use on how many seed packets you’ll be starting at the same time that actually benefit from bottom heat. Early on, I didn’t think this through and ended up buying far more heat mats than I needed.
Save yourself a few dollars by planning ahead. Check seed packet recommendations, group heat-loving seeds together, and use heat mats only where they make a noticeable difference in germination.

Plant Labels and Sharpie
Labeling seedlings immediately after sowing is one of those small steps that saves a lot of frustration later. No matter how confident you feel in the moment, it’s surprisingly easy to forget what was planted where once everything starts to look the same.
I label every tray as soon as I sow seeds, including the plant name and variety. I use simple plastic plant tags and write on them with a permanent marker so the information doesn’t rub off during watering or handling.
Whatever labeling system you choose, make sure it’s waterproof and durable. Clear labels make caring for seedlings — and transplanting them later — much easier.

Oscillating Fan (Why It Matters)
I run a small oscillating fan near my seedlings to improve airflow and help prevent issues like damping-off. The goal isn’t to blast seedlings with air, but to create light, consistent movement that mimics outdoor conditions and encourages sturdier growth.
An oscillating fan is an often-overlooked part of indoor seed starting, but it plays an important role in keeping seedlings healthy. Gentle air movement helps strengthen stems and reduces excess moisture around the soil surface.
Programmable Timer for Grow Lights
Using a programmable timer for grow lights makes indoor seed starting much more manageable. Seedlings need consistent light each day, and a timer removes the guesswork.
I set my lights to run for about 14–16 hours per day, which keeps seedlings growing evenly without relying on memory or daily adjustments. A timer also helps maintain a routine, especially during busy weeks in late winter and early spring.
Power Strip (Optional, but Helpful)
Depending on your setup, a power strip can make managing lights, timers, and fans easier, especially if you’re using multiple shelves or fixtures. I use one primarily to keep cords organized and accessible rather than plugging everything directly into wall outlets.
Look for a power strip with enough outlets for your setup and built-in surge protection, particularly if you’re running lights for extended periods.

Troubleshooting Common Indoor Seed-Starting Problems
Even with a solid setup, indoor seed starting comes with a learning curve. Over time, I’ve run into most of these issues at least once, and small adjustments usually make a big difference.
Damping-Off
Damping-off is a fungal disease that causes seedlings to collapse at the soil line. I’ve found it’s best prevented by using sterile seed-starting mix, watering carefully, and maintaining good air circulation. A small oscillating fan helps keep moisture from sitting on the soil surface.
Leggy Seedlings
Leggy seedlings are almost always a light issue. When seedlings stretch and lean, it’s a sign they aren’t getting enough intensity or that lights are too far away. Keeping grow lights close to the plants and adjusting them as seedlings grow helps prevent this problem.
Hardening Off
Before moving seedlings outdoors, they need time to adjust to sun, wind, and temperature changes. Gradually exposing them to outdoor conditions over several days reduces transplant shock. I walk through the full hardening-off process in this guide here.


DIY Seed Starting System FAQ
What is the cheapest way to start seeds indoors?
If you search online, you’ll find plenty of budget-friendly seed-starting ideas — from reusing egg cartons to making biodegradable newspaper pots. These methods can work, especially if you’re experimenting or starting just a few plants.
In my experience, reusing containers and relying on natural sunlight can be the least expensive approach, but it often comes with inconsistent results. If you want stronger, more reliable seedlings without depending on window light, building a simple DIY seed-starting system is usually more cost-effective in the long run than buying a pre-made kit.
While the supplies shared in this post are an upfront investment, they’re ones I use year after year, which makes them more economical over time.
What month is best to start seeds indoors?
The best time to start seeds indoors depends on your last frost date and how long each plant takes to grow before transplanting. Many flowers and vegetables need to be started 10–12 weeks before the last expected frost, while others require less time.
I plan my seed-starting schedule based on individual plant needs rather than the calendar alone. Having supplies ready ahead of time makes it much easier to start seeds when the timing is right for each variety.
To make planning easier, I created a free downloadable seed-starting printable that helps organize planting dates and varieties. You can print as many pages as you like and keep them in your gardening journal for quick reference throughout the season.

Final Thoughts About Creating a DIY Seed Starting System
Starting seeds indoors has become one of the most rewarding parts of my gardening year, but it didn’t start out that way. I’ve tried cutting corners, relying on window light, and piecing things together without a plan — and I’ve learned that a simple, reliable setup makes all the difference.
The DIY seed-starting system I use today is one that has evolved over time and across different homes. From a basement setup in my former house to a seasonal sunroom system now and plans for a permanent basement space, the core elements remain the same: consistent light, good airflow, quality growing medium, and a setup I can use year after year.
If you’re looking for a complete, step-by-step walkthrough of the entire process — from planning and timing to caring for seedlings and preparing them for the garden — I share my full approach to starting seeds indoors without a greenhouse here.
And if you’re just getting started or want to avoid some of the common pitfalls, learning what not to do can be just as helpful. I’ve shared the most common seed-starting mistakes I see (and have made myself) to help you get better results from the beginning.
With the right setup and a little experience, starting seeds indoors becomes less stressful and far more enjoyable — setting the stage for a successful growing season ahead.
Have you ever started seeds indoors before? What supplies did you use or would recommend? I would love to know more in the comments below.
For more information about making your own DIY seed starting system, please see this article from the University of Georgia Cooperative Extension.
Thanks for stopping by the blog today!
Enjoy your day! xoxo


For this newbie, there is so much to learn. 😊 You have given a great step by step on how to start. I am so looking forward to planting. Thanks for always sharing your knowledge!
I am so glad you find it helpful Kim! I can’t wait to see what you grow! xoxo
Can’t wait to see your garden this year !
You and me both Ann! xoxo
Wonderful your gardening idea. I like much. Very useful & great work.
Thank you! Do you grow anything where you live?
Stacy,
I really appreciate all your information! Although I have a greenhouse, I’ll be starting a lot of these seeds inside so your information is so valuable to me.
Thank you Rachel! I’m so excited to grow things together this year! xo
This is such a helpful post Stacy!!!! I’m wanting to try this this year!!
Thank you Kristin! I hope you do – we can grow stuff together! xoxo
Thank you so much for sharing this! I have an enclosed greenhouse garden shelving unit that has the cover and lights and I need to get things started! It’s not large, but it was an estate sale find and I keep forgetting I have it. I hadn’t seen the heat mats. Brilliant. I love Floret.❤️
Thank you! Yes the heat mats really help get the seeds going! I am so excited to see what you grow! Are you doing flowers and veggies? Yes, they produce amazing seeds! xo
Your basement looks exactly like mine right now. I can’t wait to see them blooming in the garden this summer. Happy Saturday!
Thank you so much! What are you growing this year? I am so excited to start sowing! Enjoy your weekend!
Last year in a pinch I used heating pad until I got the heat mats. Looks like I missed out on getting seeds from floret flowers. They were sold out 🙁 I’m enjoying watching your journey growing plants from seeds. It’s a miracle how this happens. Keep up the good work.
Thank you so much Michelle! Yeah their seeds are high in demand! Have you tried Burpee or your local nursery?
It is so nice to read such a detailed description of how you start your seeds. I am going to start mine for the first time this weekend so it’s nice to have this tutorial for reference!!! Wish me luck:)
That is wonderful Maria! I am so happy to hear that! What are you going to grow? I’m starting my sweet peas next week. Looking forward to watching our gardens grow together! xo
Super informative post!! I just picked up some trays this morning…I can’t wait to get everything started!! You are a couple of gardening weeks ahead of me.
Thank you so much! I am so excited to start growing stuff! It will be so much fun to grow our gardens together. I am sowing my sweet peas next weekend!