When and How to Harvest Lavender for the Best Fragrance

Learn when and how to harvest lavender for the best fragrance, plus simple tips to dry and preserve your flowers at their peak.
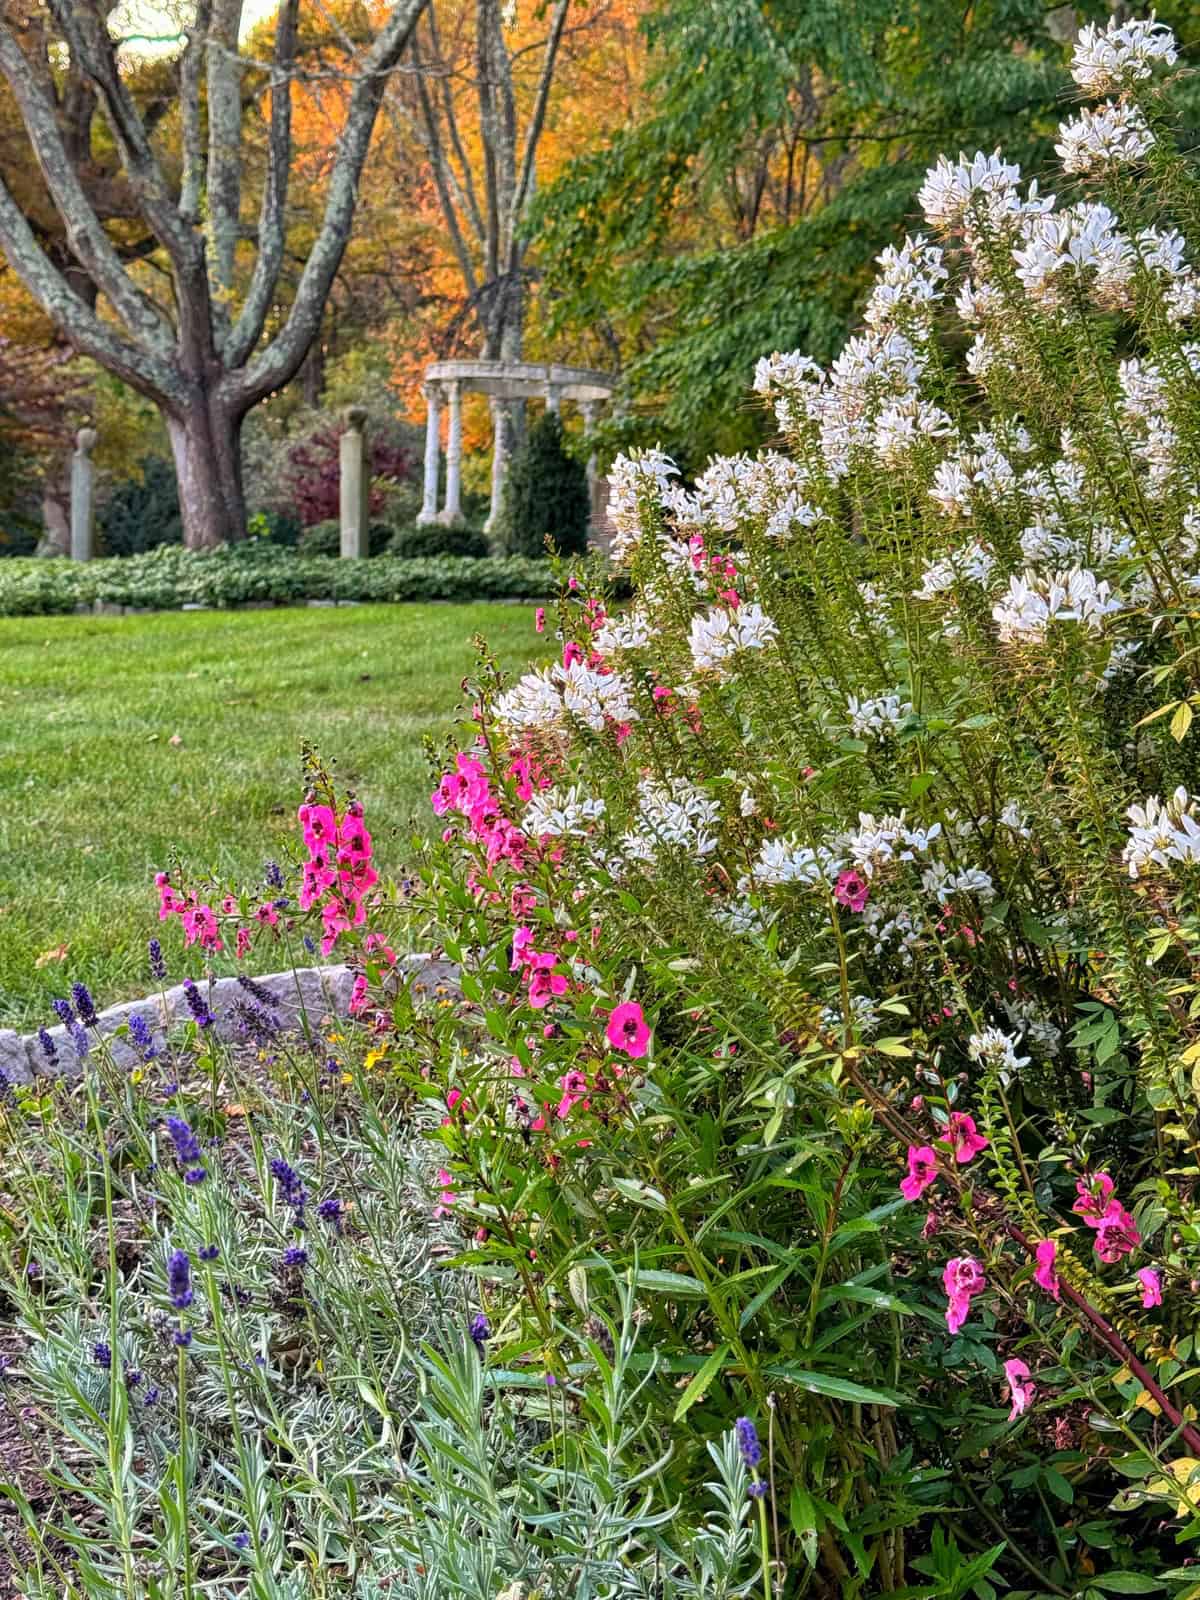
There’s nothing quite like the fragrance of lavender at its peak. It’s one of the reasons I grow it throughout my garden year after year. But knowing exactly when to harvest lavender makes all the difference in how strong that scent is and how well the flowers hold up once they’re dried or brought indoors.
If you harvest too early, the fragrance won’t be fully developed. Wait too long, and the blooms can lose both color and intensity. Getting the timing right is what turns a good harvest into a great one.
Over the years, I’ve learned that lavender is one of those plants that really rewards you when you understand what it needs, not just while it’s growing, but at harvest time too. Once I started paying closer attention to timing and technique, I noticed a huge difference in both the fragrance and how well my dried bundles held up.
If you’re still working on growing healthy plants, be sure to read my complete guide to growing lavender where I walk through everything from planting to pruning so you can set your plants up for success.
In this guide, I’ll show you exactly when and how to harvest lavender for the best fragrance, along with simple tips for drying and using your flowers so you can enjoy them long after the growing season ends.
(Posts on stacyling.com may contain affiliate links. Click HERE for full disclosure.)


When to Harvest Lavender for the Best Fragrance
The timing of your lavender harvest depends on how you plan to use the flowers, but one thing stays the same. If you want the best fragrance, timing matters.
The ideal time to harvest lavender is when the buds are plump and deeply colored, but not fully open. This is when the plant’s essential oils are at their peak, giving you the strongest scent for drying, sachets, and arrangements. Look for just a few of the tiny flowers on each stem beginning to open while most buds remain closed.
If you’re harvesting for fresh bouquets, you can wait until more of the flowers have opened. This gives you a fuller look, but the fragrance won’t be quite as strong once dried.
Time of day also plays a role. Harvest lavender in the morning after the dew has dried but before the heat of the day. This helps preserve the oils that give lavender its signature scent.
If you’re wondering how late you can harvest lavender, you can still cut stems after the flowers have opened, but the fragrance and color won’t be as intense. For best results, aim for that early bloom stage.
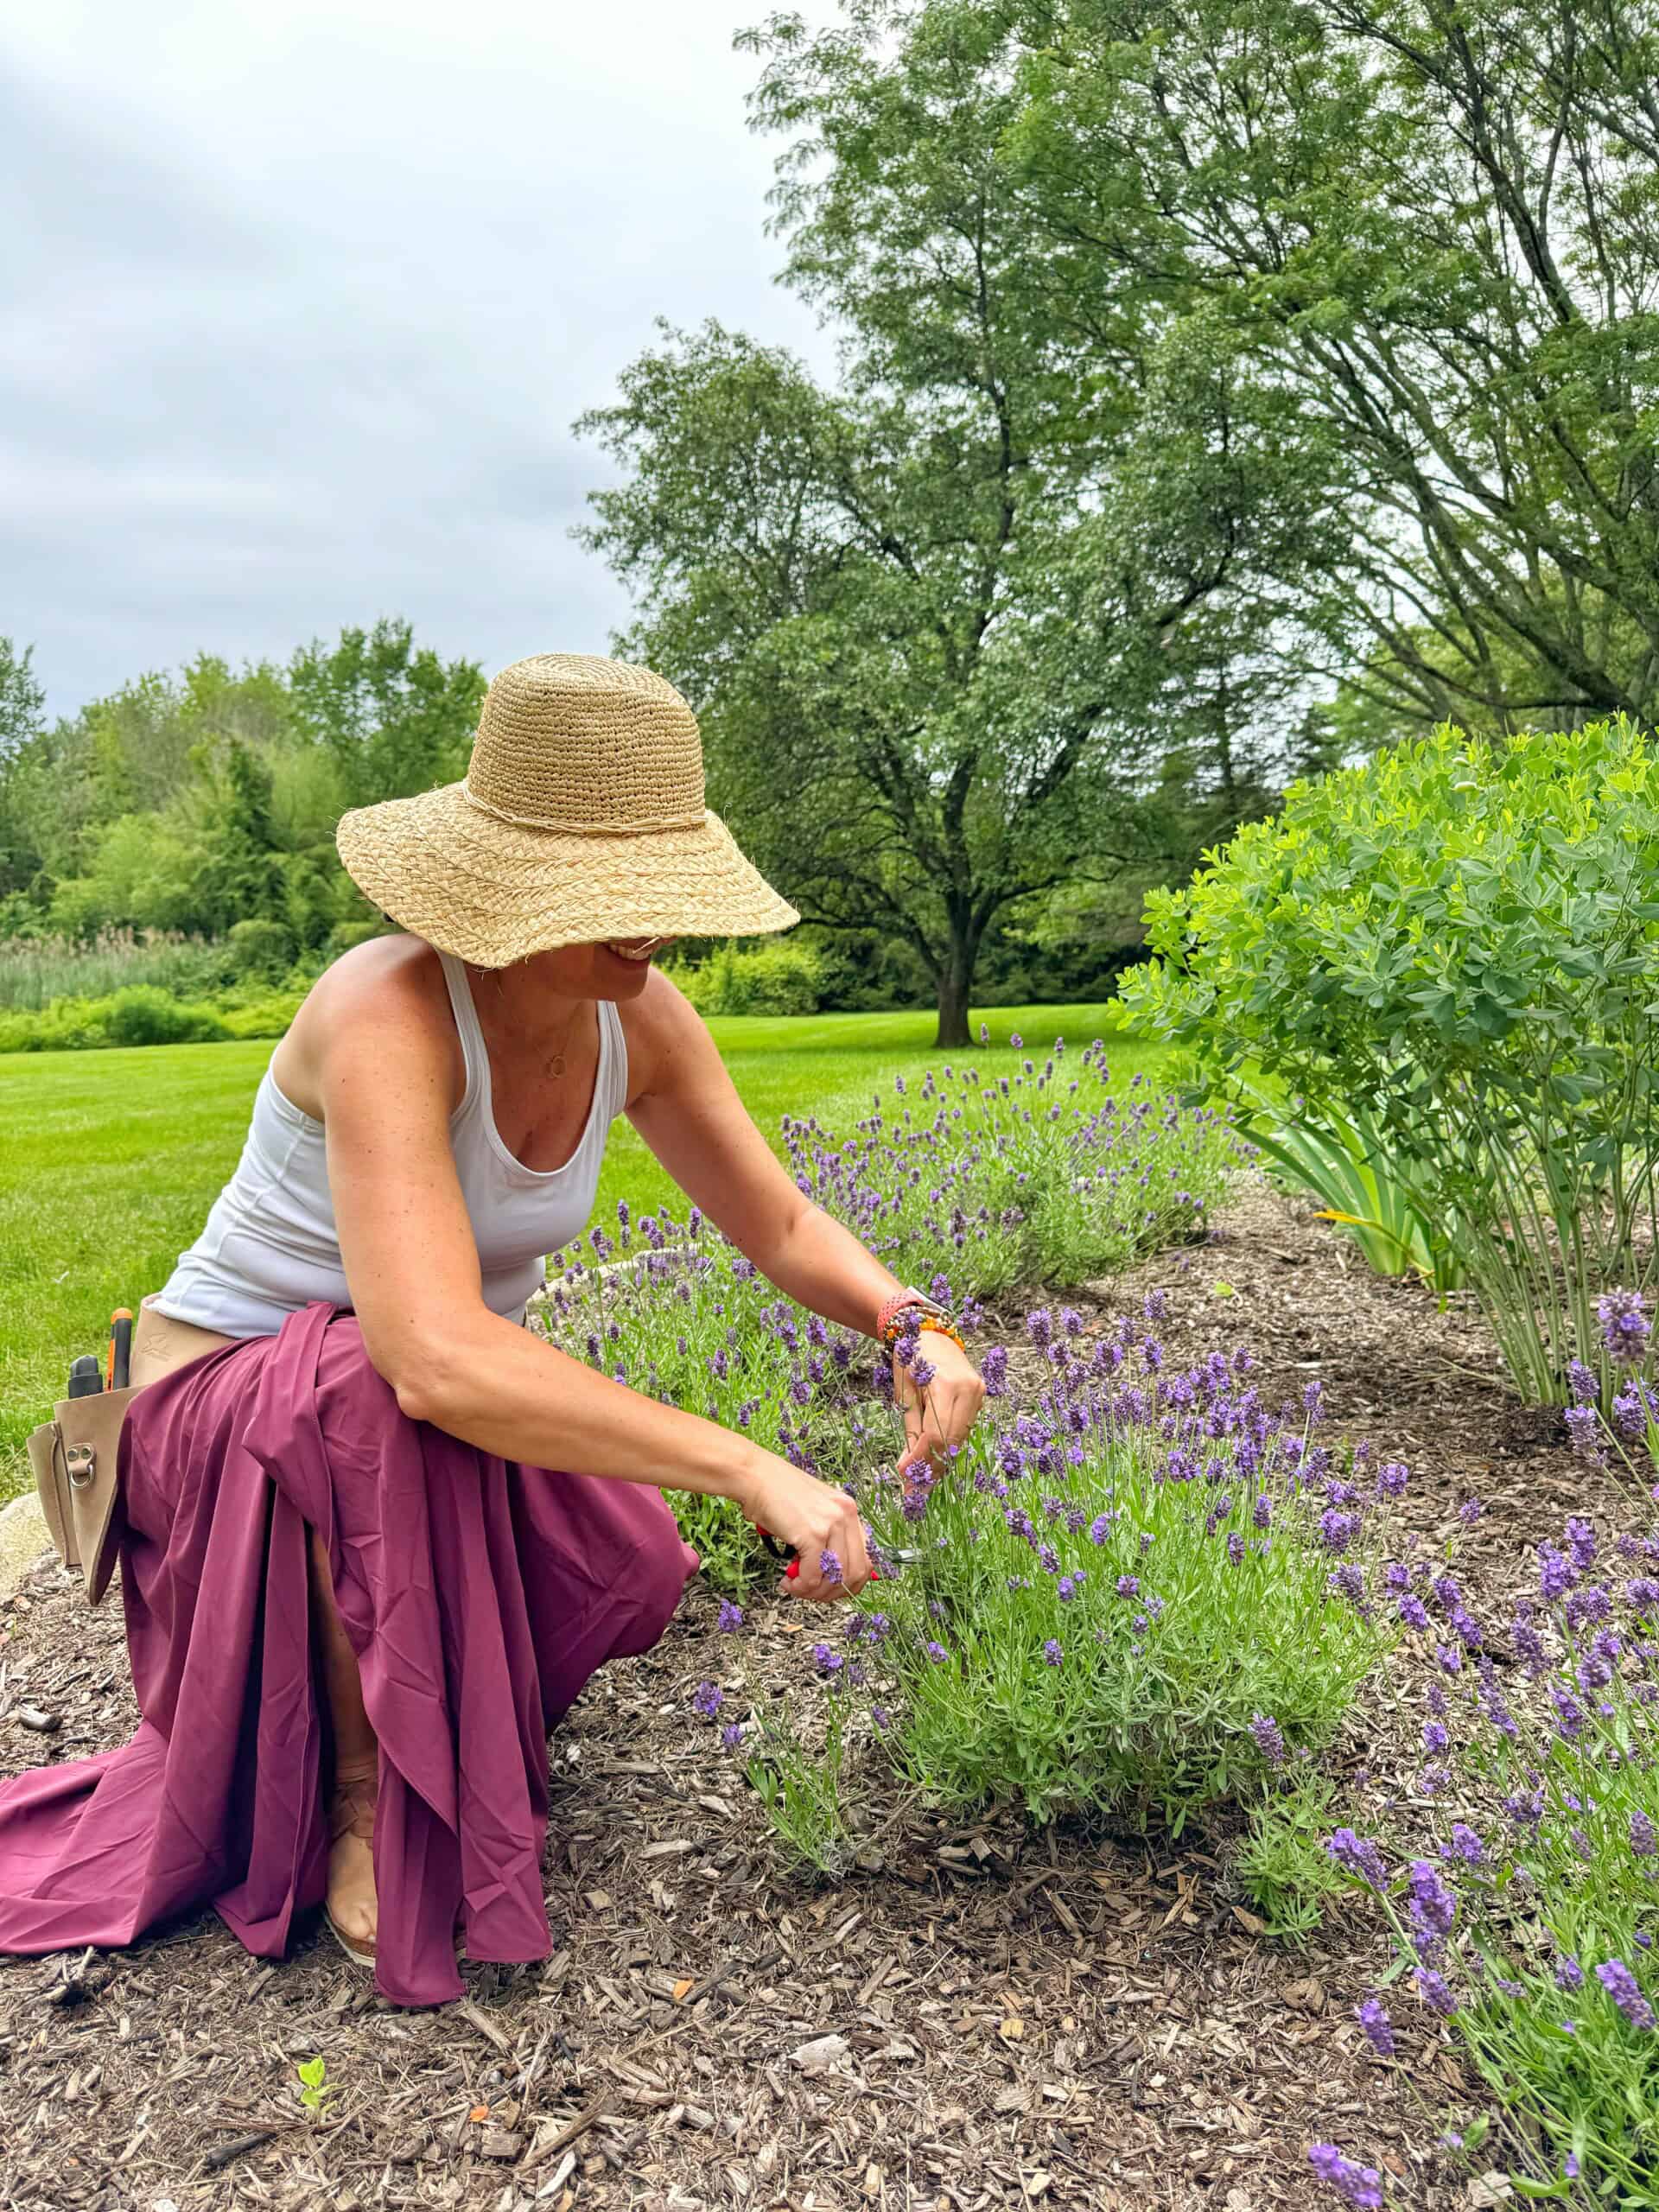
How to Harvest Lavender Step-by-Step
Now for the fun part. Harvesting lavender is simple once you know where to cut and how much to take.
1. Choose the Right Stems
Look for long stems with plump flower heads where the buds are just beginning to open. This is when the fragrance is at its strongest.
2. Find the New Growth
Follow the stem down a few inches until you see a pair of smaller shoots forming along the stem. This is where you’ll want to make your cut.
3. Cut Above the Leaves
Using sharp garden snips, cut the flowering stem just above those new shoots. Try to leave a few inches of green growth above the woody base of the plant. This helps encourage fuller, bushier growth and more blooms later on.
4. Gather in Small Bundles
As you harvest, collect stems into small bundles about an inch thick. This keeps the stems from bending or crushing and makes them easier to handle when drying.
5. Don’t Take Too Much at Once
It can be tempting to cut everything at once, but try to harvest no more than about two-thirds of the plant. This gives it enough foliage to stay healthy and continue growing.

How to Dry Lavender (and Preserve Its Fragrance)
Once your lavender is harvested, drying it properly is what allows you to enjoy that fragrance long after the growing season.
The key is to keep things simple and avoid moisture. Lavender dries best in a space that is cool, dry, and well ventilated.
The Hanging Method (My Go-To)
The easiest way to dry lavender is by hanging it in small bundles.
- Gather your stems into small bunches and secure them with twine or a rubber band
- Hang them upside down in a cool, dark, well-ventilated space like a closet, attic, or shed
- Keep them out of direct sunlight to help preserve both color and fragrance
Drying typically takes about 1–3 weeks, depending on humidity. You’ll know they’re ready when the stems feel brittle and the buds fall off easily when touched.
To learn more about the hanging method, along with three other easy ways to dry flowers, visit my complete guide to drying flowers here.
Storing Dried Lavender
Once your lavender is fully dry, you can either keep the bundles intact or gently remove the buds from the stems.
Store dried lavender in airtight containers, like glass jars, and keep them in a cool, dark place. This helps preserve the scent so you can enjoy it for months to come.

Common Lavender Harvesting Mistakes to Avoid
Lavender is easy to harvest, but a few common mistakes can affect its fragrance, appearance, and long-term health. Once you know what to watch for, they’re easy to avoid.
Harvesting Too Late
One of the most common mistakes is waiting too long to harvest.
If you cut lavender after the flowers have fully opened, the fragrance won’t be as strong and the blooms won’t hold up as well when dried. For the best results, harvest when the buds are just beginning to open.
Harvesting When Plants Are Damp
Cutting lavender when it’s wet from dew or rain can lead to mold during the drying process.
Always wait until the plant is completely dry before harvesting. Late morning is usually the best time once any moisture has evaporated.
Cutting Into Woody Growth
Lavender does not regenerate well from old, woody stems.
When harvesting, always cut above the green growth and avoid cutting down into the woody base. This helps keep plants healthy and encourages new growth.
Taking Too Much at Once
It’s tempting to harvest everything when lavender is in peak bloom, but removing too much can stress the plant.
Try not to cut more than about two-thirds of the plant at one time, especially if it’s young or still establishing.
Not Pruning After Blooming
Harvesting and pruning go hand in hand.
If you don’t cut your lavender back after it blooms, it can become woody and less productive over time. Regular harvesting helps maintain shape and can even encourage a second, lighter flush of blooms.
If your lavender isn’t performing as expected, it often comes down to growing conditions. You can read my complete guide to growing lavender for tips on planting, care, and long-term success.

Lavender Harvesting FAQ
When is the best time to harvest lavender?
The best time to harvest lavender is when the buds are just beginning to open. At this stage, the essential oils are at their peak, giving you the strongest fragrance and best results for drying or using fresh.
When is it too late to harvest lavender?
It’s not too late to harvest lavender once the flowers have fully opened, but the fragrance won’t be as strong and the blooms won’t hold up as well when dried. For the best quality, harvest before most of the buds fully open.
How often can you harvest lavender?
Most lavender plants can be harvested once or twice per growing season. After the first harvest, lightly pruning the plant can encourage a second, smaller flush of blooms later in the summer.
Can you harvest lavender more than once?
Yes, many varieties of lavender will produce a second bloom if they are trimmed after the first harvest. This second harvest is usually lighter but still worth cutting and enjoying.
Should you cut lavender when it’s in full bloom?
You can harvest lavender in full bloom if you want it for fresh bouquets, but for drying and long-lasting fragrance, it’s best to cut it earlier when the buds are just starting to open.
How do you keep lavender smelling strong after harvesting?
To preserve the fragrance, harvest at the right time, keep stems dry, and dry them in a cool, dark, well-ventilated space. Store dried lavender in airtight containers away from heat and light.
Plan Your Garden With Confidence
If you enjoy growing and harvesting plants like lavender, you’re already building a garden that goes beyond just looks. You’re creating something that works throughout the season and even beyond it.
In The Bricks ‘n Blooms Guide to a Beautiful and Easy-Care Flower Garden, I share how I approach gardening in a way that feels manageable and rewarding. From choosing the right plants to understanding how to care for them through every stage, it’s all about creating a garden that thrives without constant work.
And once you start harvesting flowers like lavender, keeping track of timing, bloom cycles, and what works in your space becomes incredibly helpful. The Bricks ‘n Blooms Beautiful and Easy-Care Flower Garden Planner is designed to help you do exactly that, so you can build on your success year after year.
Lavender is one of those plants that really shows you how everything connects, from planting to harvesting to enjoying it in your home.
Final Thoughts About How to Harvest Lavender Flowers
Harvesting lavender is one of those simple garden tasks that becomes second nature once you understand the timing. When you cut it at the right stage and handle it properly, you’ll get stronger fragrance, better color, and flowers that last long after the growing season ends.
In my own garden, learning when to harvest made the biggest difference. Once I stopped waiting too long and started cutting when the buds were just beginning to open, everything improved, from how my dried bundles held up to how strong the scent remained months later. It’s a small shift that has a big impact.
If you’re still working on growing healthy plants, be sure to read my complete guide to growing lavender where I walk through planting, care, and pruning so your plants thrive from the start.
And once you’ve harvested your stems, don’t forget to enjoy them. Whether you’re drying bundles, making simple arrangements, or trying something like lavender lemonade, it’s one of the easiest ways to bring your garden indoors and get even more from what you grow.
When you get the timing right, lavender becomes more than just another plant in the garden. It becomes something you can enjoy all season and well beyond it.
What are your favorite ways to use your homegrown lavender? Share your tips and creations in the comments below – I’d love to chat more!
For more information about growing and harvesting lavender flowers, check out these articles:
Thank you for visiting the blog today!
Enjoy your day! xo
Harvesting Lavender Supplies


I let mine go past the bloom stage but I’m still going to trim some of the stemmed buds as it is the first year it really took off. Will the buds be worth drying out if they are no longer pretty when I cut them off? Or should I just toss them?
If they lost their blooms, they won’t be as pretty but I always say try it anyway and see how it looks! You don’t have anything to lose and you might like it!