Growing Paperwhites Indoors: Planting and Styling Ideas

Get stunning paperwhite blooms in weeks! This simple tutorial shows you how to force bulbs indoors and style them in your space, even with no gardening experience.
Some years it’s poinsettias. Other years it’s amaryllis. This year, I’m all about paperwhites. These fragrant flowers are my new holiday obsession together with amaryllis, and I have a feeling they’ll be yours too once you discover how easy they are to grow and how beautifully they bloom indoors, even in the darkest depths of winter.
Hi! I’m Stacy Ling, a trained master gardener in USDA Zone 6b, New Jersey. With almost thirty years of experience getting my hands dirty, I know a thing or two about keeping houseplants thriving, and paperwhites are one of my winter favorites to grow!
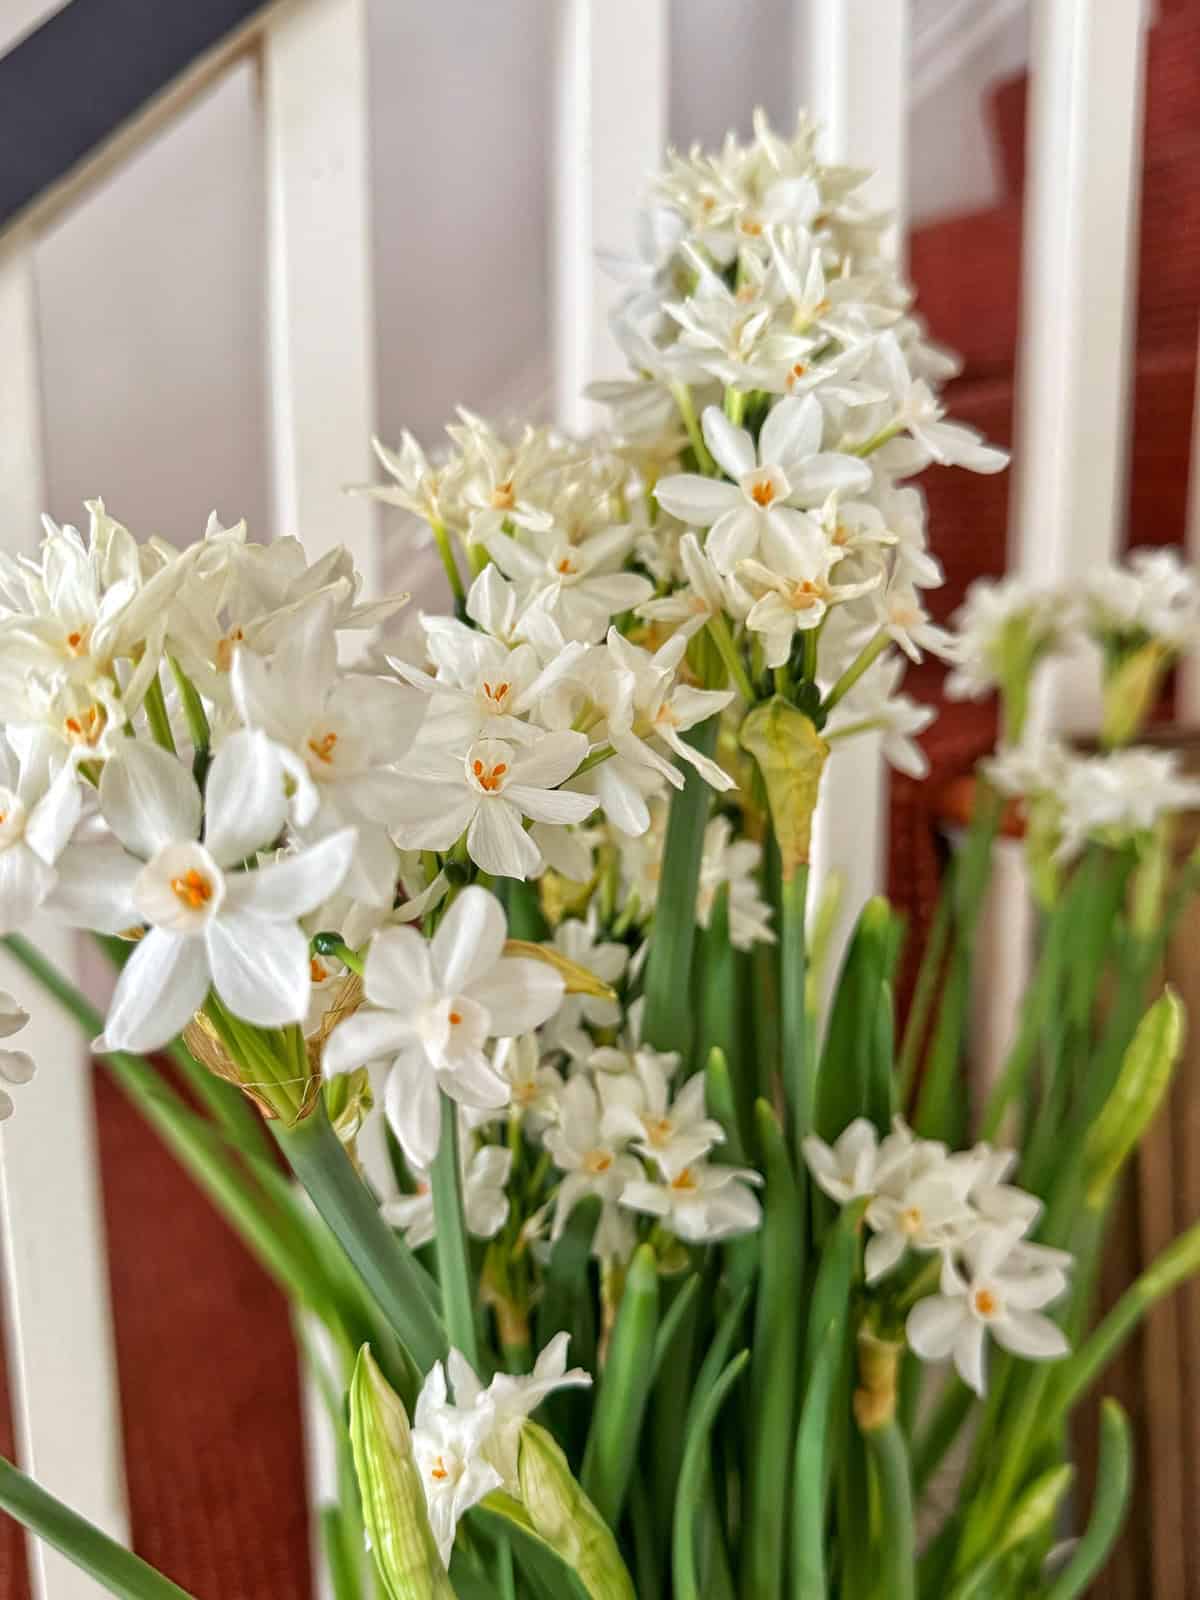
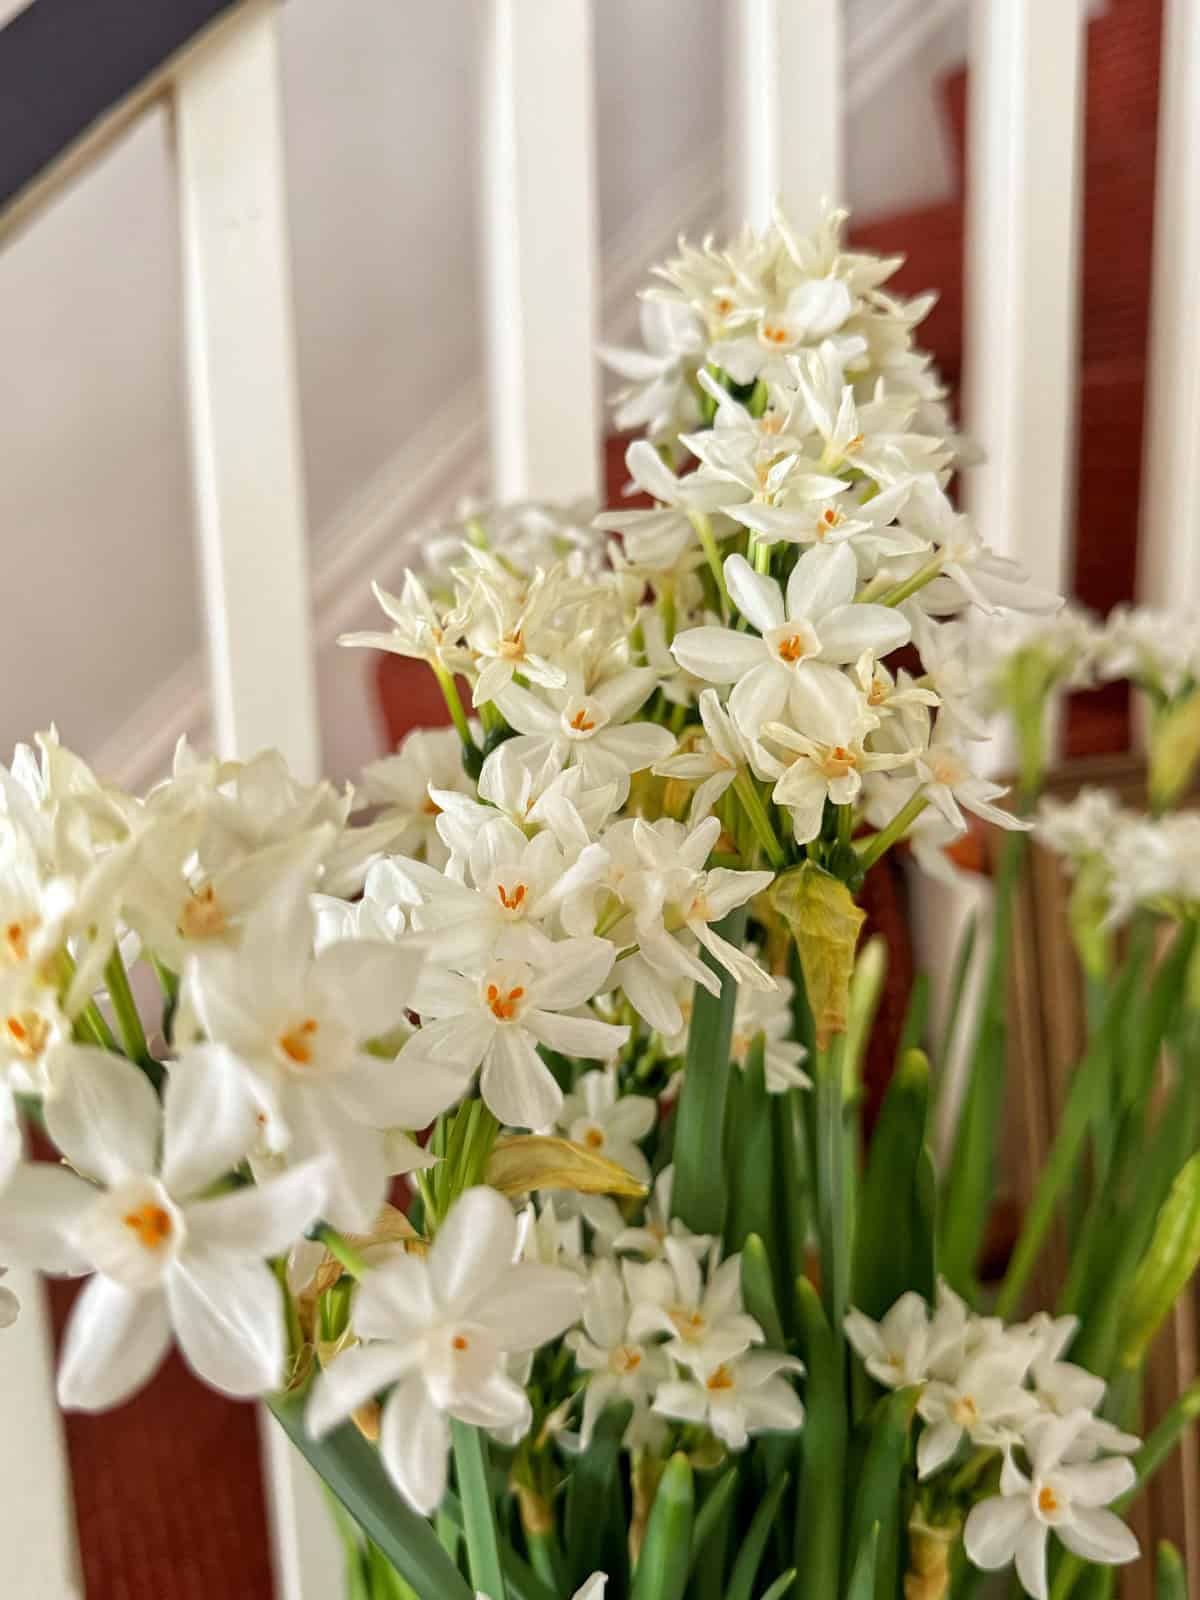
Paperwhites (Narcissus papyraceus) are a type of daffodil prized for their clusters of delicate, white blooms and their intoxicating scent. They’re incredibly popular for “forcing” indoors, which basically means tricking them into blooming outside of their typical season. And the best part? Anyone can do it!
(Posts on stacyling.com may contain affiliate links. Click HERE for full disclosure.)

About Paperwhites
Paperwhites are truly the no-fuss darlings of the bulb world. They require minimal preparation and are virtually foolproof when it comes to blooming. Once planted, you can expect fragrant flowers to emerge in 4 to 6 weeks with remarkable consistency.
While often grown as indoor holiday plants, paperwhites can also thrive outdoors in warmer climates (zones 8-10). They can be planted outside in the spring after they’ve bloomed indoors or in the fall for winter blooms. This gives gardeners in those regions an extra opportunity to enjoy these lovely flowers.
Since I’m in zone 6b, I force paperwhite bulbs for indoor blooms and do nothing with them outside.
Choosing Your Paperwhites
Before you start planting, you’ll need to select some healthy bulbs. Look for bulbs that are firm to the touch, with no signs of mold or damage. You might also want to explore different varieties.
‘Ziva’ is a popular choice with pure white flowers, while ‘Inbal’ offers a slightly different look with creamy white blooms tinged with yellow. You can usually find paperwhite bulbs at local nurseries or online retailers. I usually buy mine from either White Flower Farm or Longfield Gardens.

How to Grow Paperwhites Indoors: Two Easy Methods
There are two main ways to grow paperwhites indoors. We can either plant them in water or in soil. Both are surprisingly simple!
Planting Paper Whites in Water
This is my personal favorite method because it’s so easy and allows you to see the roots grow.
- Choose a container: A clear glass vase, bowl, or even a decorative jar works well.
- Add a base: Fill the container with a layer of decorative stones or pebbles like these. This will help anchor the bulbs and provide stability.
- Position the bulbs: Place the bulbs, root side down, on top of the stones. Make sure they’re not too crowded.
- Add water: Carefully pour in water until it just reaches the base of the bulbs. Don’t let the water touch the bulbs themselves, as this can cause them to rot.
- Prevent toppling: As the paperwhites grow, they can become top-heavy. To prevent them from toppling over, you can stake them or use a shorter container. I love this type of support to keep the blooms upright.
This year, I used this beautiful vintage cache pot as the decorative exterior. To plant the paperwhites, I used 3 ball jar glasses filled with river stone pebbles, added water, and then the bulb.

How to Grow Paperwhites in Soil
If you prefer a more traditional planting method, you can also grow paperwhites in soil.
- Select a pot: Choose a pot with drainage holes to prevent the soil from becoming overly-saturated.
- Use the right soil: A well-draining potting mix is ideal for paperwhites. I like to use coco as it’s really light and well-draining.
- Plant the bulbs: Plant the bulbs with about 1/3 of the bulb exposed above the soil surface.
- Water regularly: Keep the soil consistently moist but not soggy.

Forcing Paperwhites Indoors
Here’s how to encourage your paperwhites to bloom indoors:
Root Development
- Cool and dark: Place the planted bulbs in a cool, dark location with a temperature around 55-60°F. A basement, garage, or even a spare refrigerator works well.
- Wait patiently: Leave them undisturbed for 2-4 weeks, or until you see roots starting to develop.
Growing and Blooming
- Light and warmth: Once the roots are established, move the container to a warm, sunny spot with a temperature around 70°F. A bright windowsill is perfect.
- Supplemental light: If you don’t have a sunny spot, you can use supplemental grow lights.
- Rotate regularly: Rotate the container every few days to ensure even growth and prevent the stems from leaning towards the light.
Extending Bloom Time
- Keep it cool: Once the paperwhites start to bloom, you can move them to a slightly cooler location to help prolong the blooms.
- Avoid heat: Keep them away from direct heat sources like fireplaces and radiators, which can dry them out and shorten their blooming period.

Troubleshooting Problems With Your Paper Whites
Even with the best care, you might encounter a few issues with your paperwhites. Here are some common problems and how to solve them:
- Leggy growth: If your paperwhites are growing tall and spindly with weak stems, they’re likely not getting enough light. Move them to a brighter location or supplement with grow lights.
- Lack of blooms: If your paperwhites aren’t blooming, they may not have had enough chilling time in a cool, dark location. Double-check you followed the recommended chilling instructions. Incorrect forcing temperatures can also hinder blooming, so ensure they’re in a warm spot (around 70°F) once roots have developed.
- Bulb rot: Overwatering can lead to bulb rot. Whether you’re growing in water or soil, ensure the base of the bulbs isn’t sitting in soggy conditions. Avoid getting water directly on the bulbs themselves when watering.

Support Solutions for Floppy Blooms
Paperwhites can become top-heavy as they grow, leading to flopping blooms. Here are a few ways to keep them upright:
- Staking: Gently support the stems with bamboo stakes, garden twine, or even decorative ribbon. I like to use this type of support to keep my paperwhite flowers upright.
- Floral wire: Create a subtle support structure with floral wire or something similar, either encircling the stems or gently wrapping individual stems for added strength.
- Container Choice: Opt for shorter, wider containers with a lower center of gravity to help prevent toppling. Choose heavier containers made from ceramic or glass for added stability.
- “Pickling” with Alcohol: This unique method from Cornell University involves watering with a diluted alcohol solution (4-6% alcohol) to limit stem growth, resulting in shorter, sturdier paperwhites. (See more below).
- Invisible Support: If you’d rather not see the support system you add, use clear fishing line that is crisscrossed over the opening of the container to help keep the flowers upright.

How to Make a Pickling Solution to Keep Your Paperwhites Upright
Okay, let’s talk about the fun way to deal with floppy paperwhites. You know how these things love to grow tall and then just dramatically faceplant? We’re going to fix that with a little liquid courage.
This is my absolute favorite trick because it sounds ridiculous, but it totally works: We’re going to water them with diluted liquor.
Forget the fancy calculations—I usually grab a bottle of whatever we have on hand, which is usually vodka or tequila. As it turns out, any “hard” liquor will do the job! The key is to get the solution down to a nice, gentle 4% to 6% alcohol content.
Here’s the simple recipe for a 5% solution:
- When to start: Wait until the paperwhite roots are established and the green shoots are about 1 to 2 inches tall. Pour off any plain water you have in the container.
- The Mix: If you are using a standard 80-proof (40%) spirit—like that vodka or tequila you grabbed—you’ll mix 1 part of the liquor to 7 parts of water.
- Example: If you use 1/4 cup of vodka, mix it with 1 3/4 cups of water.
- The Watering: From this point on, you will use this alcohol solution instead of plain water for all irrigation.
It’s literally that simple. The alcohol stresses the plant just enough to stunt the stem growth, making it about one-third shorter than its tipsy counterpart. But don’t worry because the flowers will be just as large, just as fragrant, and will last just as long! You get a nice, compact, and nicely upright bloom that won’t require a whole engineering degree to keep standing. Cheers to that!
Post-Bloom Care
Unfortunately, paperwhites are typically discarded after blooming. It’s difficult to get them to re-bloom indoors. However, if you live in a suitable climate, you can plant the bulbs outdoors in the spring and enjoy their blooms again the following year.

Styling & Decorating with Paperwhites
Paperwhites are not only easy to grow, but they’re also incredibly versatile when it comes to styling. Their simple elegance lends itself to a variety of decorative approaches, from minimalist to rustic to modern. Here are some ideas to inspire you:
Containers
- Go clear: Glass vases, jars, and bowls allow you to appreciate the bulbs and roots as they grow, adding an interesting visual element.
- Embrace vintage: Repurpose some antique finds teacups, pitchers, toolboxes, crates, or even silver mint julep cups for a touch of old-world charm.
- Think texture: Woven baskets, ceramic pots with interesting glazes, or even metallic containers can provide a striking contrast to the delicate blooms.
- Get creative: Don’t be afraid to think outside the box too! Hollowed-out gourds, vintage tins, or even seashells can make unique and unexpected planters.
Enhancements
- Natural elements: Incorporate natural elements like moss, twigs, pine cones, or birch bark to create a rustic or woodland-inspired look. Forage for them outdoors or you can shop online for supplies.
- Stones and pebbles: Use decorative stones or pebbles not just for support, but also for visual interest. I like to use river pebbles like these. Choose colors and textures that complement your container and overall style.

Placement
- Groupings: Create a visual impact by grouping several containers of paperwhites together. Vary the heights and sizes of the containers for added dimension. I like to stack books on different surfaces that act as risers.
- Unexpected locations: Think beyond the windowsill! Place paperwhites on bookshelves, mantels, or even in the bathroom if you have space for a fresh and fragrant touch.
- Holiday decor: Incorporate paperwhites into your holiday decorating scheme. Use them in centerpieces, wreaths, or as accents in garlands.
Beyond the Bloom
- Cut flowers: Once the paperwhites bloom, you can also enjoy them as cut flowers. Arrange them in small vases or bud vases for a delicate touch.
- Drying: Although paperwhites don’t dry well for long-term preservation, you can try air-drying them or pressing them in a book to capture their beauty in a different way.
Remember, the key to styling paperwhites is to have fun and experiment! Let your creativity guide you as you explore different ways to showcase these beautiful and fragrant blooms.

Final Thoughts About Growing Paperwhites
Growing paperwhites indoors is such a rewarding experience that brings the beauty and fragrance of spring into your home during the holiday season. I usually like to start them in late fall so I can get flowers after the holidays. This helps beat the doldrums of winter when I need the blooms most here in New Jersey.
With just a little care and attention, you can enjoy these delightful blooms year after year. Happy growing!
For more information about growing paperwhites, check out this article from the Penn State Cooperative Extension.
Thank you for visiting the blog today!
Enjoy your day! xo


Great informative, inspiring article Stacy! I’m a bit late but hey, I’ll get to enjoy them through the dark cold winter🙂♥️
Thanks for all the inspiration you offer♥️
Thank you Cheryl. You can still start them! They’ll bloom in the winter!
So informative Stacy!
Thank you Jennifer! Can’t wait for them to bloom this year!